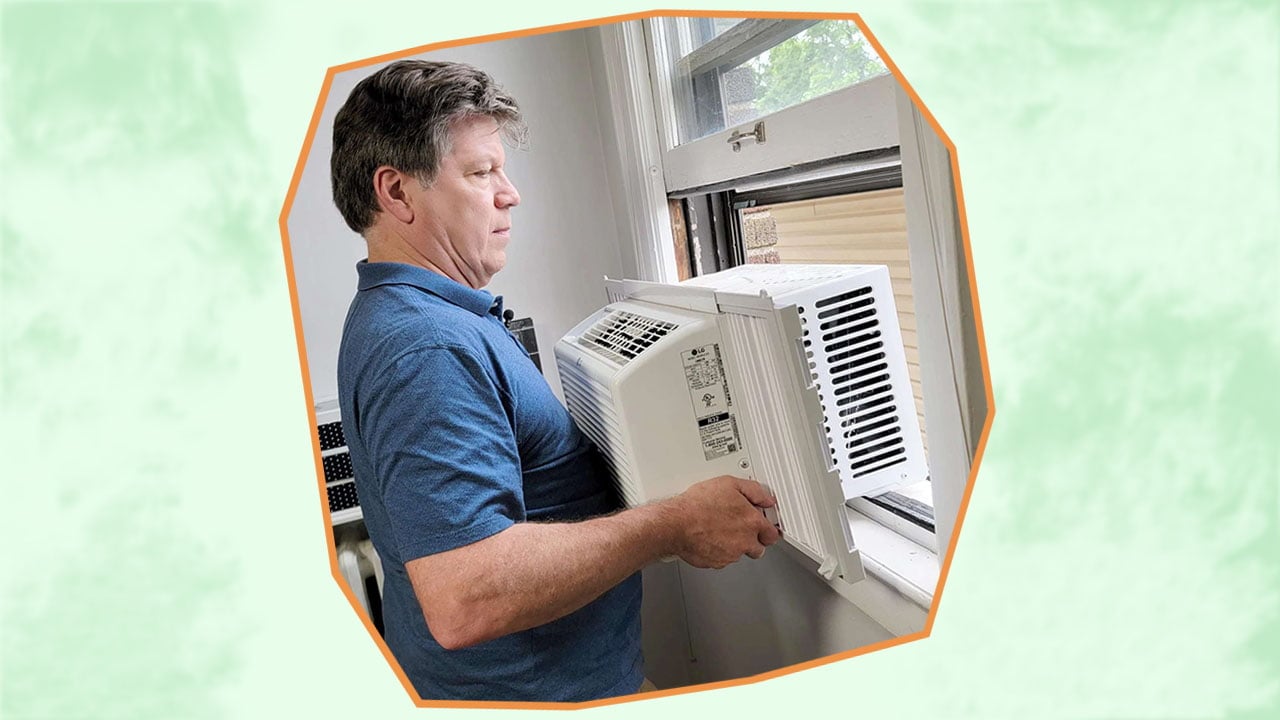
Window air conditioners are cooling systems that are usually mounted on a window and can be removed after use. These systems are significantly easier to install with the right mounting tools when compared to central units.

Installing a central air conditioner is not only a tedious process but also an expensive one. Due to this, most homeowners prefer installing window air conditioning units.
Though these window AC units are easy to install, they do require some know-how to get the job done properly. So, to help you with window AC unit installation, I have compiled this guide to talk about the factors you need to consider before using a window AC!
Window Air Conditioners

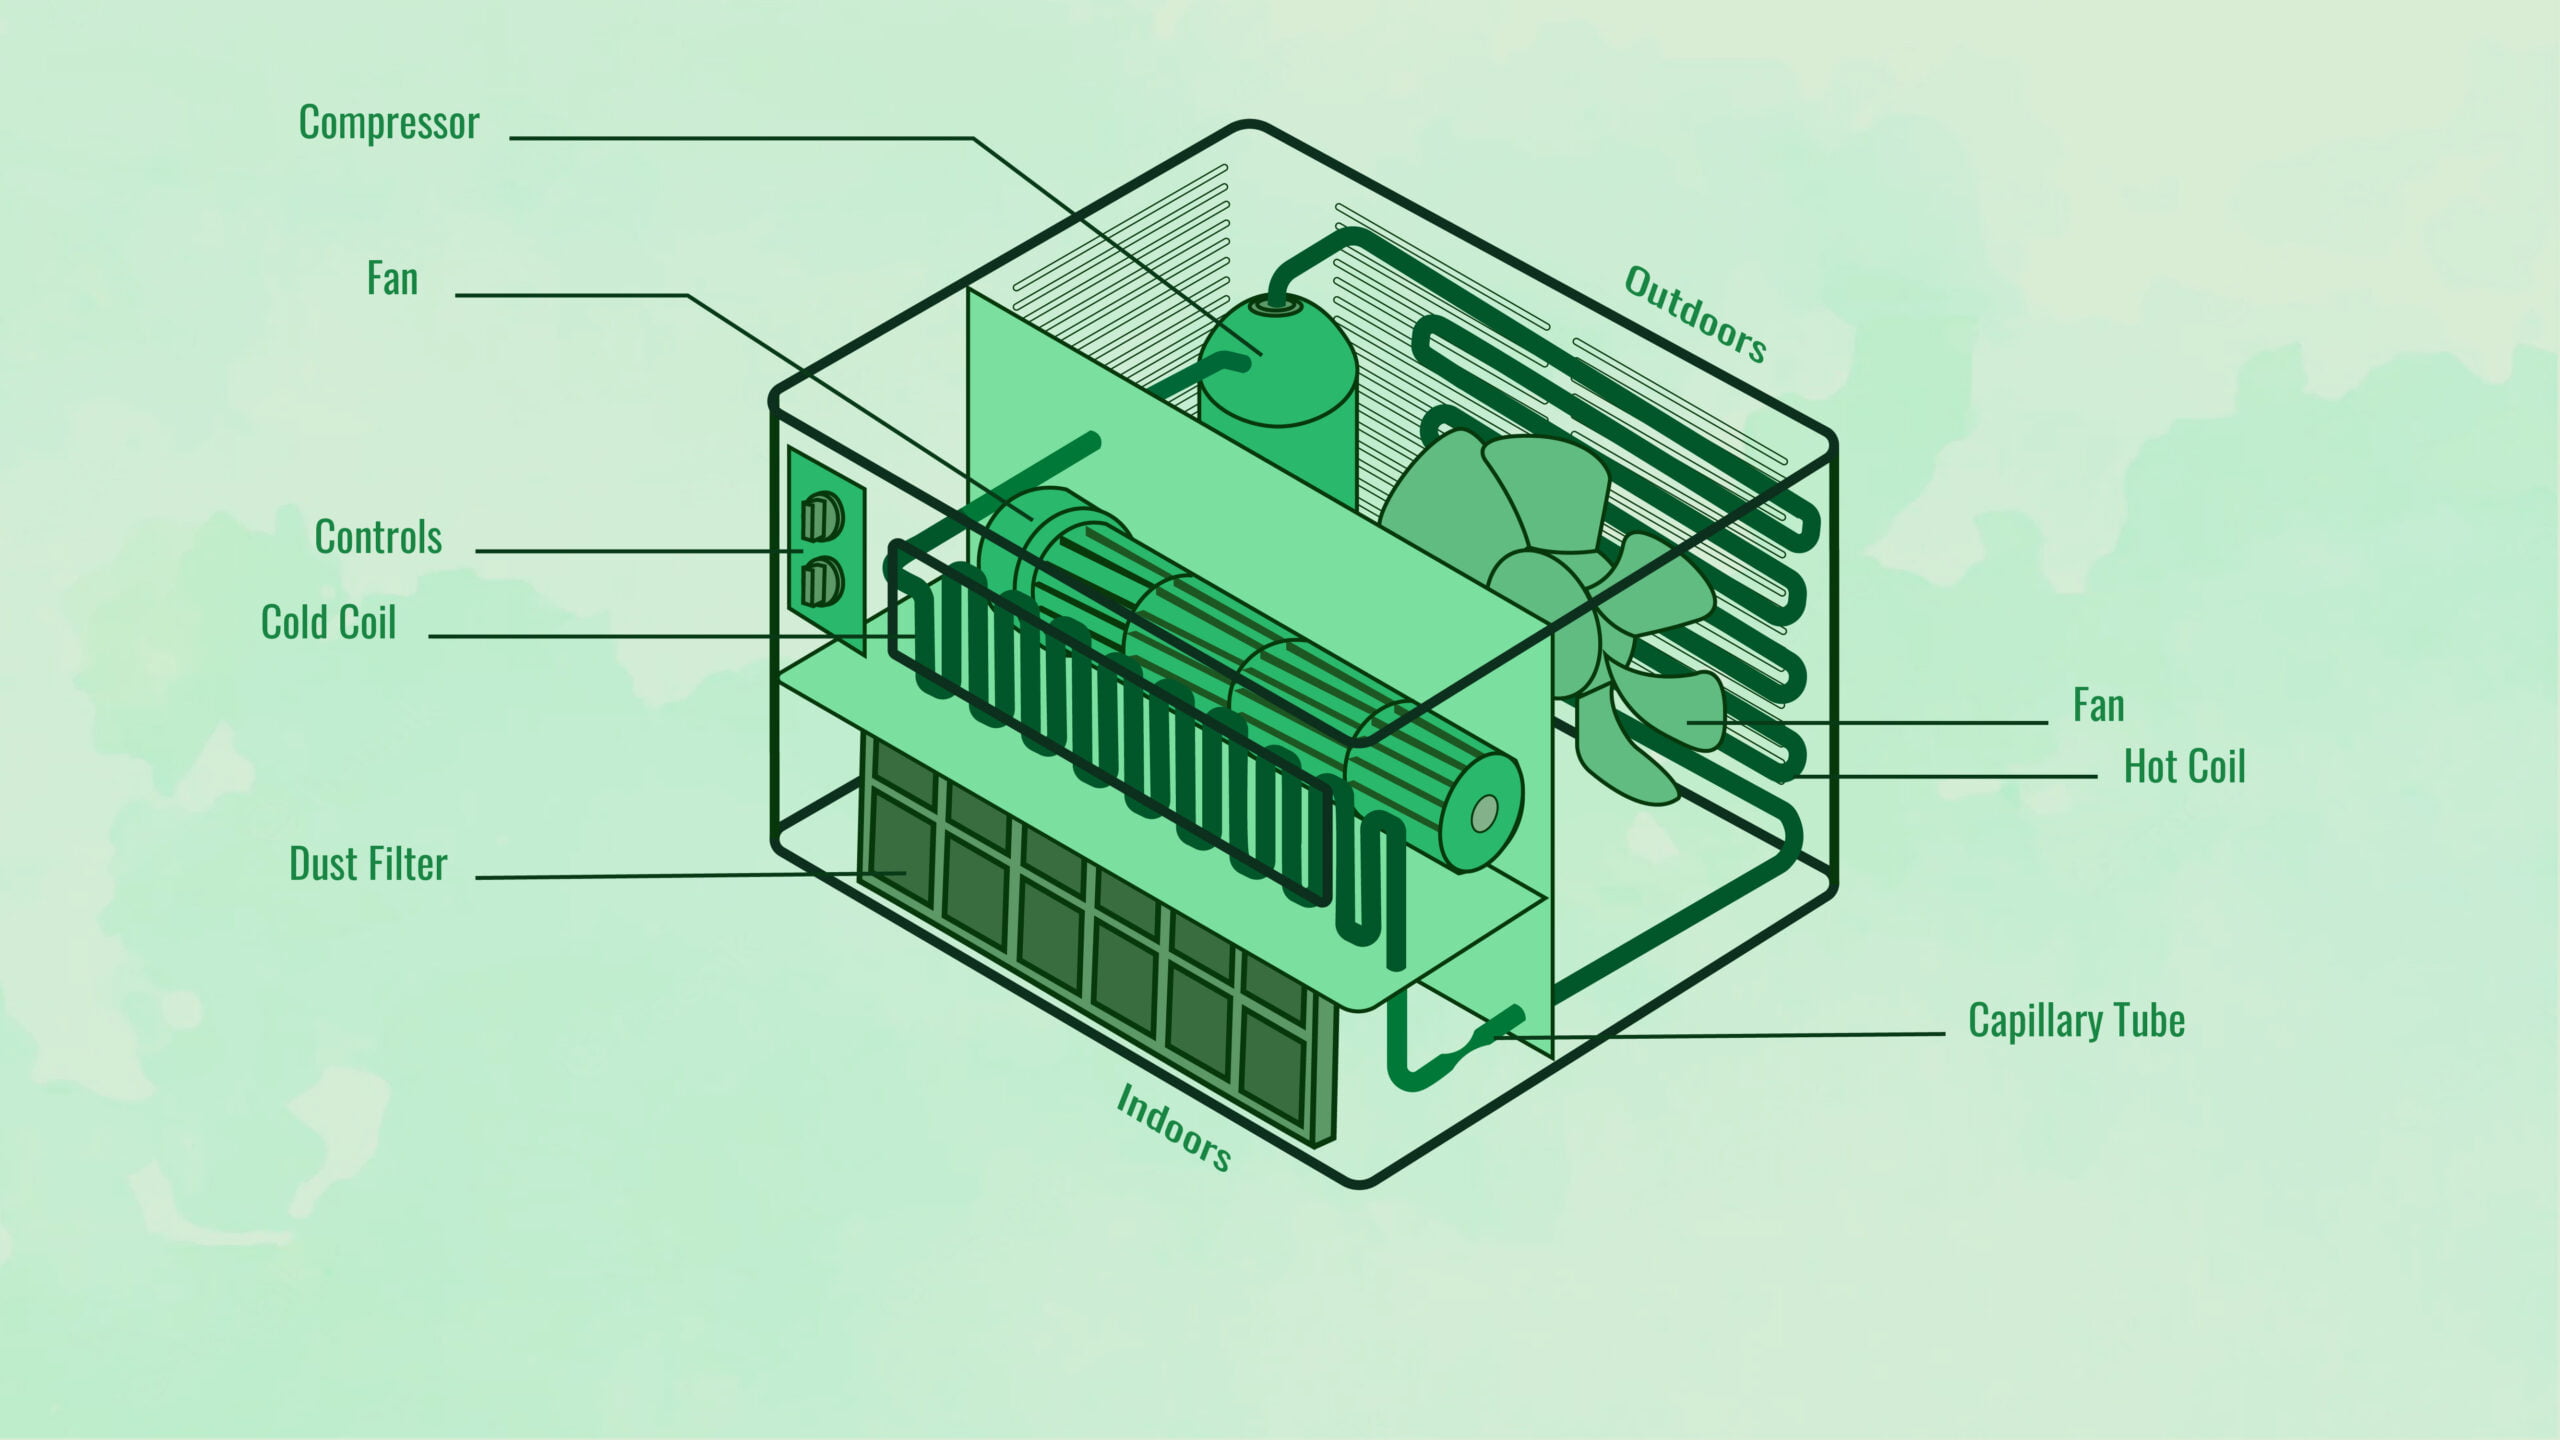
Window ACs are installed between the sill and sash window, which enables it to compress the air drawn from outside and remove the heat. Once the heat is removed, the hot air is blown back outside, whereas the cold air is blown into the room.
The assembly process of these air conditioners requires the right mounting tools to ensure they don't fall off the window sill. Though the installation process is not complex, it still requires more effort compared to setting up a portable air conditioning unit.
You must also ensure the heating, ventilation, and air conditioning (HVAC) system is installed closed to the AC power plugs and sockets. This will eliminate the need to use extension cords, guaranteeing safety.
Pros Of Window Air Conditioners
- Does not take up much space in the apartment
- Projects the compressor noise outside
- Better efficiency compared to portable ACs
Cons Of Window Air Conditioners
- Installation and removal can be time-consuming
- It is louder than a central air conditioner
Considerations For Window AC Unit Installation

Before you use a window air conditioning unit or try installing one, it is crucial to see if it will be the right fit for your home. So, make sure you determine whether the size of the device and the window size of your home are compatible with each other. In case they aren't, it might be better to opt for a portable air conditioning unit.
Compatibility With Windows

As mentioned, the window unit that you use should be able to fit on your window without any problems. Most window ACs are made to be compatible with single or double-hung windows. However, making a few changes and adjustments to these window AC units can also allow them to be installed on double-hung windows, sliding windows, or casement windows in the United States.
Window ACs show the maximum and minimum width of the window they can fit into, along with the minimum window opening. The window opening is meant to be wider than the air conditioning unit itself but still narrow to fit the air conditioner’s baffles.
Furthermore, the window should also be able to open to its maximum capacity, which allows the air conditioner to stay between the sill and the sash.
Choosing A Window Air Conditioner For Your Room Size
For efficient energy use, choosing a window air conditioner that is the correct size is key. If the air conditioner is way too small, it won't have the power to cool the entirety of your room. On the other hand, a larger air conditioner can use extra power, leading to expensive energy bills.
Ideally, the cooling capacity of an air conditioner is measured in British Thermal Units or BTU. Smaller air conditioners have a power output range of 5,000 BTU, whereas bigger ones have a range of 20,000 BTU.
To calculate the size of the air conditioner that will be the best fit for your room, you will first need to determine the room's square footage. This can be done by multiplying the length of the room by its width. Once you derive a number, multiply said number by either 20 or 25, which is the number of BTUs needed to cool a single square foot of your living space.
For instance, a 10 by 20-foot room would be around 200 square feet. This means it would require a unit with at least 4,000 or 5,000 BTUs.
Steps To Install A Window Air Conditioner
Once you've successfully selected the right window air conditioner for your home, it's time to begin the installation process.
Step 1: Measuring
As mentioned, before you decide on a window AC unit, ensure that you measure the windows. You can start by measuring the width and height of the window opening with a tape measure. When choosing window ACs, try to find ones that have at least 2 inches of space on both sides of the housing. This allows the baffles of the air conditioning unit to be extended.
Step 2: Assembly
Once you've selected a window air conditioner, you can begin the installation process. First and foremost, attach the flanges, rails, accordion-style panels, etc., to the housing of the unit. Ensure that you refer to the instruction manual provided by the manufacturer and use the screws that come with the device.
Step 3: Preparation
Open the window to its maximum capacity or wide enough to fit the air conditioner. Then, lift the whole unit and place it at the lower end of the window frame. At this point, have a helper hold the device in place while you proceed with other tasks.
Step 4: Positioning
Most window ACs on the market come with two flanges - the first one is situated at the top of the device, whereas the second one is at the bottom. Flanges work best to improve the installation process by making it easier and safer.
Position the lower flange in a way that it sits on the sill. You can then bring down the window sash until the bottom rail meets the top flange of the air conditioning unit to ensure that your air conditioner is held in place.
Based on the size of your window air conditioning unit and the window style of your home, you might be required to install a window air conditioning mount for proper temperature control.
Tip
Remember to consult your building manager about regulations regarding window AC unit installation. And if your air conditioner comprises L brackets, ensure to attach them prior to placing the unit onto the windowsill to make installation easier.
Step 5: Attaching
Most window ACs come with a couple of angle brackets that can be used to attach and secure the lower and upper sash. These brackets are quite important since they prevent the risk of the sashes falling apart or opening the window accidentally. Both these scenarios are quite dangerous as they can lead to your AC unit falling out of the window.
Once the window air conditioner is properly secured, place the angel brackets in the area where the top and bottom sash meet. Use a pencil or chalk to draw guidelines on the bottom sash for the screw holes before drilling the pilot holes to attach the screws.
Coming back to the accordion-style panels that you attached, extend them fully and attach them to your window with the screws that were provided by the manufacturer. Once everything is done, check for any remaining screws and ensure all the screws have been properly tightened with a screwdriver.
Step 6: Paneling
Most window air conditioners are designed with side panels that are accordion-shaped. These panels can retract and extend in order to fit various-sized windows. Furthermore, these panels act as a seal for any gaps and prevent insects or other pests from getting into your home.
Once you've properly mounted the air conditioner to the window, extend the side panels till they fully cover any gaps. However, if you notice that there are still small gaps and cracks near the panel, you can make an airtight foam seal by using foam weather stripping.
After you're done and fully satisfied with the installation, the positioning of the panel, and the air conditioner, find the mounting holes located on the panel. With the help of a drill, make small holes in the window sash that align with the mounting holes. Using a screwdriver and two screws, secure the panel to the sash.
In case your air conditioner does not have an air conditioner screen, using a window AC unit installation kit might be the best option. You can also create a window frame by yourself with some wood or plastic sheeting that covers the gap.
Step 7: Insulation
The final step of the installation process is to seal the gap between both the lower and upper window sash. Since both these window sashes have been lifted to create space for the unit, it is necessary to close the gap once you're done.
Generally, window air conditioners comprise one foam insulating strip in the packaging. Cut the strip to the right length and attach it to the gap, ensuring that it fits snugly.
But in case your window air conditioner unit does not have insulating strips, you can get one online.

Final Words
Installing a window air conditioner is a simple process and does not need any professional experience. Following the steps I mentioned above will help you easily install your window air conditioner.
However, ensure you complete the entire process carefully and do not miss out on anything. Omitting one or more steps can lead to several problems, such as the unit falling out of the window or making your home susceptible to burglary.
