Expertises: Paint, Home improvement, Wood, Car, Painting
Updated on

Inspiring Ideas for Modern Home
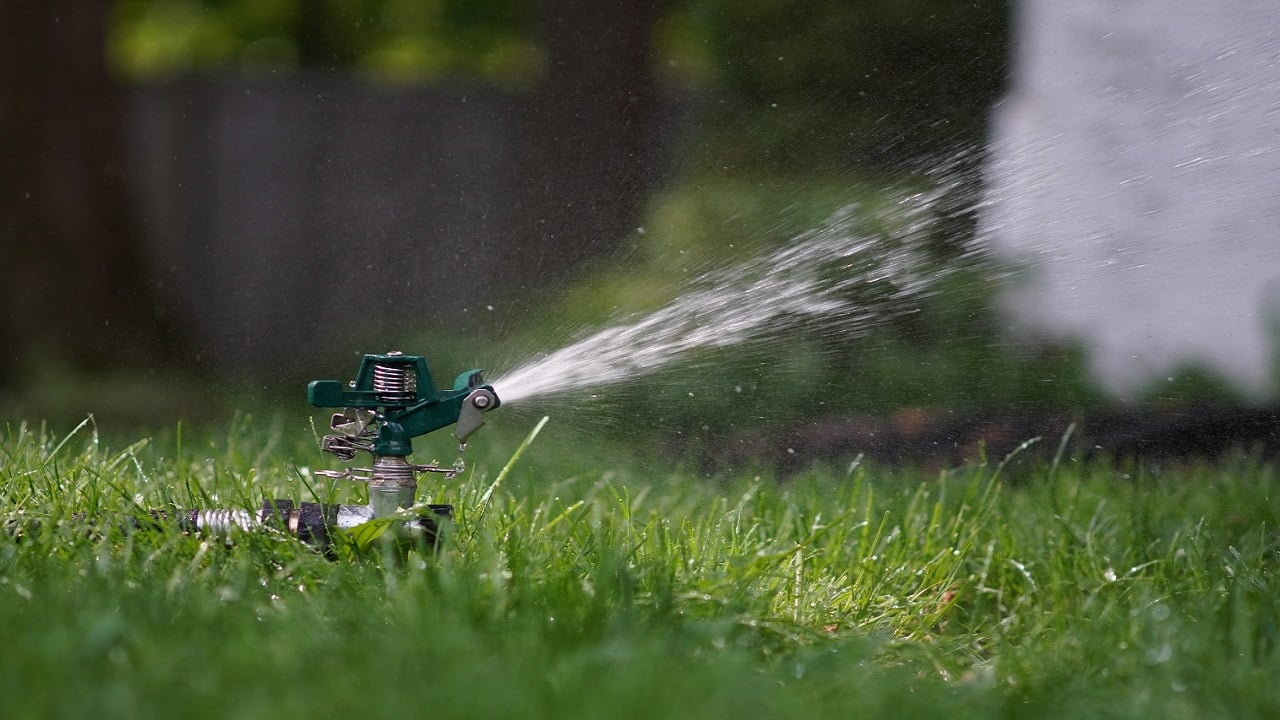
An impact sprinkler is a great irrigation system that is ideal for watering large areas of land, like your yard or lawn. You can install it on your own by digging the land and using tools like power trenchers and pipe-pulling machines.

So, you are planning to get an impact sprinkler for low pressure for watering your garden or lawn? I understand that it’s only natural for you to assume that the installation would be a hectic affair. However, you will be surprised to know that you can do it easily with the help of some power tools.
So, today, I will tell you all about how to install an impact sprinkler- right from marking the area to testing it before use.
Start by placing wooden stakes or small flag poles at every location where you plan to install a sprinkler head. A piece of string can be used to mark the area where the pipe will be placed. However, before you start digging, it is important to know about the location of all the gas pipelines and other power lines to avoid digging into these installations.
Once the area has been marked, start digging trenches where the heads will be placed. The typical depth for a trench is between 6 and 12 inches. In case the trench is to be dug at a walkway, a DIY high water pressure device can be used to efficiently dig a hole through it.
For this, get a PVC pipe that is lengthy enough to fit underneath the walkway, install a slip-female thread adapter at one end of this pipe and connect it to a hose. Connect a slip-male thread adapter on the opposite end of the pipe and proceed to connect a jet spray nozzle. You can easily find one at any home improvement or garden retail store.
Once you’ve located the area for the impact device, you can dig trenches to the walk on either side of the location. Then, you can turn the water on and start working your way through the trench.
Tip
It can get quite messy and muddy to work with water for long, so turn off the water every now and then to let the ground soak the moisture.
To make things easier, I purchased a power trencher and a pipe-pulling machine for the Poly Pipe, which helped me bury it without damaging my lawn. If you also plan to do so, make sure you leave enough space between the valves on the manifold so that you can detach or replace them when needed.
Once all trenches are dug up, you can provide the water supply for the sprinklers. Manufacturers like Rain Bird can help you determine a suitable water connection according to the location of the sprinklers, but make sure you keep up with the local regulations.
Begin by assembling the valve manifold and connecting the back-flow preventer if needed. You will find PVC pipes in various diameters as well as wall thicknesses. Typically, using a bigger diameter PVC pipe can elongate the life span of the sprinkler and make it more durable.
For colder climates, you can install a Poly Pipe by digging up a trench, placing the Poly Pipe, and sliding Poly pipe clamps over the coupling to tighten the connections.
A Poly Pipe is more malleable and much less prone to damage or getting affected by freezing temperatures. However, dealers like Rain Bird suggest refraining from using Poly Pipes for mainline connections.
Another viable option is PVC cement, which is usually applied inside the sprinkler fitting and on the pipe’s exterior. Once the cement is applied, quickly insert the pipe completely, and turn it around to spread the cement. Make sure to hold it inside for a couple of seconds.
Test the pipes by running water through them and flushing the system. Control the valves manually to clear the system by opening each valve individually, filling the pipe, and then closing the supply. Be sure to do this with each individual valve.
After the pipes are set, mount the sprinkler head using a core tool. If the pipe hole needs to be expanded, heating the ends will do the job. Cover the dug hole with soil once the sprinkler head is in position, and make sure to cover until the hole is level with the ground.
Note
The sprinkler’s protective cap must be in place during the mounting process and tightly secured.
Once you install the impact sprinkler on the ground, use water to flush away any dirt on the sprinkler. Pour water on the soil that was used to fill up the distance. This will further strengthen the soil covering the body of the sprinkler.
It is essential to test the sprinklers before starting to use them to reduce the chances of any issues arising in the future. Simply turn on the water supply and inspect each sprinkler closely to see if it’s functioning efficiently. Check the head of the sprinkler to see if there are any leaks or loose connections, and tighten them if there are any.
Though impact sprinklers are functional devices, the type of sprinkler you need depends on your home. For instance, a rotor might fit your needs much better than an impact sprinkler.
A rotor is a sprinkler device that shoots out single or multiple streams of water in circular motion and is usually opted for irrigating larger areas. You can do a comparison of impact sprinkler vs rotor to find which type best suits your needs.
If you have enjoyed reading this guide, you can check out my other article titled “how to cut particle board?” See you next time!