Expertises: Paint, Home improvement, Wood, Car, Painting
Updated on
Inspiring Ideas for Modern Home
You can remove the wheel from your angle grinder by hand or using simple tools like a hammer and chisel. But you must be very careful to ensure there are no injuries or damages caused to the angle grinder.

So, you want to change the wheel of your angle grinder, but have lost the key or wrench to unlock the blade? Or, have you misplaced the factory spanner that came in the package. We get it- it can be downright frustrating to lose things when you need them the most!
But did you know that it’s actually possible to remove the wheel even when you don’t have the right tool handy? Yes- you heard that right! Dive in to know how to remove the angle grinder disc without a tool.

For people who may be new angle grinders, let us just quickly introduce them.
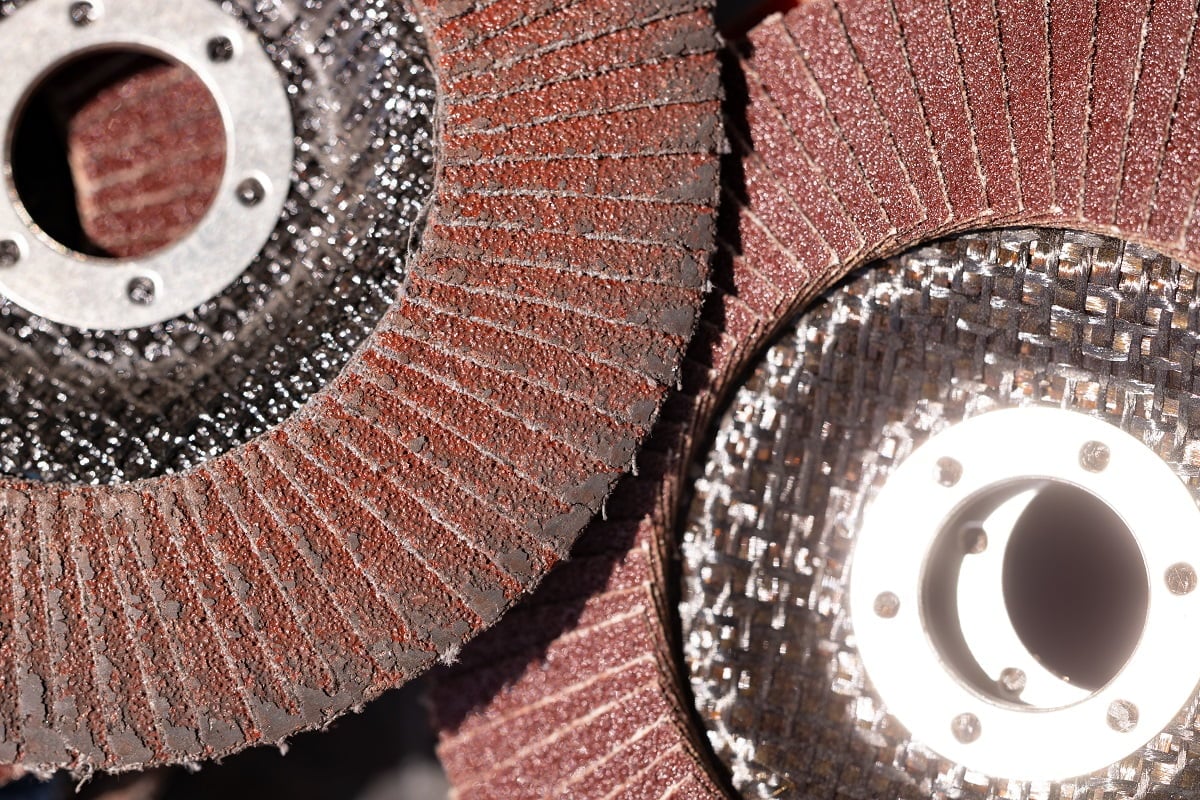
These are essentially handheld power tools that use rotating angle grinder discs or wheels for cutting, grinding, polishing, or deburring metal, concrete, porcelain, and other materials.
You will usually find two types of angle grinders- one that needs to be bolted down so it won't move while being used; and the portable cordless models. The cordless angle grinder is one of the most convenient tools as it can be used anywhere. But both cordless and corded angle grinder come with a locking nut to ensure the wheel doesn’t get displaced.
Furthermore, an angle grinder has a housing around its motor shaft with openings for different accessories such as an angle grinder disk and cut-off wheels, as well as a guard over these openings to protect users from injury caused by sparks flying off during operation.
As mentioned above, an angle grinder is a powerful hand tool that can be used to cut, shape, and polish metal. The high-speed rotary action of the grinder nut makes it ideal for completing many tasks including removing rust from tools or household items like the fridge door handle.
In hindsight, the efficiency of the grinder depends largely on the type of blade being used. For instance, a diamond-tipped blade may be more suitable for cutting tiles. Likewise, a serrated blade may be a better choice for making curved cuts.
You can attach a polishing pad to the grinder and use it at a low speed in case a polisher isn’t available. However, you must not confuse an angle grinder with a polisher.
Now, some readers may be asking “what’s the difference between an angle grinder and a polisher?” Well, the grinding process of an angle grinder is used to reduce the thickness of the material without damaging it. Polishing, on the other hand, is about smoothing the surface.
Remember that a grinder may be used as a polisher, but it doesn’t happen the other way round.
Another thing to keep in mind is that you may use the tool without its guard in some circumstances, such as when you are grinding down metal on a workbench. However, this is a dangerous practice and should only be done if necessary.
To ensure safety, always check that the guards are in place before using the grinder. If any guard is broken, refrain from using the tool until it is replaced with one that fits properly and is securely in place.
On that note, you can replace a damaged or missing guard by first unplugging the tool. Then, remove any existing guards by loosening them with an Allen wrench (the type of wrench that has handles on either side).
Finally, replace the damaged or missing guards with new ones by sliding them into place and tightening them down firmly so they stay secure during operation.
First and foremost, always unplug the power cord of the angle grinder from the wall outlet. This step should be followed whenever you’re replacing parts or cleaning it.
As you may have already figured out, the lock nut holds the disc in place and needs to be taken off so that you can replace it. It has a lock button located on the disc guard, which sits between the body of the angle grinder and the wheel.
However, if this button gets stuck, then you will have to do it manually. And there are a few ways to do so.
Option 1
Firstly, grab two bolts that exactly fit the two holes of the locking nut. However, make sure you lock the position of the wheel by pressing on the lock button located behind it (on the top of the grinder body). You need to keep the button pressed to prevent the wheel from coming off. So, it may be a good idea to call someone for help.
Next, use a pair of pliers to get a grip on the bolts and start rotating them counterclockwise. You can also use an adjustable wrench for this step, depending on what you have handly. Or, secure a pair of vice grips around the bolts and rotate them in the opposite (counterclockwise) direction.
Option 2
If you don’t have the above-mentioned tools handy, then you can try removing the locking nut with the hammer and chisel method.
Insert the chisel with an angle into one of the holes of locking the nut, one by one. Then, tap it with the hammer so that the chisel rotates to mimic the action of a wrench. Do it on the other side if required.
This method has a high chance of damaging the wheel and the nut holes, so ensure you don’t apply too much pressure.
Option 3
If nothing else is available, put on a pair of work gloves and hit the disc with your palm in a direction opposite to the wheel’s rotation. Again, be very careful while using this procedure as you may injure yourself and damage the disc.
A pro tip: you can pour a few drops of oil on the locking nut to help loosen it easily. However, don’t put too much; otherwise, you won’t be able to grip it properly.
Alternatively, you can try turning it in the same direction (clockwise) some more, which may help create some pressure. But don’t tighten it too much, as it may mess the alignment of the nut. Then, rotate it in the opposite direction.
Option 4
Another option to remove the nut without any tool (or your gloved hands) is to use a long iron rod that comfortably fits the locking nut hole. Once you do that, hit the top of the rod with a hammer or your palm until it starts moving the nut in the opposite direction.
If this doesn’t work, use two iron rods and insert them in the locking nut holes. Tie them with a rope and hit the “tied top” the same way. This should do the job.
If your angle grinder has a standard spindle lock button or a spindle shaft, simply press and hold the lock button located in its center. This will allow you to rotate the drive bolt of the disc in the opposite direction of its rotation, which will loosen it from its socket without damaging the retaining nut.

Once the angle grinder nut comes off, you can easily remove the wheel and insert a new one according to the needs of the project.
In older angle grinders, the wheel may become too stuck to be removed, so you may have to break them completely. Do this carefully as you wouldn’t want to damage any other parts on the tool.
After inserting the wheel in the drive bolt, rotate the locking nut in the opposite direction (i.e. clockwise this time). You can do this with your hands, as tightening the lock is easier than removing it. Continue doing this until the wheel is firmly in place.
If you have trouble doing this, start by turning it slightly counterclockwise until you can get some leverage before continuing clockwise.
“Obviously, when the current wheel doesn’t meet the needs of the task at hand,” is what you may think is the answer to this question. However, let us tell you that it’s not the only time when changing the wheel should be your priority.
Your angle grinder may give you subtle signals about the “expiry” of the wheel, so look out for:
To use your grinder safely, we’d recommend using both hands, which will facilitate better control and precision. However, do not keep your hands or fingers anywhere near the disc, as it can lead to disastrous consequences. And don’t operate the grinder without wearing gloves.
Aside from that, you should pay attention to the maintenance needs of the grinder.
One of the first and most important things to do in this regard is keeping it clean by removing any dust or debris.
Ideally, you should wipe it thoroughly with a clean cloth or use a soft bristle brush to eliminate dust after every use. Give the tool some time to cool down after being switched off, and don’t touch the wheel with bare hands.
Furthermore, you should keep the tool properly greased to reduce the chances of friction, making it perform optimally. And run a visual check to detect any cracks or loose guards before working with it.
With that, we hope we’re leaving you well equipped to change the wheel of your angle grinder the DIY way.
But here’s one piece of advice. If you aren’t confident about your DIY skills or you think breaking the wheel can damage the rest of the tool, contact the brand. If the device is covered under the brand warranty, getting it serviced will be hassle-free.
And while attempting the job on your own, make sure you wear the required protective gear to prevent the risk of injuries. This includes putting on work gloves and an eye protector.
We will now wrap up. If you found this guide useful, check out our other read on “how to install wire brush on angle grinder.” See you next time!