Expertises: Paint, Home improvement, Wood, Car, Painting
Updated on

Inspiring Ideas for Modern Home
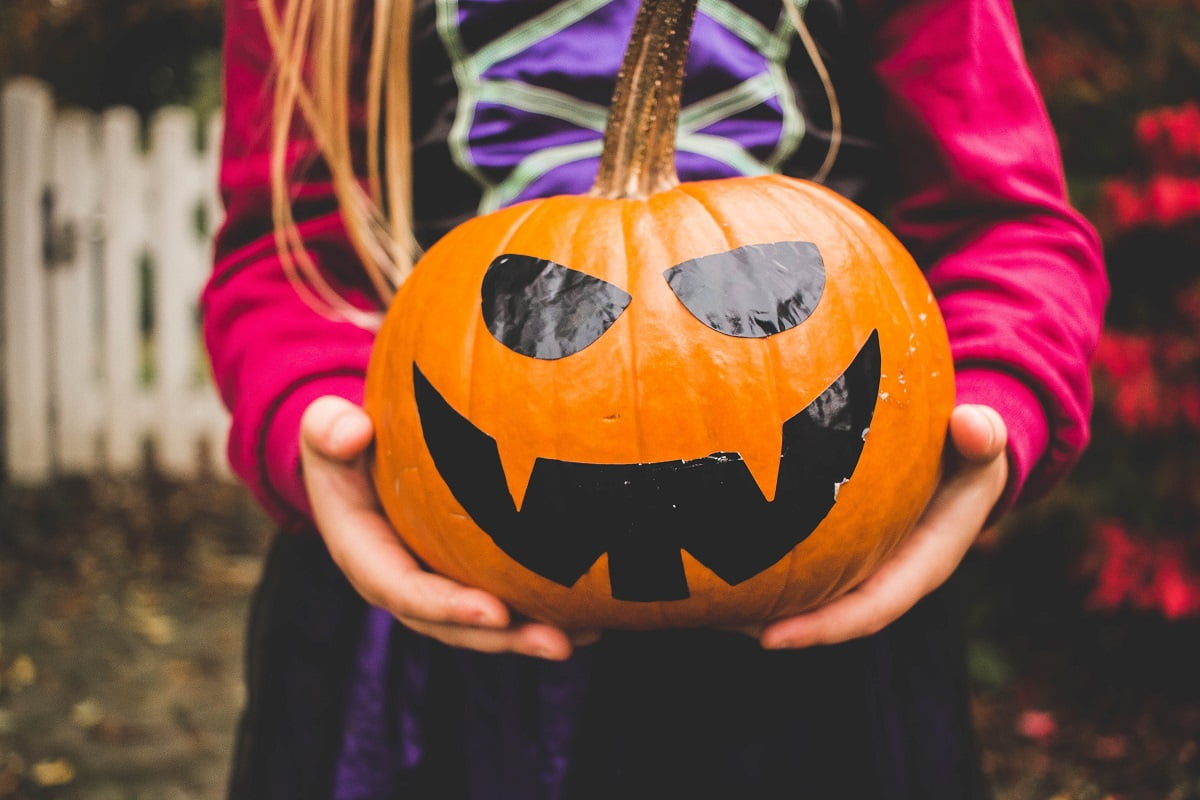
Trick-or-treating isn’t the only fun part of Halloween!

On October 31, tap into the creativity of your kids with some scary, fun, and easy Halloween paintings. Halloween costumes, DIY decorations, and pumpkin carvings are a few things families usually do in this spooky season. However, nothing beats gathering together and making some crazy yet beautiful acrylic paintings. But, be sure not to start with any complicated paintings, as they might bore the kids, and they might leave in the middle. Hence, we are sharing some lovely yet simple acrylic Halloween painting ideas for beginners and kids. We have even shared the step-by-step painting process for your convenience. Although acrylic paints are excellent for Halloween paintings, they're not suitable for body art. So, if you want to dress up like a vampire for a Halloween party and try on acrylic paints on your face, it'll be a big problem. Most of the high-quality body paints do not contain acrylic paint in them. Acrylic causes irritations to the skin and washing off acrylic is not an easy job. So, putting acrylic paint on your face is a big no-no.
But, enough of that! Let’s dive in with acrylic Halloween paintings!
This fall art is suitable, especially for beginners and kids, making it ideal as culinary decor for Halloween gatherings. To make it, start with painting the 11 x 14 Canvas entirely black. Then, take the chalk and draw the outlines of the key characters of the painting: Frankenstein popsicle, bat ice cream, and orange pumpkin ice cream.
Draw the outline for an ordinary popsicle, add two “Frankenstein” screws and bumpy lines on the top or anywhere you like. Then, take out your #8 brush and start painting your popsicle.
You can color them with anything you like, but we prefer the outline to be painted with brilliant yellow-green and a semi-thick layer of permanent green at the bottom. Use yellow oxide for the stick and a stash of titanium white on the side.
It’s time to take out your #4 brush to paint a dripping shape using a deep violet color on the popsicle head. And, use titanium white for the screws.
It's time to start drawing the middle bat ice cream. Use a #8 brush and yellow oxide color to paint the cone, and mix a tad bit of titanium white on the edges. Then, paint the ice cream brilliant purple with a mixture of titanium oxide. Use cadmium orange hue and titanium white to paint the next ice cream cone. Draw another layer of it once dry, and then use a mixture of colors like green, orange, or any other to the bottom.
Finish the art by drawing faces on the ice cream to make it Halloween-themed.
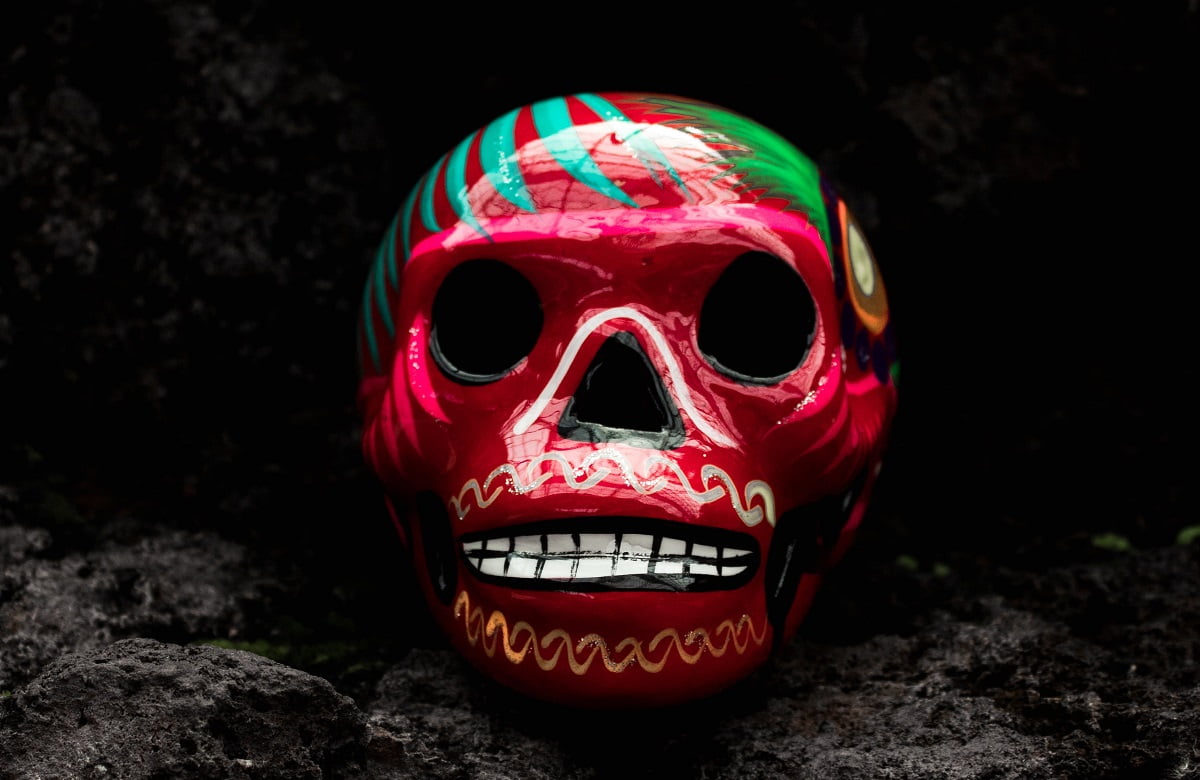
Start with blackening the 11 x 14 canvas background, then outline a skull using chalk and fill it with titanium white. Use a #8 brush for black paint, and paint its teeth, eyes, nose, and jaws.
Now it’s time to start decorating the skull with designs, dots, flowers, and other decorations. Though it’s entirely up to you how you want to decorate the skull, we are sharing how we like it to be.
Start with making half-circular shapes around the eyes using #4 brushes and medium magenta color. Then, draw a flower on the head using a primary yellow color, and primary blue for painting a mandala pattern on the cheekbones. You can keep on adding whimsical designs to it, like a rose on the head, a flowering branch on its jaws, and a small red heart on the nose, creating a vibrant piece for the entryway setup.
Start with drawing a squiggly line 2 inches apart from the edges using a #8 brush, black paint to make a frame, and fill it using green color. Add some big violet dots to give it a quirky look.
Once done, run a few splashes of blue, a tiny bit of black, and titanium white in the background. You can add any color of your choice. Then, draw three pumpkins on top of each using chalk, with the smallest at the top and the largest at the bottom. And, make bump lines on each of them.
Next, use reddish-orange paint to color the edges and orange to fill the inside. Now, draw different Jack O’Llantern faces on each pumpkin using your chalk. Finally, draw the facial expressions using your brush and black color, and consider placing the pumpkin topiary at your entryway setup for added Halloween flair.
Well, it depends entirely on your budget. First, go for basic ones to see if you can use them well and draw quality paintings. And, once you feel confident about it, spend extra money to get yourself some artist-quality paints.
Yes, you can mix paints of different brands, irrespective of their quality. But, remain cautious while mixing different types of paints, like oil paints and acrylic paints, for the same painting. You can add oil paints to a dried acrylic color but not vice versa.
You can paint acrylic color on card, paper, wood, or canvas without applying a primer layer first.
That concludes our painting suggestions!
We hope your kid will be able to make beautiful Halloween-themed paintings using these ideas. And, if they enjoy themselves when drawing them, they might end up being an artist in the future. Keep these beautiful pieces hanging on your wall for everyone to admire.
Acrylic paints are the ones they should start with, but only if they are aged above three years. These artworks are intended for fun, so you don’t want to give your kids something harmful to them.
You can search on YouTube, Etsy, and other sites for more Halloween paintings like a haunted house, a cat and the moon, and so on. Visit these site links for simple and free art tutorials.
With that, we’ll wrap up the guide. See you soon and goodbye!