Have you ever considered building your outdoor pizza oven? It something extraordinary, the taste of a pizza cooked in a natural oven is unmistakable, superior to the regular gas oven. The DIY Cob Oven Project ahead will aid you in this endeavour, step by step, in this simple and extremely rewardful project. You can use a cob oven project to make bread, pizza or different cookies, the taste is extraordinary, unique and definitely worth experiencing.
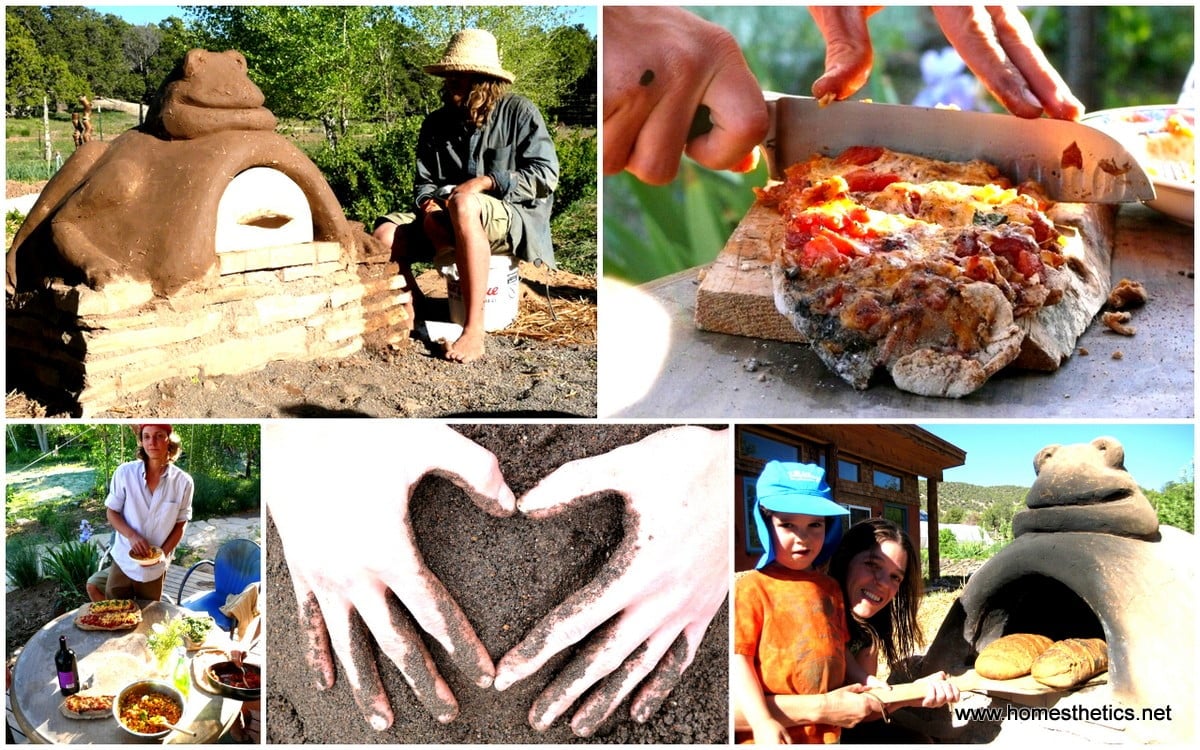
Every project of course starts with a little planning. Think everything through and find the best place in your backyard to position the cob oven. Take in consideration that you will entertain a lot around it and that it can look extremely well if realized with passion and determination. By positioning it nearby a outdoor fireplace you will have whole lot to earn, the warmth and coziness of a fireplace and the taste of a naturally cooked dinner will surely create a special atmosphere.
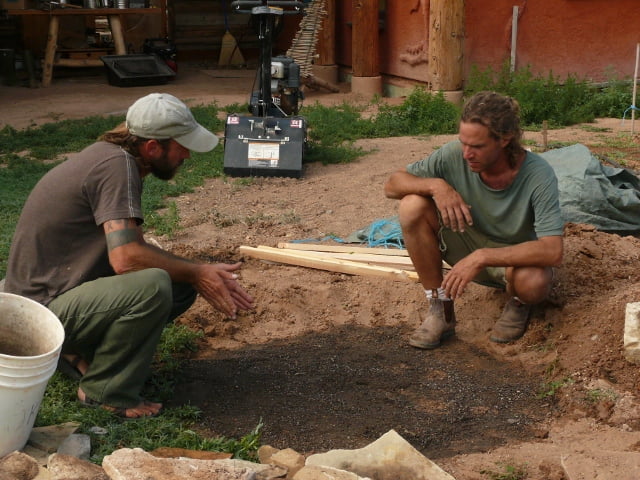
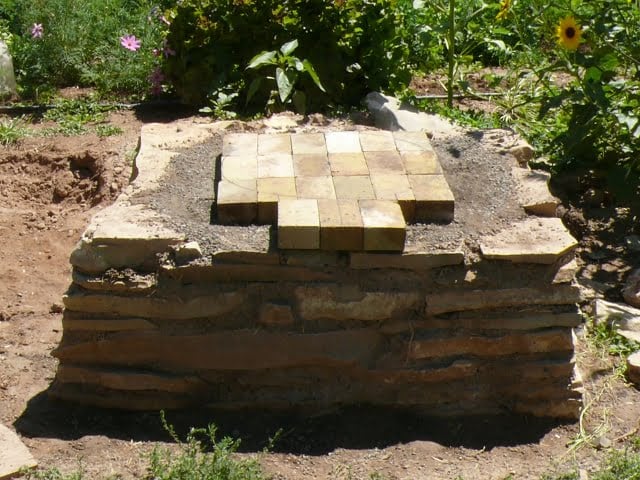
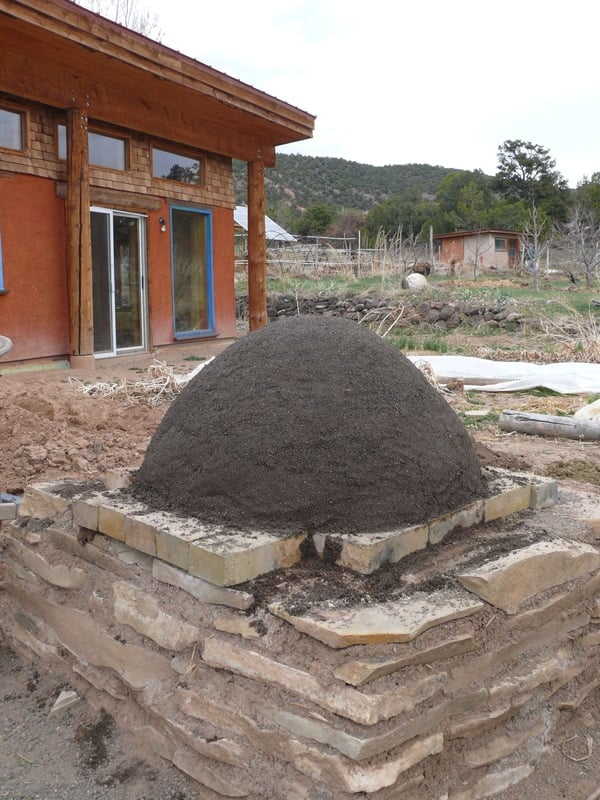
The base of the oven can be realized with wooden logs, upcycled bricks or local rocks such as flagstones, as showcased below. This base will give you the comfort of working on a decent height, without hurting your back. Moreover the base protects the oven from rain and snow, allowing it to maintain the heat for much longer and giving it extended usability during the unfriendly season.
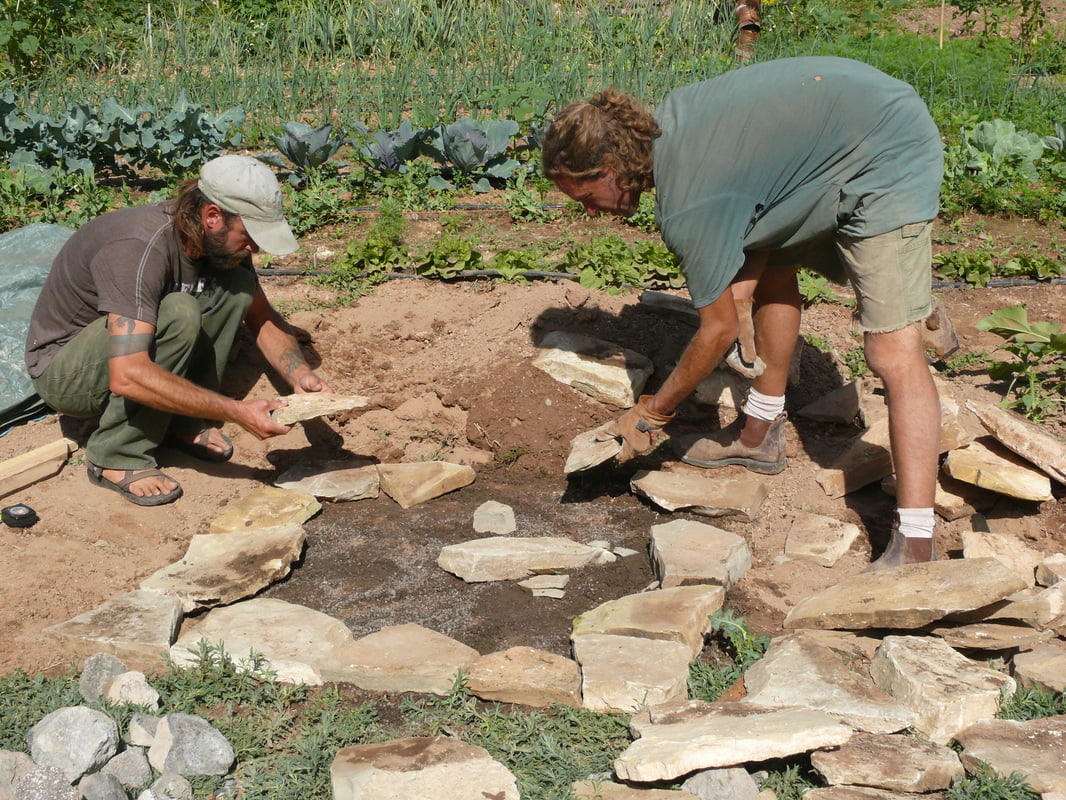
After determining the area covered by the base it is time to work on height. Overlap the materials up to the desired height. Fill the center that would isolate the base of the future even from the earth further more. You can use sand, empty glass bottles or basalt rocks. This layer should be stable so if you choose to use empty glass bottles, which are highly effective thanks to the air that they will contain, make sure that you have used some earth to fix them into place.
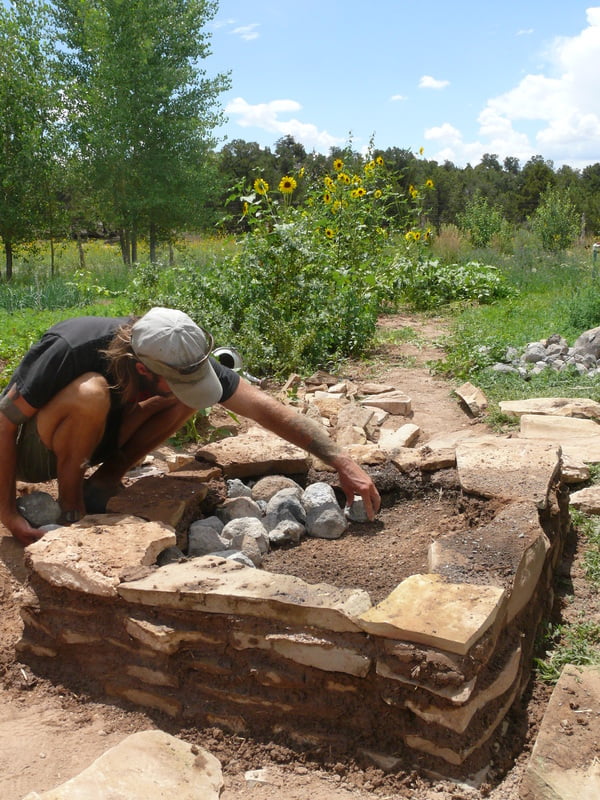
Carefully flatten and level the top of the base now. It is time to lay the foundation of your future cob oven with firebricks. Make sure that you have the right set of bricks or the effort will be in vain. Fire bricks retain heat, allowing your oven to release it onto your food goods.
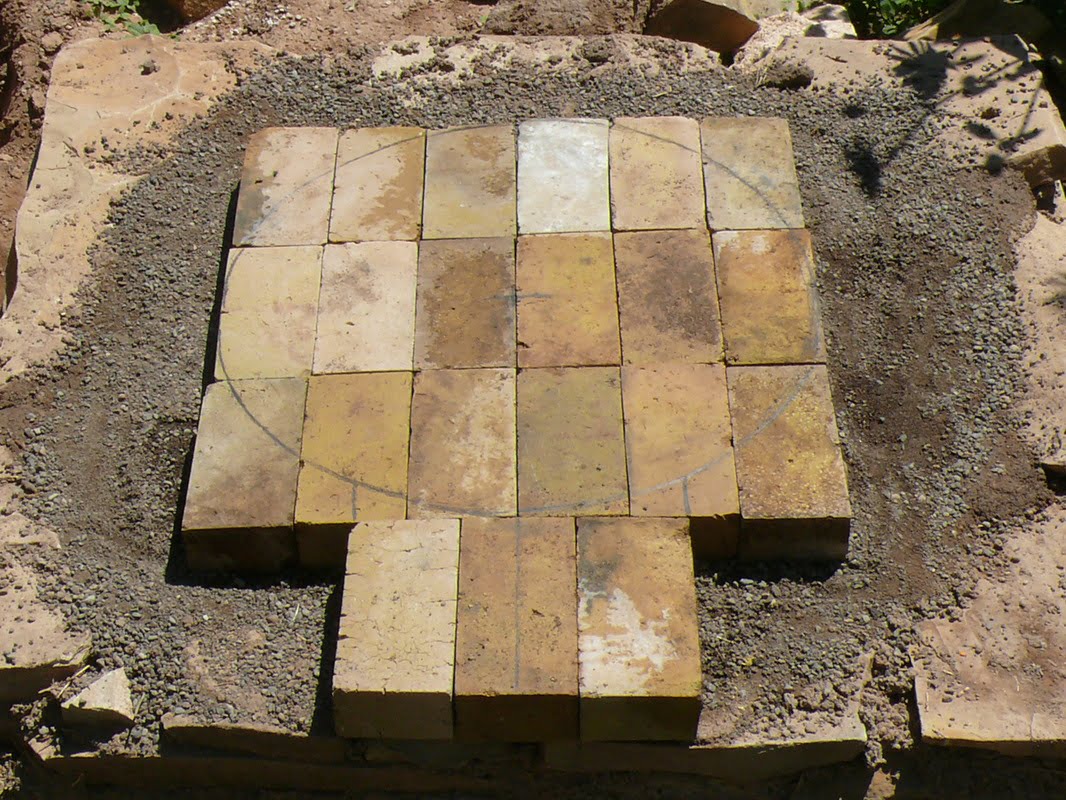
After positioning the bricks in the center it is time draw the future center of the cob oven and imagine how it will look. Here your pizza will be baked . It should be round to ensure that the heat is retained evenly by all sides.Make sure that the front door, the three bricks below, is being protected by fire brick as well.It would be useful to ensure that walls are making contact with fire bricks in the interior and not with base directly, in this manner you will keep the heat in the oven far longer.
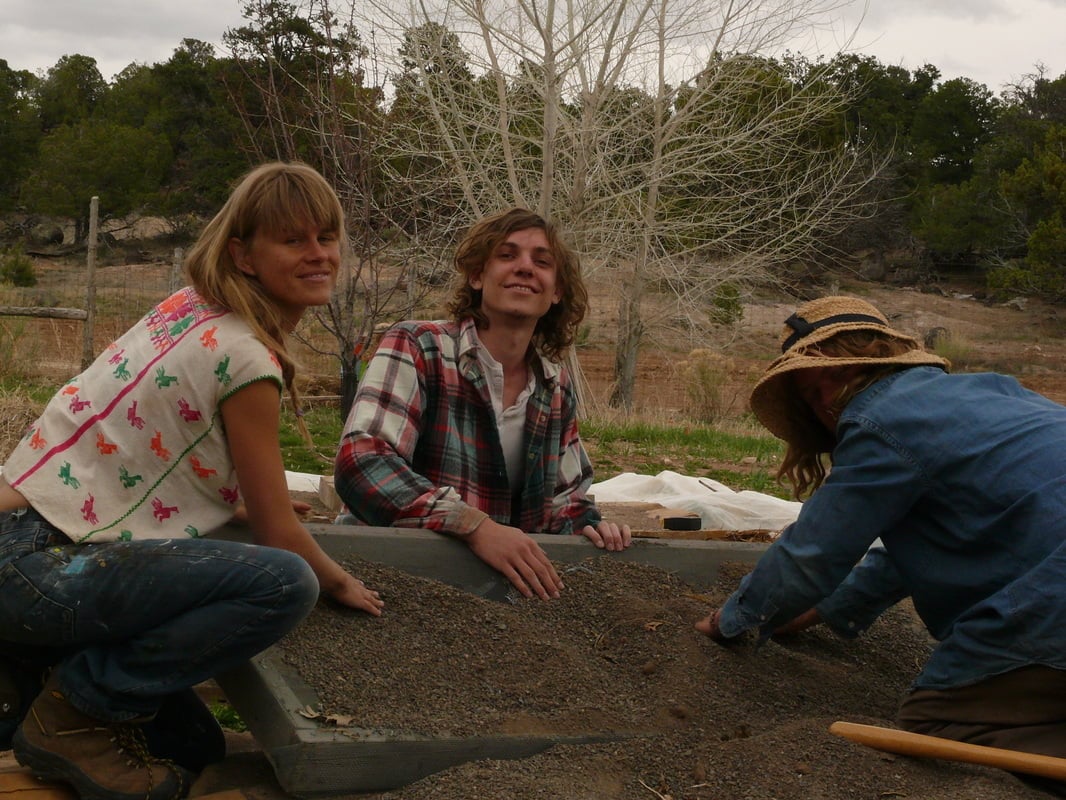
If you have the time and will, sift the sand that will go into the making of the cob mixture. This will ensure a better quality and a longer life.
Shape the negative, the mould with wet sand, on which you will stick the cob mixture. This is basically the shape of the cavity inside the oven. Mark the center to keep track of the desired height. In this case 16".
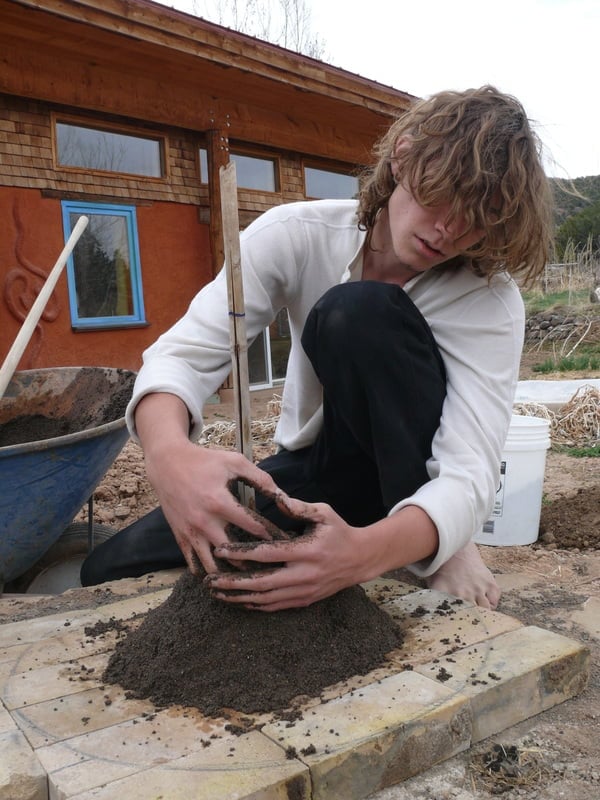
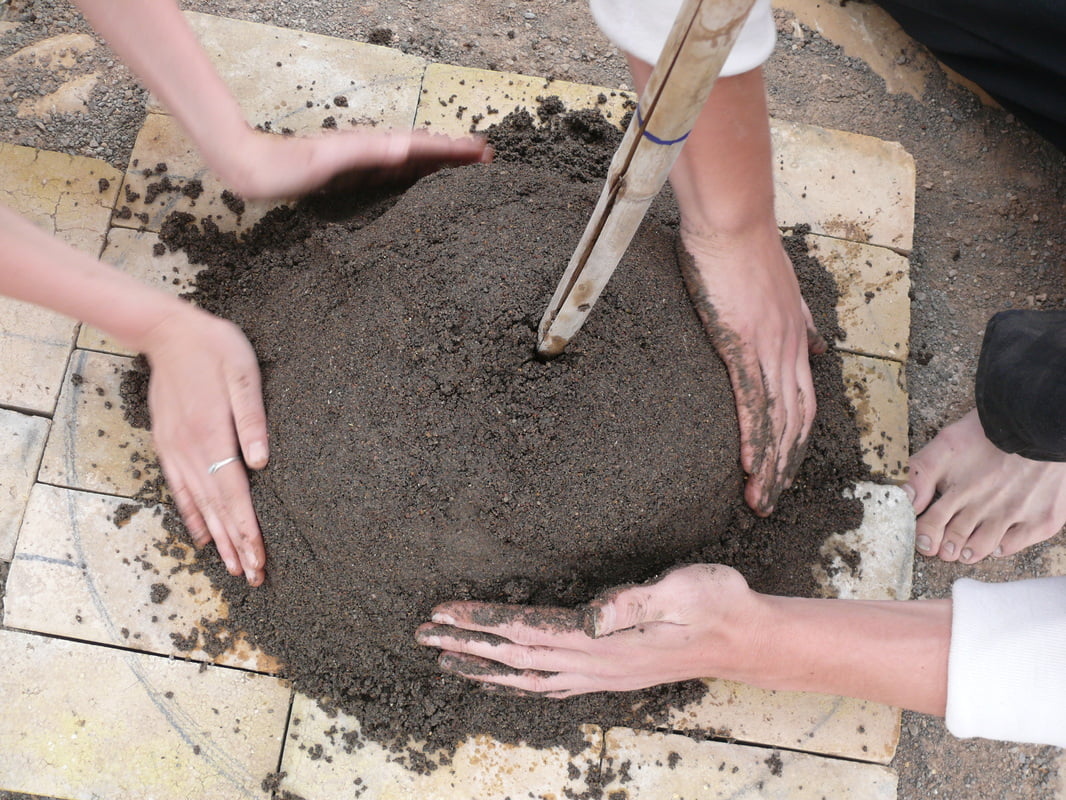

Bellow showcased the finished mould in wet sands resides. It will be covered in cob mix on the nest step but give it some time to dry.
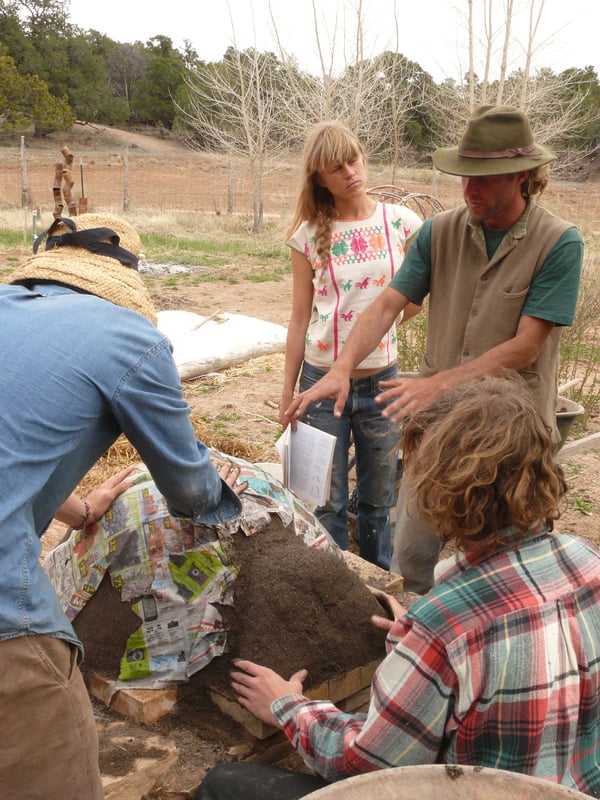
Cover the mould with some wet newspaper to keep the mould`s shape still while you slap the wet cob on top of it.
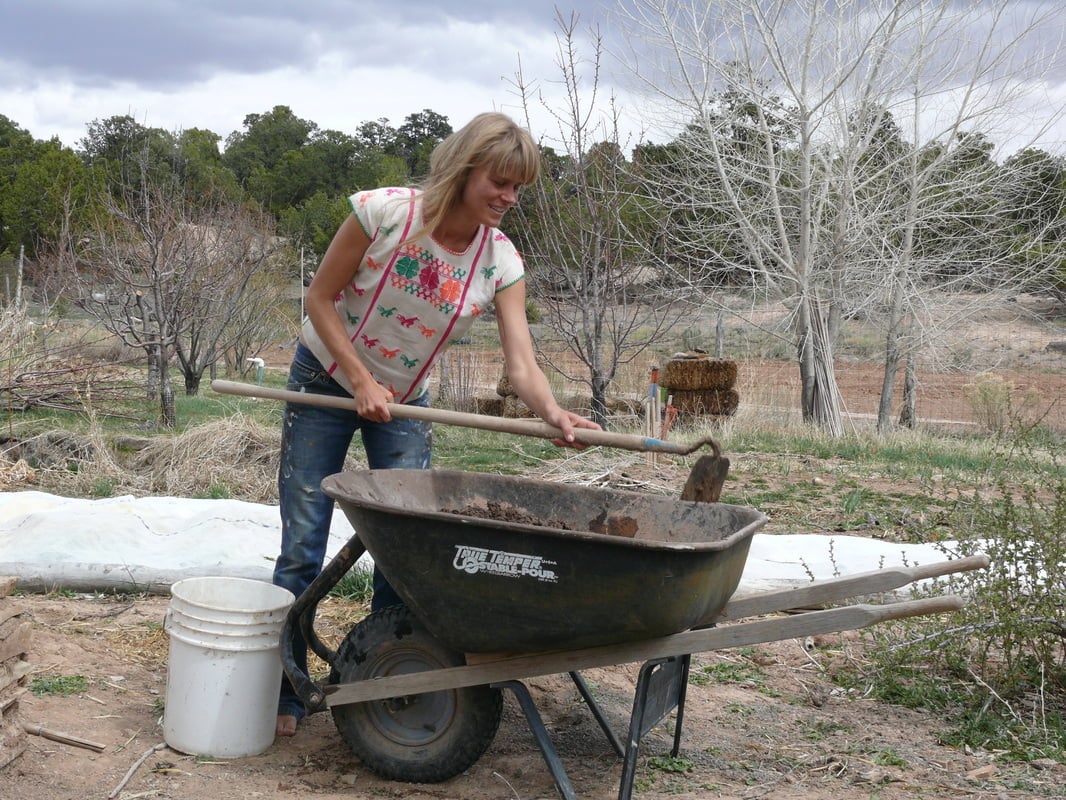
Mixing the cob is no easy job. 2 parts sand, one part clayish soil, some chopped straw as a binder and water, these materials have been used. If you want to spice things up use some premium horse manure, it will help the mixture bind even more.
Work on DIY projects with love or do not work at all.
"Work is Love made visible. And if you cannot work with love, but only with distaste, it is better that you leave your work and sit at the temple and take alms of those who work with joy. For if you bake your bread with indifference, you bake a bitter bread that feeds but half our hunger."
Kahlil Gibran, The Prophet
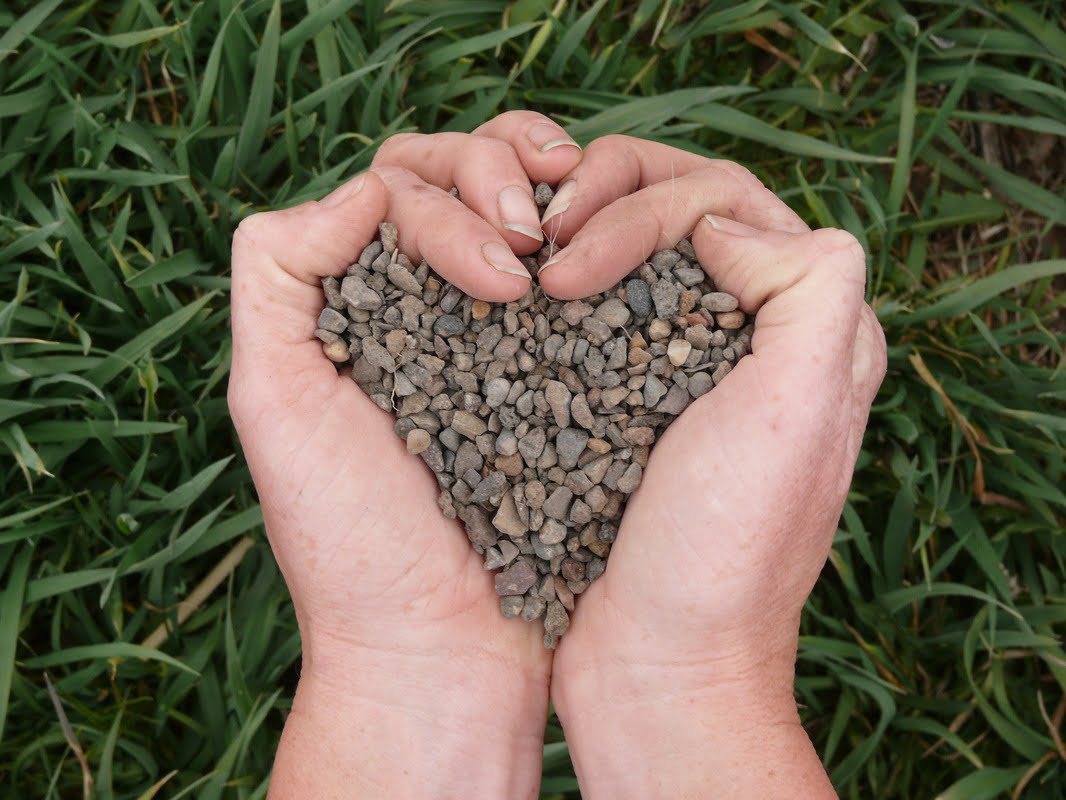
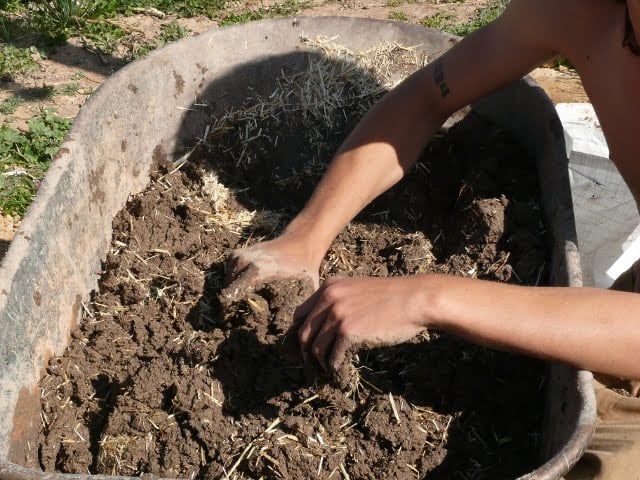
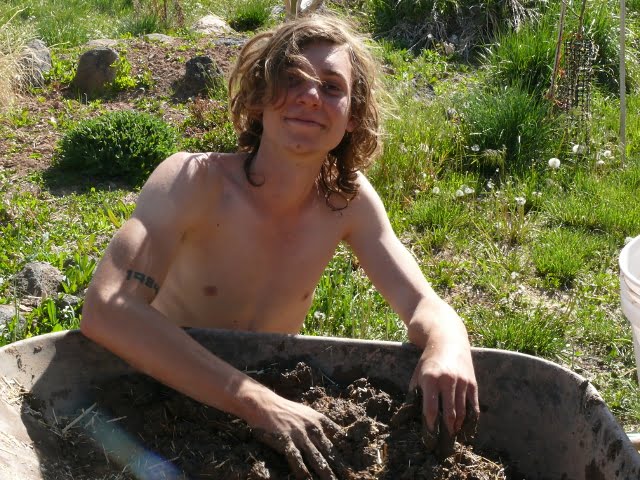
It is time. Starting from the bottom up it`s time to lay the first layer, do your best to keep it at an even thickness. Wait the first layer to dry up a little, not entirely, before you go on with the next layers.
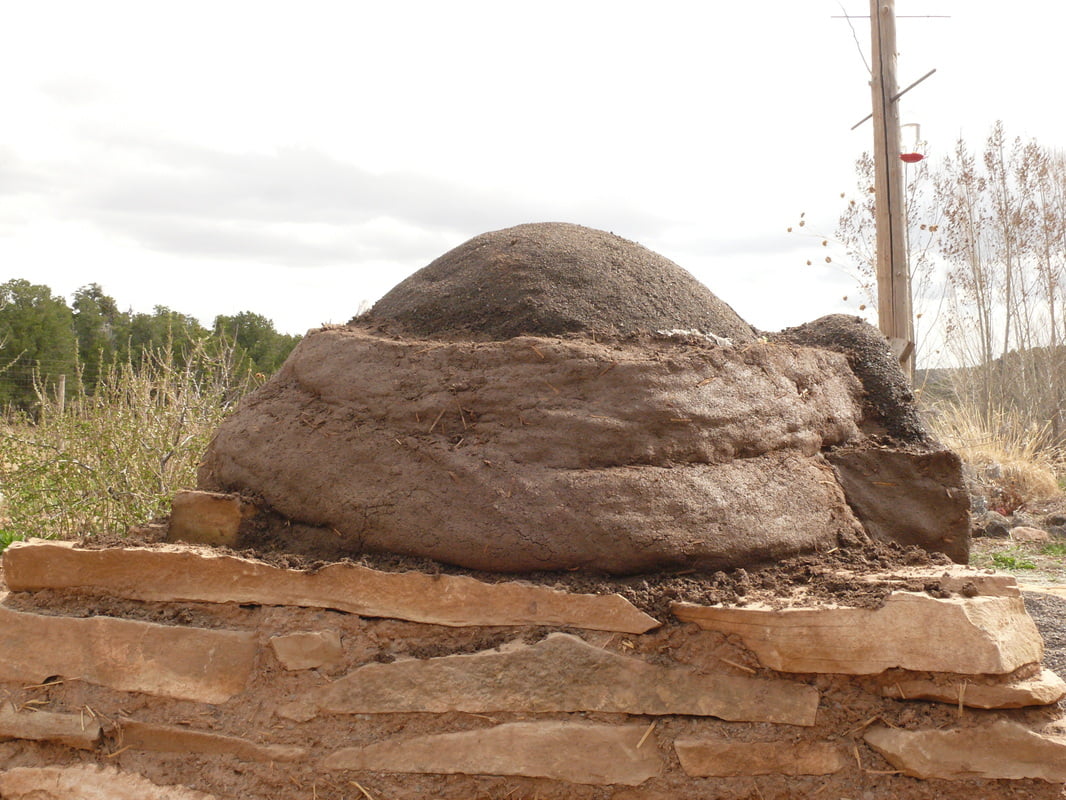
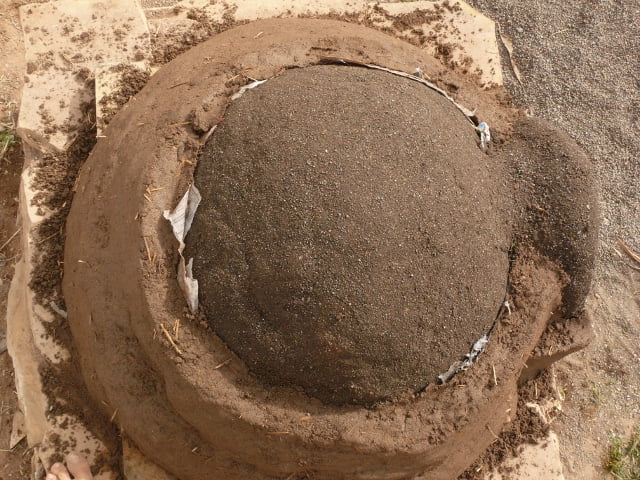
Take note that the height of the top inside of the oven, basically the highest point of the dome, needs to be x 1.6 the height of the door opening. In this project the door opening was 10" and as a result the highest point of the dme was at 16". This ensures optimal air and heat circulation when the oven is being heated up with fire inside.
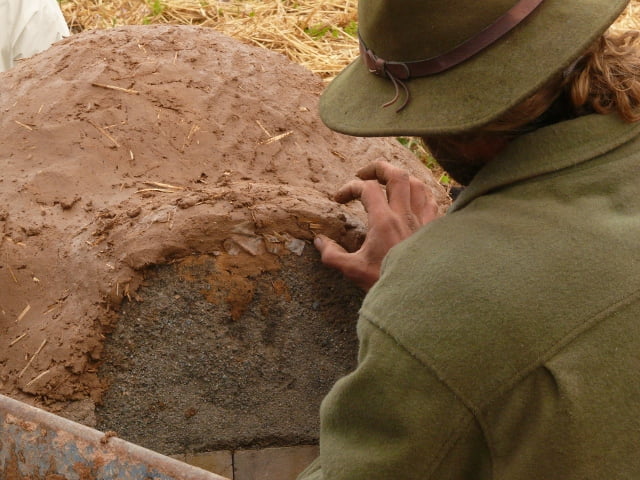
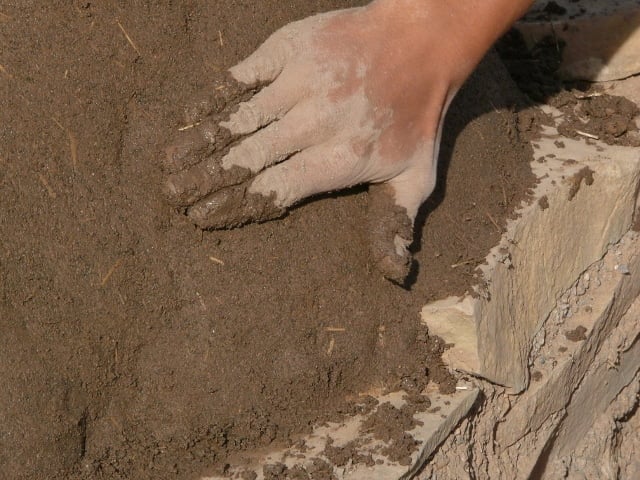
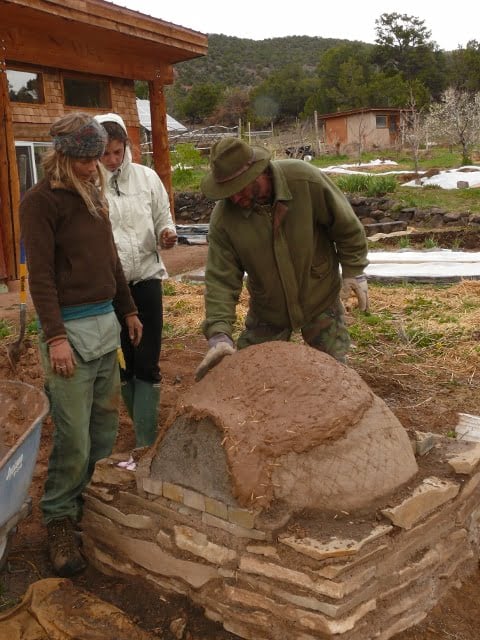
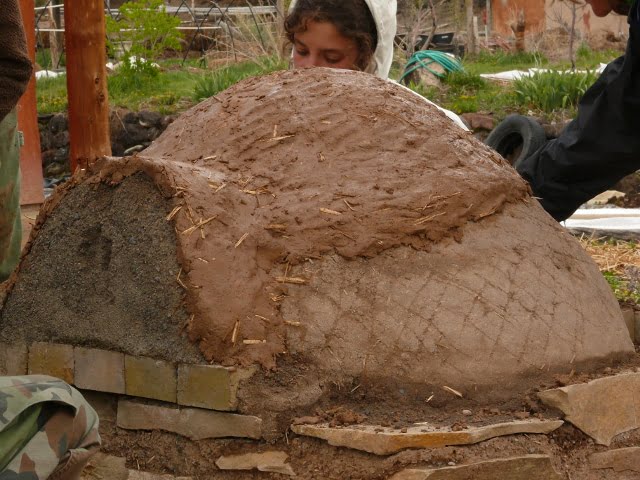
Adding the last layer.
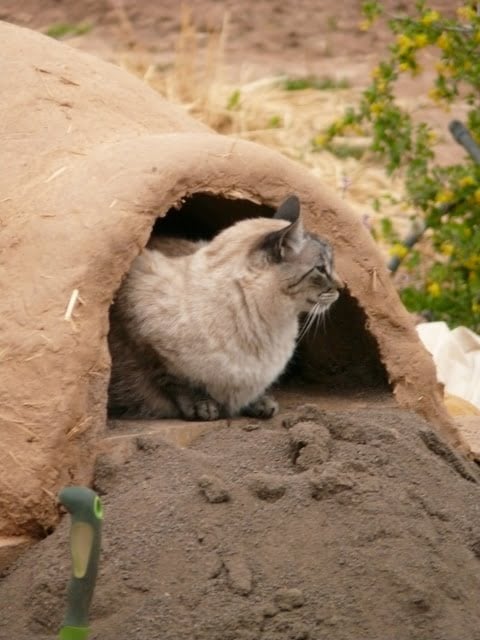
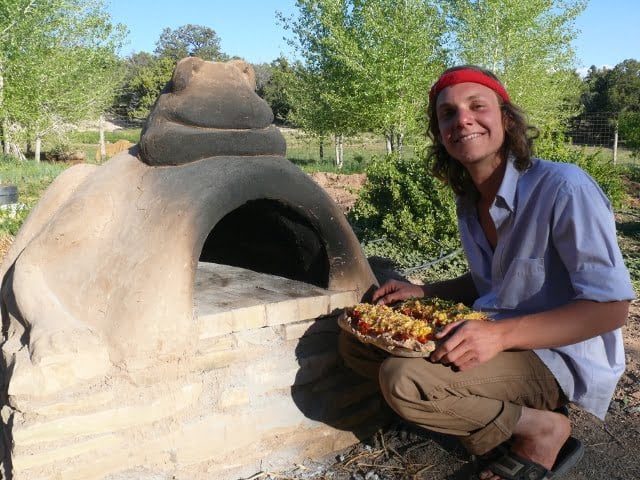
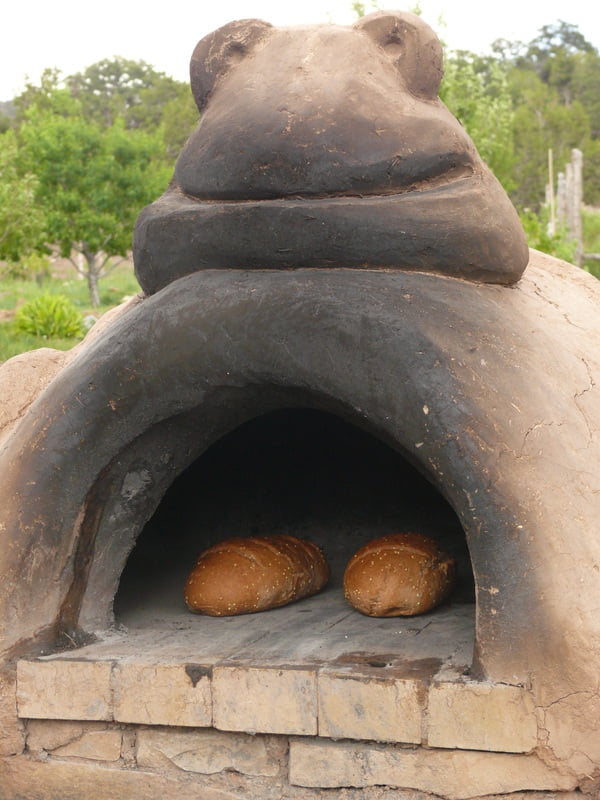
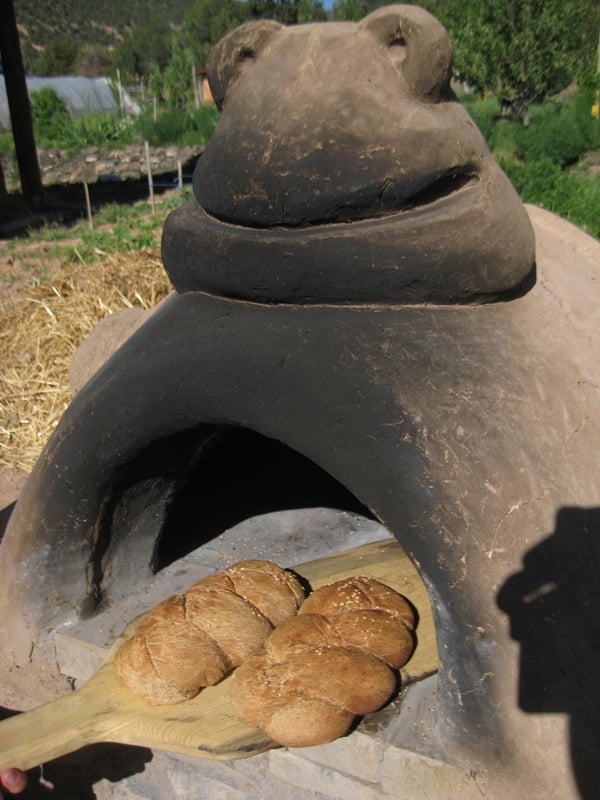
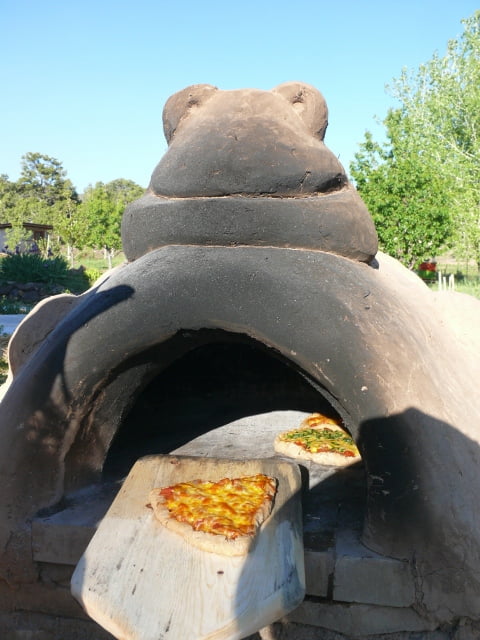
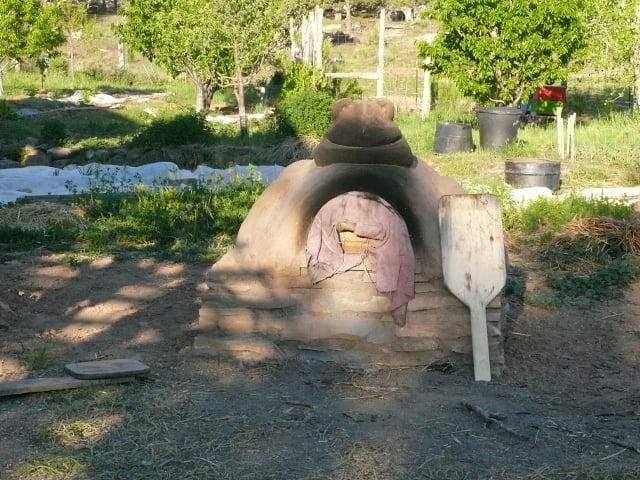
In the end, the whole thing looked a lot like a giant frog so we've decided to ensure that the oven is perceived that way. This act made our cob oven far far more graphic and appealing.
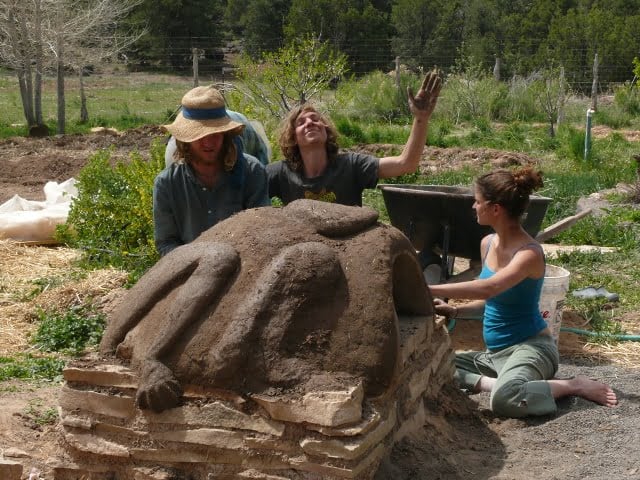
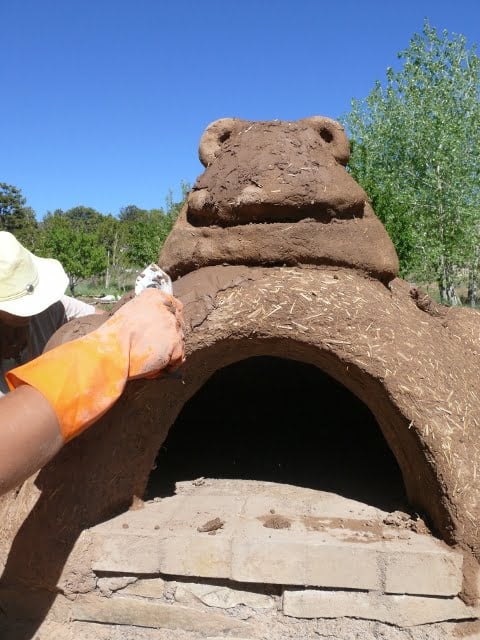
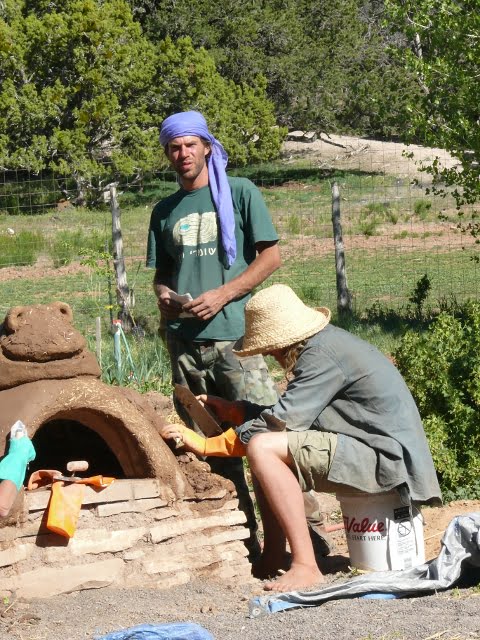
The finished Frog Horno with the wooden door in place
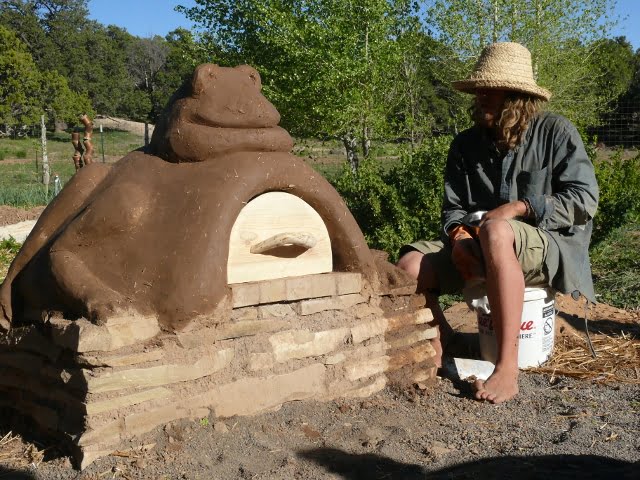
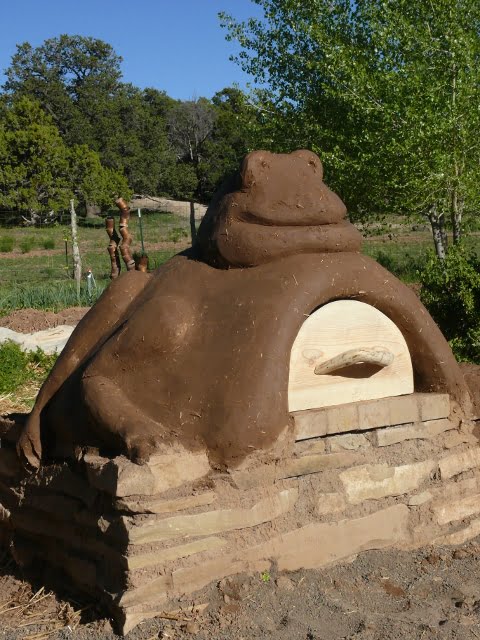
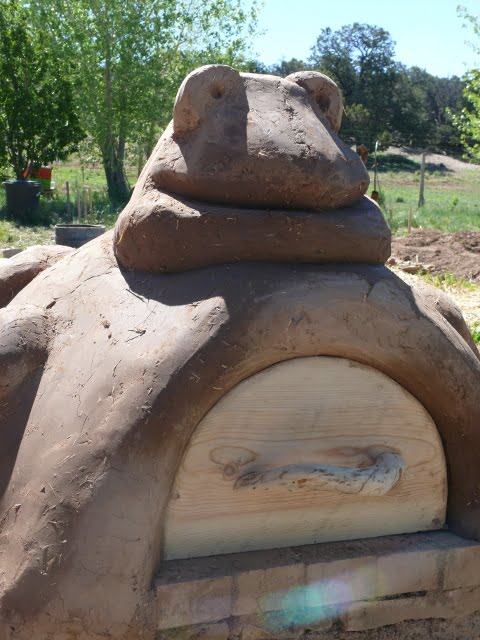
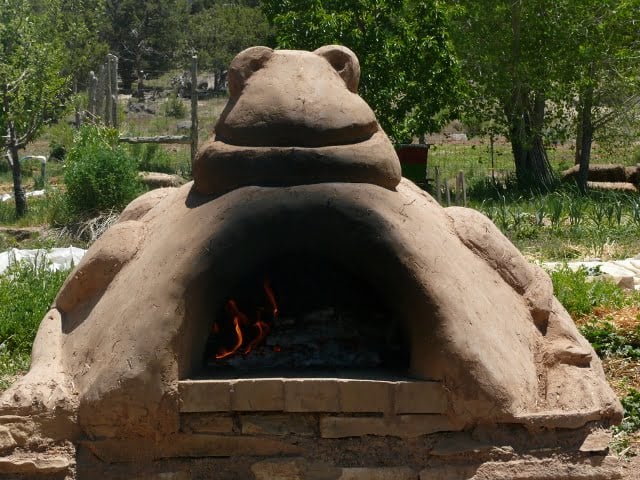
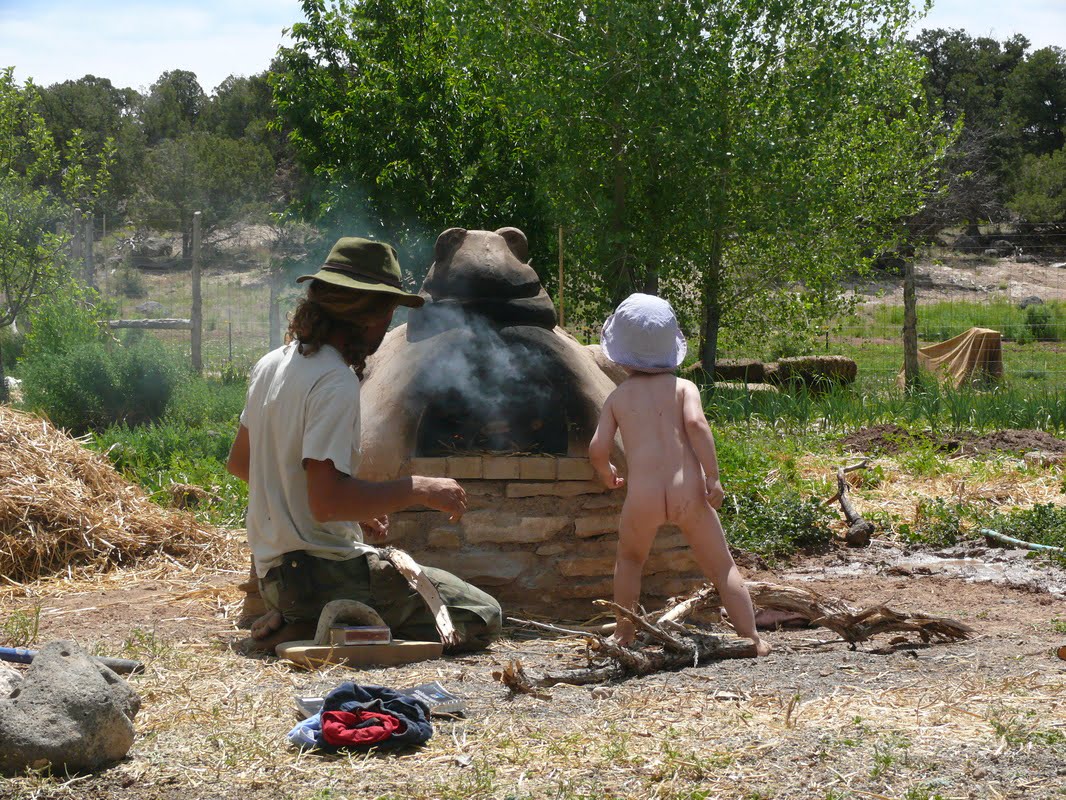
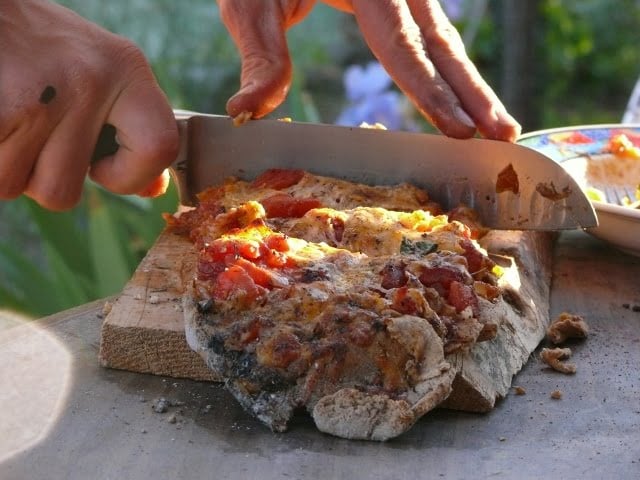
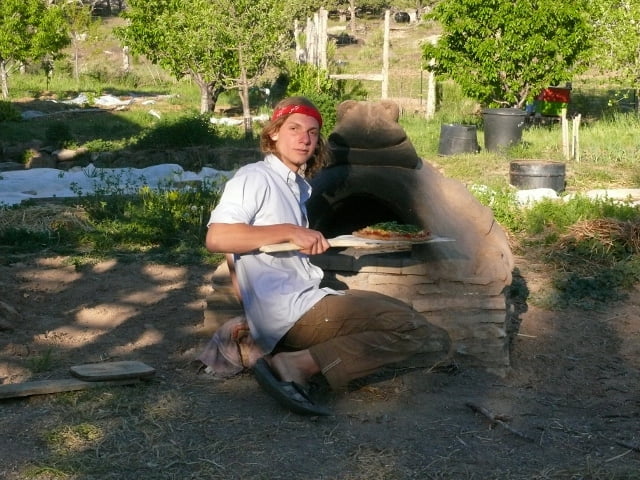
You are done. Start by making a 15 minute fire, everyday, for a week. These daily heat injections will make the cob oven more durable. Cooking comes next. Get creative and enjoy the results of your extraordinary cob oven.
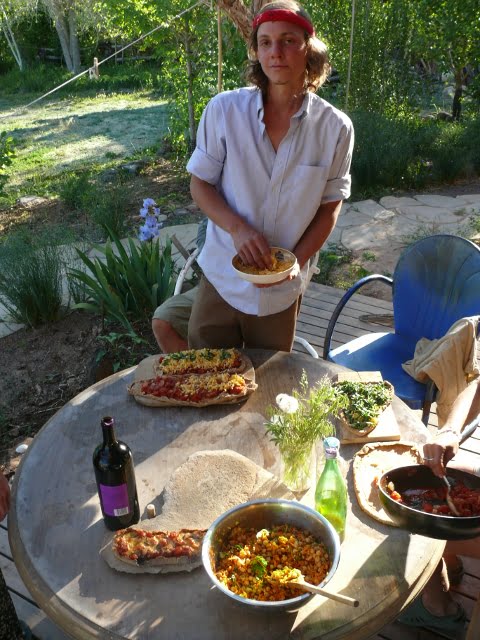
What do you think about DIY Cob Oven Project? Would you be interested in using one outdoors for your special pizza recipe? Please take note that these can be realized indoors as well, in a shed or similar establishment. All you have to do is to ensure that the furnace has another air to function and allow you to breathe as well.
Photo Courtesy to http://www.truenature.org/

