Expertises: Paint, Home improvement, Wood, Car, Painting
Updated on

Inspiring Ideas for Modern Home
Building or setting up vehicle sensors for automatic gate openers is easier than it seems. With various accessories available with the sensor kit, all you need are some PVC pipes, a shovel, or an auger, and you’re good to go! Proper placement of the sensor and transmitter is also crucial to the building process.

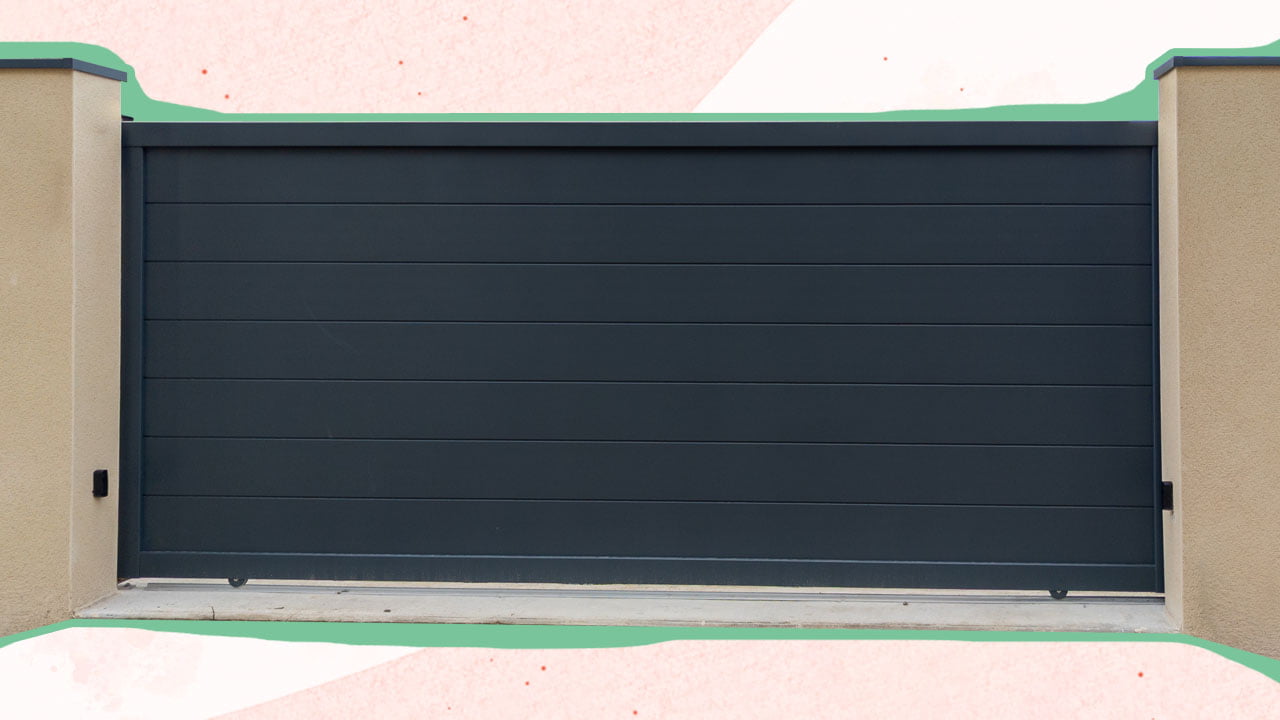
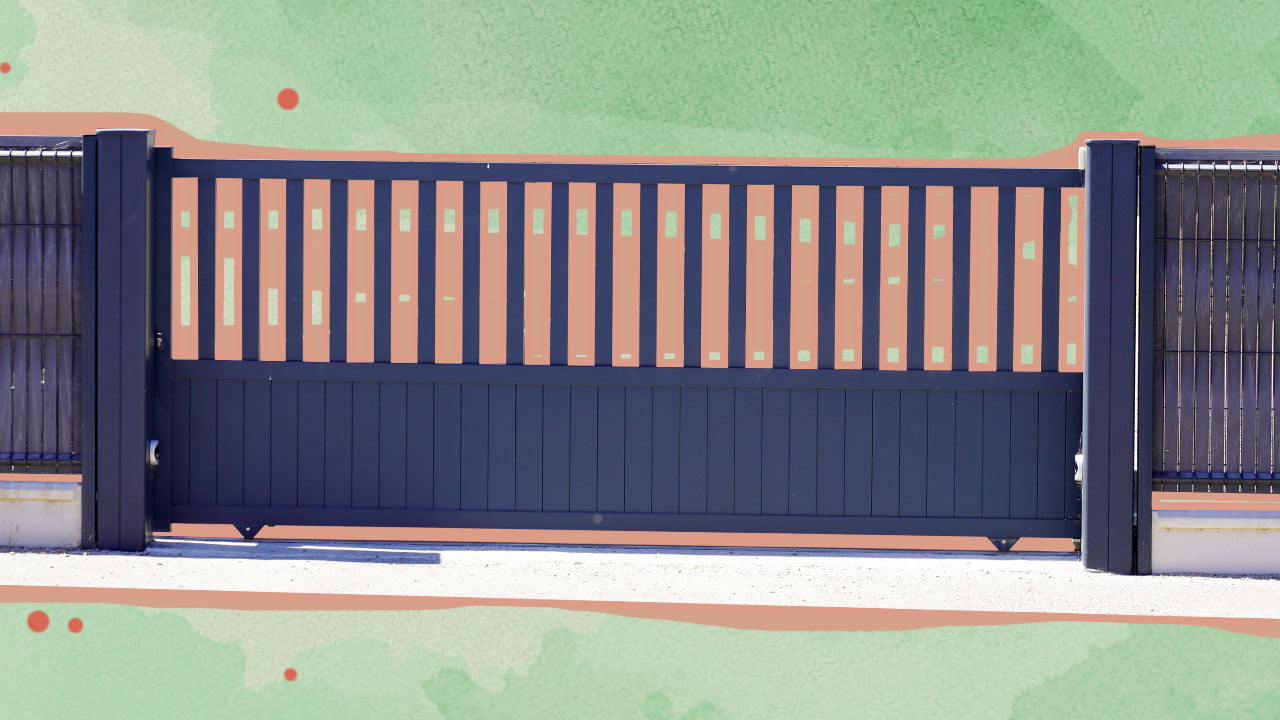
Investing in the best sliding gate openers adds a lot of convenience to your property, along with a touch of extravagant elegance. And in today’s tech-driven lifestyle, many homeowners are making the most of it by installing sensors on both single and dual gates.
That said, a driveway vehicle sensor forms the core of an automatic gate. So, in today’s guide, I’ll be explaining my foolproof method of building a sensor to open your gate automatically.
Before getting to the method, you must invest in a high-quality wireless vehicle sensor for your gate. Depending on the design of your gate, you can choose from below:
These are the most common types of sensors, as they detect motion using an antenna. Although they are highly effective and convenient, the only gripe I have is that these sensors detect motion only. So, if you have a visitor standing still outside, the gate may not open.
This type of sensor consists of a transmitter and two or more receiver chips featuring high-performance optics. As such, these sensors are ideal for protection against cutting or crushing edges in different types of doors.
These sensors recognize the infrared image within the set range. And when the image changes, the sensor triggers the gate to automatically open. Notably, these automatic sensors are highly precise and compact.
Despite being the first sensors developed for automatic entry, the sensors are widely used to date. They detect changes in pressure (weight) around a specific area around the gate.
When the set weight limit is increased, the sensor triggers the gate opener and keeps the gate open until the person or vehicle passes through. Hence, these gate sensors are excellent for allowing guests to move swiftly without accidents (like “closing in” on a person).
Radar movement sensors can detect individuals in a specific area. They can even sense through materials like plastic, plaster, wood, and more. However, they cannot identify stationary objects.
Considering all of these types of sensors, I recommend trying out the Mighty Mule FM138 or FM130 Driveway Vehicle Sensor to open your gate automatically. Both of these devices are easy to install and can be used on both single and dual gates. You even get to choose from wired and wireless options of the same product. Plus, the brand offers a 12-month warranty to back your purchase.
Now that you have chosen the right wired or wireless vehicle sensor for your gate opener, it’s time to install it. So, let’s get started with the easy DIY installation process:
Start by finding the right placement for the sensor and transmitter module. The distance of both these devices from the gate will depend on the product you choose. However, the Mighty Mule driveway vehicle sensor recommended above will require the sensor to be placed within a range of 2 ft. and the transmitter within 100 ft.
Tip
Ensure that you install the sensor away from general moving traffic (not directed toward your property), power transformers, power lines, underground gas lines, and telephone lines.
Now, dig a 1-ft deep hole for the sensor. It should measure at least 2 feet lengthwise and almost parallel to the driveway. Follow up by digging a trench for the sensor cable all the way to where you plan to install the transmitter module. Note that the trench should be at least 6 feet deep to prevent damage from lawn aerators and other similar equipment.
Next, place the sensor in the hole and the cable in the trench. If you’re left with extra cable, you can coil it up the mounting post. Then assemble the post by connecting the two long pieces with a coupler.
Tip
Do not bury anything before testing the transmitter module.
Run the sensor cable through the mounting post and plug it into the transmitter module. I recommend leaving two inches of the cable to avoid damage if the transmitter is removed.
Attach the mounting pole and transmitter module. Thereafter, you may or may not require a “receiver,” depending on the product you choose. Hence, I recommend checking the manufacturer’s instructions for further pairings.
Lastly, test the driveway vehicle sensor and if everything works correctly, bury all the parts.
Before I sign off, here’s another piece of advice - for convenience, you can use standard car batteries for gate openers. However, the batteries should not be less than 50 volts, as they may not be strong enough to trigger the sensors.
If you found this article useful, I recommend checking out my guide on “Can electric gates open outwards?”
That said, I’ll see you next time!