To clean a screen printing machine, a few tools like a pressure washer, emulsion remover, and spray tank are essential. The cleaning process includes three key steps - removing ink, reclaiming, and degreasing or you can also use a dip tank.

A screen printing machine is an amazing tool for creating cool prints and merchandise, especially if you run a screen printing shop, but cleaning it is a daunting task.
However, over time I have found a few hacks to get the job done easily, so today, I am going to share those helpful tips with you in this handy guide. Keep reading to find out how to clean screen printing screens effortlessly!
How To Clean Screen Printing Machines

Let’s discuss what you will need to clean your screen printing machine and how to go about it.
- Pressure washer
- Emulsion remover
- Wax paper
- Paper towels
- Spray tank
- Scrubbing brush
- Dip tank (optional)
- Gloves
- Protective goggles
- Cleaning solution
Cleaning Screen Printing Screens
Wear your protective gear before following the steps mentioned in this section -
1. Remove The Tape
Remove any plastic or tape from the surface or sides of the screen to make sure that all the ink is removed. Remember to be thorough because leftover tape can prevent some of the ink from washing out.
2. Remove Excess Ink
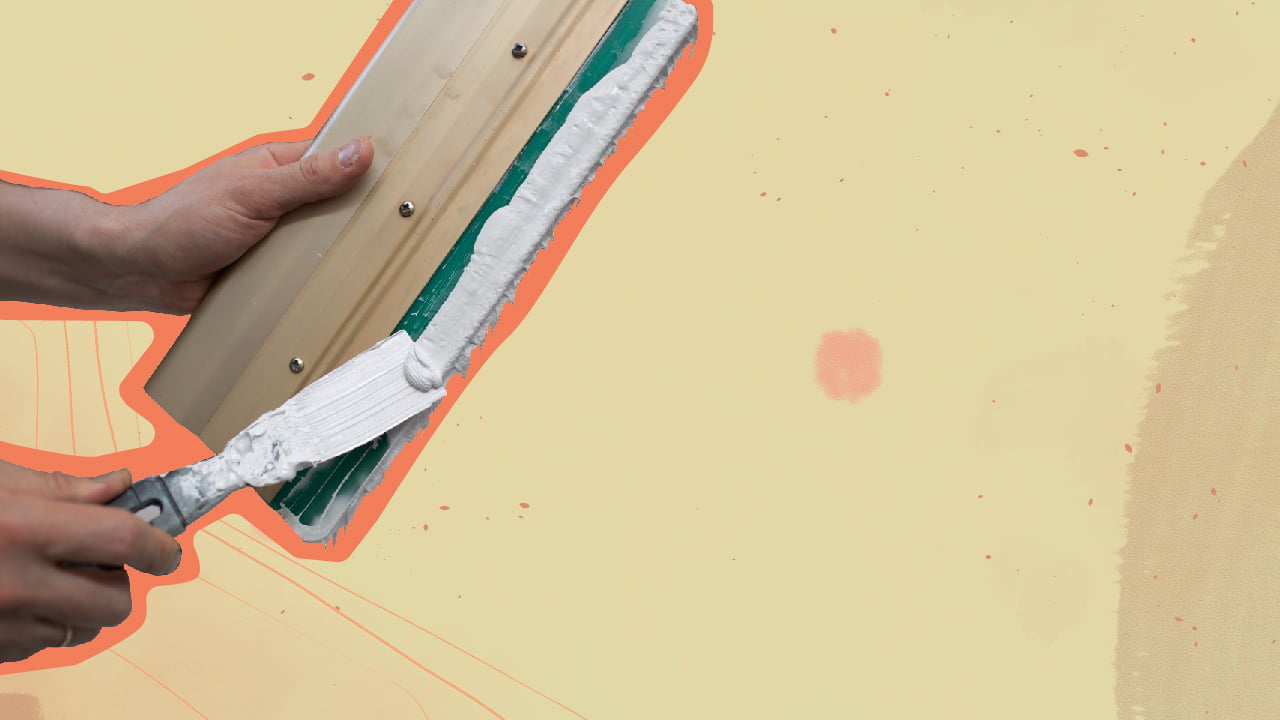
Next, you have to remove the excess ink deposited on the screen using a squeegee. You can also use wax paper for ink removal, as it is a straightforward method that doesn’t involve any chemicals. So, wipe off as much ink as possible using a tool of your choice.
A lot of ink will come out during this step and since I don’t like wasting the leftover ink, I usually scrape it off in a container to use later.
3. Reclaim Screens
Reclaiming screens is the most crucial step and needs to be carried out very carefully. If not done properly, you might need to repeat the whole process, as the dirty screen won’t get cleaned entirely.
Lay the screen on a horizontal surface with the print side facing upwards, then spray a generous amount of reclaimer on it and let the screen sit for 2 minutes. Note that the waiting time can vary for different screen reclaimers, so refer to the manufacturer’s instructions for an accurate estimate.
But your screen printing screens can get damaged if the cleaner is left on for too long, so do pay attention to the sitting time.
If you don’t want to use a reclaiming spray, you can also get the job done by soaking the screen in isopropyl alcohol. To do that, soak paper towels or a rag in alcohol, wrap them around the screen and let them sit for a couple of minutes. There are fewer chances of damaging your screen through this method, but on the other hand, it is slower and not as effective.
4. Scrub The Screen
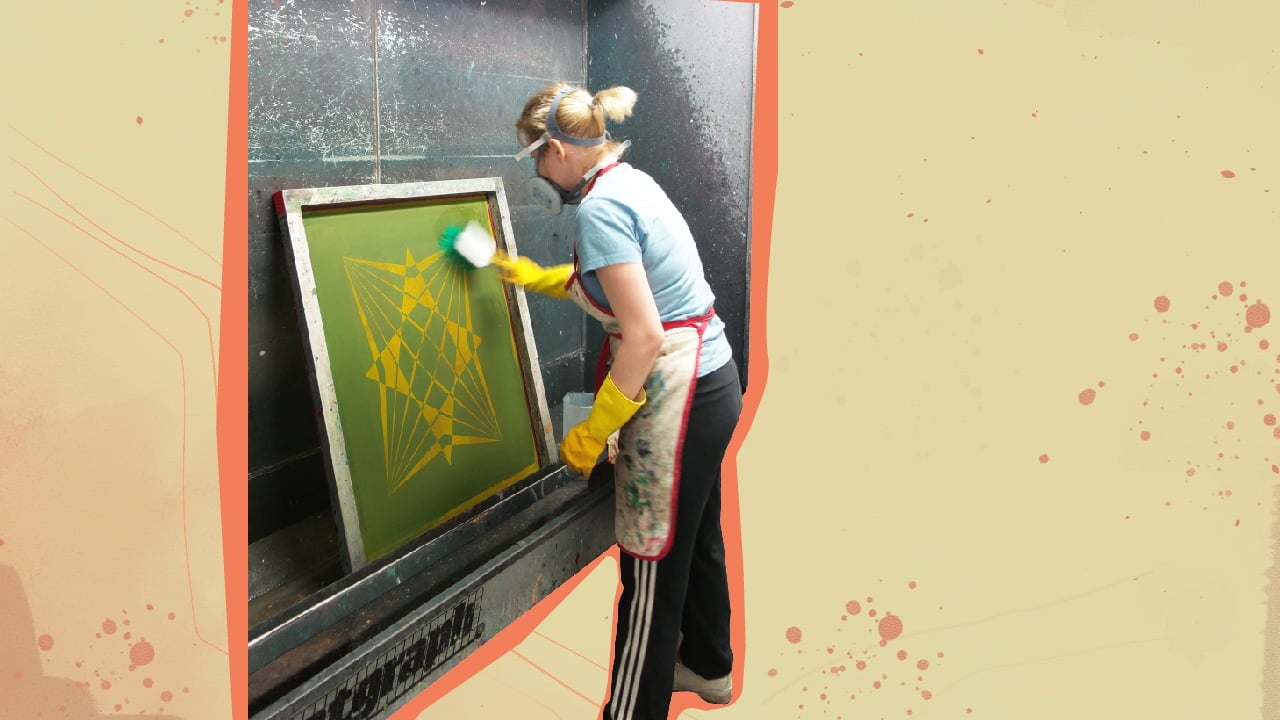
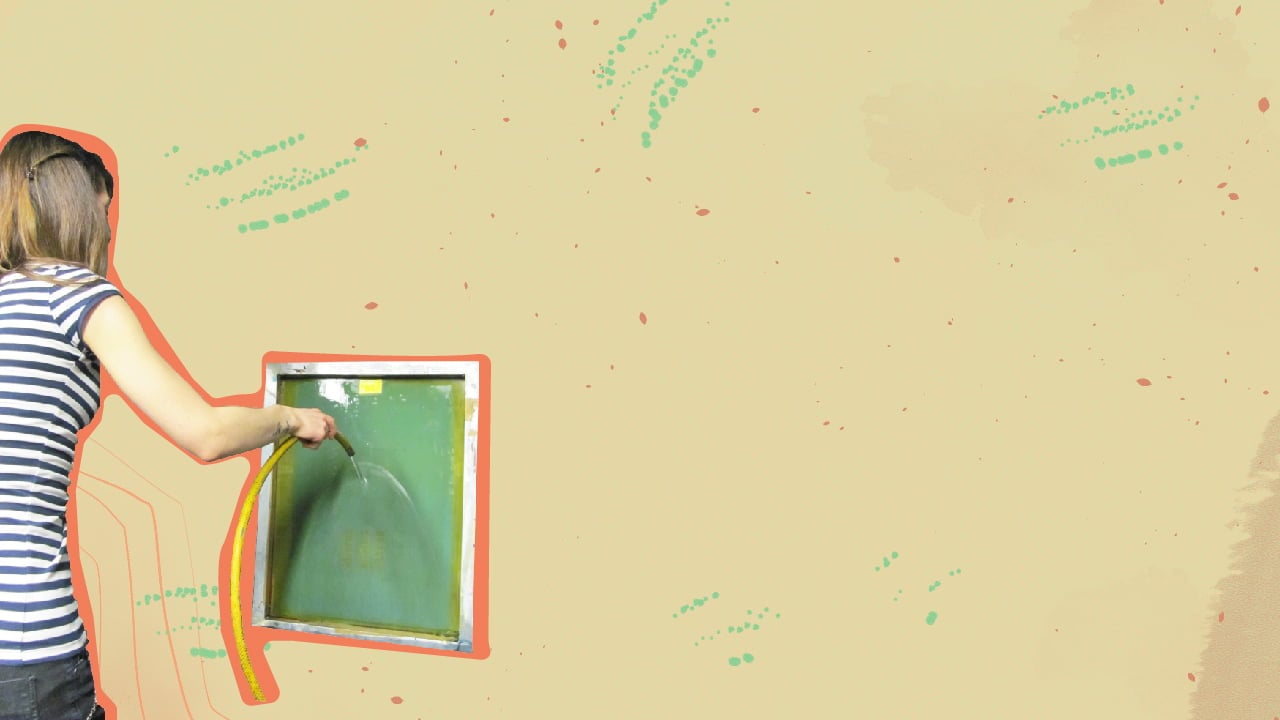
After letting the reclaimer sit for a while, you will have to break the emulsion by scrubbing the screen printing screens using a brush or emulsion remover. Once that’s done, use a pressure washer (preferably ranging between 1,500 and 2,000 PSI) to wash off the reclaimer and residue.
5. Increase The Tension Of The Mesh
If the ink buildup isn’t cleaned even after using a power washer, you will need to check the tension of your screen. Screen prints with loose tension collect ink very quickly and unnecessarily, so, for retensionable screens, you can increase the mesh tension to make cleaning easier.
6. Degrease
Repeat the previous steps on both sides of the screen before finally degreasing it. When all the ink is out, apply a degreaser on the screen to remove any leftover stains. If you miss this step, the emulsion might not stick to the screen printing frames, and also remember to pressure wash the degreaser after 3-5 minutes.
7. Get Rid Of Any Ghost Image
Lastly, keep your screens near a window or at a spot where there is plenty of sunlight to let them dry quickly. Here’s a simple hack to avoid stencil damage of pinholes - do not dry your screens in a humid room. And if you see any ghost images, get rid of them using a haze remover.
If you are wondering can a Cricut machine screen print, let me tell you that it can efficiently screen print. But it is a little tricky to use, and you will need special supplies for it. However, the good part is these supplies are fairly cheap, and the outcome is much more beautiful than regular screen prints. If you plan to use a Cricut machine, be sure to keep the following items handy: Dip tanks are handy little containers that allow you to reclaim your screens. You can simply leave your screen in the tank to loosen up the stencil, as they make the cleaning process hassle-free and prove efficient alternatives to manual cleaning. But if you are worried about the chemicals, I have good news. Dip tanks are made from polyethylene as opposed to heavy plastic containers sold at craft stores, which makes screens resistant to the chemicals present in the dip tank solution. Your screen printer can automatically insert the used screen in the tank and after about 5 minutes, the ink will wash off from the screen into the solution. It is then sprayed with a power sprayer to get rid of residual ink and emulsion. For people wondering what is a screen printing machine used for, it’s one of the most versatile printing techniques used to design goodies and merchandise of all shapes and sizes. Some of its applications are:How To Clean Screen Printing Machine FAQs

How To Clean Screen Printing Machine Final words
Now that you know how to clean screens, your next print job might be easier than you think. With the help of the right tools, accurate timing, and a little patience, cleaning screens becomes more manageable.
First, remove the tape and wipe off the extra ink before you use a screen reclaimer to remove the image stain. Once that’s done, pressure wash it, scrub it, and degrease it to make the printing screen spotlessly clean.
Tip
If you want to save money on your future prints, invest in a dip tank, as you will need only a dip tank solution rather than different reclamation chemicals. The solution can be used multiple times in the tank, so overall it’s a very cost-effective option.
