Expertises: Cooking, Food, Kitchenware, Kitchen utensil, Kitchen
Updated on

Inspiring Ideas for Modern Home
The dream of having a kitchen does not end with its design and usability; you must also consider the air quality.

Something that will help us have better air circulation around the kitchen, especially during meal preparation and cooking, is a range hood.
If you decide to buy one and struggle to understand how to install a range hood, whether you're doing a DIY or hiring a pro, we have a full installation guide in this article.
Let's get started!
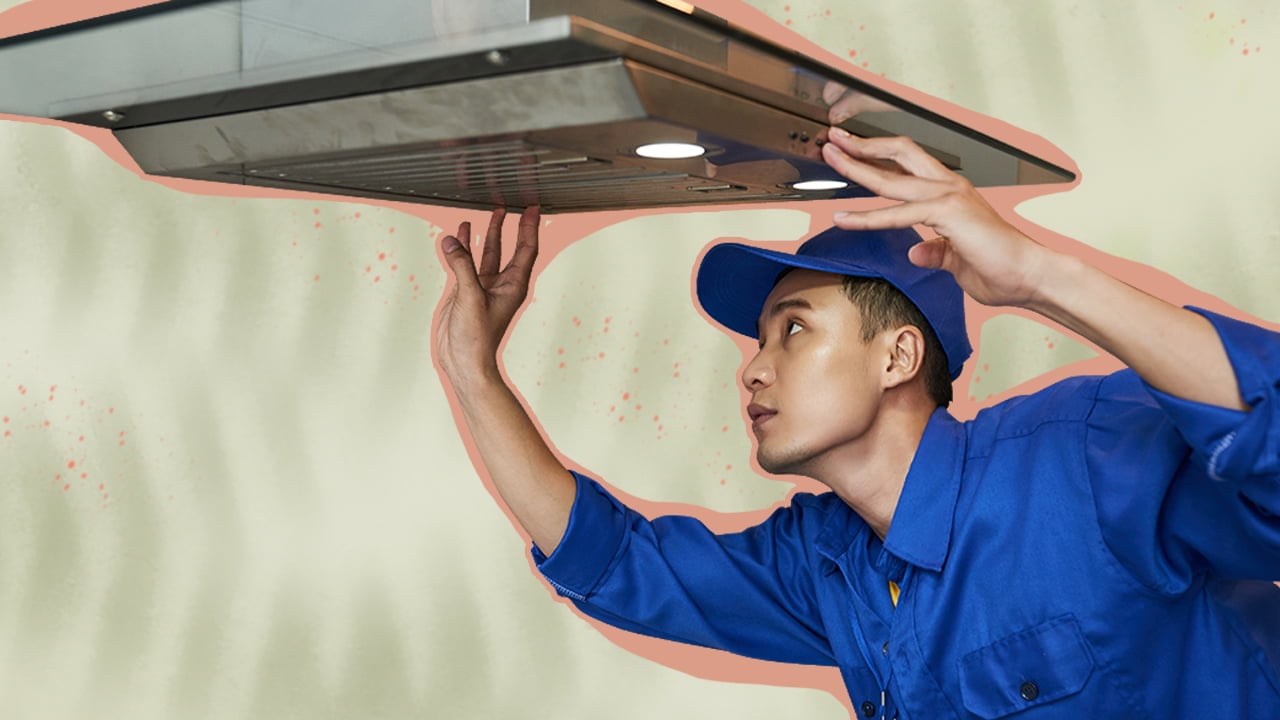
Before knowing how to install a range hood (photo above), it is essential to understand what this kitchen appliance is and what it offers.
A range hood is an appliance designed to suck, filter, and vent gasses through its exit point.
These hoods can filter the air, odor, smoke, steam, and excess heat produced within your cooking area, whether you're preparing Gordon Ramsey's Beef Wellington or simple scrambled eggs.
Now that you know what it is, it's time to learn what you'll need and the specific steps to install a range hood through the following section.
To efficiently install a range hood, the first thing you need to do is prepare the specific materials and tools, like the following:
After gathering the aforementioned materials, you must follow this step-by-step guide:
The first step involves removing the old range hood and its embedded components if your goal is to upgrade it
However, if you do not have an existing range hood or you will be installing it in other parts of your kitchen, then you can skip this step and proceed with the second one.
Before drilling and doing other steps to install a range hood on the wall, you must first switch off the electrical power from the breaker box.
Turning the electricity off will keep you or an expert from the dangers of electrocution, especially when dealing with old or faulty electrical wiring.
The next step you need to do is to settle the electrical lines that will run the range hood by letting an electrician set it up.
However, if you have existing wirings from your old vented range hood and there are no existing problems, pull the electrical cable, separate, and remove the protective paper to prepare it for connection in the later steps. Then, you can proceed to the next step.
After performing the first two steps, you must measure and mark the wall area where you will need to drill locator holes and set up the hoods.
Remember that this is only applicable for a ducted range hood (which is what most range hoods are) and not for the ductless range hood.
Nevertheless, you can do this by placing the round or rectangular duct at the chosen wall where you plan on mounting it and marking its diameter or area based on size.
When you have gotten the exact measurements of the range hood and the vent hole, it is time to drill or cut through the wall to make space for the vent.
In this process, you will need appropriate tools, such as the drill and drill bits. After preparation, follow these steps:
However, if you have ductless range hoods, it will not be necessary as they use a unique charcoal filter system to circulate clean air back into the kitchen.
Tip
If the obstruction includes pipes, plumbing, and wires, you can ask the help of professionals to relocate pipes accordingly.
The sixth step you must do is the process of installing ductwork. The duct is the pathway through which the air suctioned by range hood fans passes until it reaches the exit point.
In doing this, you must first put a mounting bracket (architecture) at the exterior hole using adhesive and mounting screws. After that, proceed with these steps:
Now that you are done with the exterior wall, proceed by finishing the route (ductwork) on the interior by connecting the remaining duct length.
This is done by inserting it in the interior wall's hole using aluminum tape.
After you install ductwork, it is time to connect and run the electrical wiring for your hood.
Using wire nuts, connect the electrical wires in the electrical box; this means black to black wire, white wire to white fixture lead, and green grounding wire to green lead.
Once all the wires are connected and in their proper places in the electrical box, cover the ductwork and electrical wire with the duct cover.
Remember
A duct cover or an electrical cover is essential to protect the internal electrical work, duct connector, and other materials from damage.
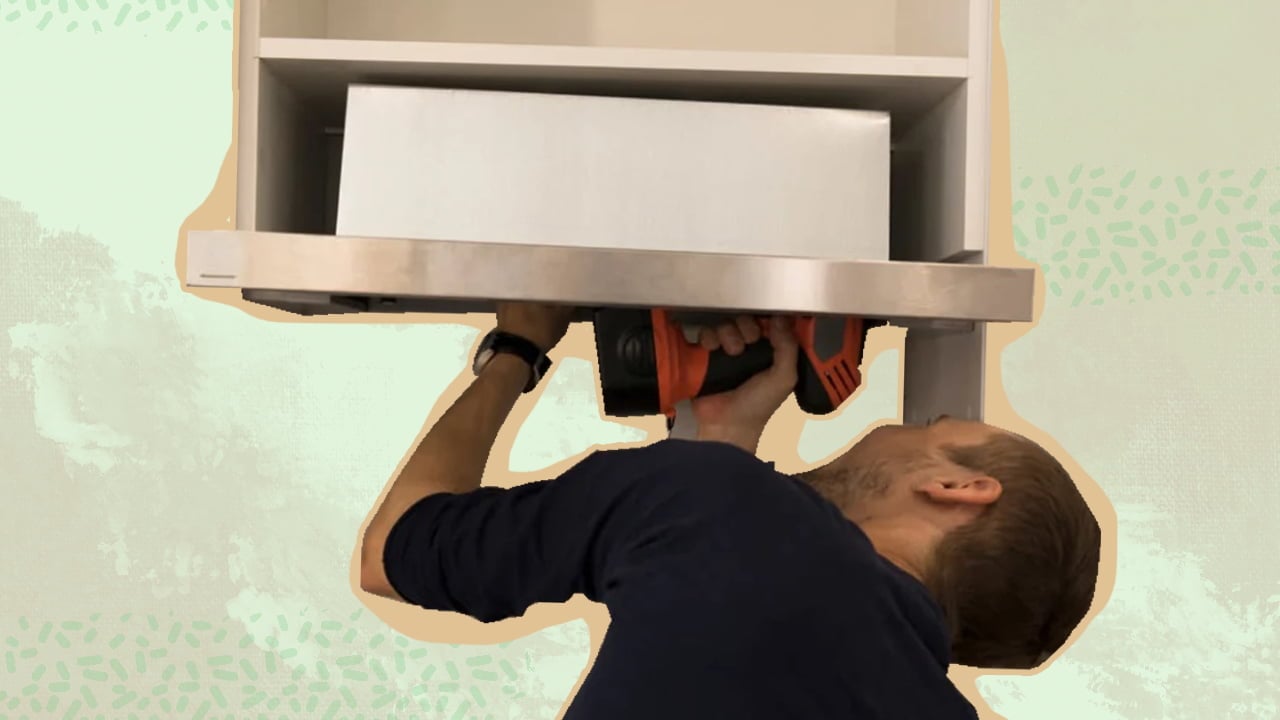
When the ductwork has been settled, it is time to mount the range hood into your wall. In doing this, the following actions must be performed:
When you have finished the first up to the eighth steps, you can proceed with the last (and most crucial step): turn on the electric power and range hood.
To check if the new appliance is working, here are the things you must watch intently:
Remember
Aside from the light of the kitchen hood, you can also elevate the lighting of your space using the best under-cabinet lighting listed in the article.
In installing a range hood, there are essential factors that you need to consider and things you must prioritize. Well, don't worry because we have your back!
Based on our firsthand experience and knowledge of appliances, here are some of our tips that will surely make your installation smooth sailing:
After installing your kitchen hood, the best way to keep it nice and running is to use it cautiously and take good care of your range hoods.
To preserve the pristine condition of your wall-mounted range hoods, as experts in the field, here are our use and maintenance tips for you:
You must remember that in conducting the maintenance tips mentioned above, you must have the wall-mounted range hood shut off to prevent electrocution.
Also, you can use a degreasing solution, cleaning spray, soap, and hot water for the filters and other parts.
Nonetheless, when using the new range hood, always follow the instructions and safety protocols laid out by the manufacturers in the guide given along with the appliance.
Tip
If you want to delve more and find the answer to the question 'Do I need a range hood?', check out this article!
Nowadays, a do-it-yourself (DIY) remedy has been at the heart of most appliance installations because of the recent pandemic and the availability of online tutorials.
Yet, it is still undeniable that pros in the appliances field are there for a reason. So, which is truly better, a DIY job or hiring a pro?
On the one hand, you can do DIY for a range hood, especially when you know how to measure and drill holes and accurately follow the steps in this article. However, lifting heavy hoods would still require someone to help you out.
Nevertheless, a DIY can help you save some money, as hiring a pro can cost between $100 and $600, depending on the specifications of your appliance.
On the other hand, hiring a professional Heating, Ventilation, and Air Conditioning (HVAC) contractor will assure you of the following:
At the end of the day, it will still be up to you whether you do the installation yourself or ask for the help of professionals.
Learning how to install range hoods undoubtedly sparked some questions in your mind. Do not worry because we are here to answer some of your FAQs through this section. No, hoods do not have to be vented outside (wall, ceiling, or roof) all the time because there are ductless range hoods. A range hood must be 20 inches to 30 inches above the heat source. Specifically, if you have an electric cooktop, ensure the range hood installation is 20 inches to 24 inches above. On the other hand, if you use a gas stove as a cooking surface, ensure you install the range hood at least 24 inches to 30 inches above. Remember You can always refer to the article on how to buy a gas range for specific measures, tips, and reminders. The hood mounted on the wall should have a 1/2-inch space from the existing cabinetry.Range Hood Installation FAQs
Do Range Hoods Have to Be Vented Outside?How High Should a Range Hood Be?
How far should cabinets be from the range hood?

A range hood in your kitchen (or wall) is an essential appliance that provides proper ventilation, particularly within your kitchen area, whether it be a ducted range hood or a ductless model.
The key to properly installing a range hood on your wall is to follow the steps above with caution and accuracy (double-check).
Now that you have all the necessary steps, use, and maintenance tips, you can indeed install your range hood yourself or have the installation done by professionals!