Expertises: Paint, Home improvement, Wood, Car, Painting
Updated on

Inspiring Ideas for Modern Home
Do you want to change up the look and feel of your home? Then you should give it a nice fresh coat of paint!

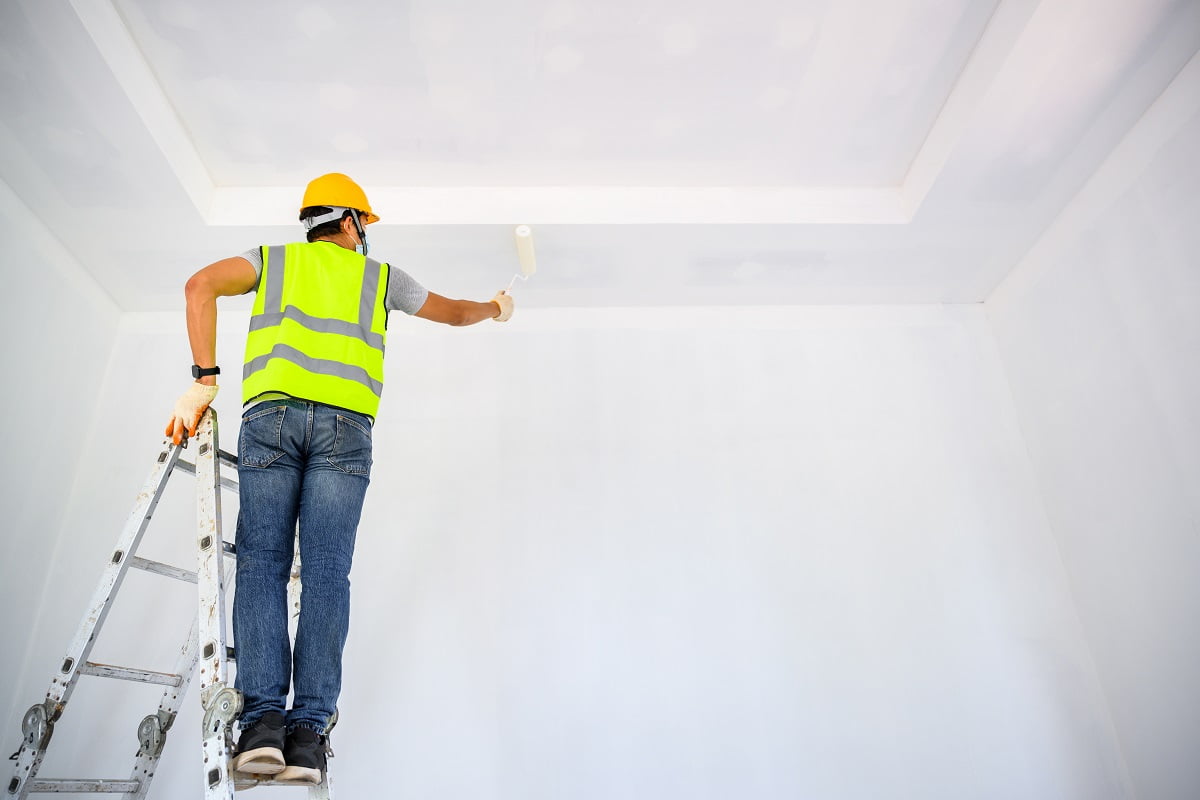
It feels great to refresh the appearance of your home from time to time. But painting your home can be a lot of work, especially if you are a DIYer. And when it comes to the ceiling, painting it may feel like a nightmare. Even the best quality ceiling paint can result in a messy failure, if you don’t know how to paint your ceiling.
However, we would suggest that you use a roller to paint the ceiling. That will make the process a lot easier to complete. All you need to do is clear out the room, get some basic arrangements done, and then apply the paint with the roller while ensuring uniform coverage.
Then again, we understand that not everyone may be familiar with using a roller. That’s why we have prepared this guide so that you can easily learn how to use a roller to paint your ceiling.
So, let’s roll!

Before using the tool, you should first get familiar with it so that you can grasp the process better. So, let us begin by discussing a little about what a roller is. It is a standard piece of equipment that is used by professional painters and interior decorators.
Usually, a paint roller comes with two components - the roller frame and the roller cover. The roller cover is a cylindrical component that absorbs the paint and transfers it to the wall. Conversely, the roller frame makes up the remainder of the paint roller, which comprises the handle and an attachment for the roller cover.
It may be made using metal, plastic, wood, or any other durable material. On the contrary, the cylindrical cover is made from rubber foam, pile fabric, or urethane fibers. Although, the material may change based on the type of paint you are using and the texture of your ceiling.
However, the fundamental method of operation is more or less the same. It is designed to soak up the paint from the paint container or tray. And when you roll it on the walls or other flat surfaces, the paint is transferred to the surface.
During paint application, only the cover rotates while the frame holds it in position. Thus, compared to other painting tools like the paintbrush or a sprayer, a roller is a lot more efficient and convenient. It is also less messy since the paint usually doesn’t drip from it like paint brushes.
But you should know that the roller covers are typically not reusable, due to which you will need to replace them after painting. Roller frames, on the other hand, are durable enough so you can use them for a long time.
Now that you know what a roller is, let’s get back to our primary objective - how to use it to paint the ceiling. First off, you will need to make a few preparations before you begin painting. You need to gather all the supplies and additional tools that will be necessary while painting.
Ideally, you should keep them ready at hand so that you will have easy access to them whenever necessary. In this regard, besides the roller and the paint, you need a can opener, stirring stick, paint roller extension rod or extension pole, and painter’s tape.
You can also keep an angled brush, paint tray, step-ladder, drop cloths, rags, and sweepers. And always make sure to wear protective clothing, such as safety goggles, caps, and so on.
Gathering the necessary equipment and tools is essential to make painting your ceiling a lot smoother and more convenient. Once you are done, it’s time to proceed further by following the steps below.
We know that you are eager to start rolling the paint on your ceiling, but let’s not be hasty. Otherwise, you will be making the process a whole lot more bothersome than necessary.
You need to prepare the room that you are going to paint. If you plan to paint the entire room, such as the ceiling and the walls, a few extensive preparations will need to be made.
In any case, preparing the room is an absolute necessity before getting started. And to do that, you will first need to remove or cover all of the furniture and other items using old bedsheets. This will prevent paint from splattering all over your household items and furniture.
Then, you will need to remove all the objects from the ceiling, such as ceiling fans, light fixtures, vent covers, and so on. And if you are painting the whole room, then remove all the wall fixtures as well.
After you are done clearing out the room, it is time to prep it for painting. For this step, you will need to cover the flooring with drop cloths to prevent splattering. And if you only intend to paint the ceiling, you can cover the walls with them too.
Even the fixtures which are unremovable, like your windows, vents, or switchboards, can simply be covered with these drop cloths. The same applies to any heavy furniture or household items that you are unable to remove from the room.
Make sure to use sufficient drop cloths so that there are no gaps left. It will be ideal if they overlap each other, which eliminates the chances of paint getting through them almost completely. Furthermore, to keep the drop cloths in place, you can use painter’s tape along the edges.
Before you apply ceiling paint, you will need to make sure that it is clean. You may not know it, but the ceiling can get pretty dirty due to a number of reasons, which include cobwebs, roof leaks, spills, tobacco smoke, and so on. And if your ceiling surface is dirty, the paint will not adhere well to it.
Therefore, you can clean it up with a brush or a rag to eliminate most of the grime and dirt. Unfortunately, this will not be enough to clean out stains caused by roof leaks or tobacco smoke. To remove them, you need to use a stain-blocking primer. We recommend using white shellac, which will cover up these stains effectively.
Following that, you will need to fix any imperfections on your ceiling. So, if you have any holes or cracks on the ceiling, you need to repair them. And to do that, you can consider using spackle or caulk since they can fill in any holes or cracks completely.
As a good measure, you can also rub your ceiling with sandpaper. It will flatten out any imperfections and give you a smooth surface that will form a better bond with the paint. However, this step is not necessary if you have a textured ceiling, as it can affect the texture. Although, painting a textured ceiling is a different task for newbies and DIYers.
You need to apply painter’s tape along the top edges of your wall and on the crown molding. That will prevent the ceiling paint from touching the areas when you are using the roller near their edges. Make sure you use tape that is at least two inches thick so you can mask them off properly.
If there are vents, smoke alarms, or other unremovable fixtures on the ceiling, then you need to tape them off as well. This will keep the roller marks off them and also prevent any damage. On that note, if you wish to paint the walls as well, applying painter’s tape will not be necessary.
Before applying the ceiling paint, it is necessary to prime the ceiling. The primer you need to use for this purpose depends on the type of ceiling you have. For smooth ceilings, you may use interior latex drywall primer, and for textured ceilings, high build primer can be used.
After you have applied the primer, you need to let it dry for a while. Once it has completely dried, cut along the corners and edges of the ceiling. Meaning, apply paint along these edges and corners with a brush.
The reason for doing this is to cover these parts with paint, as the roller will not be able to reach them completely. Besides, it will effectively conceal any uneven brush marks along the edges and corners.
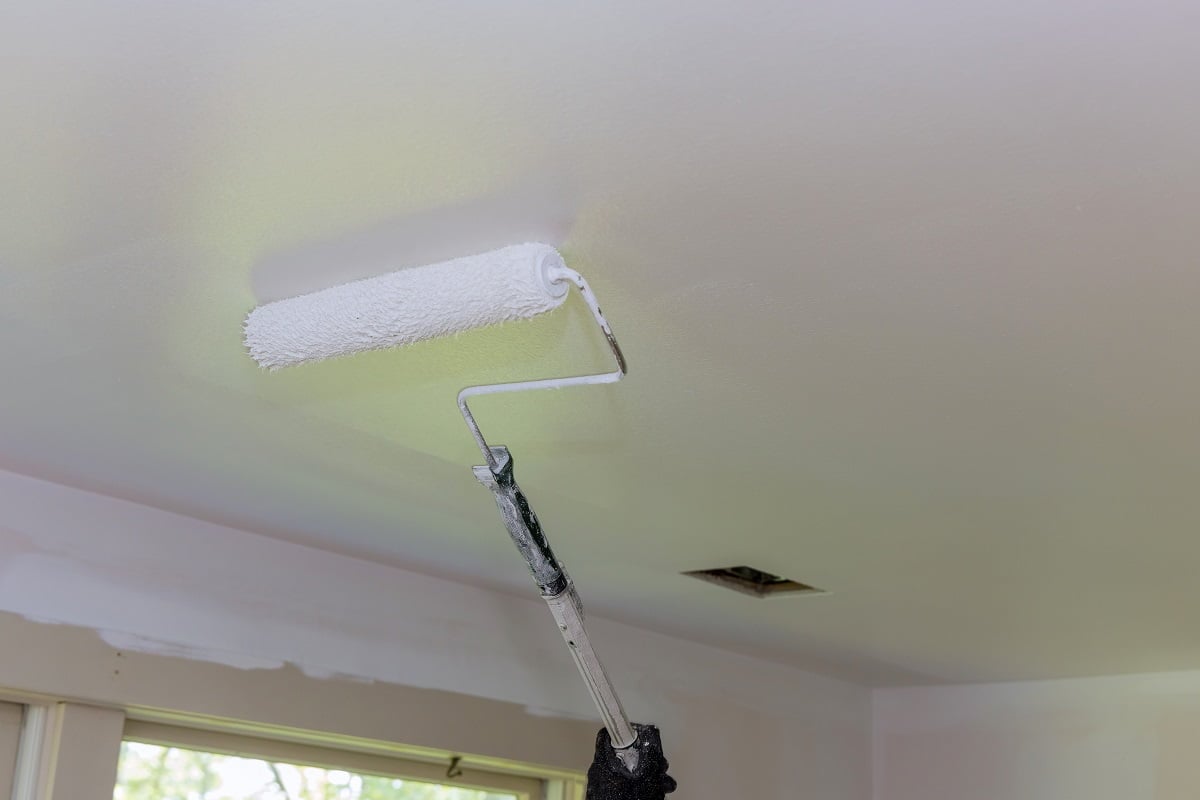
Now that all the above steps are complete, it is finally time to get the paint rolling! Dip your paint roller in the tray to soak it with the paint. Roll off any excess paint by running the roller on the edge of the tray. Then place the roller at one of the corners of your ceiling and slowly roll on the paint.
It is advisable to use slow and gentle strokes when painting, as that will give an even layer of paint. Also, we would suggest that you start by painting in small sections instead of rolling over the entire ceiling at once. This will prevent any uneven overlapping of the paint and minimize the overlap marks left behind.
However, it might not be possible to avoid lap marks altogether. Especially along the edges and corners, where you have already applied paint, the lap marks may become too prominent. So, to conceal them, gently roll over the lap marks while they are still wet to get an even paint texture.
Once the paint has been applied, you need to let it sit for a while so that the wet paint can dry completely. After the paint has dried, you may choose to apply another coating over it to give your ceiling a deeper and even coloration. And if you notice any imperfections or irregularities, you can rectify them with the second coating.
Now, applying the second coat of paint is not mandatory, so if you are satisfied with the first coat, you can skip it altogether. But if you choose to do it, then you need to follow the same procedure as described in the previous step. You will need to allow the second layer to dry as well before wrapping it up.
In this section, we would like to provide some helpful painting tips for you to keep in mind. If you follow these tips, painting your ceiling with a roller will be a breeze.
You need to get good quality paint for your ceiling to give it a richer color. Such ceiling paint will not dry off very quickly, preventing it from leaving behind unsightly lap marks.
Conversely, it won’t take a lot of time to dry either, so you won’t have to wait for a long time to finish your painting. Furthermore, with good quality paint, only one coat of paint will be enough.
Typically, you might be inclined to go with white or any other lighter colors. But don’t be afraid to experiment with different color options. If you select another color besides white, that might make your room feel more spacious and give it a professional-looking finish.
Safety is of paramount importance when painting the ceiling. So, you need to make sure that you follow all guidelines and instructions. Always wear protective equipment, such as goggles, masks, and hair covers. Also, make sure not to paint directly overhead, as the paint may splatter all over you in that case.
If your ceiling is too high, you can use a step ladder or a paint roller extension rod. That will be a lot safer than straining your arms, neck, and shoulders. And make sure to clean up properly after you are done painting.
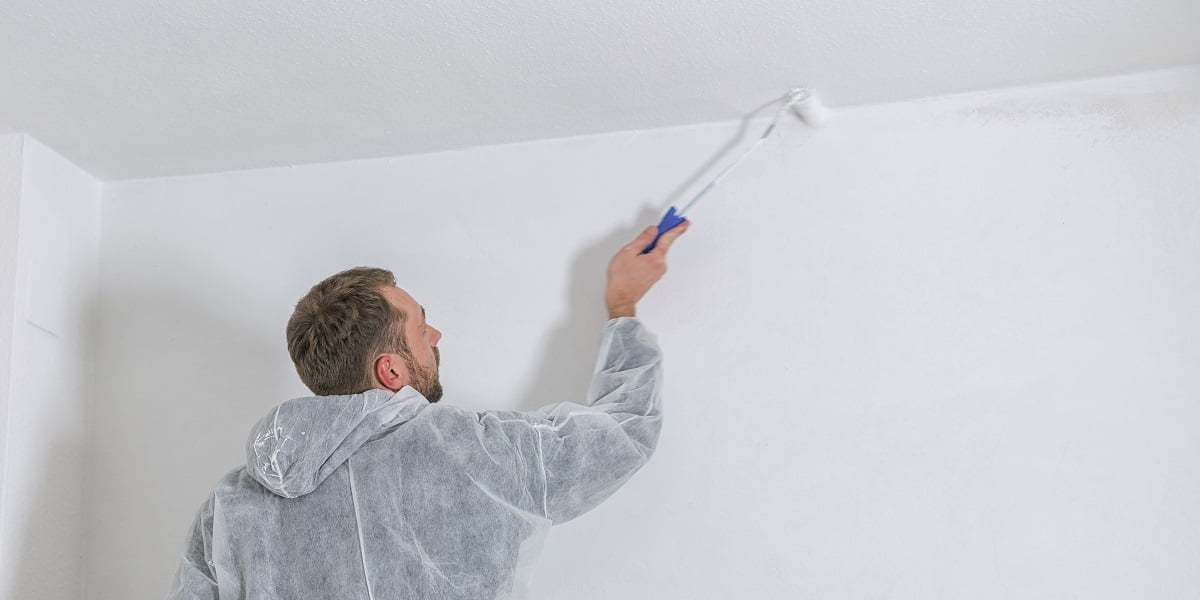
When you paint a ceiling with a roller, you should always be gentle and slow. Be careful not to apply too much pressure, as that will make the painting uneven. The same will happen if you roll too quickly, as the paint will not be properly transferred to the surface.
Maintain a uniform pressure and pacing throughout the process. And try to move the roller in a single direction for the most part. To spread the paint in a smooth and consistent manner, move the roller in both forward and backward motions evenly.
If you have a textured or popcorn ceiling, you will need to use a suitable roller nap as well. The roller nap refers to the width of the material on the roller cover, which absorbs the wet paint and transfers it to the surface.
There are different roller naps, and each has a specific usage scenario. For a smooth ceiling, you need to use a thin roller nap, while for a textured ceiling, a thicker roller nap is more suitable.
Usually, the whole process of painting a ceiling takes one whole day or two days at the most. However, this duration is not set in stone, and it may vary based on how much effort you want to put in and the area of your ceiling.
If you are in no hurry, then you may allocate more than two days to get the painting done. Likewise, if the surface area of your ceiling is large, it might require some more time to complete.
The amount of paint required depends on the surface area of your ceiling, as well as the number of layers you want to apply. One gallon of paint can sufficiently cover around 300 to 400 square feet.
You first need to calculate the square footage of your ceiling by multiplying its length and breadth. If you divide that number by the coverage area of your paint, you will know how much paint is necessary.
In case you want to apply a double coat, the paint required will consequently double, so keep that in mind as well.
Any normal paint that you use for the interior walls of your house can be used to paint the ceiling. However, if you want, you can use a special ceiling paint that is available on the market. Such paints have a matte or soft, flat sheen to make the ceiling stand out from the walls.
If you are planning to paint an entire room, we would suggest that you start by painting the ceiling first. Then you can gradually work your way down to the walls. Not only will this be convenient, but it will also be a less messy job.
The ceiling is an integral part of your home’s interior so it is crucial that you pay equal attention to it, just like the other walls of your home. Whether it’s your living room or basement, a ceiling must get a fresh coat of paint from time to time. Although, choosing paints for basement ceiling is slightly different from regular ceiling paints, due to its damp-proofing and mold-resistant nature.
That’s why we have prepared this informative, stepwise guide so that you can easily paint it with a roller. So, it is time that you shrugged off your fear of painting ceilings and gave them the love they deserve. We have also included some tips to make the work even easier for you.
With that, we have reached the end of this guide. We hope you enjoyed reading it.
Take care, folks!