Expertises: Art, Pastel, Brush, Drawing, Pencil
Updated on

Inspiring Ideas for Modern Home
Watercolors are hands down the best medium to recreate the timeless beauty of nature.

The transparency and luminosity of watercolors offer endless possibilities for exploration, especially when painting trees. That said, painting with watercolors can be a fun and rewarding experience for watercolor artists of all skill levels.
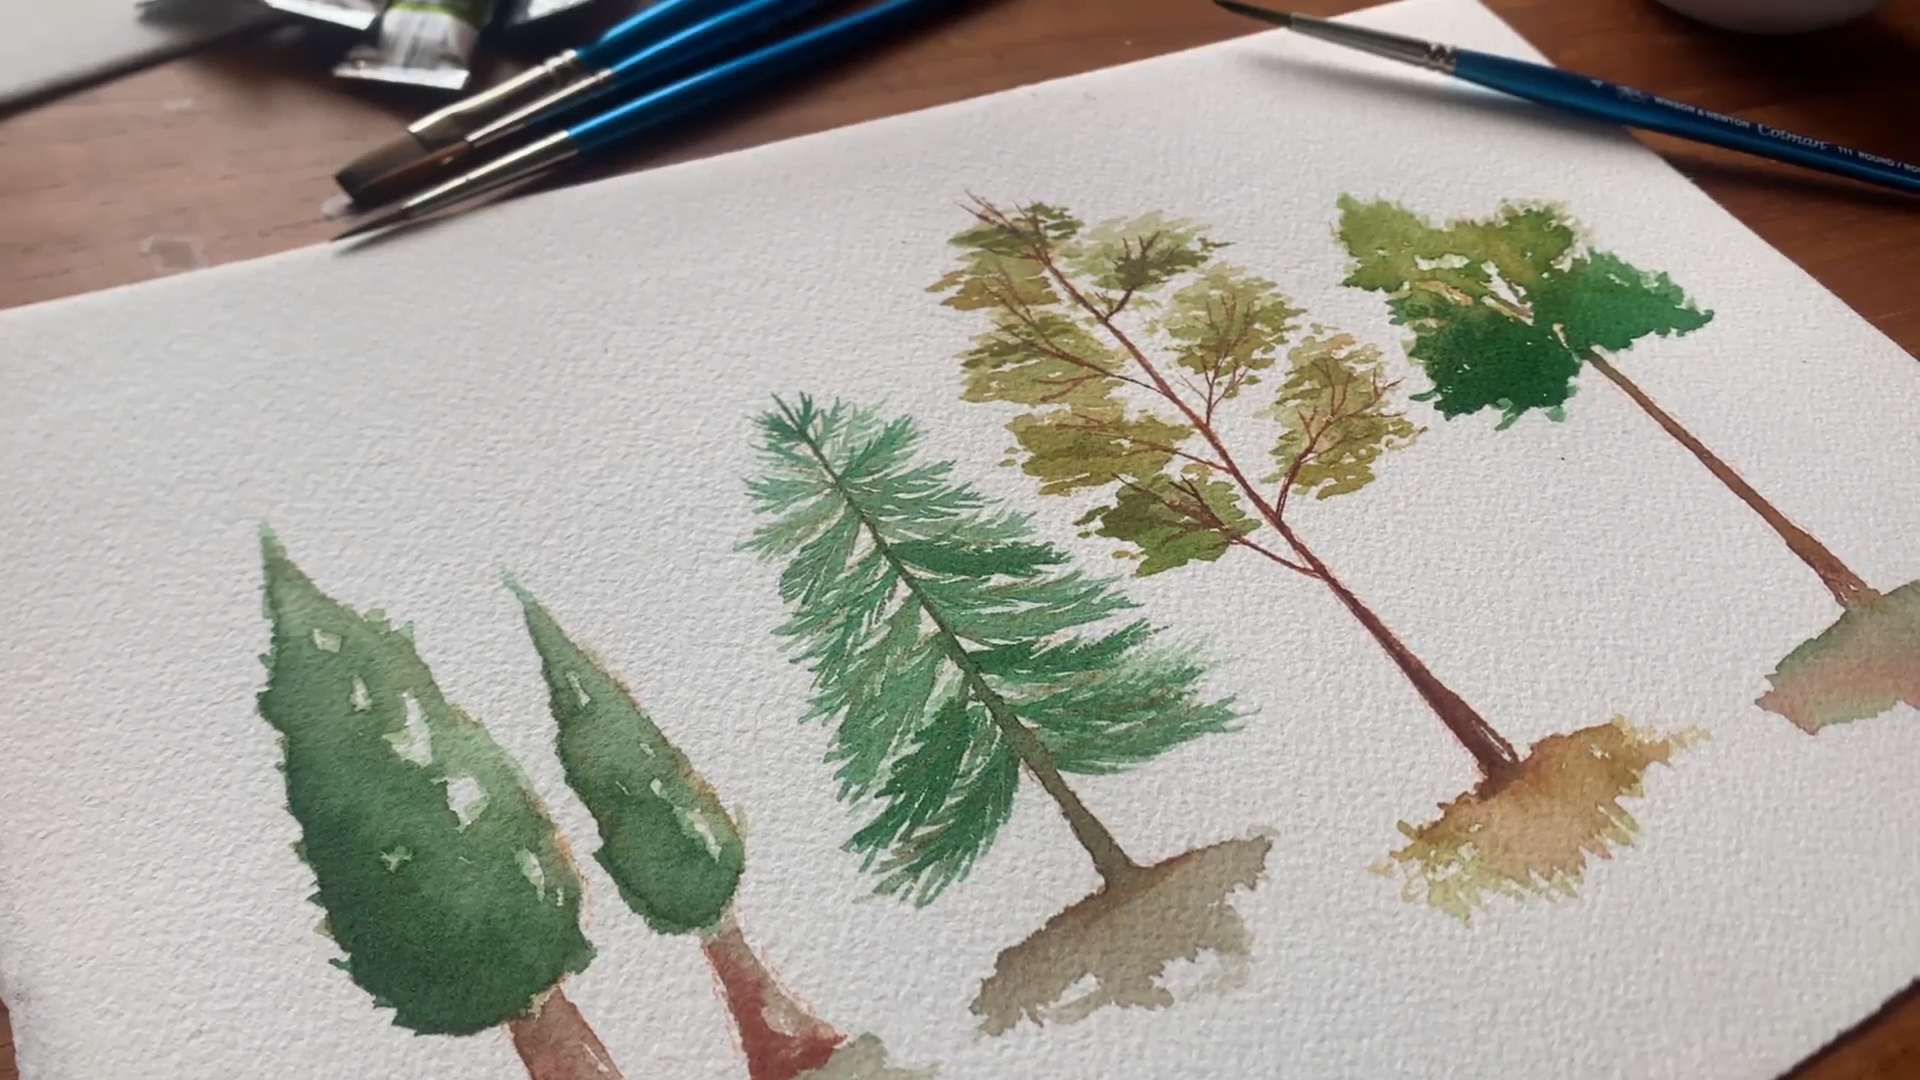
Hi, everyone. I’m Dylla, and today, I’ll show you how to paint four different types of trees - cypress, pine, aspen, and teak. Each tree has a unique structure and texture that requires different techniques.
I will guide you through the process of painting each tree in a way that captures its essence and character. Whether you’re a beginner or an experienced watercolor artist, I’ll help develop your skills and confidence in painting trees.
So, pick up your brush, grab your watercolor paints, and let your creativity flow!
Before we start with the process, you must ensure you have the right equipment. Of course, you don’t need to use the exact products I’m using as long as you’ve got a brush that works for you. Plus, I’m using just a few shades of greens and browns, along with a hint of black, red, and yellow, so you need not deck up on a lot of colors, too.
But if you’re curious, here’s a list of equipment I’ll be using for today’s artwork:
Paint: Winsor & Newton: Cotman Series | Paper: Arches Watercolor Paper Cold Pressed 300gsm | Brush: Winsor & Newton Cotman Watercolor Brush Set of 4

Start by creating an outline of the trunk and leaves. I’m using a light-colored pencil for a bright finish on 300 gsm watercolor paper, but you can use any paper, here you can find watercolor paper alternatives. However, I do not recommend using a regular pencil as the lines may get too harsh, and considering the sheer nature of watercolors, the pencil outline may be visible.
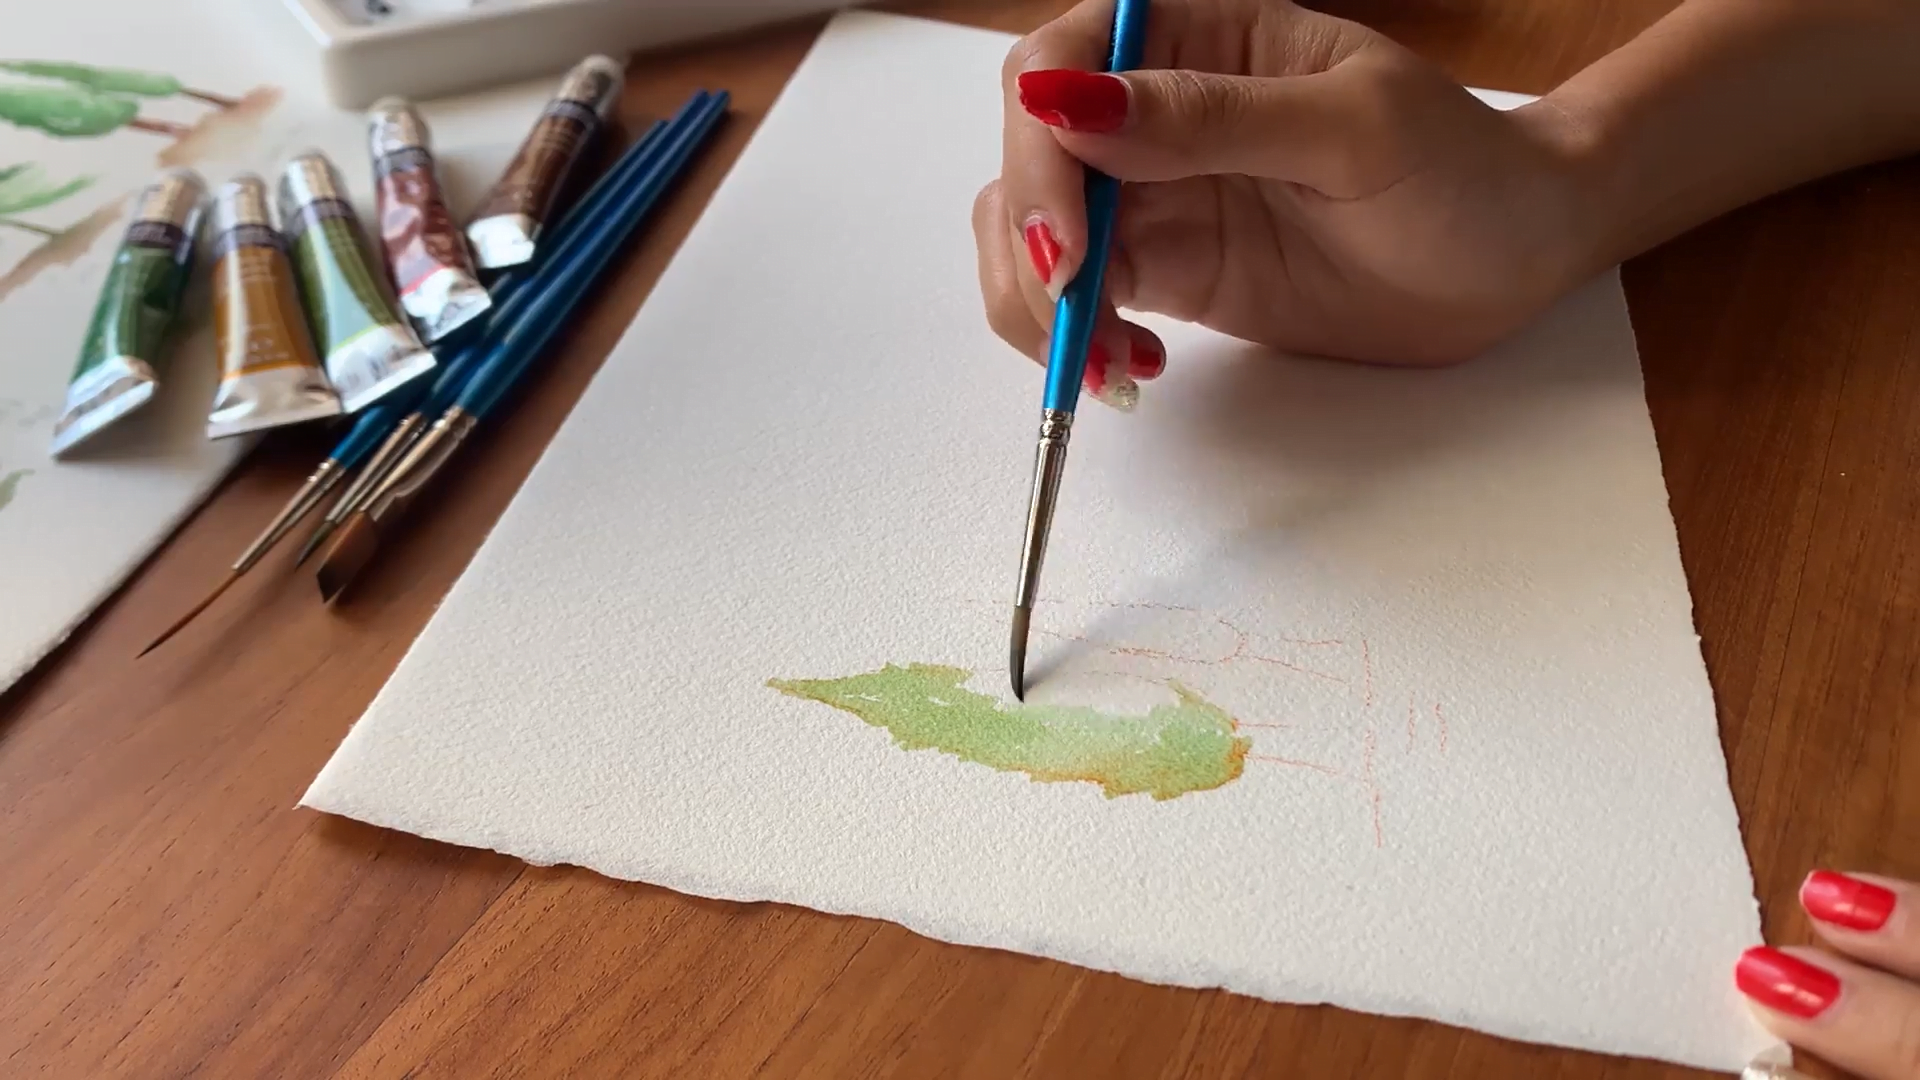
Next, dip a wet brush into some green and yellow paint and start adding colors to the cypress tree. Remember - you don’t have to be perfect! Just use very light and rough strokes. Also, keep your brush slightly wet to maintain a translucent finish. But make sure your brush is not dripping - that’s definitely not what we want unless you want your painting to bleed!
Once you’re done painting the base layer, wait for it to set. Again, the colors should set but not dry out completely. If they become fully dry before you add more layers of paint, you won’t be able to achieve that natural shaded effect.
Now, add more paint to your palette or add darker shades of green. Doing so will help you create more volume and shadows on the cypress tree, thereby creating a more realistic effect.
In this step, I recommend starting with the trunk too. I’m mixing brown with a bit of red for a more vibrant look. Depending on your preference, you can mix brown with black if you’re creating a nighttime scene or add a hint of yellow for a summery vibe.
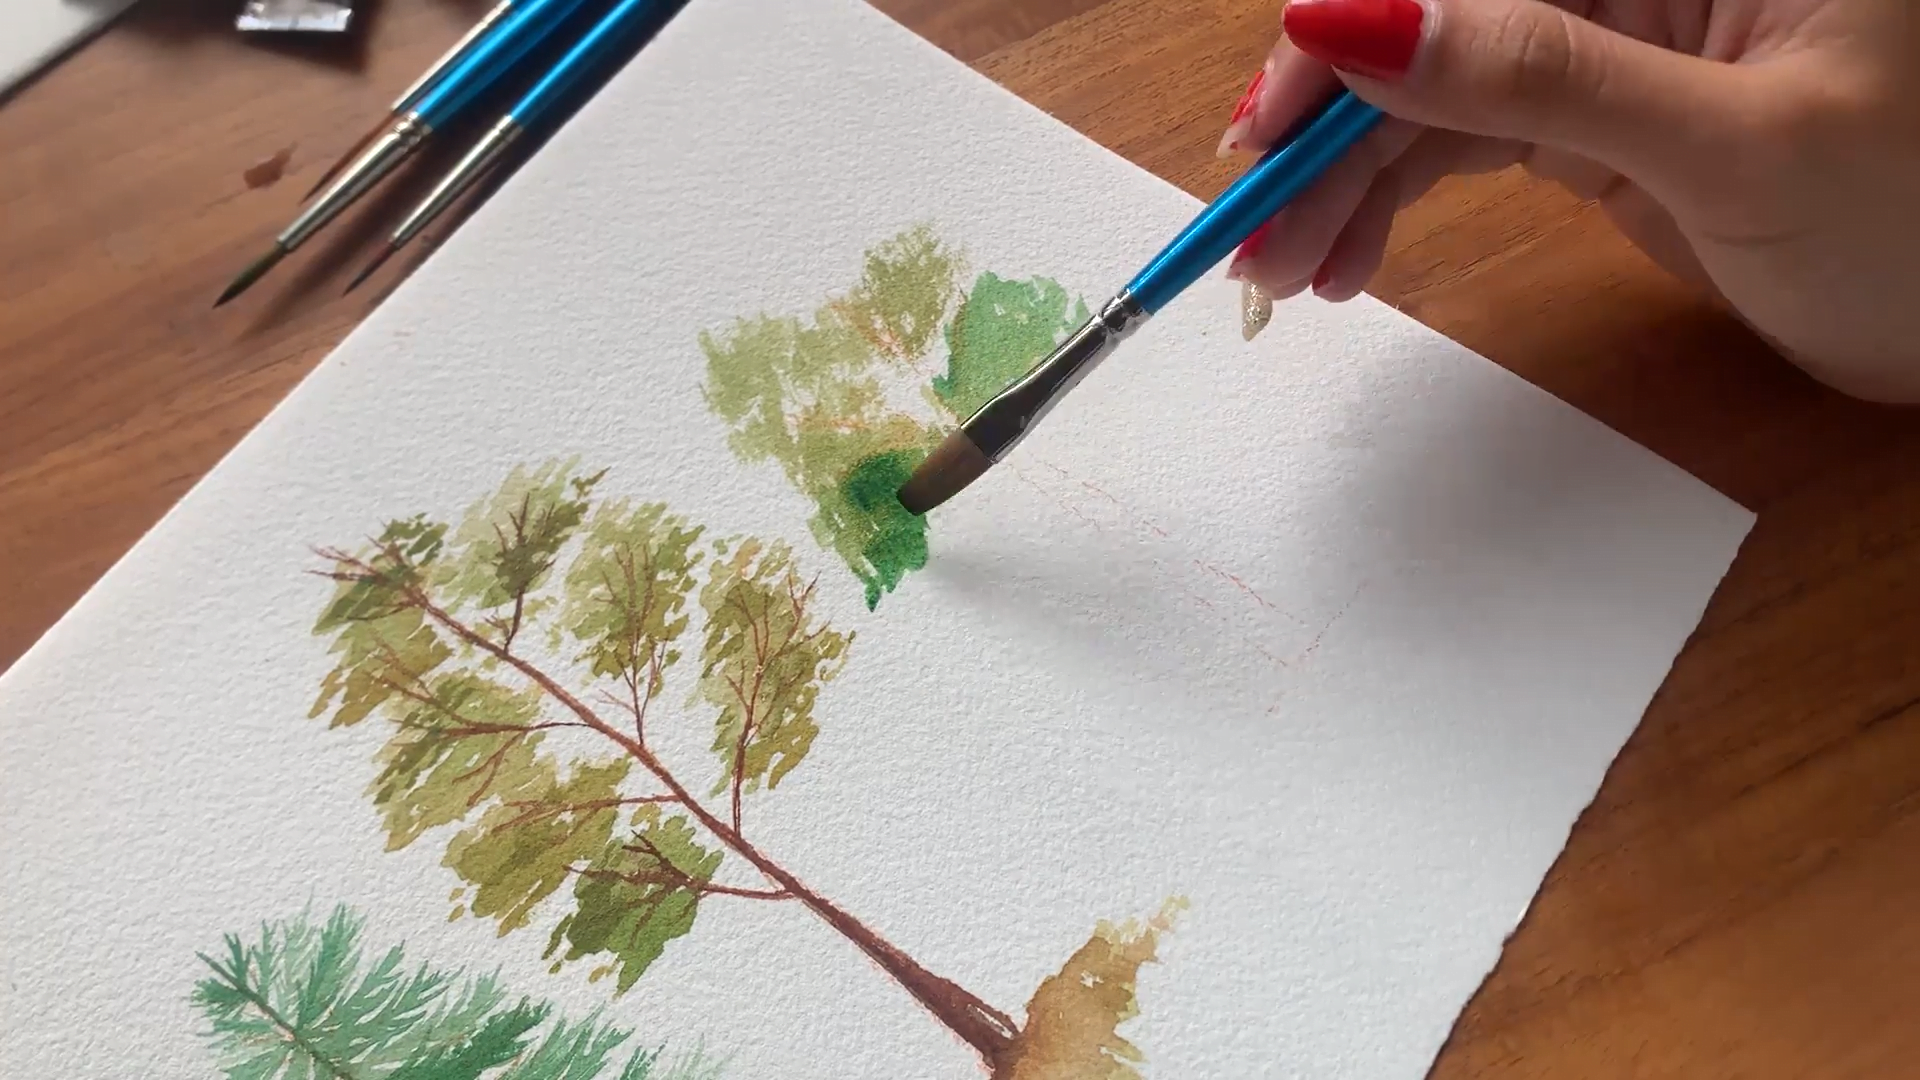
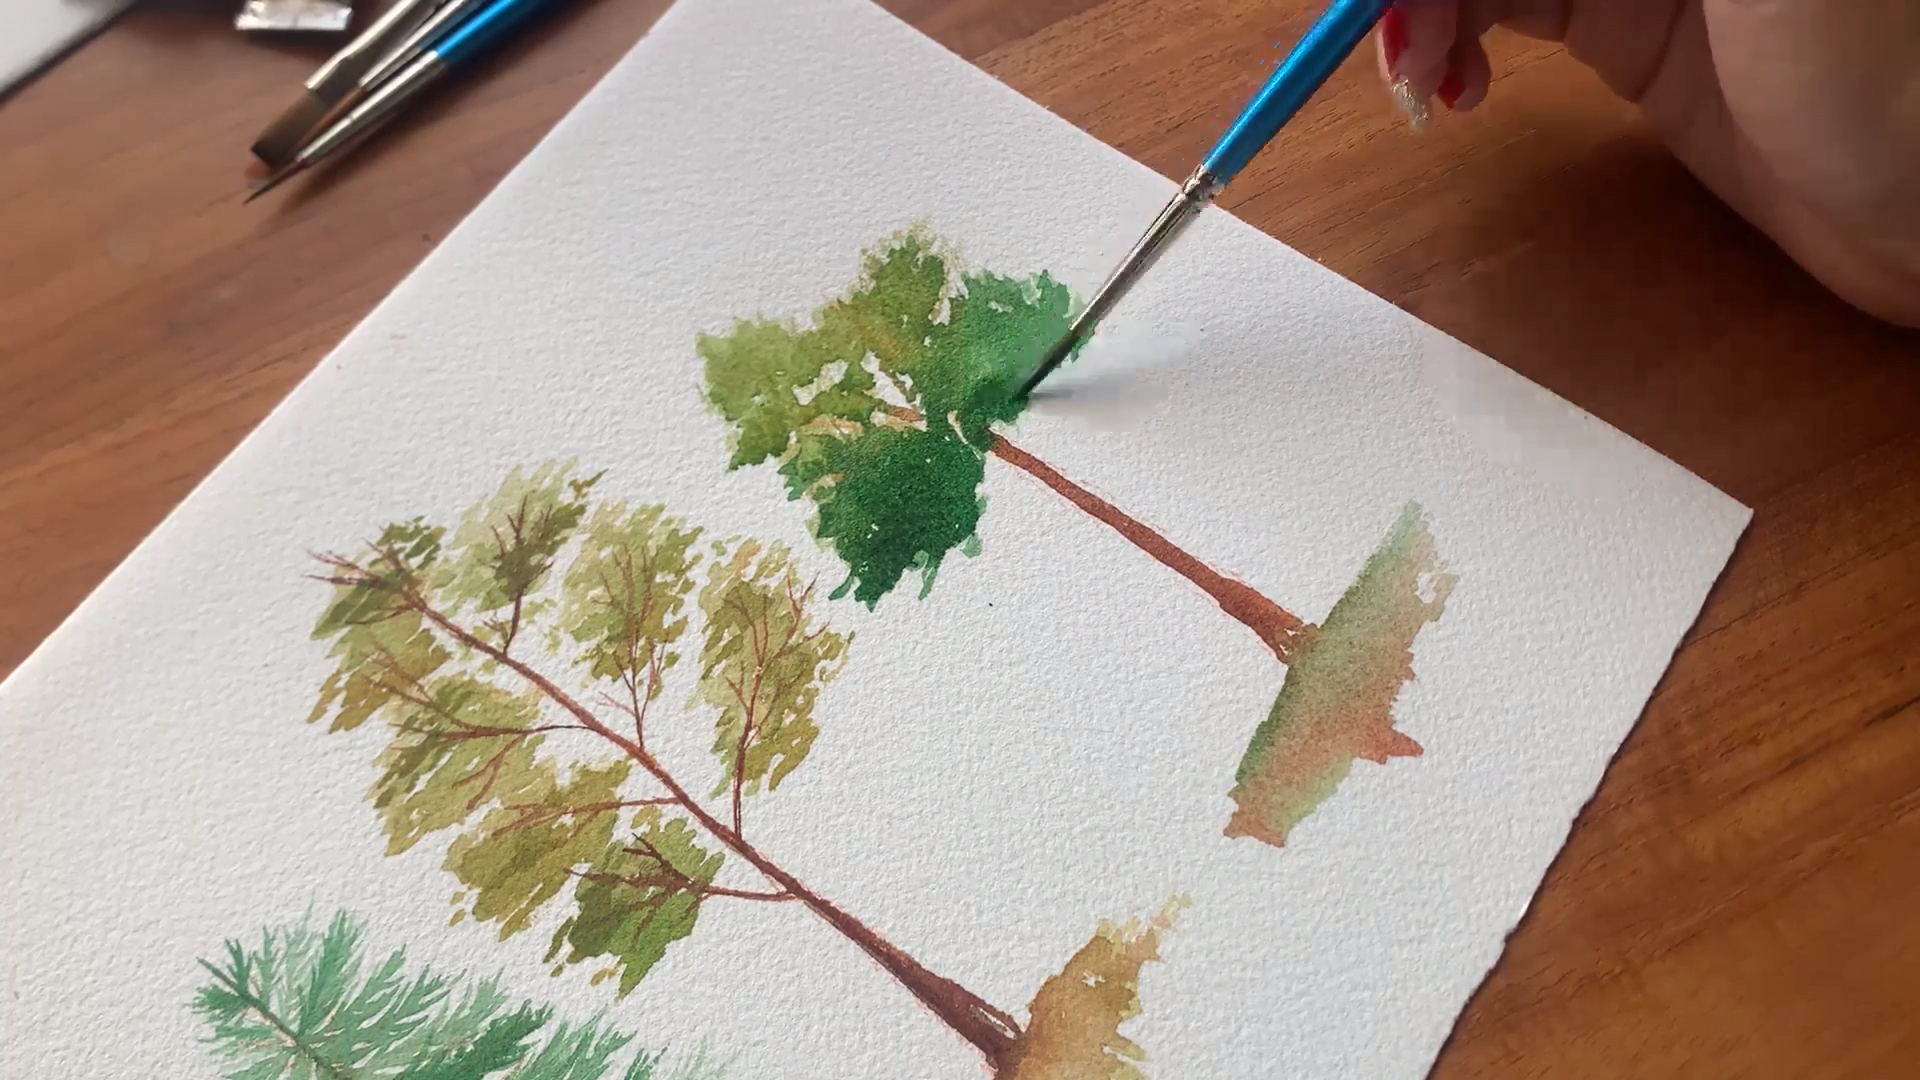
For the next layer of paint, I’m adding darker colors for more consistency and detail. You can see that as I add more shades of green, the tree slowly comes to life!
You can continue making more cypress trees for practice or follow me as I make a pine tree next.

Again, I’ll use a light colored pencil to draw a faint outline of the tree trunk and the inner branches. Here, too, you can use any other colored pencil. I just like staying on the safer side with a light orange color like this one!
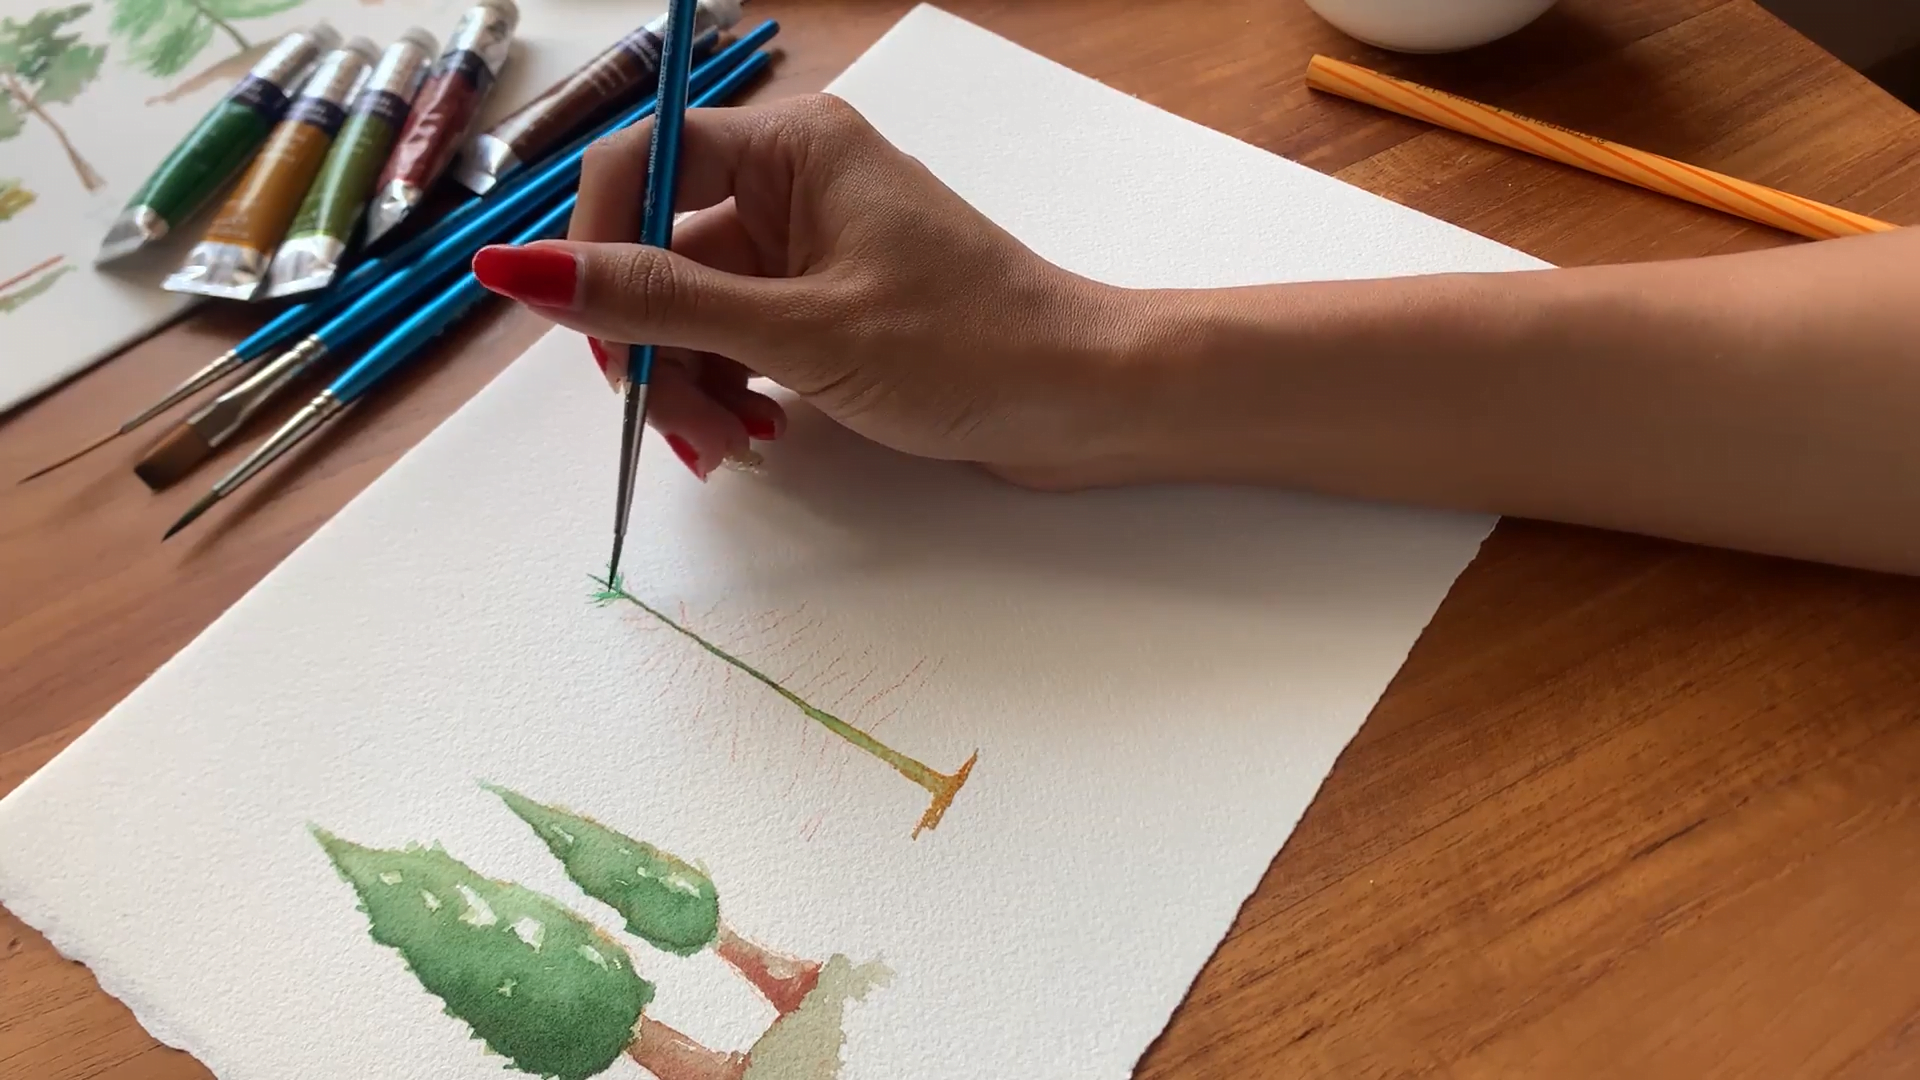
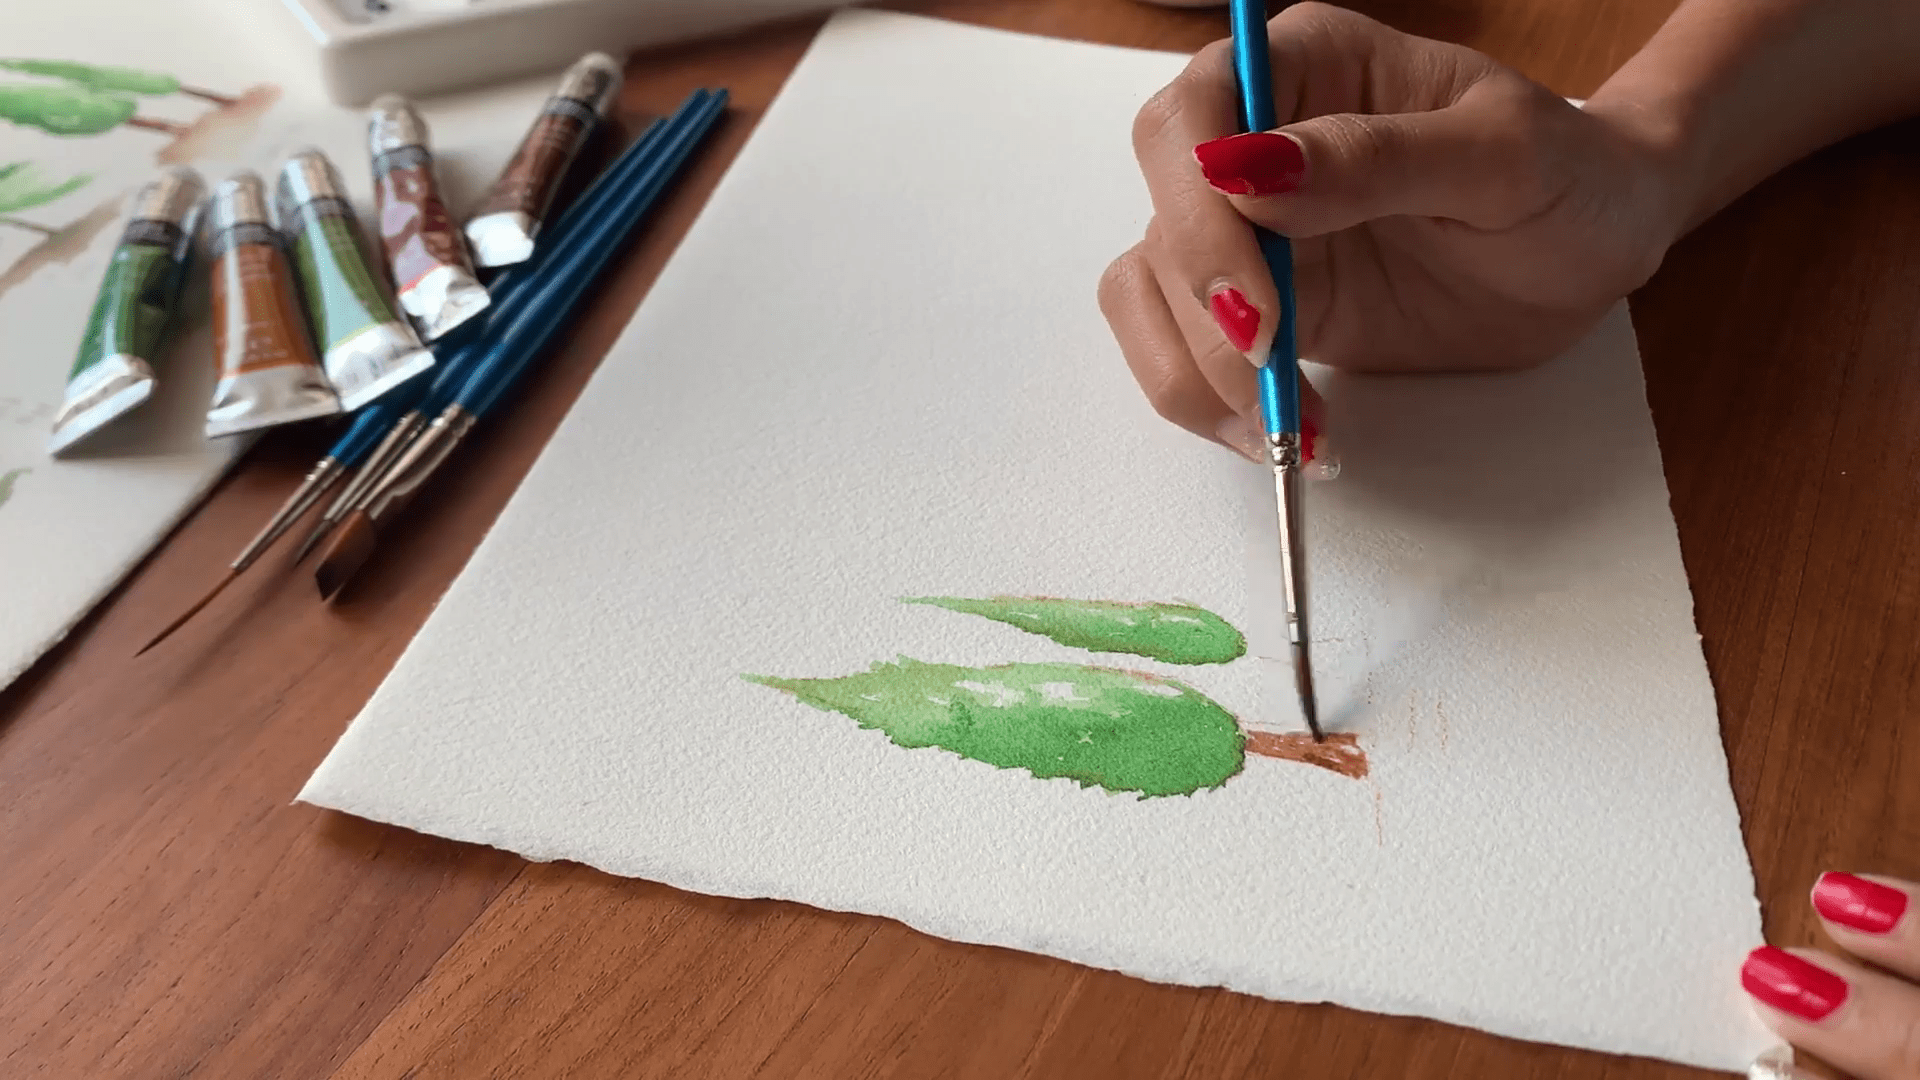
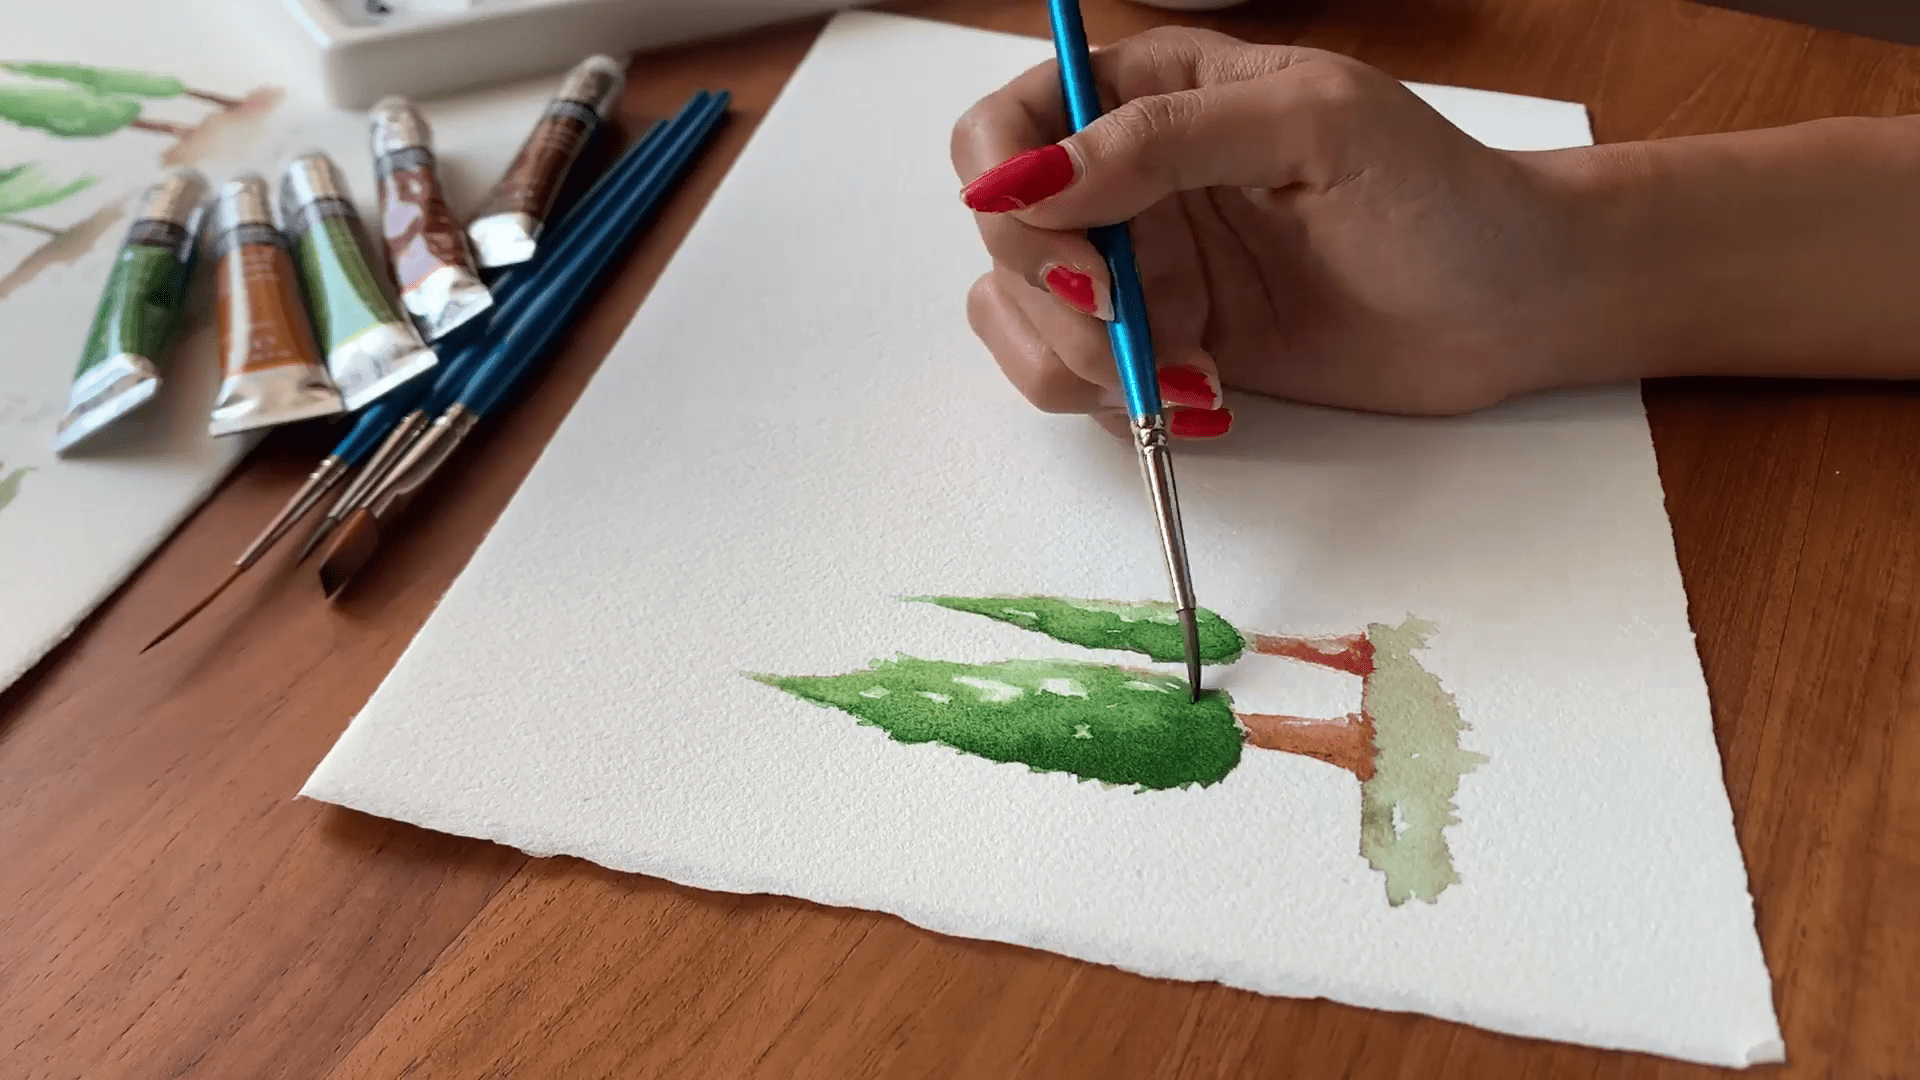
Because of the unique conical shape of a pine tree, I’ll start by painting the trunk. This will allow me to paint the leaves easily later on. I also suggest using more brown towards the end of the trunk and adding more green at the top.
Note that I’m keeping the brush wet throughout the process since it’s smaller than the one I used previously. So, it tends to dry out quickly, which will obviously not give me the effect I want in this pine tree. Also, with a wet brush, you will be able to paint more intricate details, which is ideal for creating the pointy leaves in coniferous trees.
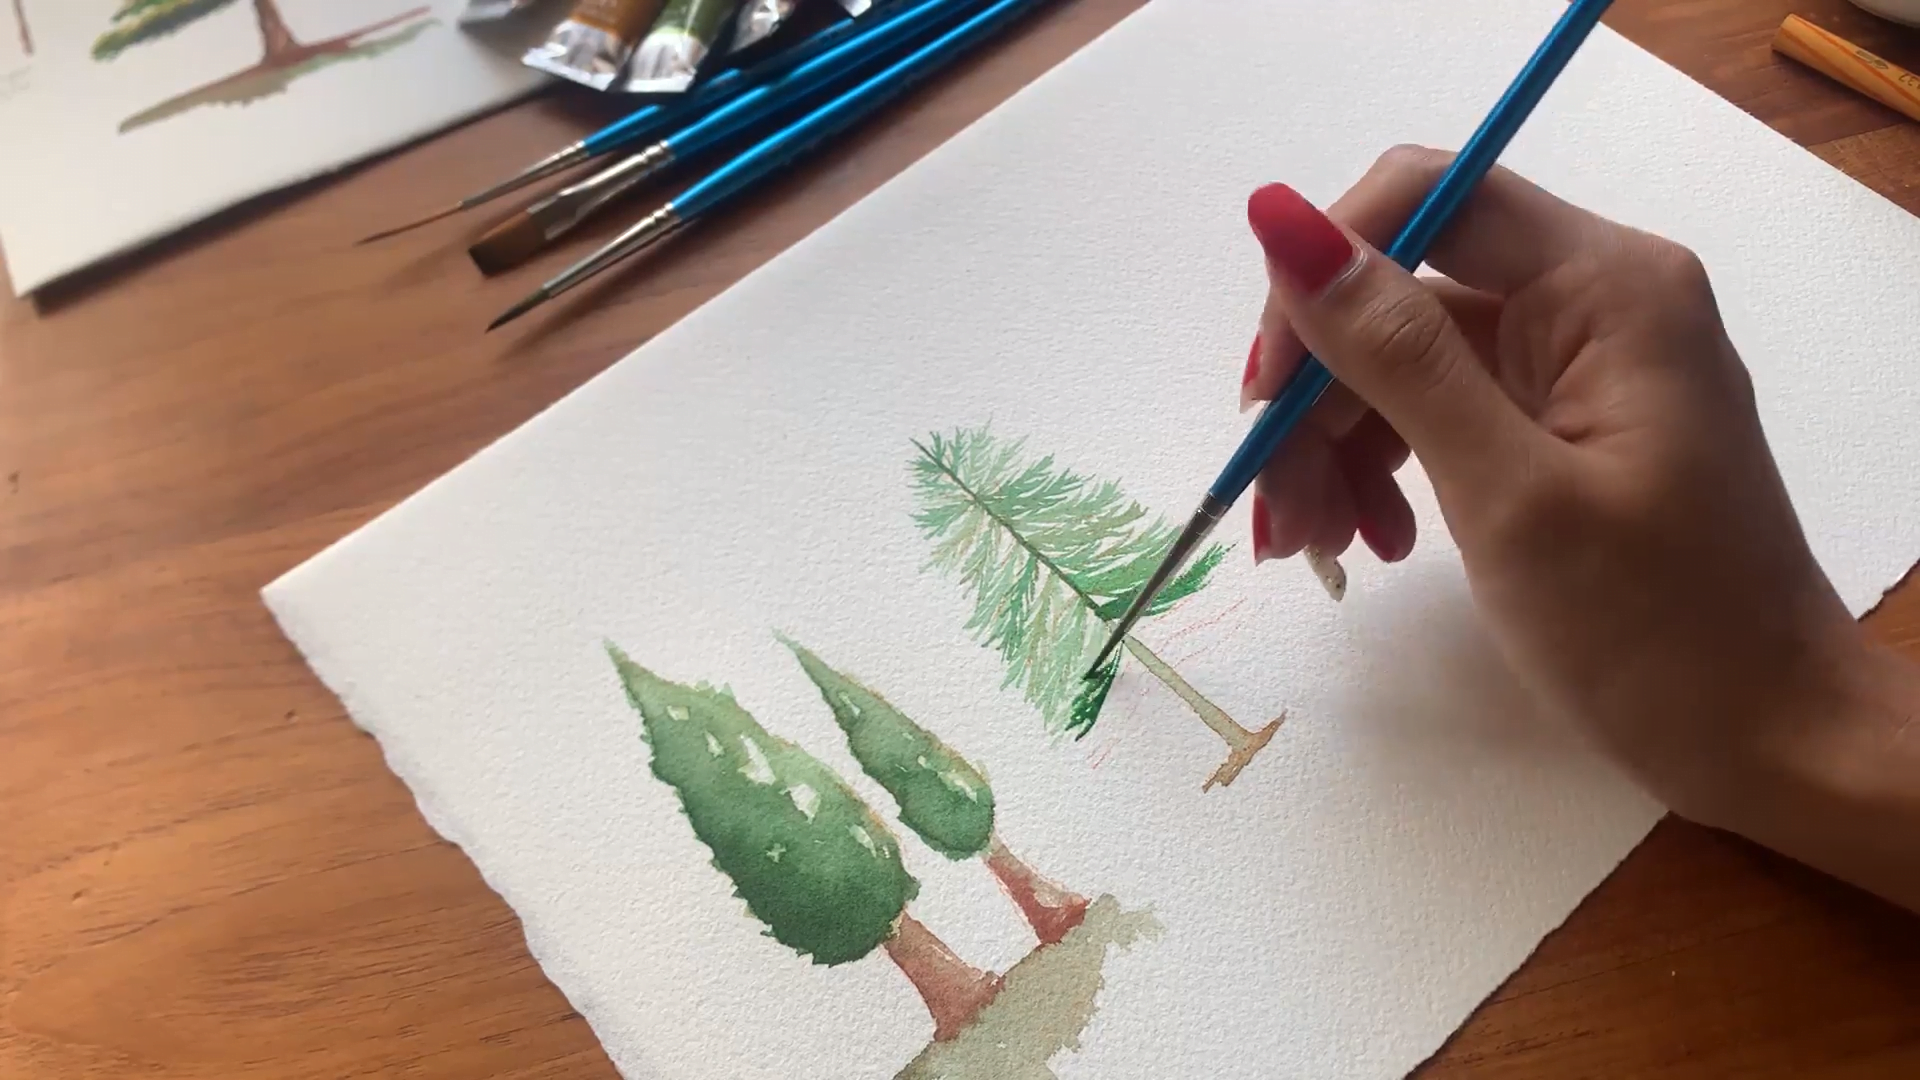
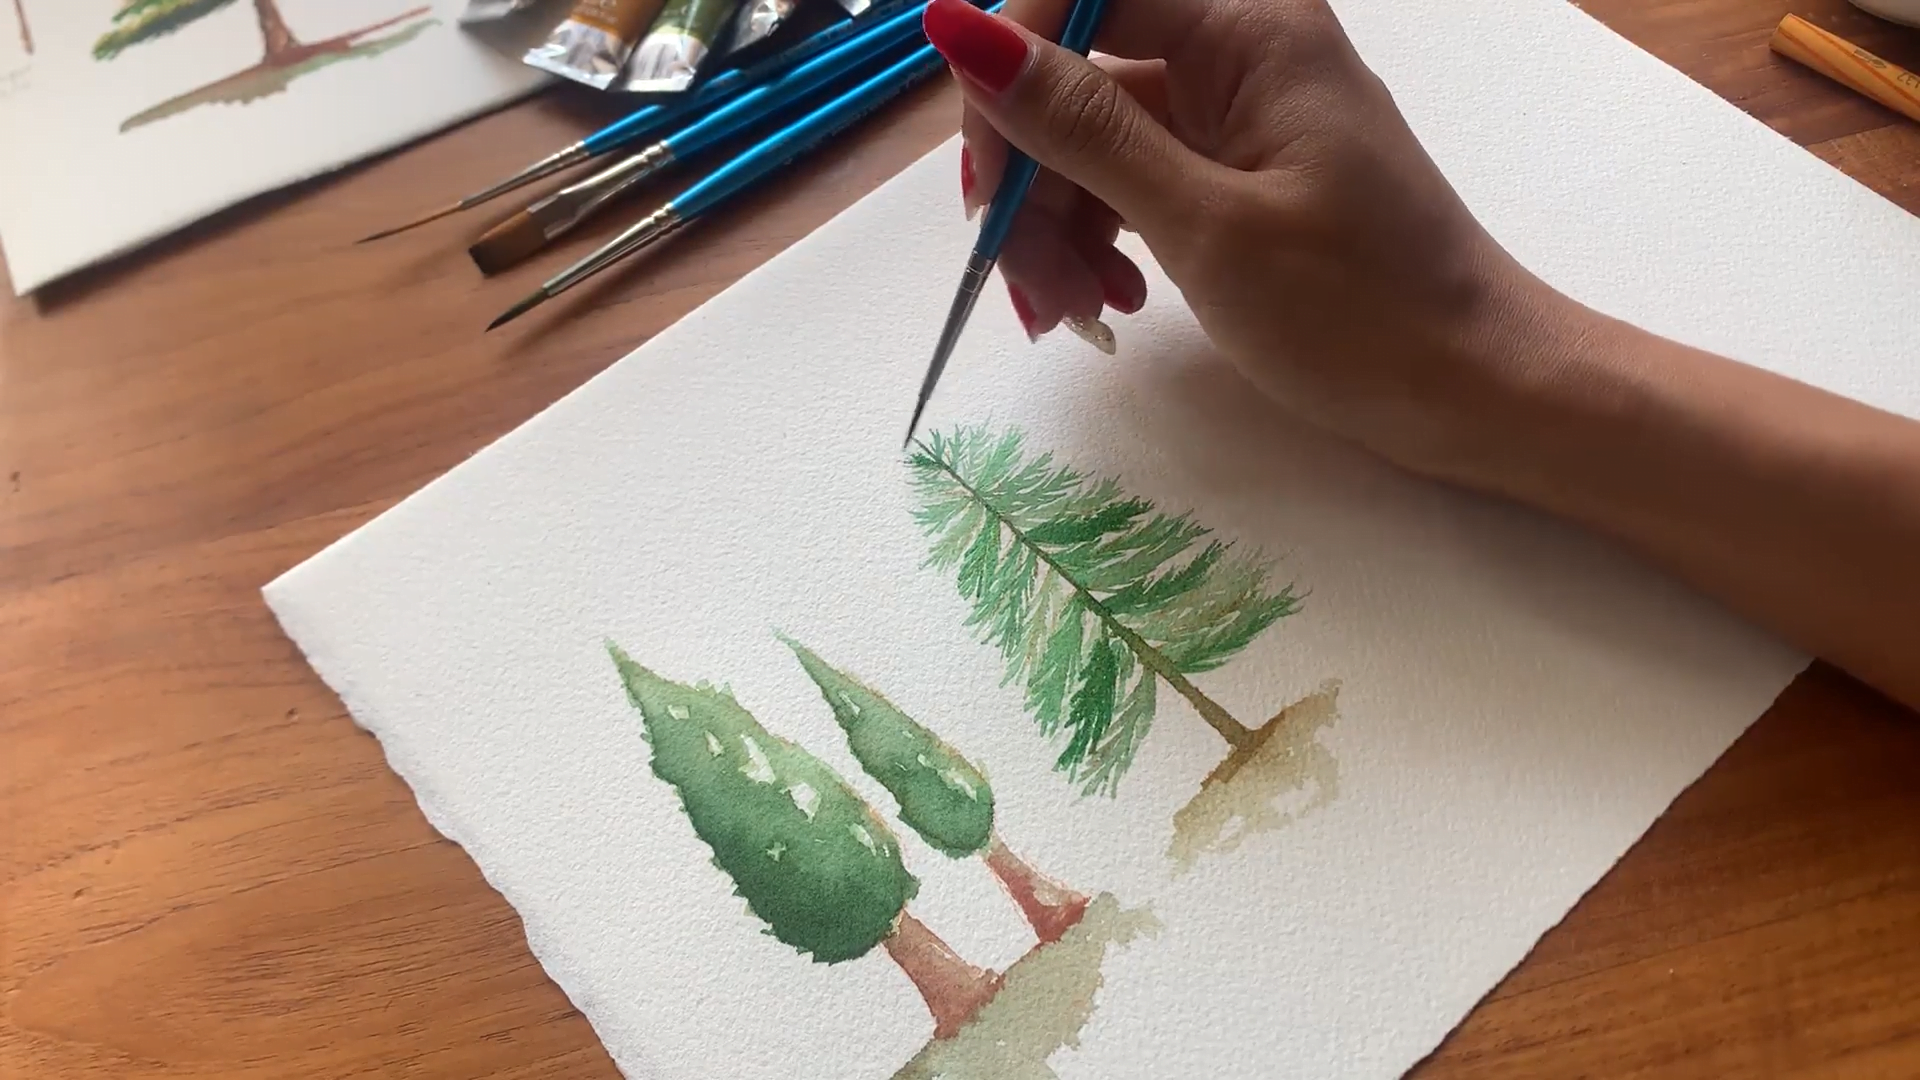
Just like how we did for the cypress tree, I’ll slowly add more color to my brush and add layers to this pine tree. After a few more details and some highlights on the soil, the pine tree is done.
Doesn’t it look gorgeous? I recommend painting this tree on some handmade cards this Christmas. All you have to do is add some colorful dots for ornaments and a star right at the top. Quick, easy, and absolutely Christmas-y!
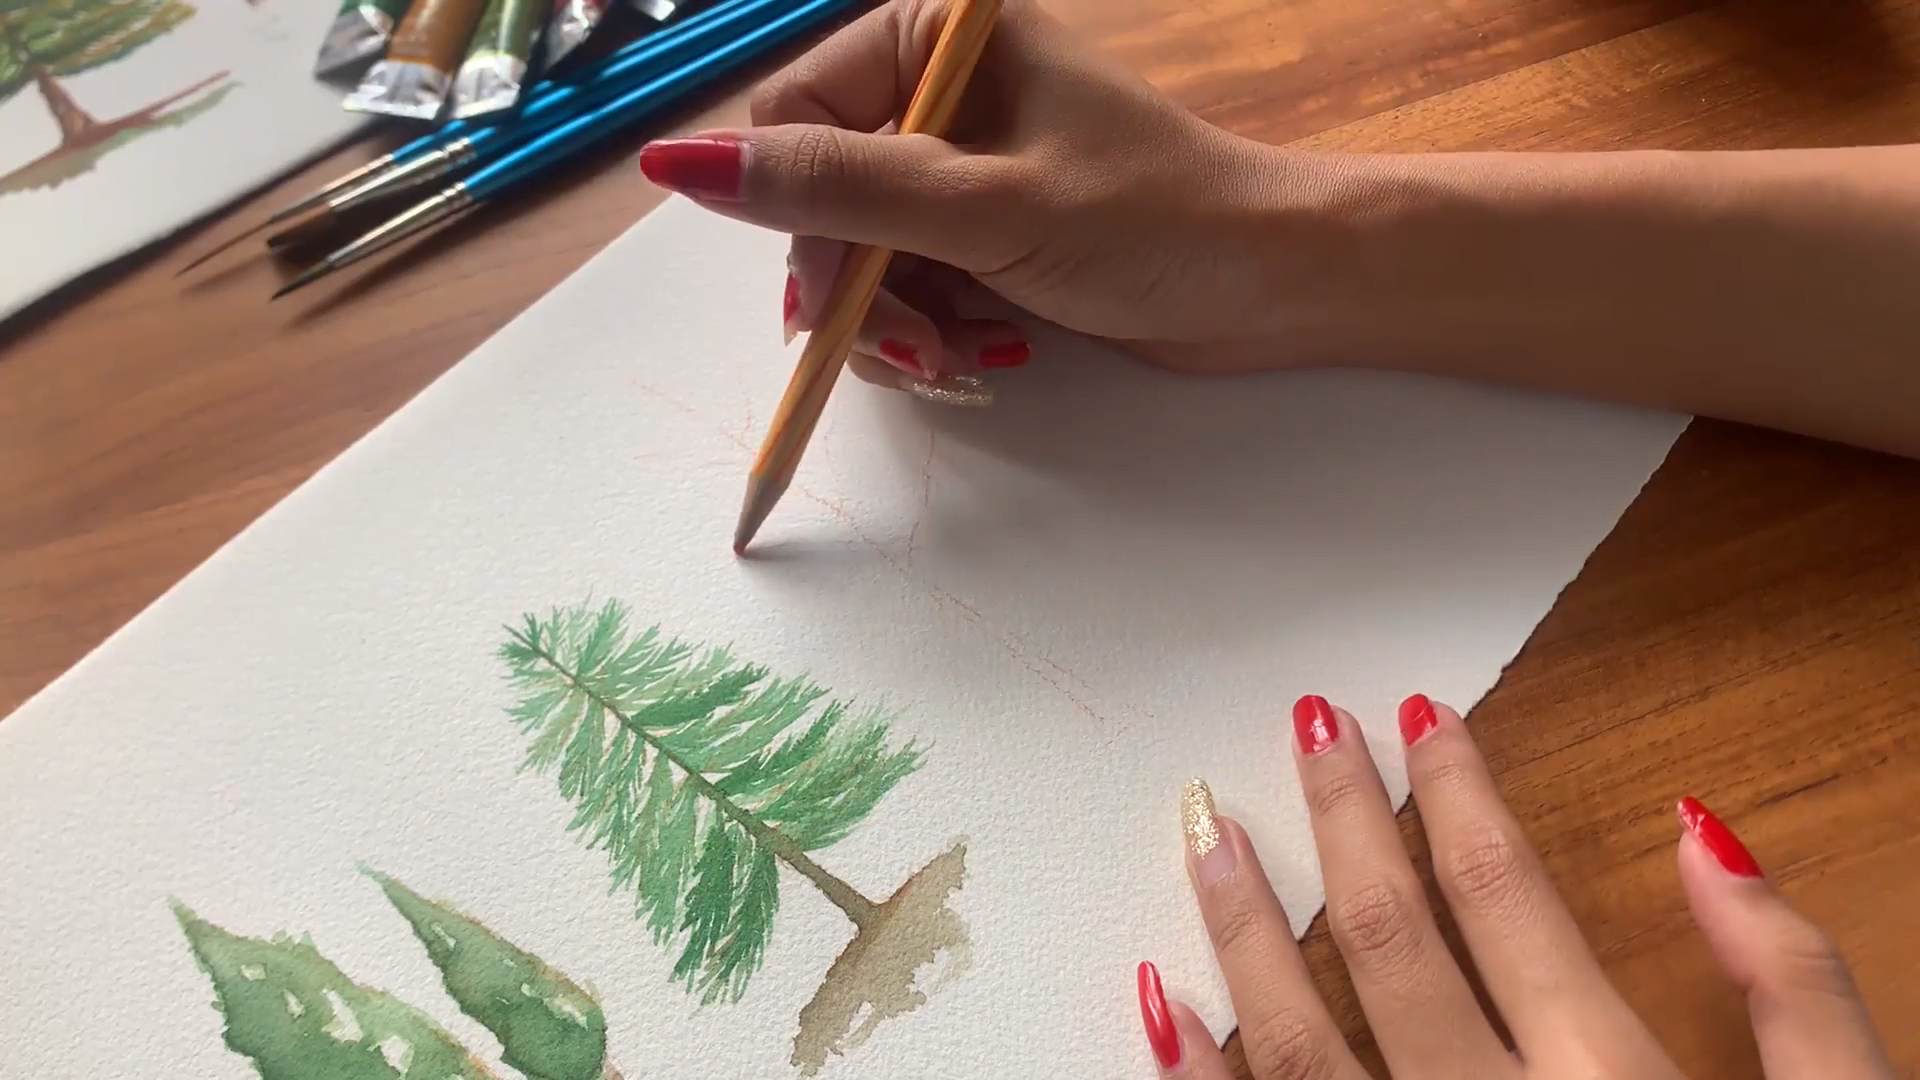
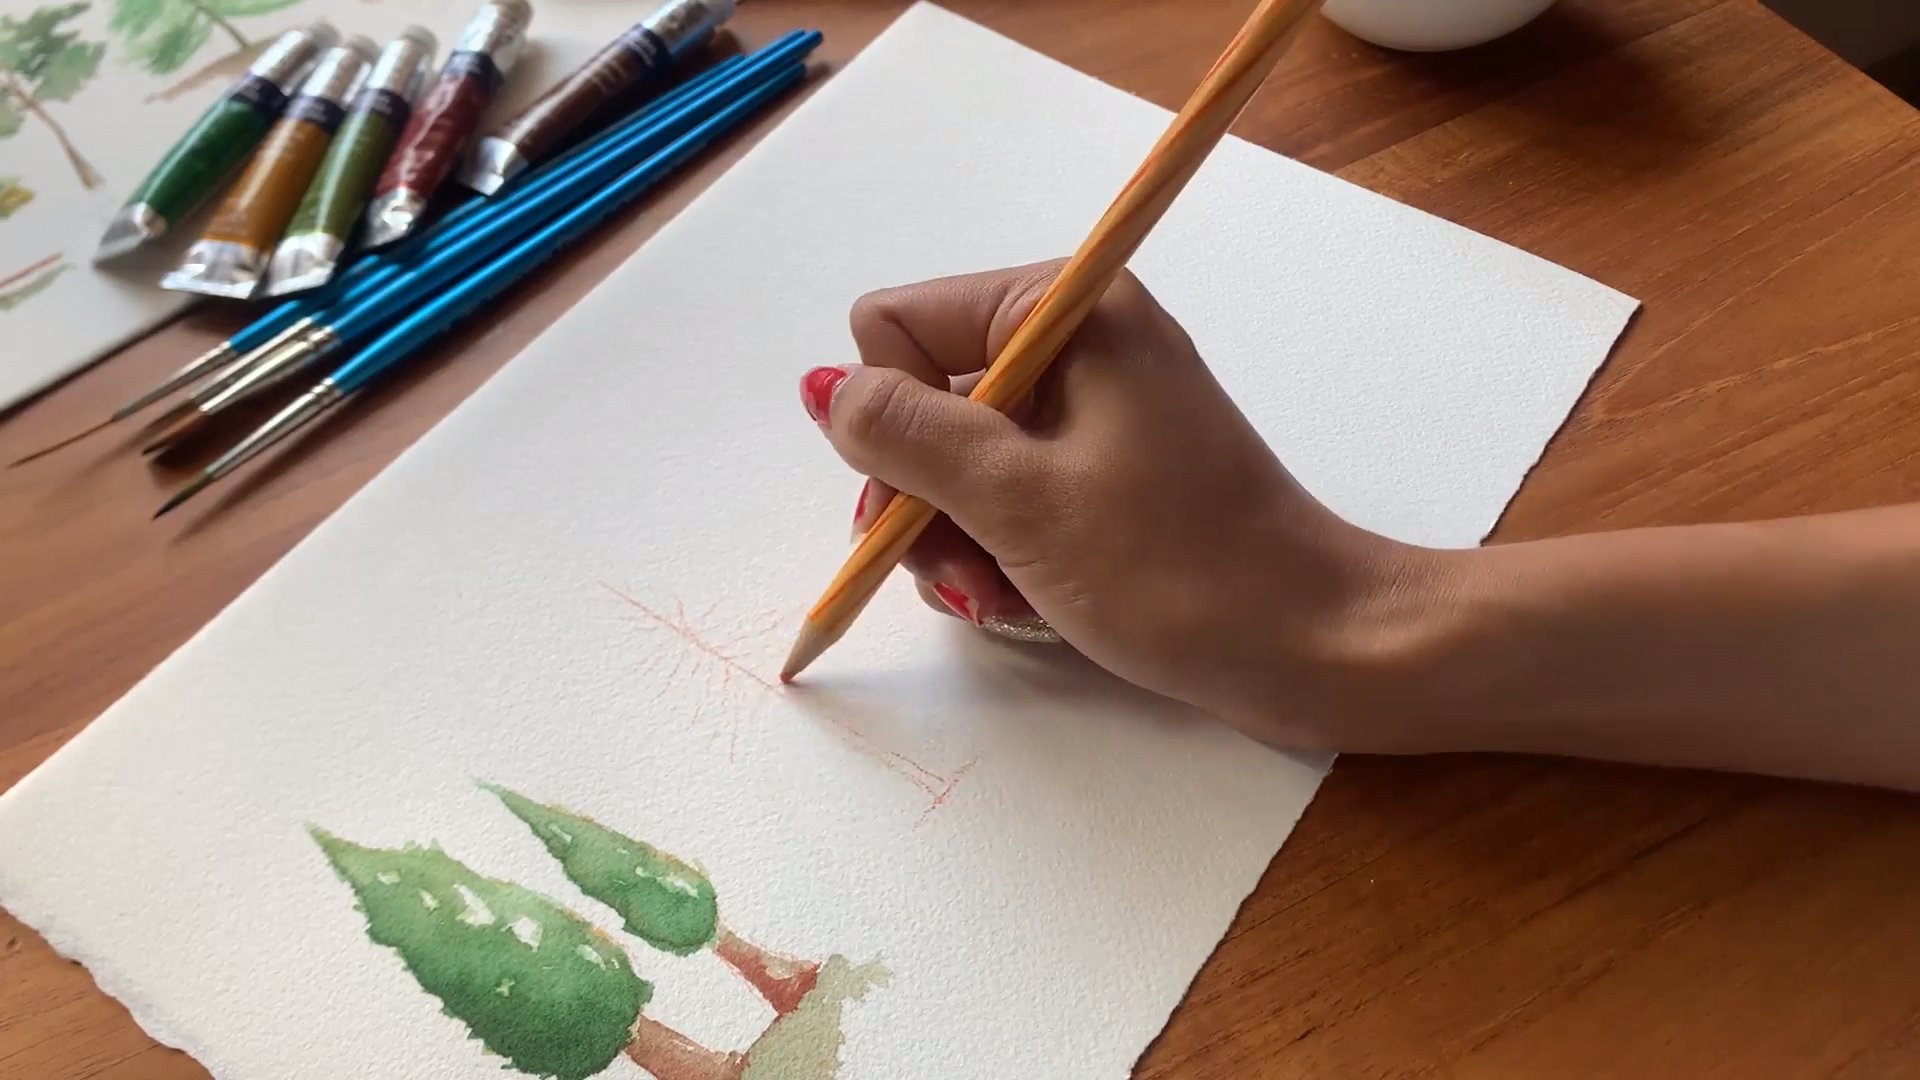
Next, we’ll be making an aspen tree, which is quite easy to paint yet looks ethereal. You can even try experimenting with unique color combos like pink, blue, and purple to make the aspen tree look like it's straight out of a fairytale!
But today, I’ll stick to its natural color, and for that, I’m starting with a light outline of the trunk and the branches.
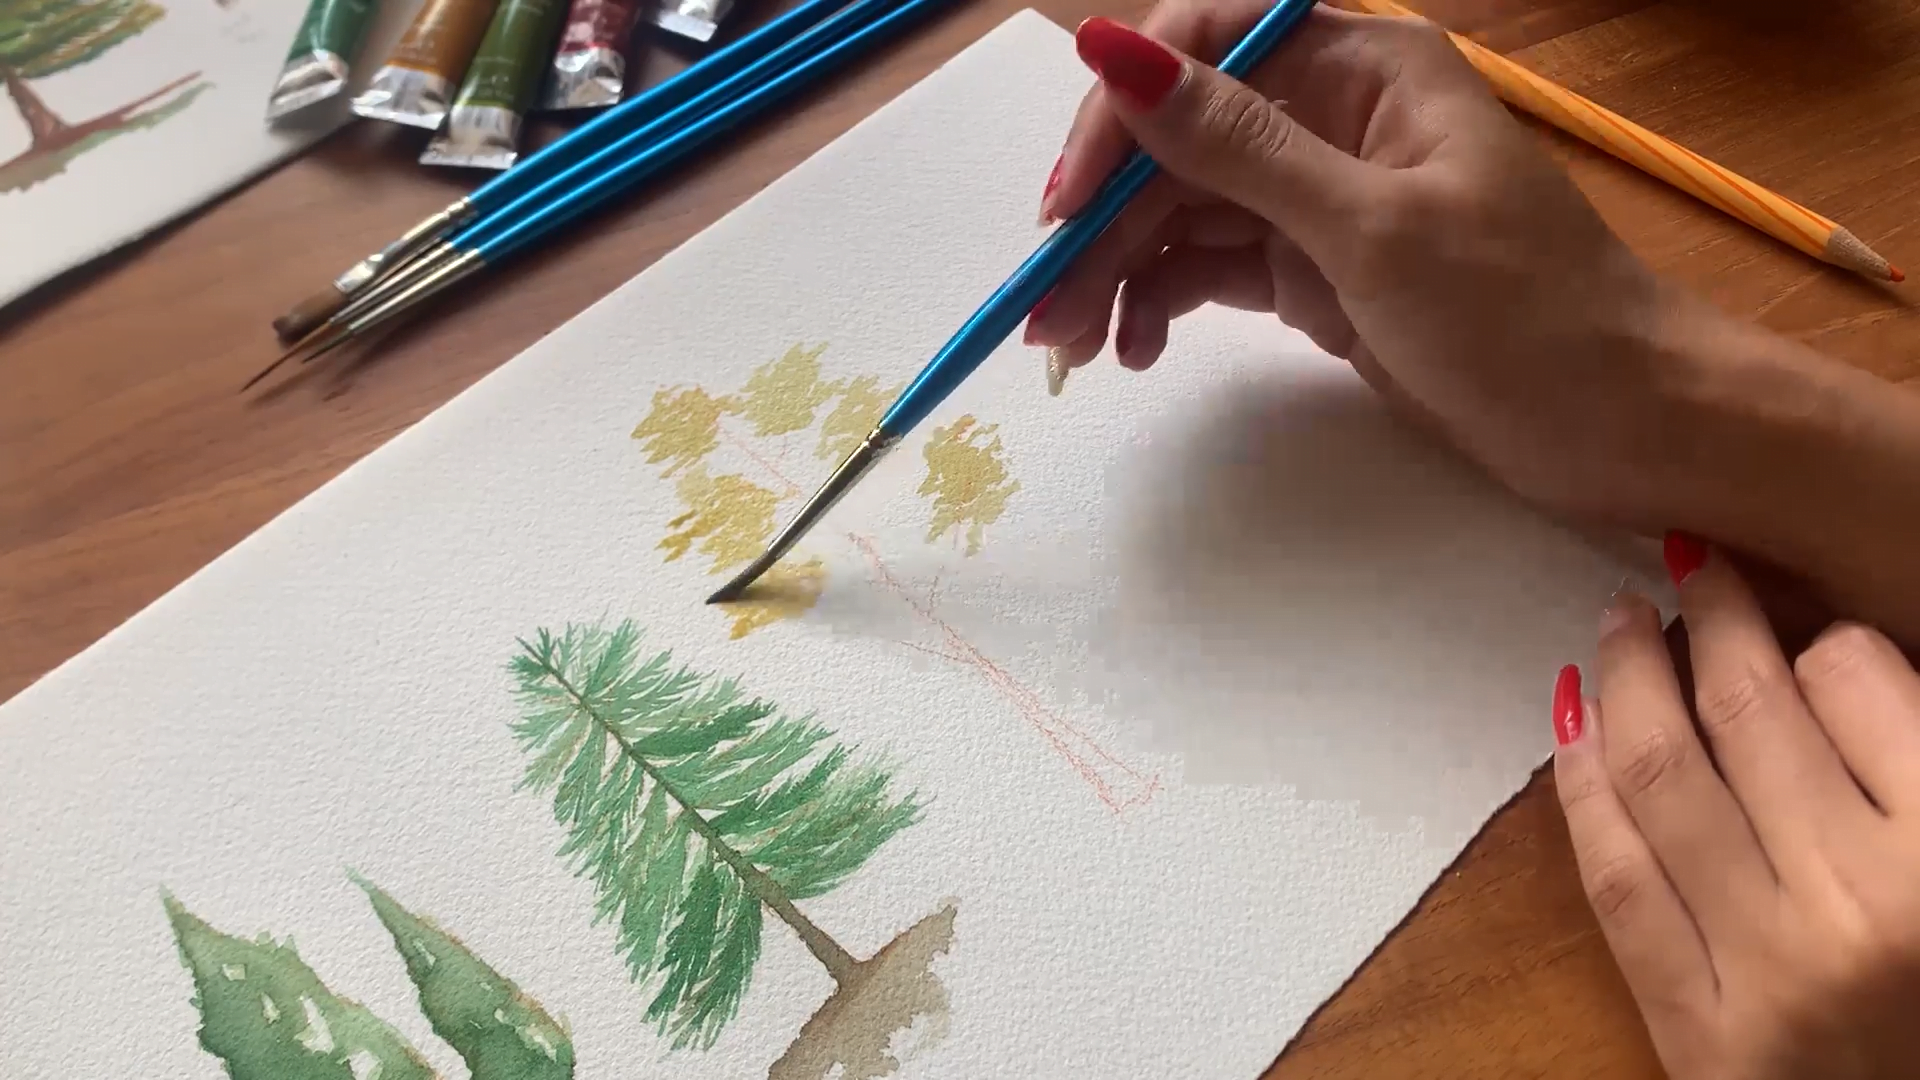
I’ll start with light green mixed with yellow for the first few patches. This will create subtle highlights in the final look. Again, as I mentioned earlier, feel free to play around with your favorite colors to get the desired look.
Now, I’ll dip more color into the palette and add layers one by one. I don’t suggest using a completely drenched brush, but it should be wet enough so that the layers merge naturally.
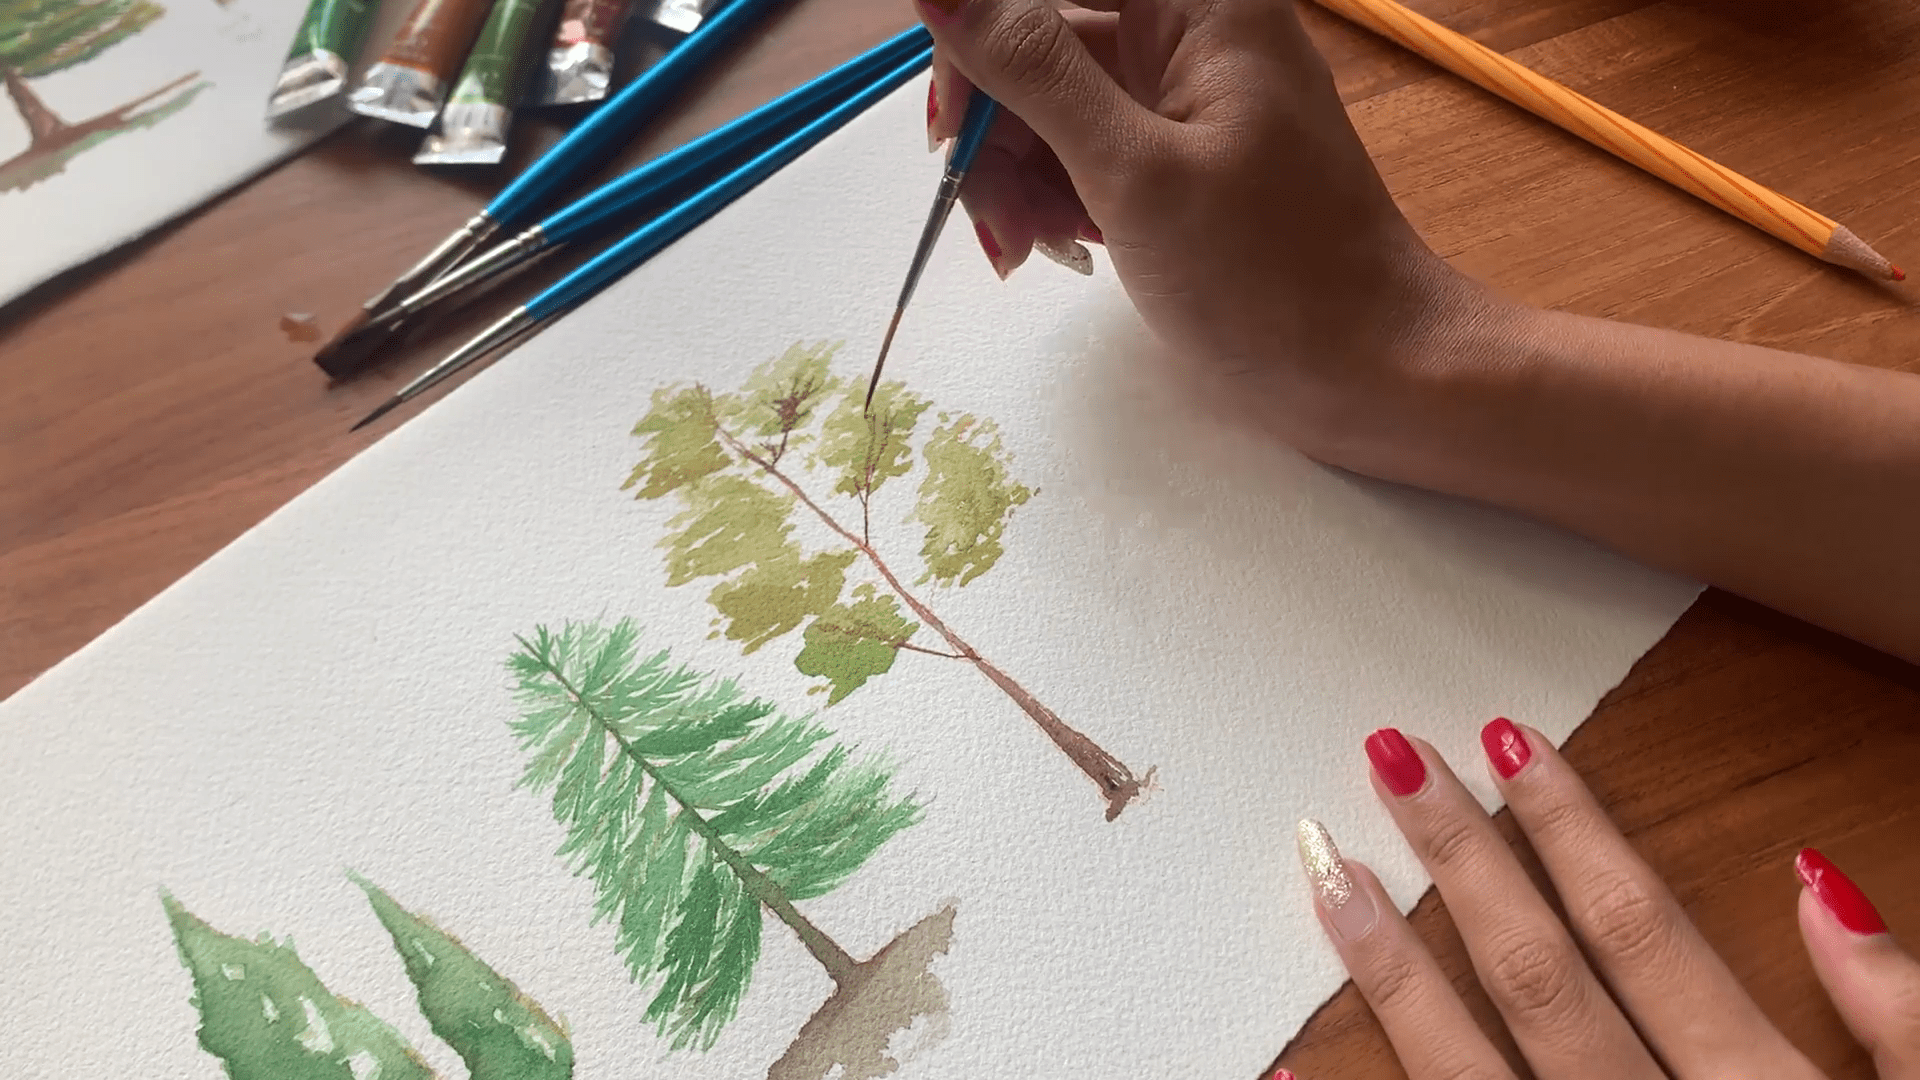
I also recommend adding a bit of red or brown watercolor while painting the trunk and the branches. To create smaller twigs, I'm using a thinner brush for more precision.
Thereafter, simply add more layers of paint to create a sense of volume and depth within the tree leaves. And that completes your aspen tree!

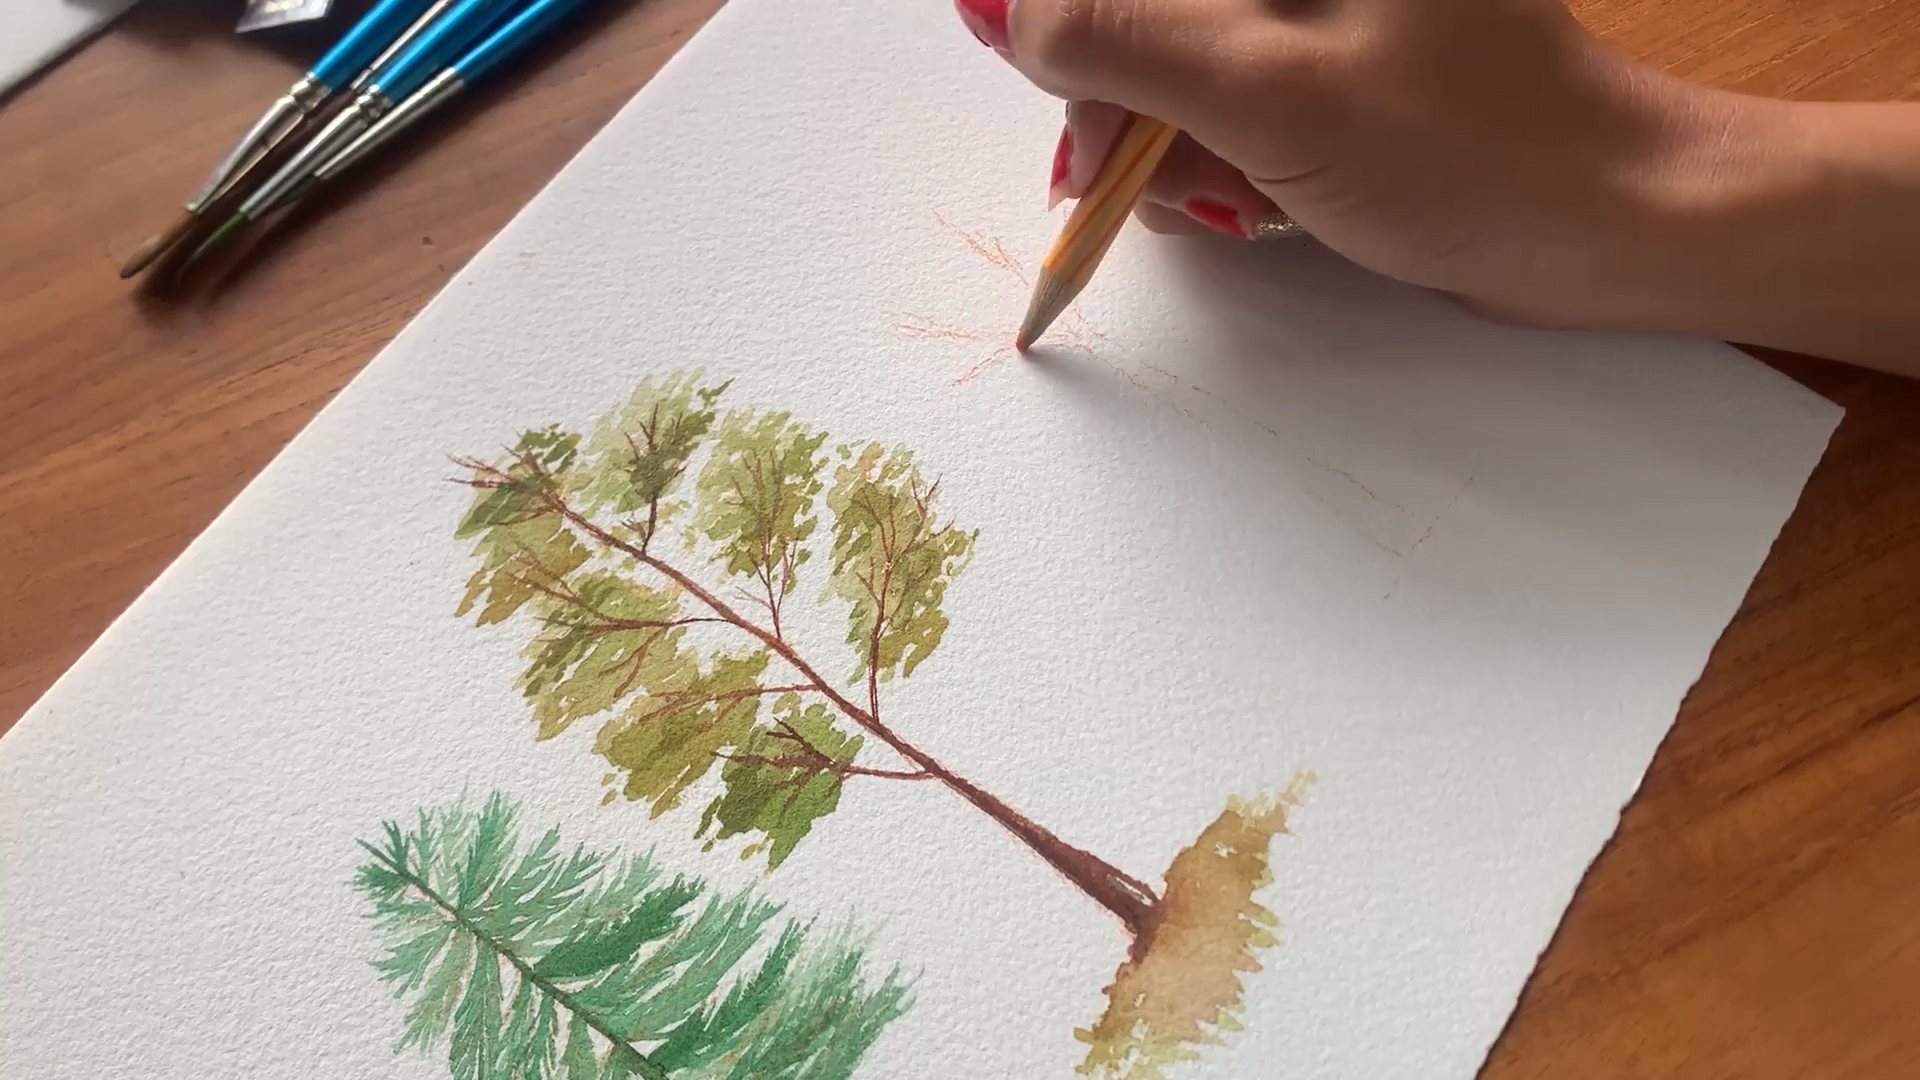
Lastly, I’ll make a teak tree, probably the most common of them all. So, if you want to learn how to paint just one tree out of the four, I recommend this one as you’ll be drawing this a lot in landscapes.
Just as we did for all the trees, draw an outline of the trunk and the branches with a very light hand. I reiterate this because even if you end up drawing an extra branch, you can always hide it with more paint.
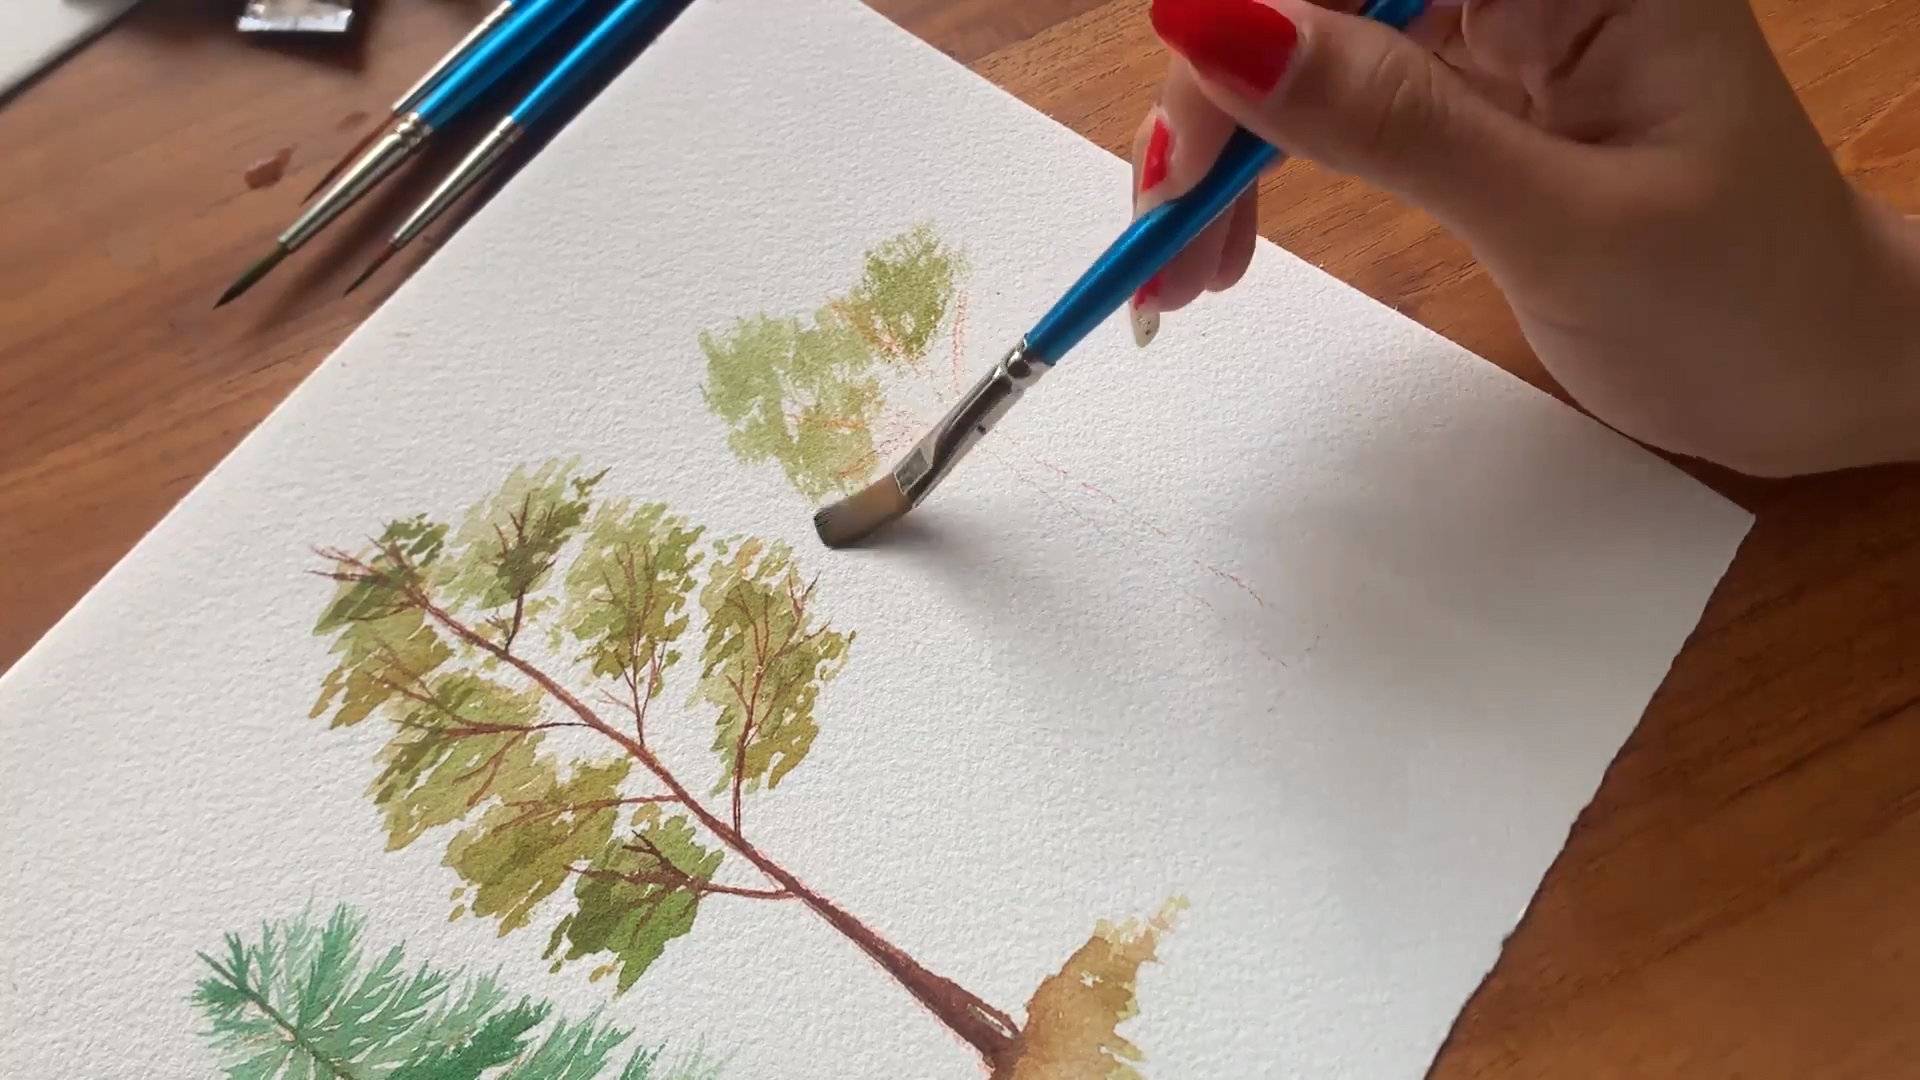
This time, I’ll use a wider brush and keep it dry to create a textured look. As you can see, this helps me replicate the look of a teak tree more accurately. It gives it a somewhat hazy effect, so this technique will come in handy in your future artworks too.
Slowly, I’ll add more layers using the same technique. Keep in mind that the brush is not completely dry - or else it won’t pick up any watercolor. It’s just damp enough to stay pigmented but dry enough to create this texture.
As you can see, the more color I use, the more voluminous the teak tree looks.
Now, for the details, I’m coming back to my round brush so that I can paint with more precision. I’m also adding a hint of red to the trunk for a more vibrant and fresh look. And I’ll use the same red with green watercolor to paint the soil.
With a few more finishing touches, the teak tree is ready. And that completes my artwork for the day!
And there you have it - with just a few colors and art supplies, now you know how to paint four different types of trees in watercolor. Well, I had a lot of fun painting these trees, and I hope it was the same for you.
But before I take my leave, I want to emphasize the fact that practice makes perfect. Your first attempt at painting may not meet your expectations. But don’t be afraid to experiment with different colors, techniques, textures, and subjects.
Take your time to observe trees in nature and study their unique characteristics, like their shape and color. This will help you capture their essence in your paintings.
Don’t want to paint trees? No problem, move on to another subject, an urban environment might be up your alley, here is a beginner guide on how to paint the Le Consulat Paris coffee shop while for a more dramatic but extremely simple painting experience, you could try to learn how to paint a sunset with watercolor.