Expertises: Art, Pastel, Brush, Drawing, Pencil
Updated on

Inspiring Ideas for Modern Home
Watercolors can be intimidating for beginners, considering how translucent and fluid they are.

If you use less water, there will be no pigment. Use too much, and the colors will start to bleed! However, it’s an affordable art medium, and the result of watercolor painting is always rewarding, regardless of your level of expertise in using them.
Today, I’ll cover the essential techniques and materials you’ll need to create a stunning sunset painting in watercolor. From selecting the right colors and watercolor brushes to employing the right method for a realistic effect, I’ll walk you through the entire process step by step.
Even if you’re a beginner - no need to feel nervous! I will give you the confidence and knowledge to create a sunset painting that you can be proud of, but if you feel like you need an intro to watercolor, this beginner-to-expert guide on watercolors might come in handy!
Before starting with the process, it is essential to check if you have the right art supplies. Although you don't need to use the exact products I’m using, it definitely helps to find the tools that ease the process.
I’ll be honest - choosing the right brush may take some time. Besides selecting the right brush size, you should feel comfortable holding it. So, try out some options before settling for a particular brand, it takes years and years to find the best watercolor paint for you, and that's perfectly normal, we are discovering ourselves through painting.
That said, here are the items I’m using for today’s artwork:
Paint: Daniel Smith George Politis MA Set 1 6x5 | Paper: Arches Watercolor Paper Cold Pressed 300gsm | Brush: Princeton Aqua Elite Professional 4 Piece Set 4850
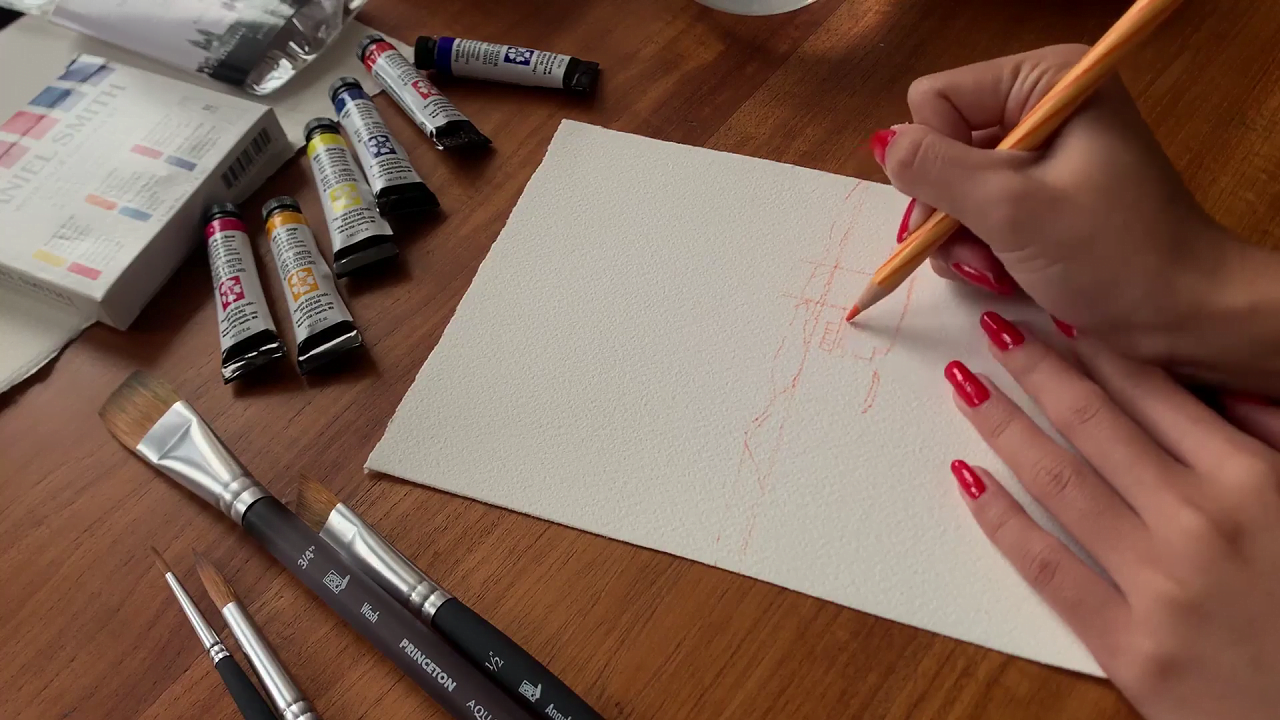
I’ve been painting for quite some time now, and I’m quite comfortable creating landscapes. However, I still prefer starting off with a rough sketch to avoid any mistakes while painting. Doing so also helps me create a mind map of the composition.
I’m using a light orange colored pencil to sketch the sea, adorned by a range of hills. I’ll also add a little boat in the foreground. Remember - this is just the first draft, so the sketch need not be very detailed. As long as it helps you paint later on, you’re good to go.
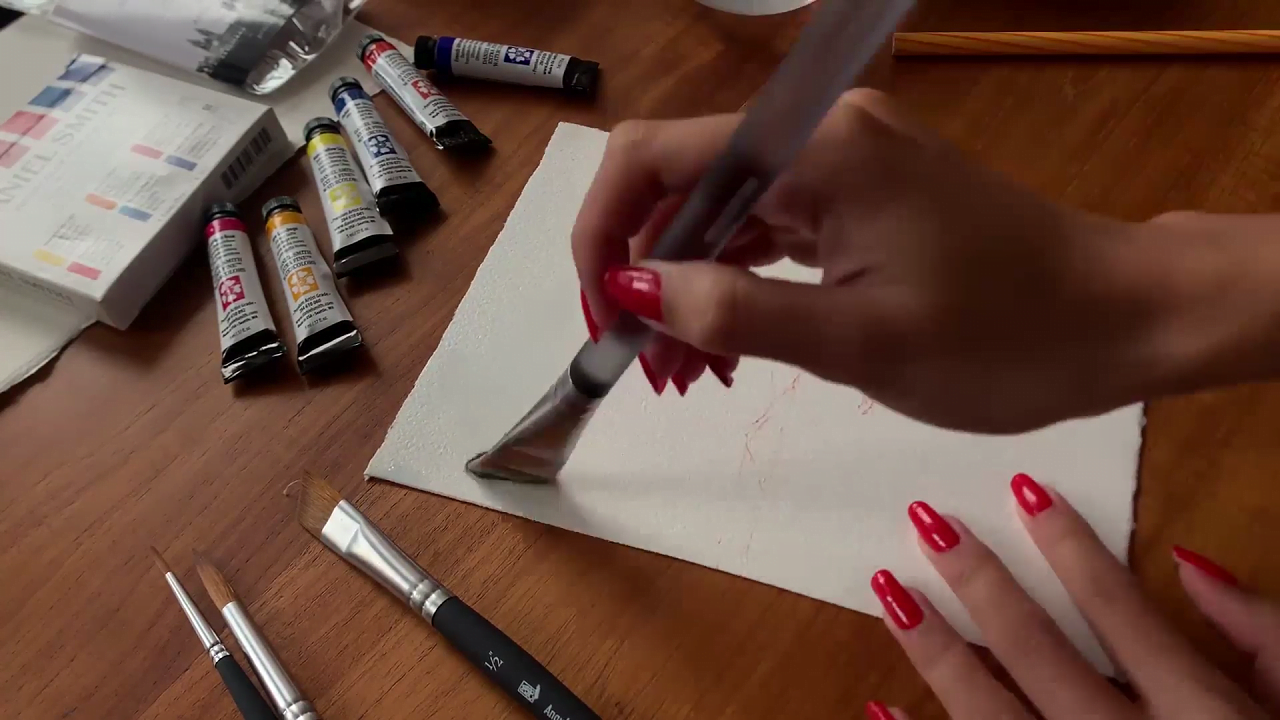
Yes, you read that right! Simply take a wet brush with no paint, and swipe it across the scenery. This is the wet-on-wet technique, and it helps create realistic landscapes, especially if the painting features a water body. Shading and blending also become easier when done on a damp surface.
So, whether you’re creating a sky that’s slowly changing colors or a ripple effect in a pond - the wet-on-wet technique is the ideal approach.
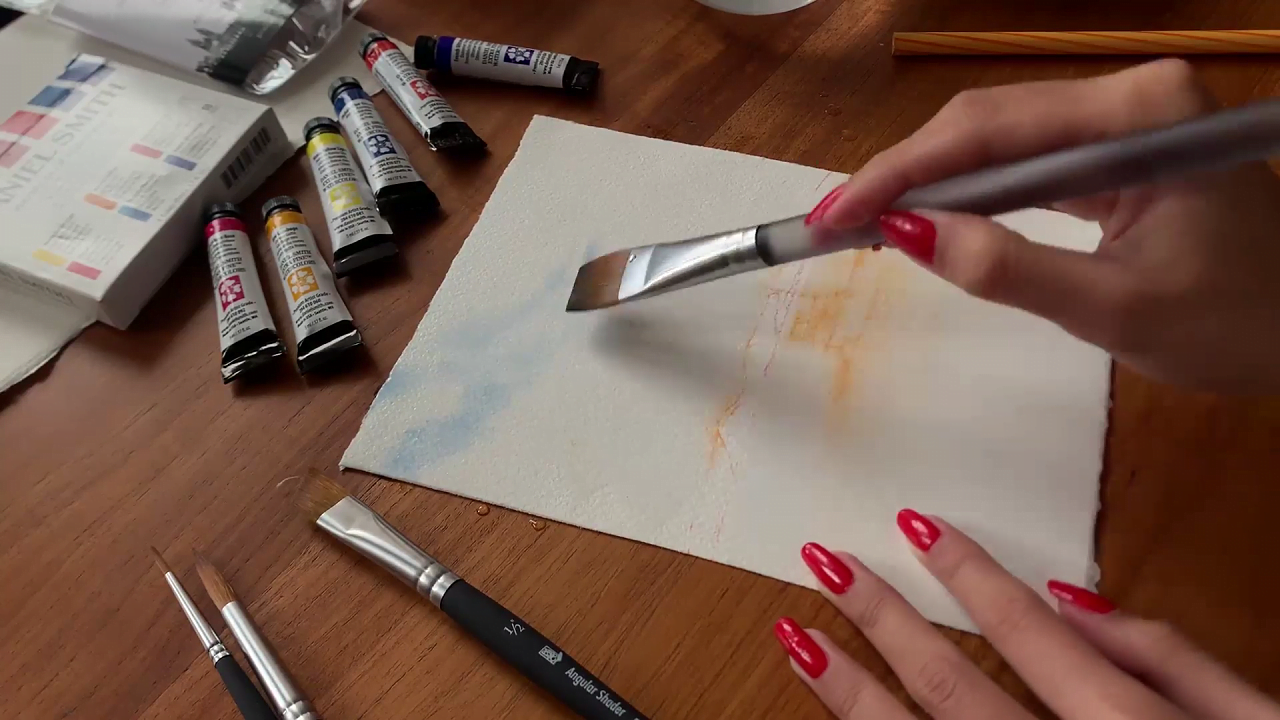
Now, I’ll slowly add colors to the sketch. Remember - less is more, so dip your brush just a little bit in the desired color, or else it might end up creating a huge blob on your painting!
Also, this is just the first layer, so you don’t have to be precise. You can either start with the sea or the sky. As you can see, since the watercolor paper is already damp, the colors blend beautifully into one another.
Of course, you could use white paint over the sky to make clouds. But that won’t look as natural as leaving a few empty spots while painting the sky with blue, orange, and red.
You could experiment with more colors like pink and purple for a mystical vibe. I’ll stick to the basics today but don’t be afraid to experiment. Let your imagination flow - just like these colors on the damp paper!
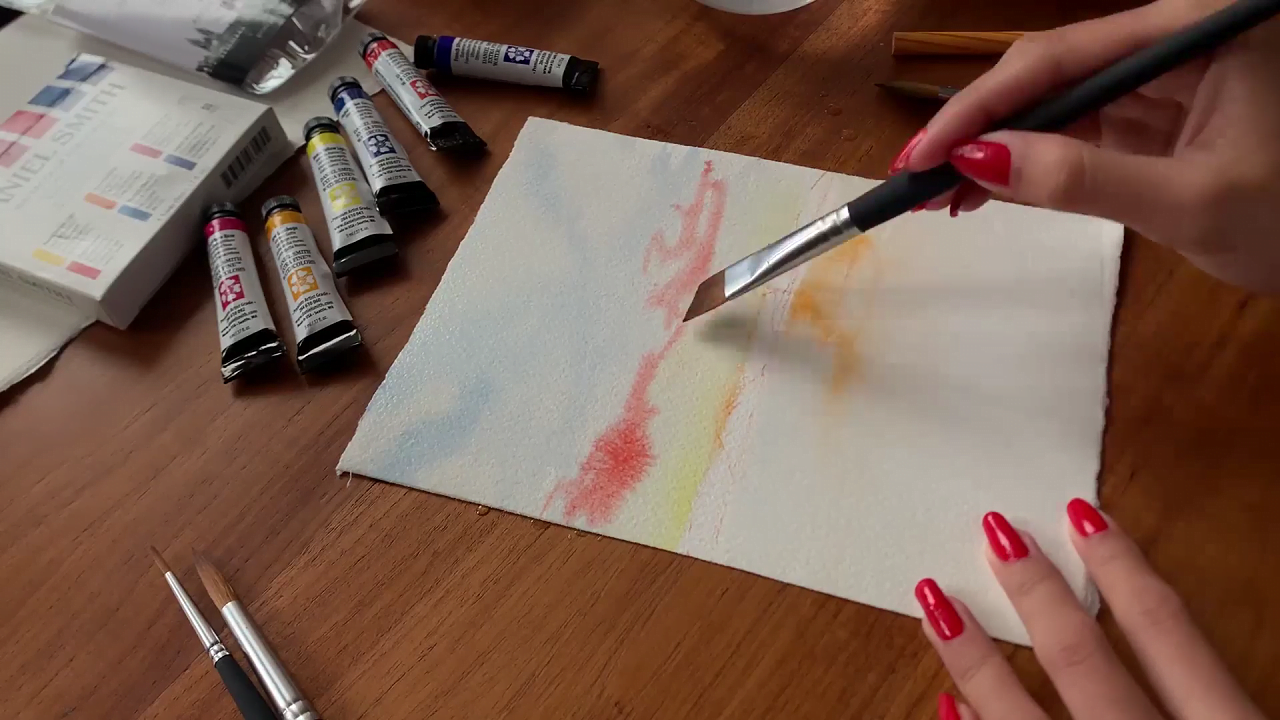
Now, it’s time to reflect the sky onto the sea. You can simply reverse the order of colors you used in the sky since we want the water to reflect it.
Of course, you don’t have to match the sky with the sea exactly - where’s the fun in that? Simply use the same colors and paint as you wish.
I’m starting with yellow and slowly proceeding with red and orange. Here, I want to emphasize that blending is key. Geez - almost sounded like a beauty guru on YouTube!
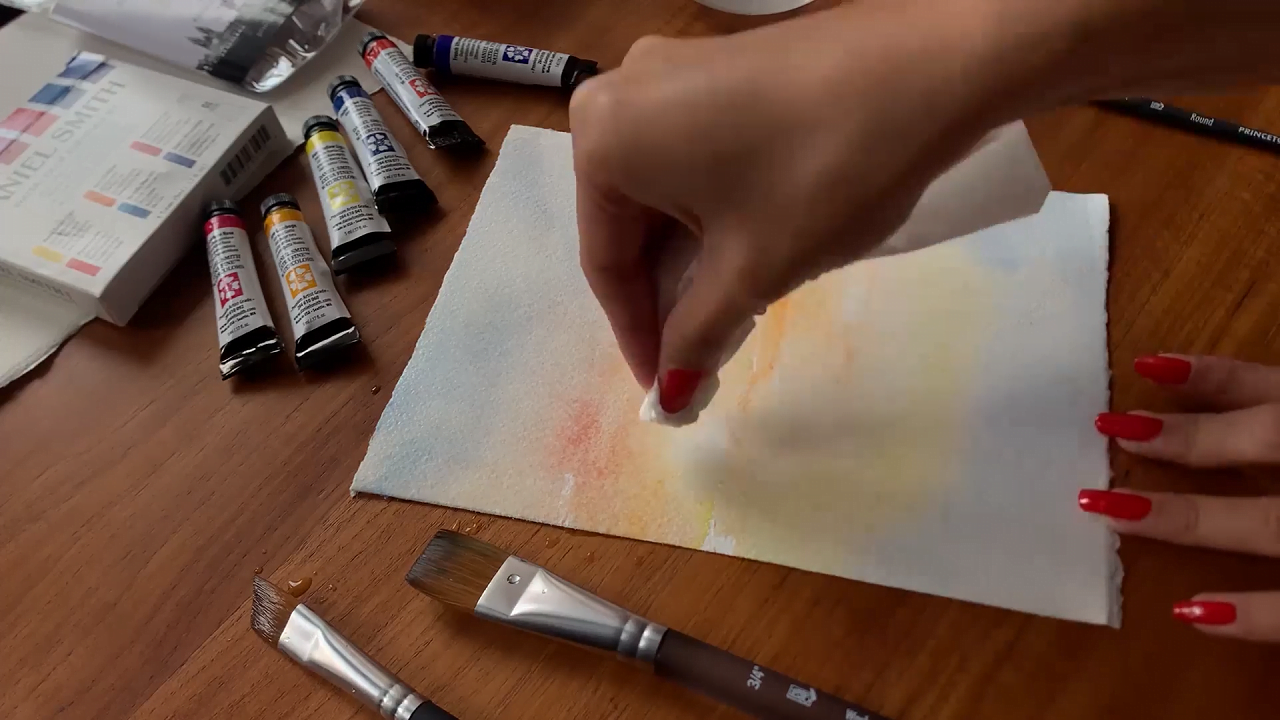
Remember the spaces you left for the clouds? It’s time to highlight those as well as create a small circle for the sun with tissue paper. I know today’s painting almost feels like a kindergartener’s art project, but trust the process!
The tissue will help absorb the pigment, creating a faint “light” effect. So, I’ll start by creating a small circle on one side of the sheet - that’ll be the sun.
Next, I’ll wipe off some portions of the sea to depict the sun’s glorious rays dancing on the calm waters. Similarly, I’ll create some clouds in the sky.
As you can see, using tissue paper, as opposed to simply painting the clouds white, allows you to create “softer” clouds and an overall blurry effect. And that’s exactly what I want!
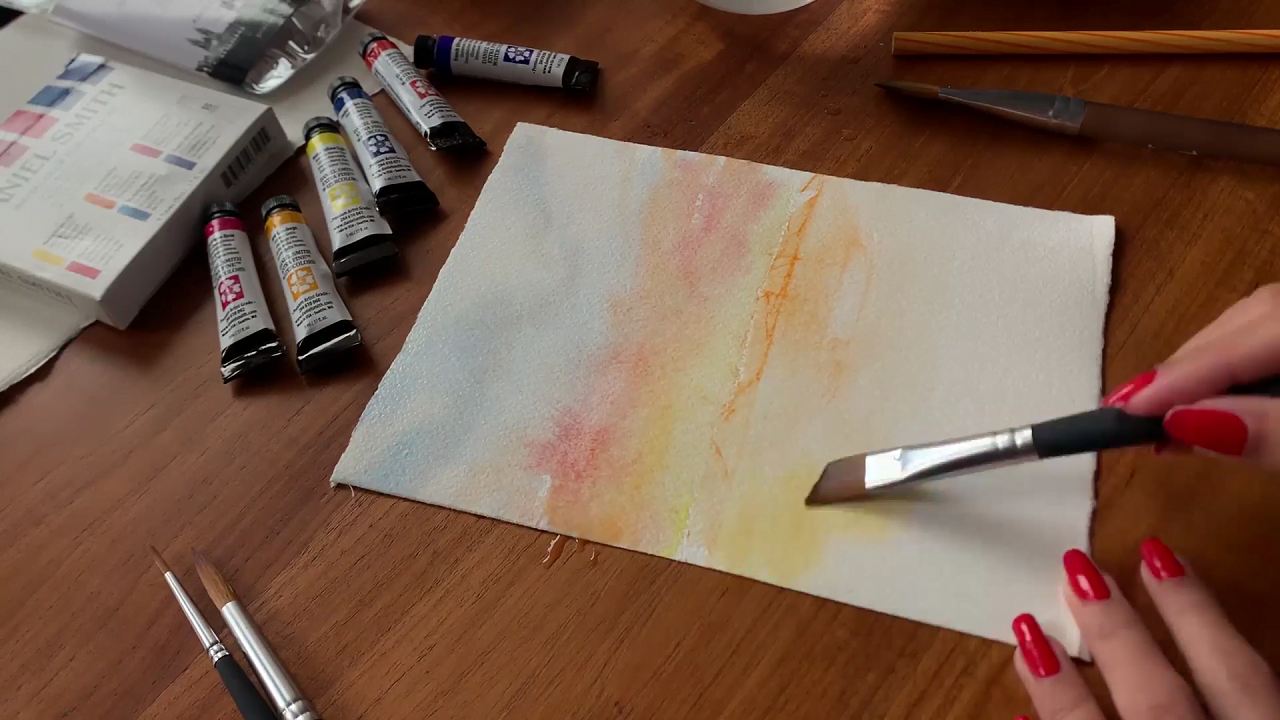
Now I’ll switch to a flat brush and add a layer of blue to the sea. Again, I’m using a very light flush of color and only going darker where I want to. Even if you’ve already planned to use darker colors in certain areas, it’s always safe to start with a light consistency. You can build up the saturation slowly by adding more layers of paint.
Next step onwards, we’ll be focusing on the details, so let this layer dry before proceeding.
Well, patience is a virtue, which I lack, so let’s start painting the hills!
On a serious note, though, if you’re impatient like me, just make sure that the area you’re going to paint on is dry. For instance, I just finished painting the sea, so I’ll avoid adding details to it until it’s dry. On the other hand, the sky was untouched for a couple of minutes, so it’s safe to start painting on it.
Coming back to the hills, I suggest starting with a light consistency to paint the first few hills. You can increase the saturation as you paint more hills, thereby creating a sense of depth in the painting.
This simple technique can make a world of difference in the mood and composition of the painting, giving it a more realistic effect.
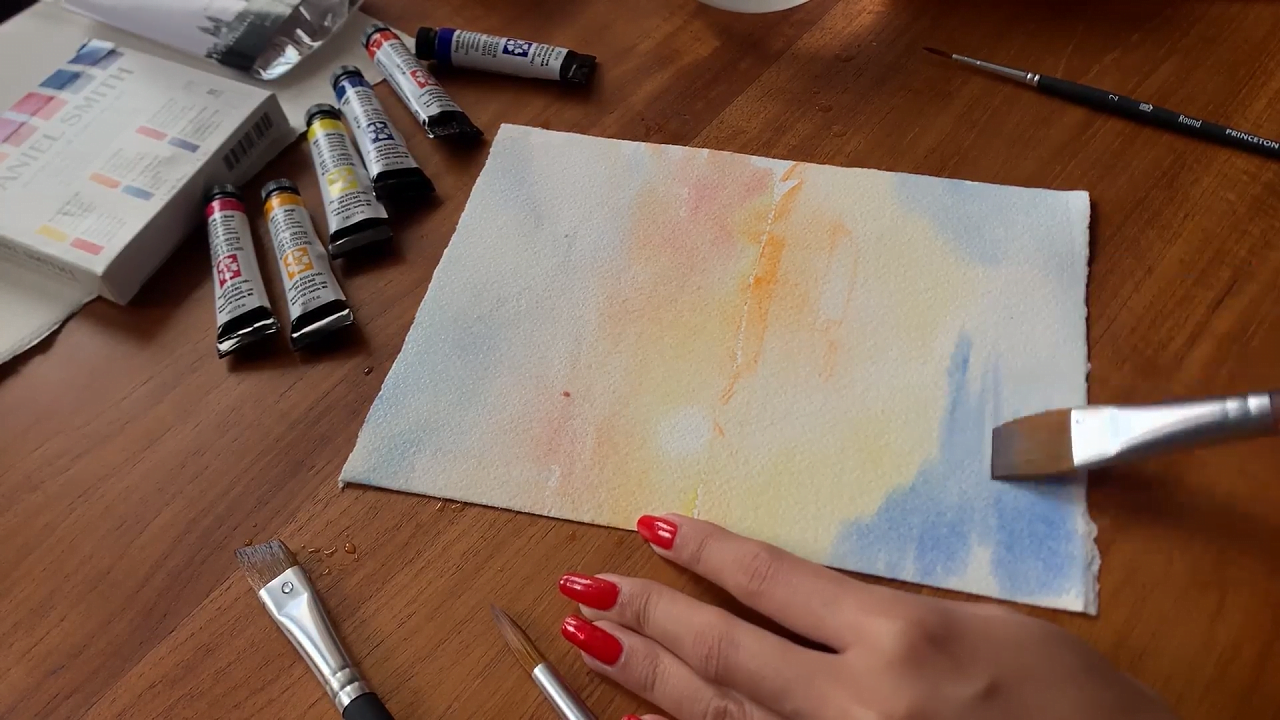
Next, I’ll add a bit of yellow around the sun and adjust the saturation as needed. I’ll further add a bit of orange to depict the changing colors of the evening sky.
For the clouds, simply add layers of yellow, orange, and blue around the blank portions. Also, adding a bit of purple here and there will create a dramatic effect, and I’m all for it!
However, you should not feel limited to just these colors and experiment with your favorites instead. Go all out with neon green if that’s what you like. After all, the sky’s the limit!
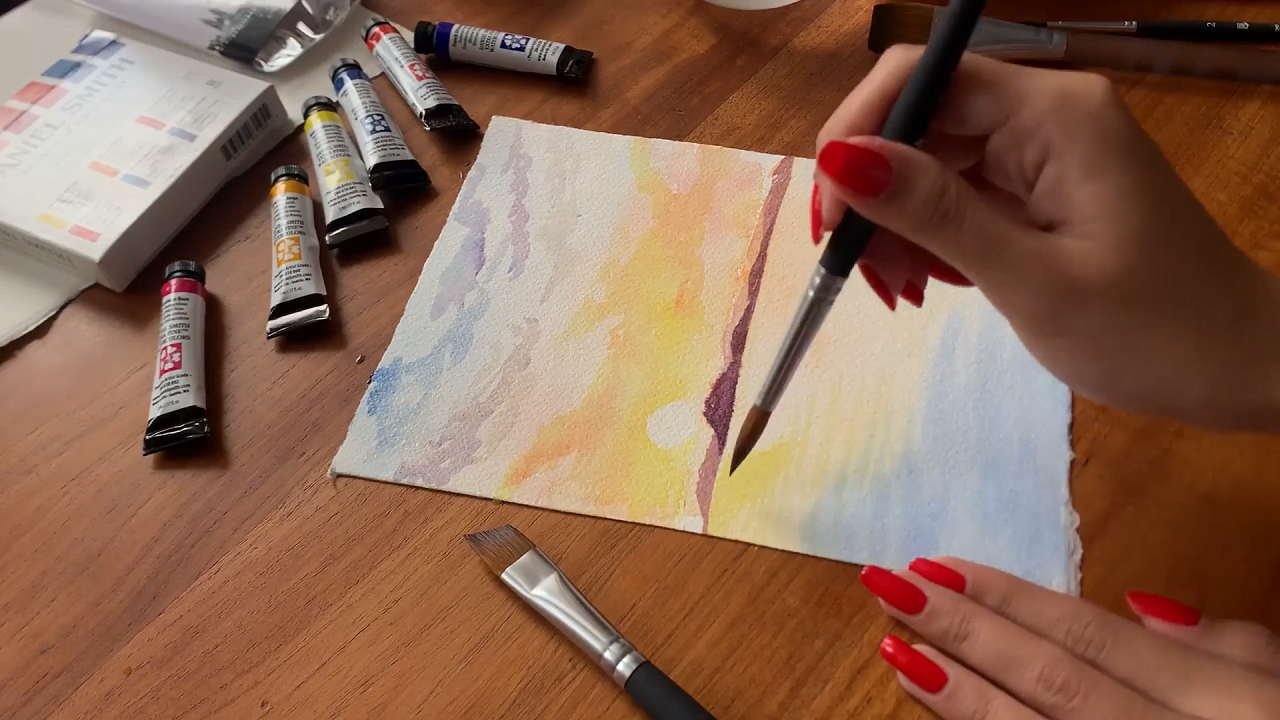
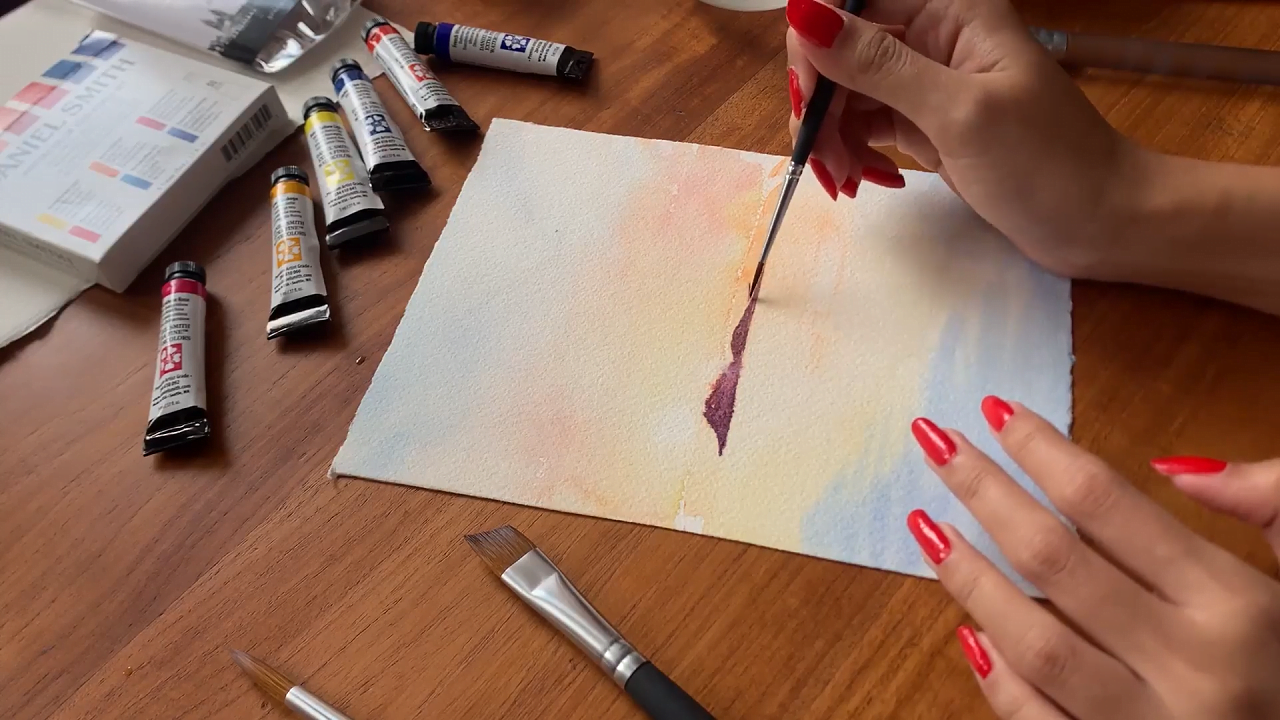
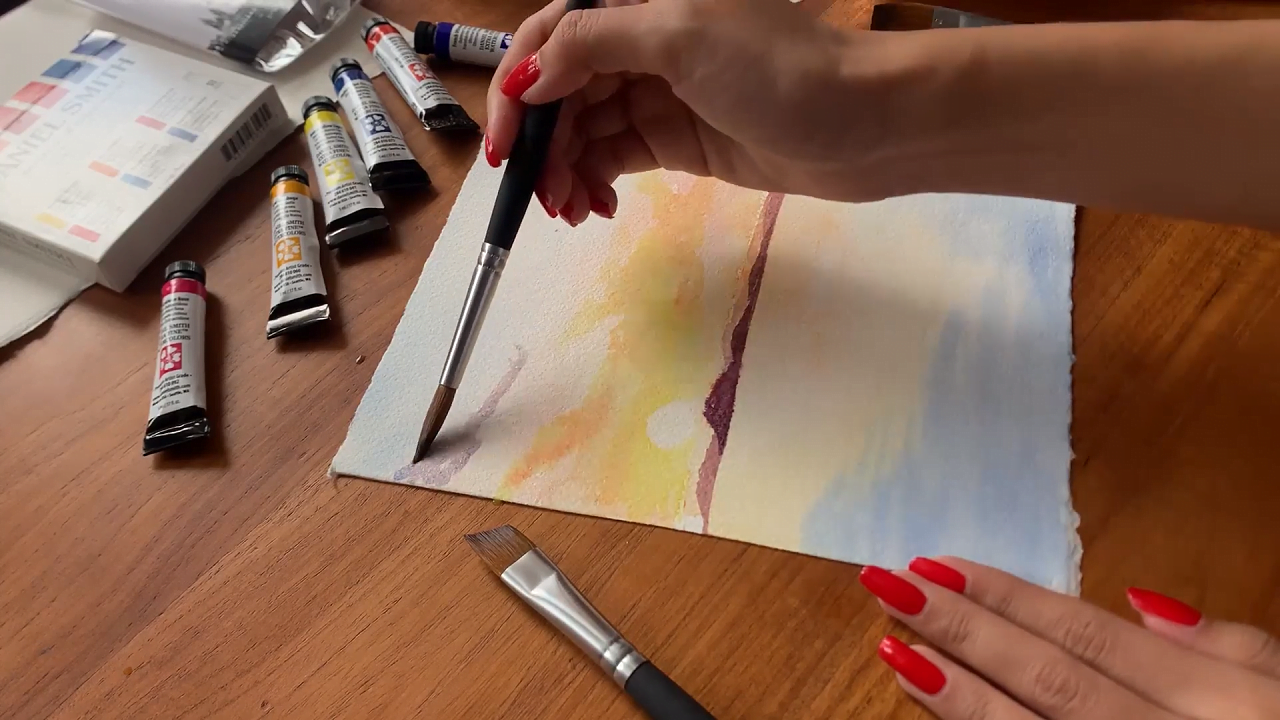
Once dry, I’ll proceed to add some details to the sea. First, I’ll paint some yellow strokes right below the sun to capture its rays onto the calm sea.
Notice how I’m using horizontal strokes all along? Well, that gives the water body a realistic “ripple” effect. Unless you want to depict movement or some sort of disturbance in the sea, I recommend sticking to horizontal paint strokes only.
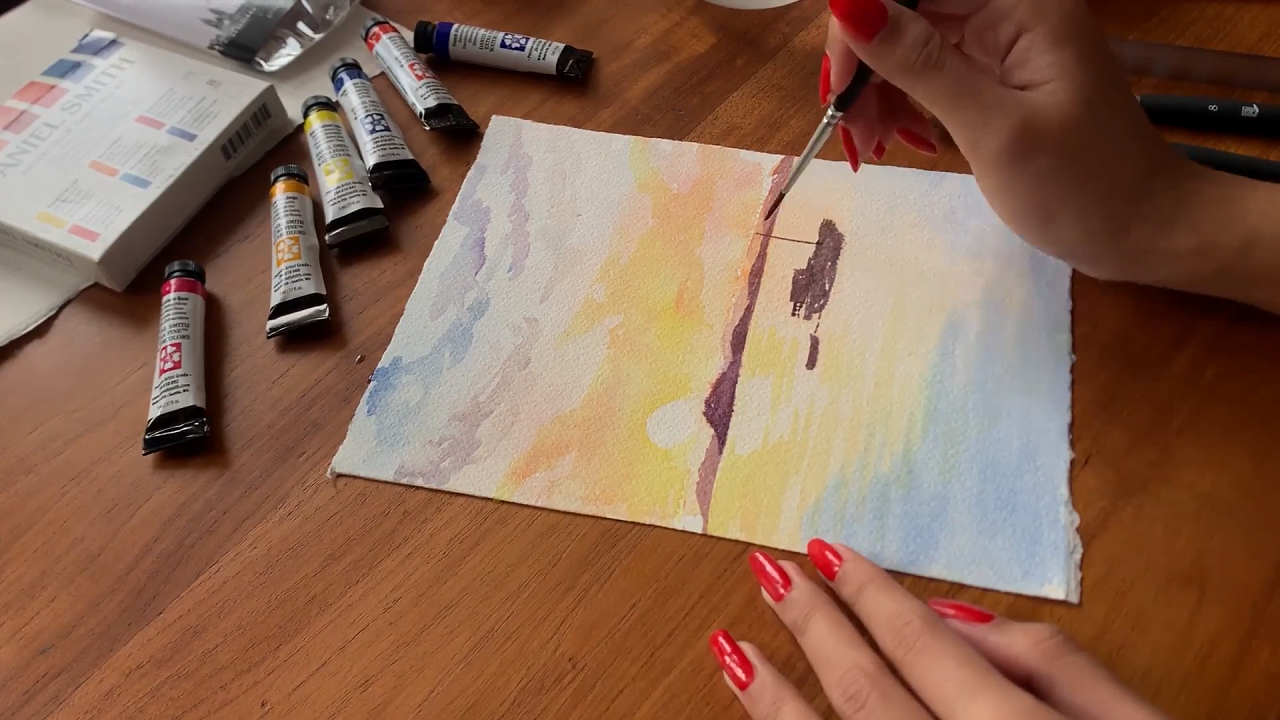
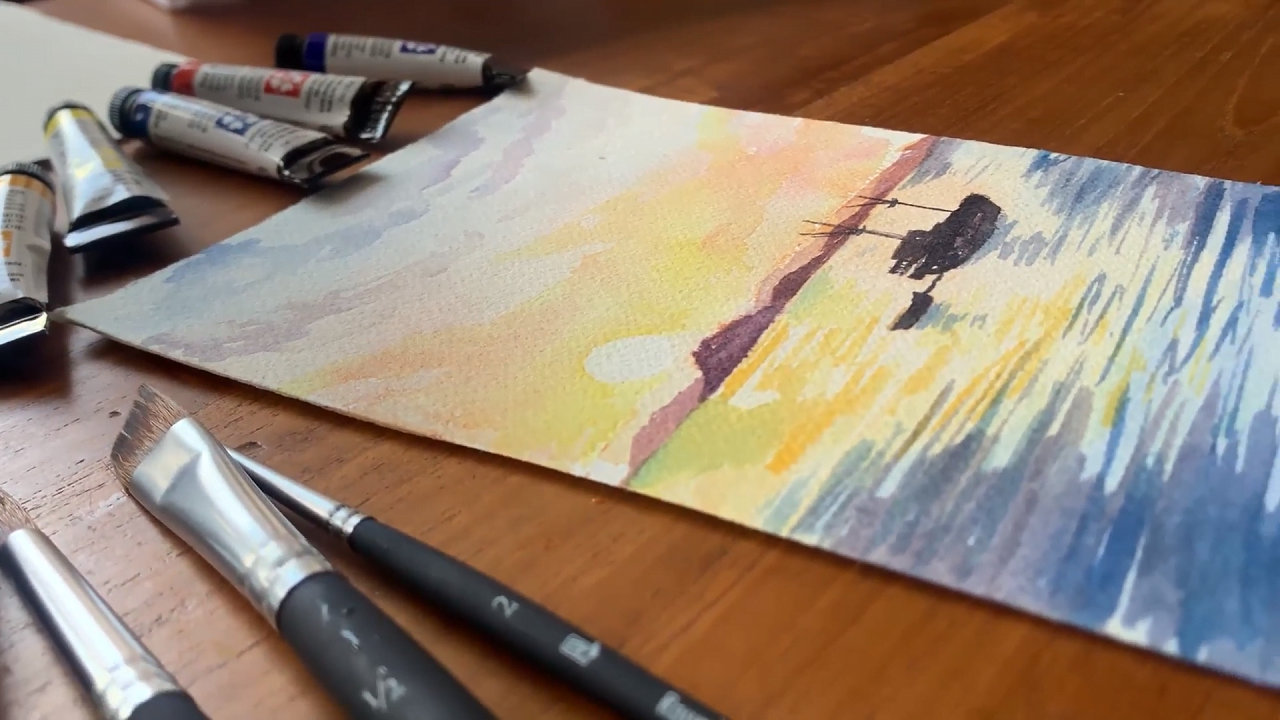
Now, I’ll use a thin brush and paint a cute little boat gently bobbing on the sea. Again, I’m painting very lightly to get the initial structure of the boat right. Once I’m happy with how it looks, I’ll add darker strokes and details.
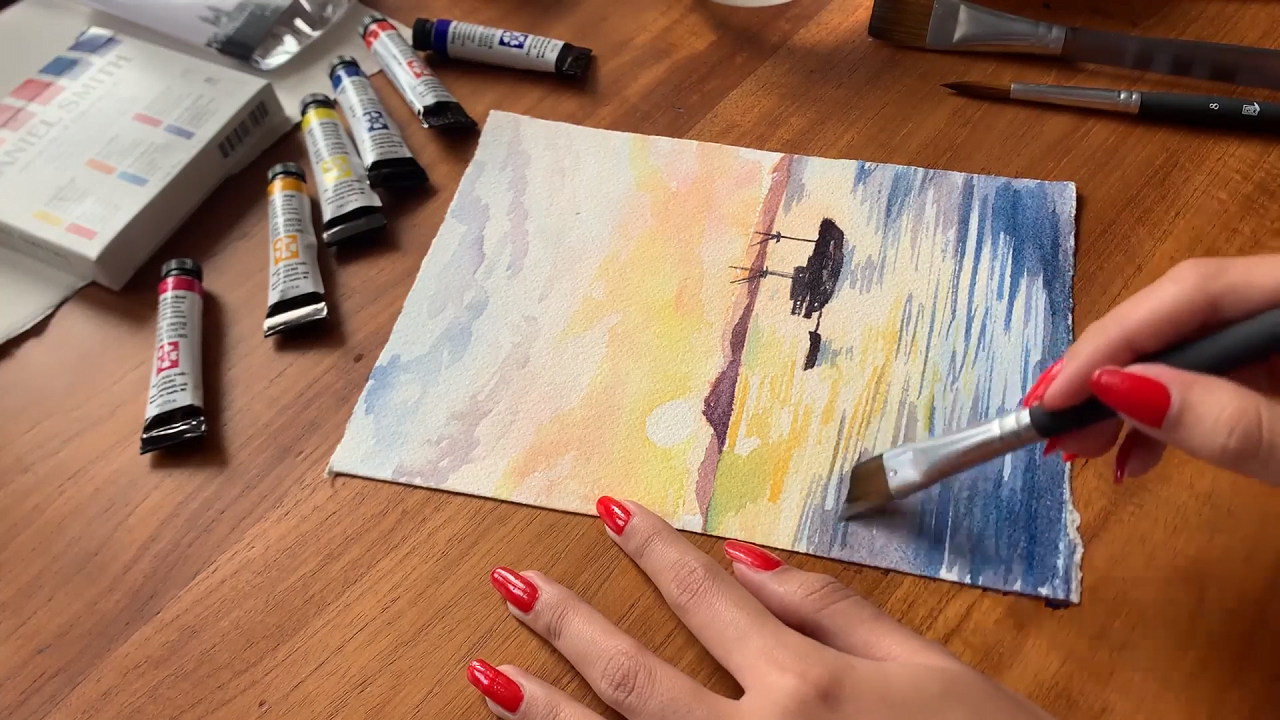
To complete the painting, I’ll add more strokes to the sea. Consider dark blue or purple and warmer tones of yellow. Don’t forget to create shadows below the boat!
And just by adding a bunch of horizontal strokes on the water, the painting is slowly coming to life. You can add as many or as little details as you want. At the end of the day, it’s your painting, and you get to decide how to go about it. So, you do you!
And there you have it - a beautiful sunset you can come home to every single day. You can frame the painting and place it in your bedroom. Or, show off a little by hanging it on the living room wall - your guests will surely notice it!
However, if your first attempt at painting a sunset did not meet your expectations, don’t worry. It takes time and practice to truly capture nature’s beauty on paper. So, experiment with different colors, brushes, and techniques, and let your creativity shine! The tutorial on how to paint trees in watercolor might come in handy as smaller elements might be easier to digest initially, but if a scene is still what you are looking for, I'd suggest trying out the watercolor lotus tutorial.