 Reviewed by
Anton Giuroiu
Adding mass to the ceiling is the best way to soundproof a basement. However, if you can spend a bit more, adding resilient channels to the structure will eliminate noise coming from the floor overhead to a great extent. The easiest, most affordable way to handle sound absorption however is to apply foam, cotton, fiberglass or polyurethane acoustic panels directly on the basement ceiling, hanging ceiling baffles can also increase sound absorption.
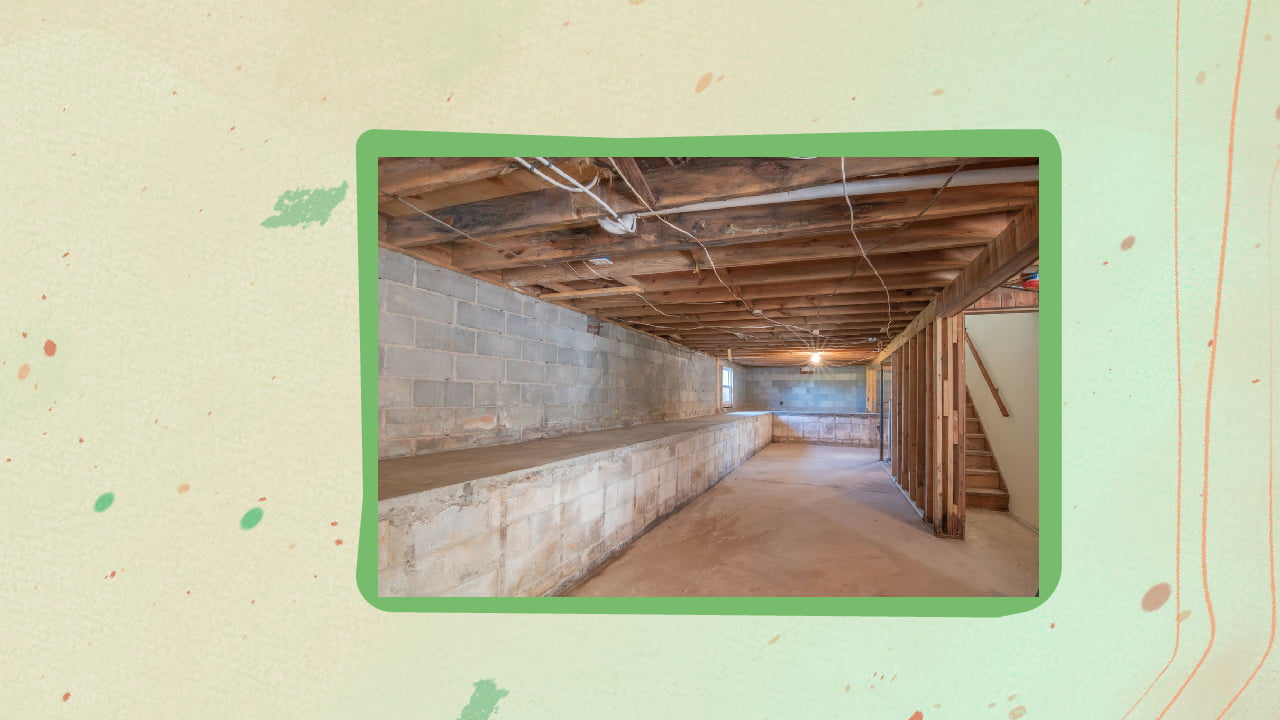
One of the worst things about modern life in the city is noise, especially construction noise in the neighborhood.
But you have the freedom to turn your basement into a soundproof haven and relax in that quiet space. What’s more, a soundproof basement ceiling will allow you to throw basement parties or continue jamming sessions without disturbing anyone.
Let's start this article with a disclaimer, by creating a big distinction between soundproofing and sound absorption from the get-go though:
Soundproofing translates into the act of preventing sound from entering or exiting a space by using materials that block or reduce sound waves. Soundproofing materials are usually dense, thick, and heavy, such as drywall, mass-loaded vinyl, and acoustic foam, the most common soundproofing method is thus adding mass to existing partitions.
Sound absorption translates into reducing or eliminating sound by using materials that absorb and dissipate sound waves. Sound absorption materials, such as acoustic foam and fabric-wrapped panels, convert sound energy into heat energy, which is then dissipated into the environment, and thus adding acoustic panels to your basement ceiling is sound absorption method, not a soundproofing method.
To make this article a bit easier to read, and because popular culture uses the term soundproofing loosely for the general act of minimizing sound I will use it too, just not to get hanged up on technicalities but please do note in the filed of acoustics these two terms are not interchangeable.
Interested to know more? Then read on till the very end!
Basement Ceiling Soundproofing 101
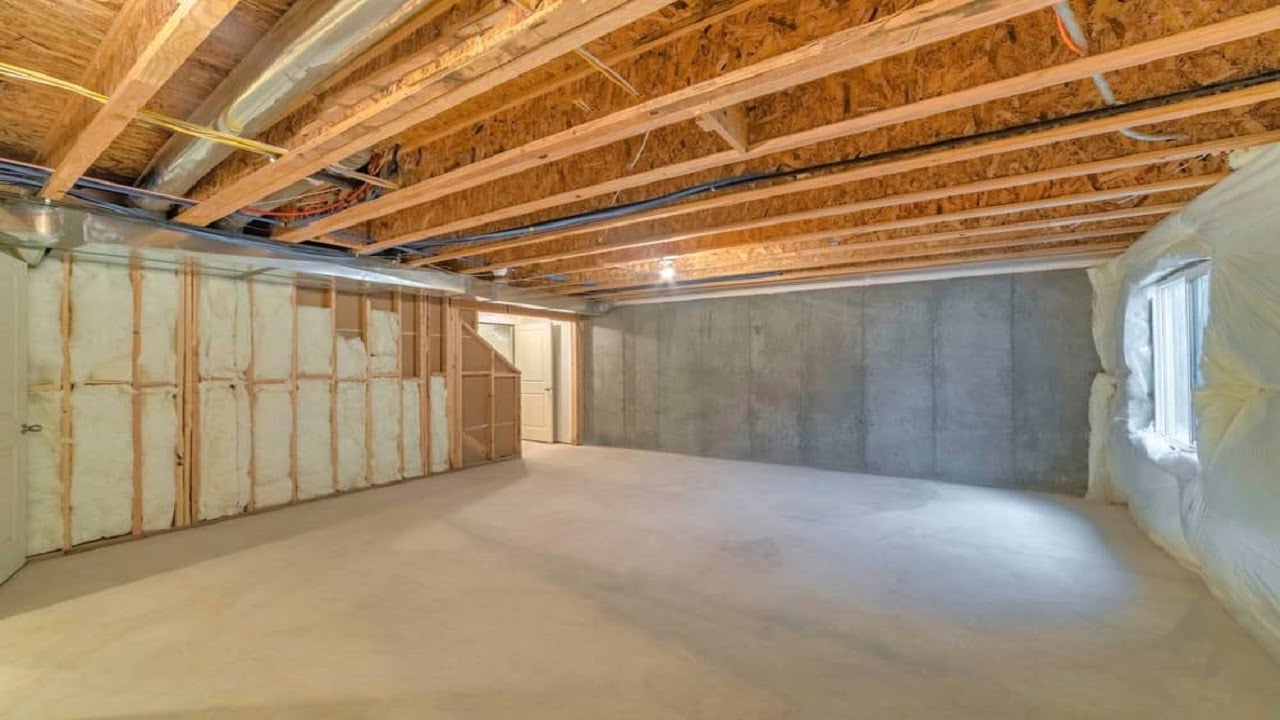
What Type Of Noise Enters The Basement?
So, do you know what type of noise enters the basement?
Knowing the types of noise that get into the basement is important when it comes to soundproofing a basement ceiling. And if you aren’t much into DIY home renovations, you probably won’t know the type of noises that usually invade such spaces.
Basically, two types of noise break through the basement ceiling– airborne and impact noise. Traffic-related vibrations are also likely, though these are rather difficult to solve at later stages.
Since the first floor of any building is the busiest, you’re likely to encounter both types of noises in the basement. Whatever sounds you hear in your basement fit in either of the two categories.
Here I’ve discussed the two types of noises to help you decide which solutions would be effective for a basement ceiling soundproofing project.
1. Airborne Noise
As is understood, airborne noise refers to the unwanted sound that travels from one place to another via air after leaving its source. When the sound waves collide with a structure, some energy passes across while a fraction of it is reflected, and the remainder is absorbed.
Either airborne noise reflects off the ceiling or floor or passes through them to the basement.
Your toddlers screaming in the nursery while playing or your teenager blaring loud music on speakers are classic examples of sound traveling to the basement through the air. A few other examples of airborne noise are:
- Barking dogs
- Conversations between people
- Cars starting or moving down the road
- Radio and television
Airborne sounds can be blocked by adding extra layers to the structure rather than modifying it entirely. But one thing to keep in mind is that some airborne noises are low-frequency sounds, so blocking them completely might be challenging. Like, the sound of an airplane passing overhead or thunder would be more difficult to block than somebody’s footfall on the ground above.
2. Impact Noise
Impact noise, on the contrary, occurs whenever any object hits or touches a surface, because of which mechanical energy is transferred into the structure as vibrations. Later, these vibrations leave as sound waves from the other side.
The sound of the ball hitting the floor or someone thumping their feet while climbing stairs are classical examples of impact noise. Some other examples of impact noise are:
- Moving furniture
- Water sloshing through the pipes
- A construction jackhammer
Impact noises are quite common in basements, mainly because the ceiling is on the first floor of the building. As against all other floors, the first-floor witnesses a lot of foot traffic, which is why blocking impact noises completely is slightly tricky.
Since they travel through the flanking, you might have to modify the structure of a building to alter or distort the direction of these sound waves.
Common Types Of Basement Ceilings
More often than not, soundproofing projects are DIY unless you wish to make structural changes.
Before you start the project, it’s important to know about the different types of basement ceilings, so you can understand how the two types of noise enter the space. Also, the soundproofing solutions you opt for will depend upon the type of ceiling you have in your basement.
Here’s a quick rundown of the common types of basement ceilings.
1. Dropped Ceiling
Also known as suspended ceilings, dropped ceilings are a sought-after option for basements.
Drop ceilings are fixed beneath the structural ceiling and feature lightweight tiles that are attached to a grid, which hangs from the joists overhead. Therefore, you get a large cavity to work with, and you can employ the principles of a decoupled ceiling.
In a drop ceiling, noise transfer is no doubt high, but it can be soundproofed effectively, which means you can use a variety of soundproof insulation materials.
2. Exposed Joists
Exposed joists, often referred to as open ceilings, reveal the bottom of the flooring alongside the joists overhead. Though sound transfer is high in this structure, you get plenty of space to work, which means you get the freedom to employ a variety of soundproofing methods.
On top of that, you won’t have to prep the surface to add soundproofing materials, which further cuts down the cost.
3. Finished Ceiling
Finished basement ceilings are often made up of drywall sheets that are fastened to the floor joists overhead. A finished ceiling may not have insulation material lodged in the cavity.
The opportunities to soundproof such a ceiling are limited unless you tear down the original drywall to add soundproofing materials. And it will double the cost, which means you might end up overspending on soundproofing.
4. Unfinished Ceiling
As against the finished ceiling, an unfinished basement ceiling is when the mechanical and structural design, such as beams, is left as it is, meaning in its natural state. In an unfinished basement ceiling, you need to start everything from scratch, so you can use whichever soundproofing material you want.
Elements Of Soundproofing A Basement Ceiling
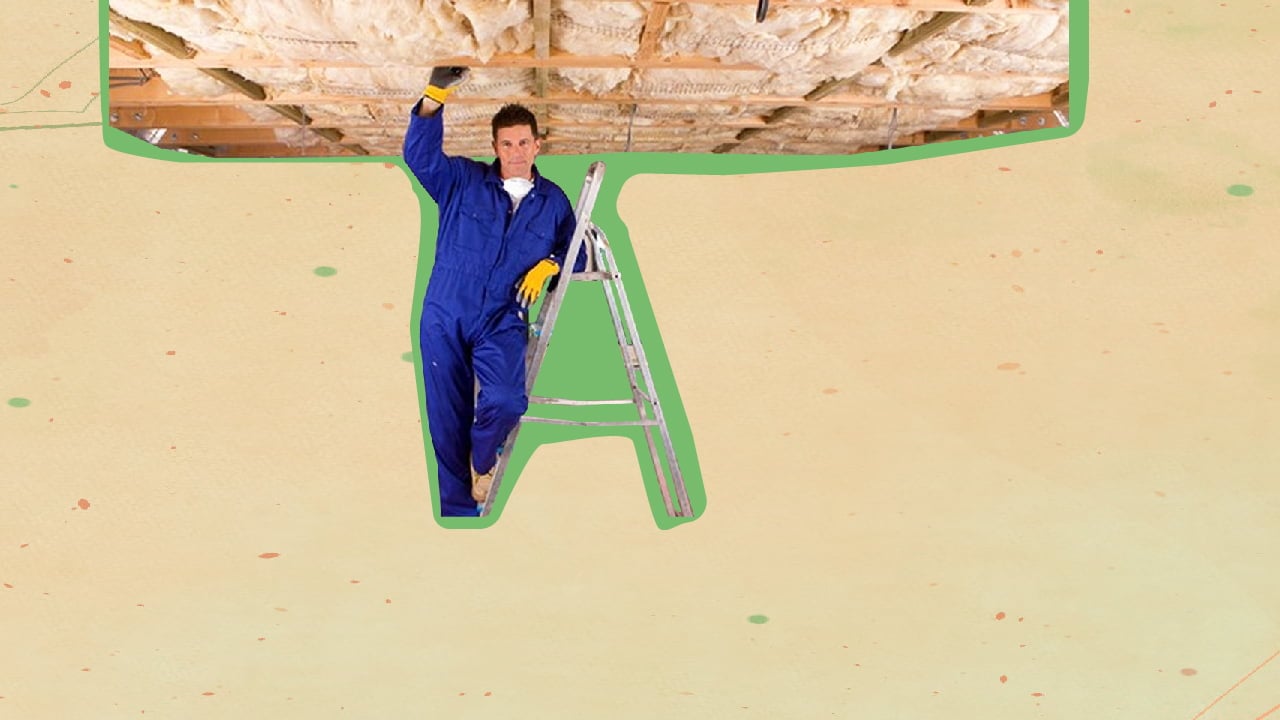
After discussing the types of noises and ceiling comes the elements of soundproofing a basement ceiling. Essentially, there are four elements to soundproof the ceiling of a basement which must be followed for a flawless layout.
1. Adding Mass
Sound waves are made by vibrations, and when more mass is added, it becomes difficult for such vibrations to propagate. However, this is frequency dependent, and the efficacy of a mass panel is proportional to its thickness and density as well as the sound wave frequency.
So, remember to add a large volume of drywall to create a sound barrier and block unwanted noise from invading any space. However, since you cannot add too much mass to soundproof the ceiling, keep in mind that it will eliminate only airborne noise. That means it would be ineffective in minimizing impact noises.
2. Decoupling Joists
When two sides of a wall are separated mechanically to prevent noise from passing through, it is known as decoupling. However, decoupling isn’t effective for blocking sound waves of all frequencies. Therefore, I suggest using it alongside other principles to soundproof a basement ceiling effectively.
3. Damping
The third aspect of soundproofing is damping, which prevents sound vibrations in the joists of the ceiling. When it comes to damping, there’s no shortage of compounds, so finding one wouldn’t be a problem.
For instance, acoustic drywall is one option that dampens sound waves while absorbing them; hence, it’s more effective than traditional drywall.
4. Absorption
Absorption is the fourth and final principle of soundproofing a basement ceiling. As a rule of thumb, the thicker the material you use, the more effective it will be in absorbing sound of certain frequencies.
All you need to do is place the sound insulation material at the back of the barrier, and it will absorb sound, reducing noise.
7 Ways To Soundproof A Finished Basement Ceiling Cheaply
1. Seal Gaps
When soundproofing a basement ceiling, the most important thing is to seal gaps, no matter which part you’re working on.
Gaps are undoubtedly the biggest culprit that allow sound to travel from one place to another. Almost every basement ceiling has cracks or gaps, which may not be noticeable at first.
Use caulking to seal gaps on the basement ceiling because installing soundproofing materials before sealing the gaps won’t be effective in blocking noise. Remember, even the smallest gaps can contribute to noise transmission.
So, sealing gaps and cracks should be the priority for soundproofing your basement.
2. Add Rugs To The Room Above Your Basement
Anyone who wishes to soundproof their ceiling without spending a ton on sound insulation materials must get rugs for the rooms above the basement.
Rugs dampen vibrations that occur on the flooring above the basement ceiling. When shopping for rugs, opt for the fluffiest and thickest ones because they absorb sound better than thin ones. In this regard, I suggest opting for shag rugs because they are soft and voluminous.
However, if the room already has carpet installed and you don’t wish to spend money on rugs, add heavy-duty floor mats.
For maximum sound absorption, you must place mats in the middle of the carpet and the floor above your basement. Beneath the rag, you can add acoustic floor underlayment to improve its functionality. Besides damping sound, it will function as an anti-slip mat, so you can lay it on laminate and hardwood floors without worries.
Alternatively, you can place furniture like a bookshelf or couch on the flooring above the ceiling of the basement. Adding furniture is an excellent way to eliminate sound transmission without spending a penny.
3. Fix Squeaky Floorboards
Squeaky floorboards can also lead to sound transmission. So, you’ll need to fix them before installing a soundproofing solution to prevent noise transfer to the basement from the rooms above.
A bit of DIY work is needed to fix the floorboards, so be prepared for it. For this, you'll need to first locate the squeaky boards, identify the joist line and fasten the screws back down.
Here I recommend using screws with either removable heads or flat heads to make sure they do not protrude through the finished floor. Also, don’t forget to use a wood filler to fill the gaps between the finished floor and the subfloor.
Or, you can glue a wood block and place it between the subfloor and the ceiling joist beneath the squeaky board. By filling the gap, this wood block prevents the board from bending; you can join them using screws to enhance durability.
4. Insulate The Joist Cavities With Acoustic Insulation
Acoustic insulation is effective for sound absorption, not noise reduction. Usually, such insulation is used in ceiling and wall cavities to reduce the sound intensity so that airborne noise doesn’t pass through.
In this regard, acoustic tiles are also an excellent option for improving the absorption (acoustics) of a basement.
Mostly, basements have open floor plans, with some featuring a separate bathroom. So, one of the best ways to eliminate echo and reverberation in the basement is to install acoustic panels on both the ceilings and some sections of the walls.
In simple words, insulating the ceiling cavity will reduce the transfer of airborne noise; however, it won’t be effective in eliminating the transmission of impact noise.
Sound insulation materials can be used on both drop ceilings and open ceilings. For insulating a finished basement ceiling, you might have to tear down the drywall, install the insulation material in the cavity and restore the drywall.
On the other hand, you can use blown-in insulation to insulate existing walls; however, it’ll be costly. Besides materials, you’ll be spending on labor charges, which will further add to the expense.
Go for insulation materials that are three-inch thick, and make sure you don’t stuff them into the cavity too tightly. Hence, mineral wool insulation would be the best bet because of its performance and fire-resistant properties.
5. Rearrange Furniture In The Room Above The Ceiling Of The Basement
Rearranging furniture may not be the most efficient noise control strategy, but it’s a quick-fix option for soundproofing your basement. You must consider rearranging furniture in the room above the basement ceiling because placing couches, bookshelves, or other furniture in high-traffic areas will reduce footfall, minimizing impact noise.
Inspect the room properly to identify areas with the most noise pollution and place furnishings there. Besides couches and bookshelves, chairs and cabinets are considered effective in eliminating sound transfer, so you can rely on them for noise control.
6. Use Mass-Loaded Vinyl As Carpet Underlay
Made of polyvinyl chloride, mass-loaded vinyl barriers prevent noise from passing to the basement from the floor above, so it’s a dependable option for soundproofing basements. While there are several ways to install mass-loaded vinyl, attaching it to the ceiling or placing it under carpets blocks noise effectively.
Though dense, this material is highly flexible and comes rolled up, so even a novice would be able to install it without issues.
Another way to install this material is to staple it to the existing drywall ceiling without having to take it off. One thing to note is that the mass-loaded vinyl barrier is available only in black color. And if you want to keep it out of sight, install a drop ceiling with drywall and resilient channels after the MLV is in place.
7. Consider Hanging Acoustic Fabric Panels
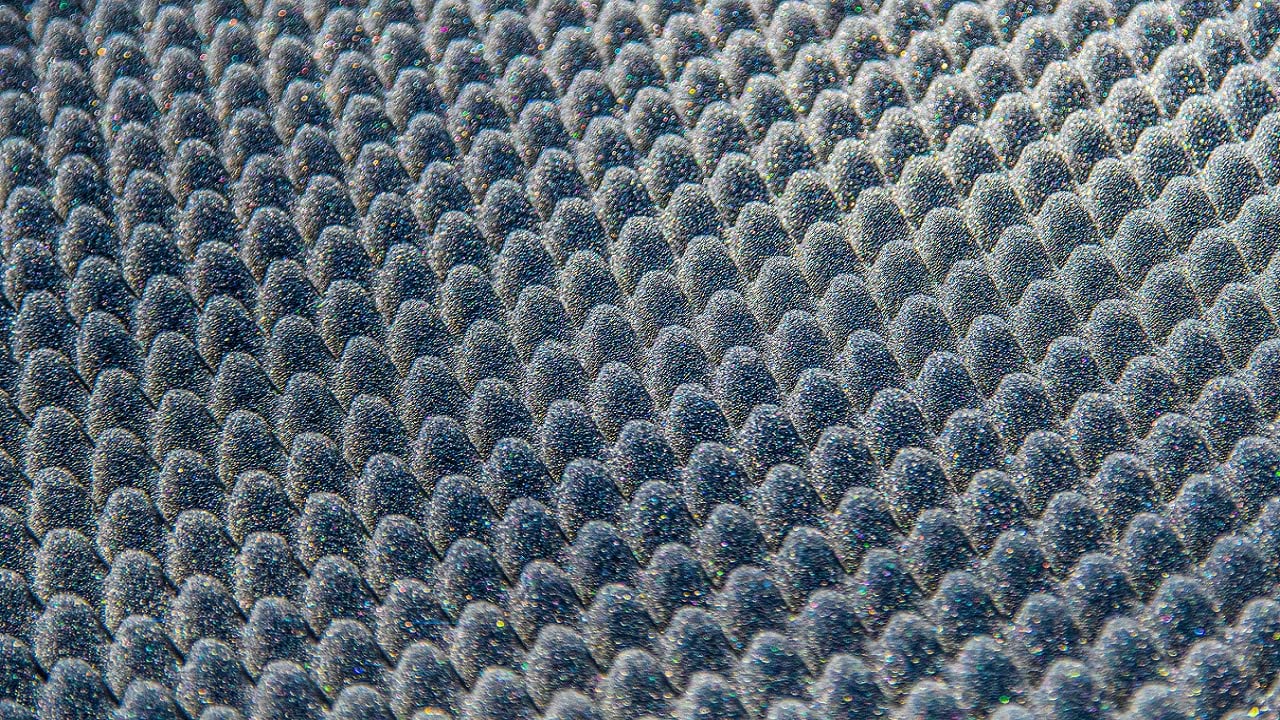
All those who want to make their basement a stylish space can opt for acoustic foam panels instead of basic tiles. However, I’ve found that they don’t really block noise, as they are very porous. Instead, they allow sound to enter, and some of it gets absorbed. The rest is reflected from walls, and some amount is transmitted.
Other than hanging them on the walls, you can attach them using L-brackets or Z-clips.
Soundproofing Exposed Basement Ceiling: Step-By-Step Guide
As against the finished ceiling, soundproofing the ceiling of the basement, whose joists, trusses, ductwork, and beams are exposed, is slightly challenging. However, it’s not impossible– here’s how you can soundproof a basement ceiling with exposed mechanical and structural designs.
1. Add Insulation
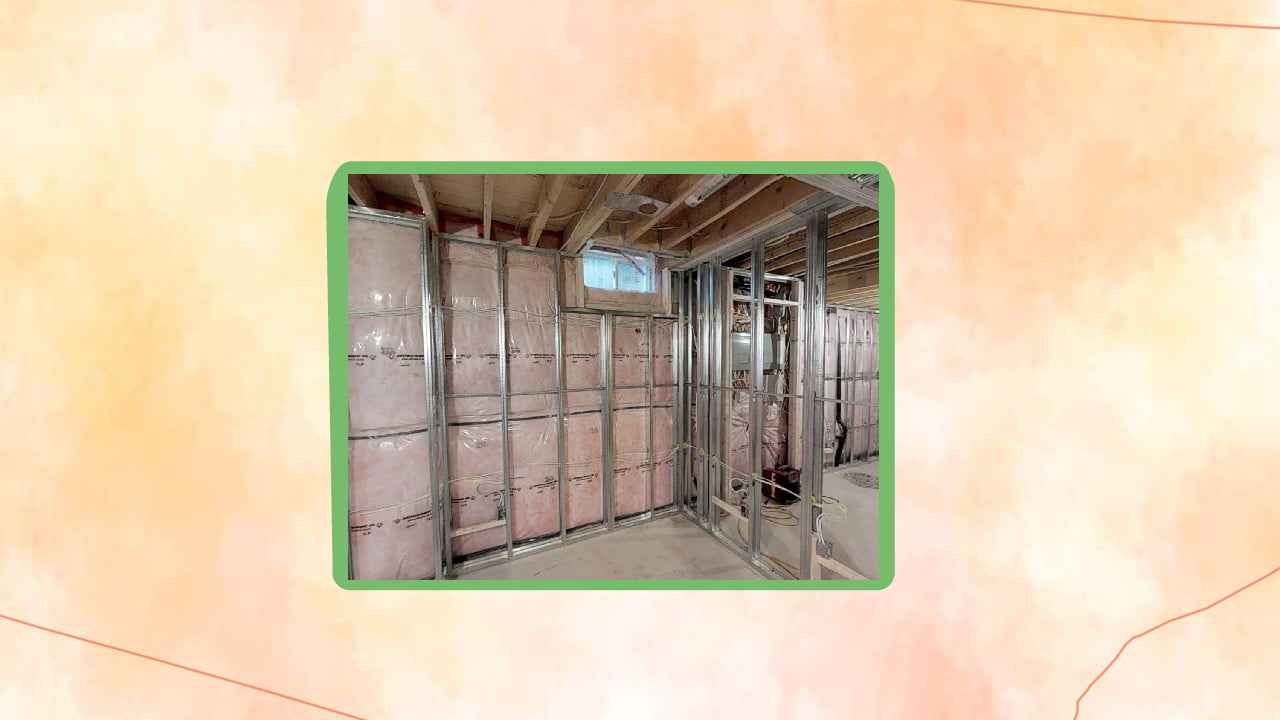
Unfinished basement ceilings often have empty joists, which allow sound to pass through. So, the first thing to do is to stuff insulation into the joists; otherwise, preventing noise transfer would become impossible.
And if the basement ceiling was completed in a hurry, you'll need to inspect it to figure out if insulation material has been used or not. More often than not, the ceiling of basements is finished for aesthetic purposes. In such cases, you'll need to drill holes in the plasterboard to check whether it is insulated.
If it isn’t insulated, you know the drill– tear down the drywall, insulate it and reinstall it. Batt insulation is a popular pick among homeowners for soundproofing a basement ceiling because it’s easy to install.
2. Use Resilient Channels
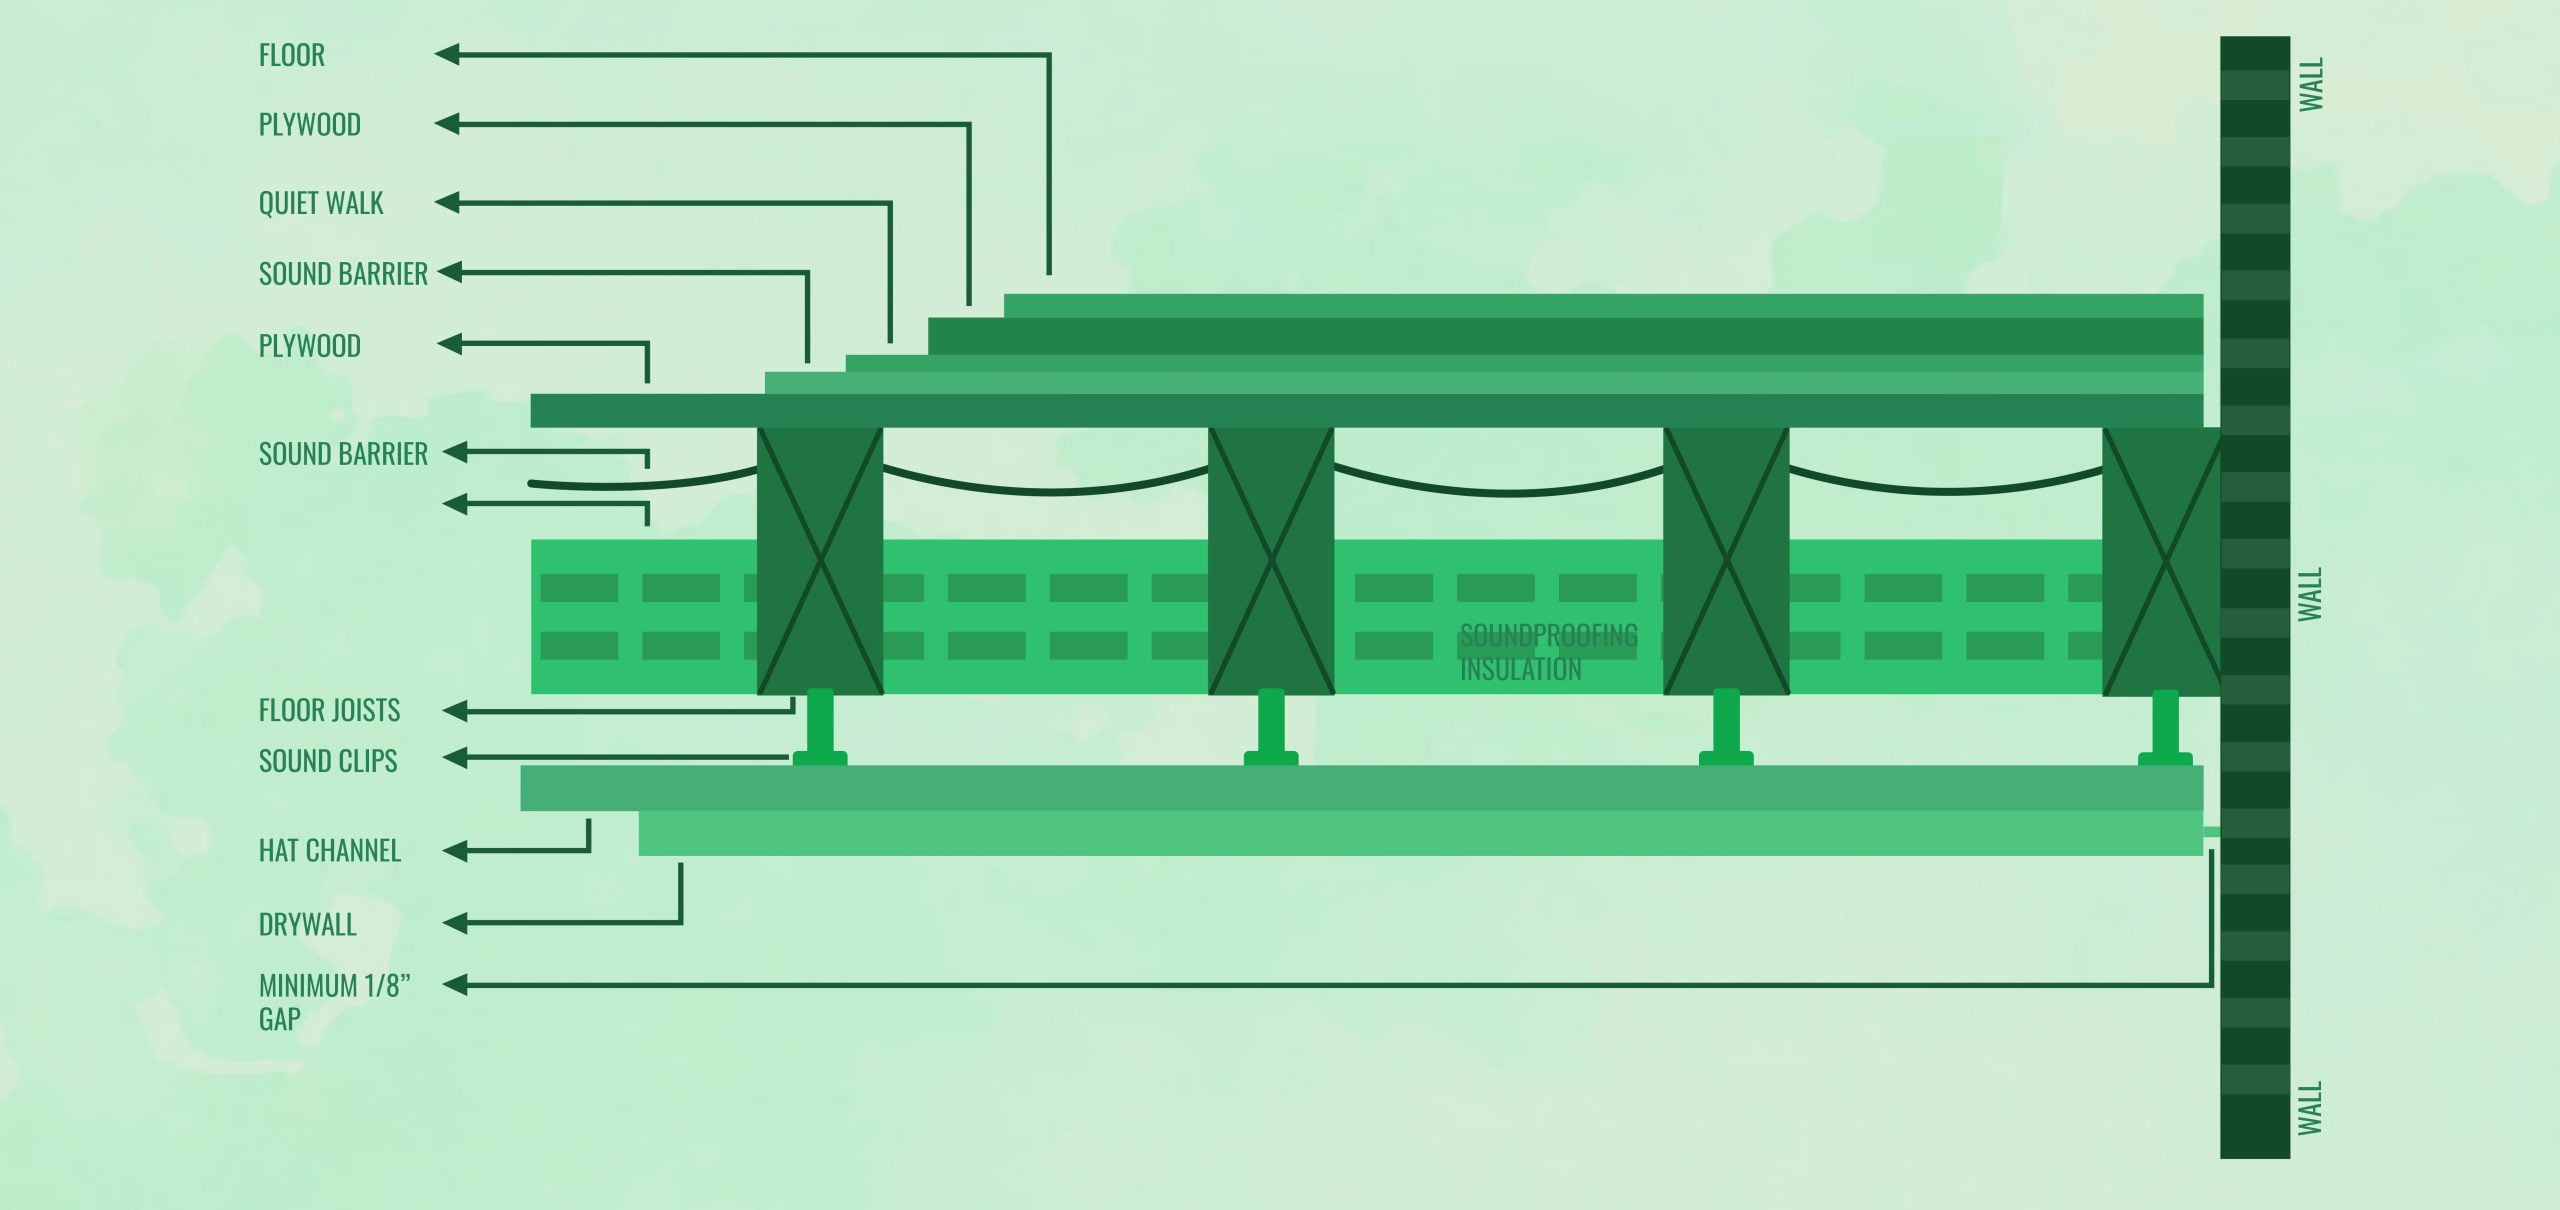
The next step is to fix resilient channels to the studs at a right angle. When it comes to soundproofing a basement ceiling, resilient channels are important because they act as a shield between the drywall ceiling and the foundation. Hence, they will separate the foundation from the ceiling, which will prevent sound from transmitting.
You can also use hat channels or sound isolation clips to further soundproof drywall.
3. Install The Drywall
Now that resilient channels are installed, you can move ahead and attach drywall. To avoid last-minute trips to the local store, make sure you decide which type of plasterboard you want to install. Also, order enough drywalls to envelop the entire ceiling.
Another aspect is to make sure that the fasteners pass across the channels, not the joists. Or the process of decoupling would fail.
Throughout the process, keep in mind the ventilation and lighting process. So when installing the drywall, don’t forget to slit around electrical components and vents while making sure you place resilient channels away from lighting fixtures.
4. Use Green Glue To Coat The Plasterboard Before Layering
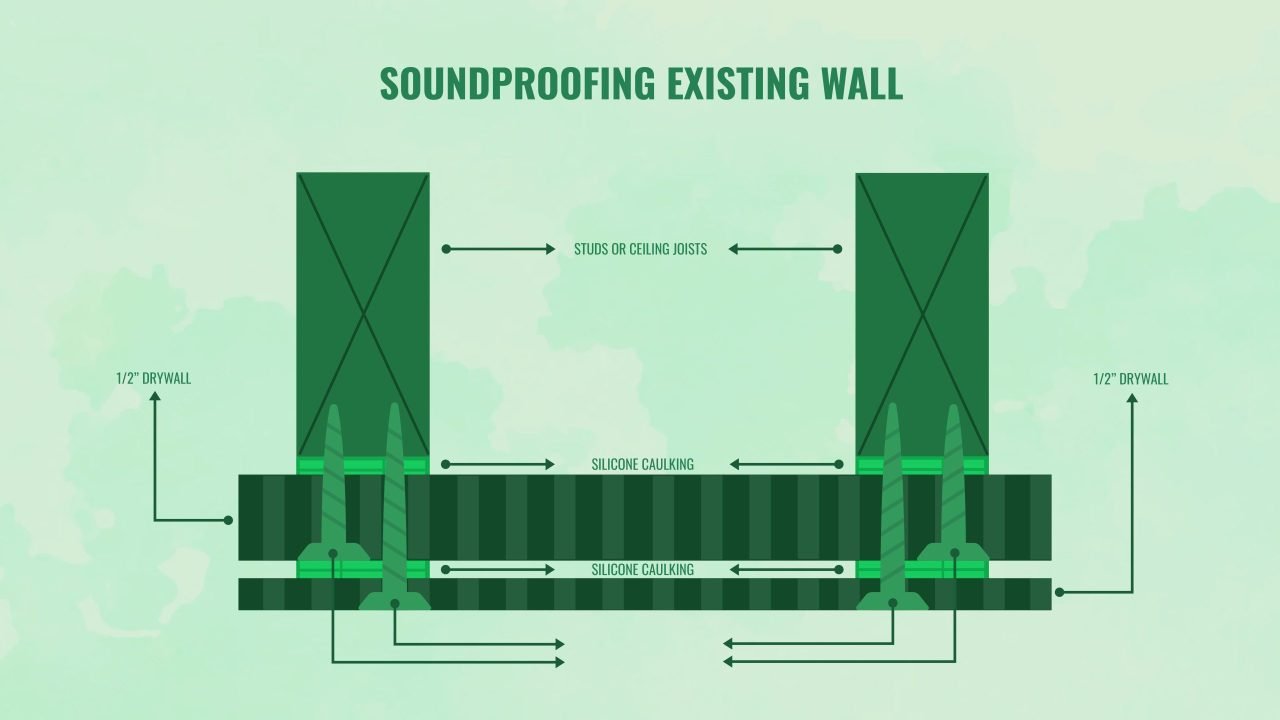
Green Glue is a substance that works as an adhesive between the layers of plasterboard and is an integral part of the soundproofing process. And while we’re on this topic, remember that applying Green Glue between two drywalls won’t be easy if you don’t have a drywall lifter.
Fasteners can also be used alongside Green Glue to securely join two layers of drywall. Keep in mind that this is a slightly lengthy procedure, so it may take a few days to complete. And in case you cannot spare much time, either you can construct a drop ceiling and/or install mass-loaded vinyl.
5. Use Acoustic Caulk To Seal The Gaps
As previously mentioned, any gaps between the subfloor and the joists will allow noise to pass through the basement. So, sealing gaps is a step you cannot skip, even if your ceiling features double layers of drywall; acoustic caulk is a good option for doing this.
6. Finish Drywall
After applying acoustic caulk, you'll need to smooth it out and add finishing touches, which encompasses a range of things from painting to installing light bulbs. Once you’re done adding everything, your basement will be ready to use.
Benefits Of Soundproofing A Basement Ceiling
Unable to decide if soundproofing a basement ceiling is a good idea? Here I’ve discussed a few benefits of soundproofing a basement ceiling.
1. Reduced Noise Pollution
We live in an overstimulated and sound-saturated environment, so noise pollution is becoming more prevalent.
Long-term exposure to persistent noise has been linked to negative health impacts, especially bass frequencies and acute noises. Soundproofing a basement ceiling will reduce noise pollution and lead to:
- Improved focus and concentration
- Better sleep
- Decreased anxiety
- Reduced risk of tinnitus or hearing loss
2. Sleep Or Read Comfortably In Your Basement
If your neighbors love throwing parties every now and then, understandably, the loud music may make it difficult for you to fall asleep or stay asleep. Soundproofing the basement ceiling will allow you to sleep comfortably or study in your basement, no matter the time of the day.
3. Save On Energy Bills
Even the smallest gaps can allow heat to escape and cold air to enter, which would lead to energy loss. Soundproofing the ceiling of your basement can prevent energy loss from your home, eventually reducing energy bills.
What Is The Cheapest Way To Soundproof A Basement Ceiling
Whether you’re running short of money or don’t want to spend too much, insulating the floor above the ceiling of the basement is the cheapest way to soundproof it.
Laying down rugs or carpets would effectively insulate the floor overhead the basement. And if you don’t mind spending a few more dollars, consider installing floor underlayment, which would make the floor denser and thicker. Hence, it would absorb sound and prevent airborne noise from entering the basement.
Tip
Before starting your basement soundproofing project, rent a drywall lifter for a couple of days or weeks so that you’ll be able to install drywall with ease. A drywall lifter is a handy tool that holds the plasterboard sheets, so you’ll be able to screw or glue them in place without hassle when soundproofing the basement ceiling.
Soundproof Basement Ceiling Summing It Up
Basements aren’t only meant for storing things; instead, they can be used to watch movies, record music, or even catch forty winks during the day.
But you can make the space usable by soundproofing its ceiling. Although it may sound like a daunting task, soundproofing a basement ceiling is a lot easier than insulating other areas of your home.
I suggest going for fluffy rugs and acoustic panels when it comes to soundproofing the ceiling of a basement because they are relatively easy on the pockets. And if budget isn’t an issue for you, installing resilient channels would be the best bet.
So, go ahead and try these soundproofing techniques in your basement and turn it into a soundproof oasis!
