Expertises: Paint, Home improvement, Wood, Car, Painting
Updated on

Inspiring Ideas for Modern Home
Wish to paint a landscape that got you mesmerized during a recent trip? It’s time you learned how to blend oil paints.

Complicated as it might seem initially, blending top grade oil paints is a technique that can help you create the most beautiful artwork. Notably, it’s also utilized for creating more realistic pieces of art and allows you to paint oil over acrylic.
But like every other oil painting technique, blending will require you to be clear about several essential aspects. Like, how long do oil paints last and take certain precautions in the course of the task. So, today we thought of penning this guide to take you through everything you need to know. Let’s get going then!
To blend oil colors the right way, you’ll need regular practice and will have to apply appropriate techniques. Notably, this includes a clear understanding of the best oil paints and the processes of mixing different hues effectively. That’s why we’ll be discussing each of these essentials to help you become a pro at blending oil paints.
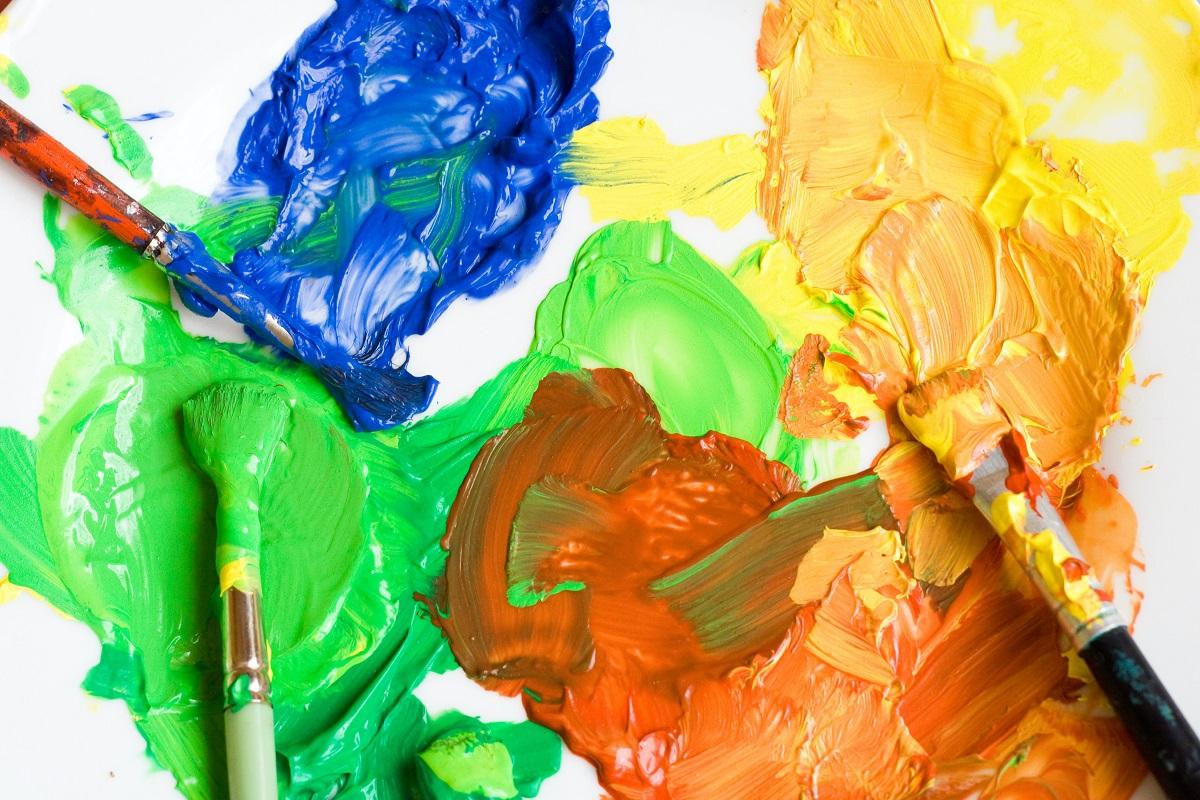
If you wish to blend oil paint like a pro, you must master the technique of playing around with different colors. After all, the quality of the blend will depend on how you choose and combine the right colors. And if you’re using the blending technique for achieving realism on the canvas, it’s even more essential to understand how to mix the oil colors and blend them.
Newbies in oil painting should start their journey with only a few hues. And gradually, they can expand their choices as they gain confidence in this type of art.
At the start, it’s best to choose hues such as Phthalo Blue, Ultramarine Blue, Lemon Yellow, Alizarin Crimson, Cadmium Red, Burnt Umber, Viridian Green, and Ivory Black.
It’s most likely that you’ll know the colors that are regarded as primary — blue, red, and yellow. Unlike other shades, you can’t get them by blending other colors. Rather, you will be able to blend these colors to obtain a variety of other colors.
The mixture of different combinations of primary colors gives rise to a secondary color. For instance, if you combine red and blue, you’ll obtain purple. The mixing of blue and yellow creates green while combining red and yellow provides you with orange.
The best part about oil colors is that they allow you to play with any primary color to create a number of secondary varieties. For instance, you can get a lighter or darker shade of orange using such combinations. Note that the key to learning color mixing is the knowledge of altering the kind or vibrancy of colors.
This color mix is referred to as a hue in the field of art. And to get a more realistic hue, you can combine more than one secondary or primary color.
It’s a must to understand the complementary colors while mixing different shades of oil paint and blending them beautifully. This is because certain colors combine well with others. For instance, dark and light blues blend effectively, while blues also match well with greens.
You might have already come across the term complementary colors, such as red-purple or blue-green. It’s essential to keep in mind that using complementary colors becomes more of a technical practice as you go about painting realistically. Again, it will take substantial practice to fully master the art of color mixing.
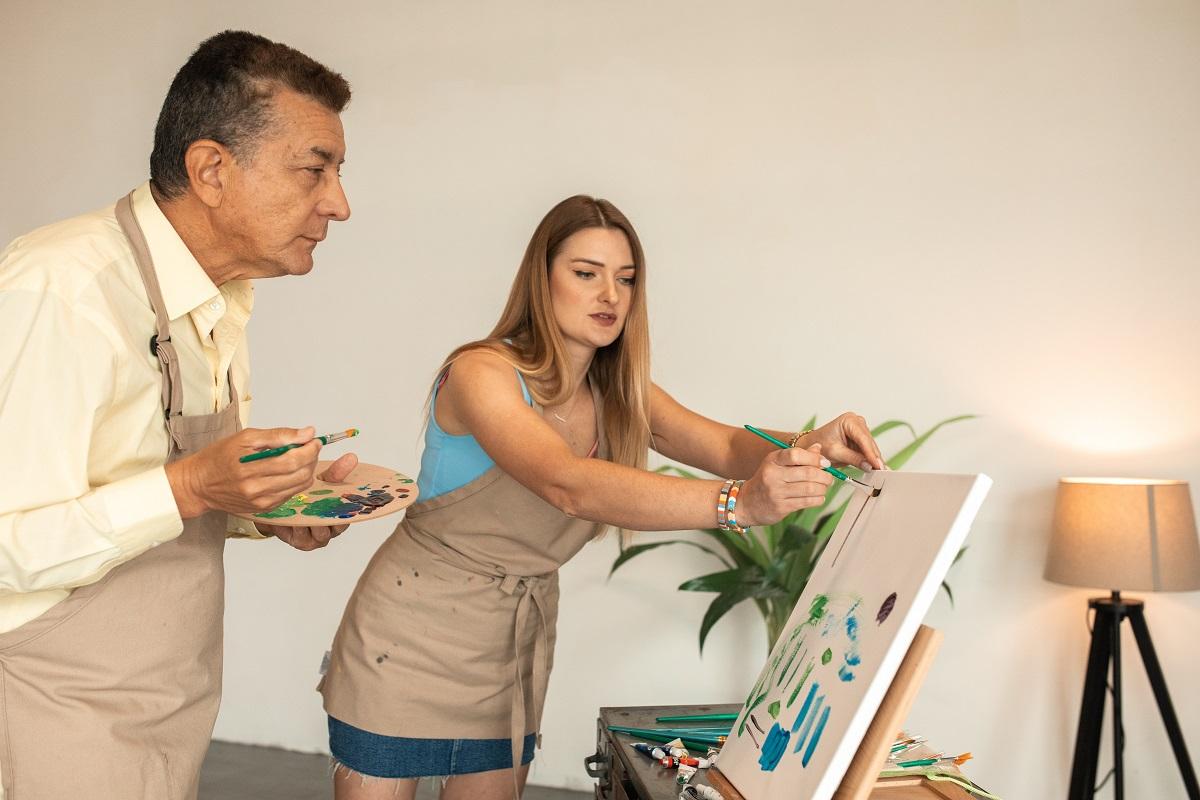
Now that we’ve discussed the different types of colors, the next most essential factor to consider is the paint brushes you’ll use for blending. Obviously, you’ll get different varieties of paint brushes meant for producing different effects. The following are some tips to help you understand which brush you’ll have to choose for each effect.
Your paint brush should be of the right quality so that it can make the desired difference in your oil paintings. Avoid going for brushes for which the bristles spread or split too much.
Yet another problem with cheaper paint brushes is that the bristles might loosen with time or get stuck. Thus, you’ll want to ensure that the brush you’re purchasing belongs to a trusted or recommended brand.
To test the brush quality, you can check its spring. You should do this by brushing it against the hand to ascertain how its bristles respond to the brush strokes. Note that this is a good sign of the likely response of the brush to each stroke.
Given that there are several shapes of brushes to pick from, let’s talk about the right varieties for blending. Remember that if you use the right brush, it will be much easier to get the desired effect.
With regard to blending, the go-to option is a Filbert paint brush. This brush comes in an oval shape, has a thick ferrule (metallic part), and consists of medium to long hairs. As such, you’re sure to have better control with every stroke.
Step 1
Begin by applying the colors you wish to blend opposite to each other. Apply two separate brushes or clean the brush in between to ensure the two colors are unmixed. Note that you should keep a gap between the colors as that will help create a smooth combination.
After this, you’ll have to:
If you wish to add a thick texture, use more paint and vice versa.
Step 2
At this point, you’ll have to combine the colors on the palette. Notably, this will be a mixture of the colors you utilized beforehand. Now, try to maintain uniformity in the mixture as much as possible. Include the same amount of every color and combine those colors smoothly using the paint brush.
Step 3
The blended color should be applied between the two that you used. Fill the gap between the two colors fully while applying the mixture color. But you’ll still have to wait to blend the colors. First, wash out the paint brush using a paint thinner so that you’re able to get a perfect blend.
Step 4
It’s from this step that the blending process should start. You’ll have to move the brush back and forth between each of the three colors (including the mixed one).
Act as though you’re making a “Z” pattern; the paint brush should go zig-zag between the unblended colors and the mixed color. Following this, you’ll have to brush up and down between the two colors. Then keep a close watch on the color as it blends into the combined color in between.
Step 5
Unlike acrylic paint, these colors provide you with ample time to blend them uniformly and effectively. Use fresh paint on your colors if the paint gets dried up too quickly.
This will wet the paint so that it can blend again. And when you’re satisfied with the output of the blending task, keep the painting aside to dry fully. On a side note, oil paint takes between 3 to 7 days to cure entirely.
Step 1
First, you’ll need to determine the location of the light source in the room you’re painting. Your object will have to be tinted at the spot where the light falls directly on it.
Select a position for the light source, and accordingly, you must plan to tint your object. Mark the light source to ensure you are able to keep track and don’t tint and paint the wrong portions. Now, combine the shading and tinting on the object to create a realistic perception of depth.
Step 2
You’ll have to apply the base color at this point. As with shading, apply the base color everywhere except the area you plan to tint. And for that part, you should leave an unpainted patch that you can fill in later on.
Sketch your object with strong lines so that you can omit painting the potentially tinted portion.
Step 3
Next, you’ll need to combine the base color with white on the palette.
It’s the intensity of the light source that will decide the amount of white you’ll have to add to the color. If the source is too bright, such as the sun, you should add more white. But if it’s dim like a light bulb of low wattage, you should add less white. In case the object is a banana, you’ll have to mix white with yellow.
Step 4
Finally, paint the mixed color in the unpainted spaces around the center. You’ll then have to start blending the mixed paint and base color by moving the brush back and forth, following a zig-zag pattern.
Now, wait till the paint is blended evenly, and then find a secure spot to place the canvas for drying. Coming back to the example of painting a banana, you can apply the yellow-white mix to the unpainted spaces, primarily in the middle of the artwork.
Hopefully, blending oil paints doesn’t seem complicated to you anymore. You might have understood by now that blending paints the right way amounts to developing a clear idea about the different color types and using the right tools and techniques. So, pick the brush and paints, and get started with your next artwork!
But before we call it a day, we’d like to share a pro-tip with you. Make sure you try out different color combinations, apply complementary colors, and even try blending with different shades of a single color for the technique. This way, you’ll discover the more effective color mixes and those that you should avoid.
That’s about it for today. See you next time!