Expertises: Paint, Home improvement, Wood, Car, Painting
Updated on

Inspiring Ideas for Modern Home
For seasoned artists, who play around with the highest grade oil paints effortlessly, it’s exciting to work on new or basic oil paints techniques. No matter whether you’re a budding artist or have been in the field for a couple of years, mastering the oil painting process is definitely on your bucket list.

But we understand that there are many considerations to make while approaching any oil painting, such as learning essential oil painting techniques. Each oil painting technique can be used to determine how long do oil paints last of different genres, or in other words, to create magic on the canvas!
Today we’ve compiled this extensive guide to make you aware of the oil painting styles to try out. Things will surely seem simpler after you give it a read.
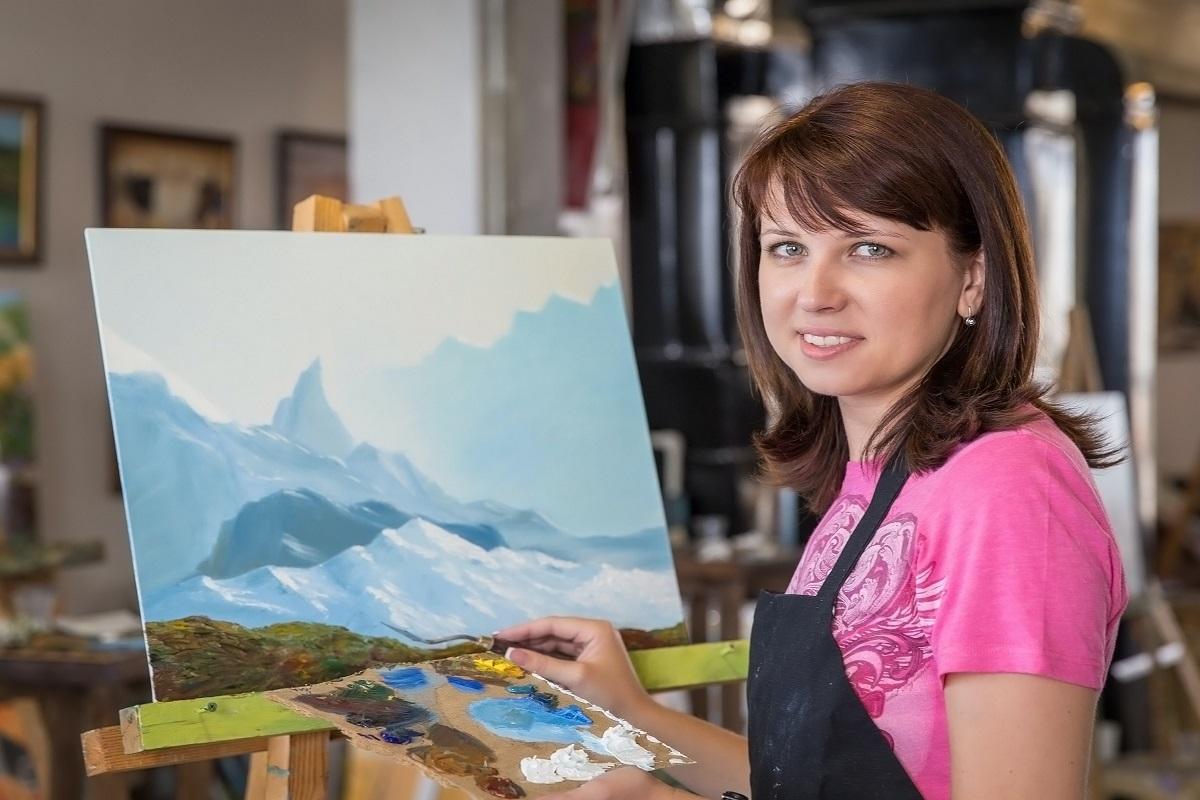
To learn the art of applying different oil painting techniques to your artwork, you’ll first need to know about the different tools needed for the purpose. If you’re keen to use oil paints, make sure you know how to blend oil paints and have all the supplies ready for use.
While choosing the paint brushes for painting, search for brushes that are specially meant for use with oil paints. Based on the subject of your painting, it’s best to choose brushes of different sizes and shapes as they will be required for various oil painting styles.
At the start, a basic oil color set will be enough for working on your projects. Birchwood or Masonite canvases are generally preferred by beginners since the linen variety can be expensive.
These basic canvases work well for an extended period, provided you prime them properly before painting. But over time, you will be more inclined to purchase professional-grade paint sets rather than costly canvases.
You’ll need a good-quality cleaning solution to wash the brushes when you’re done painting for the day. Solvents like turpentine are pretty effective in this regard, and you can also utilize them for thinning pigments while painting. On a side note, you should use them only in well-ventilated spaces as they have a strong odor that can be suffocating.
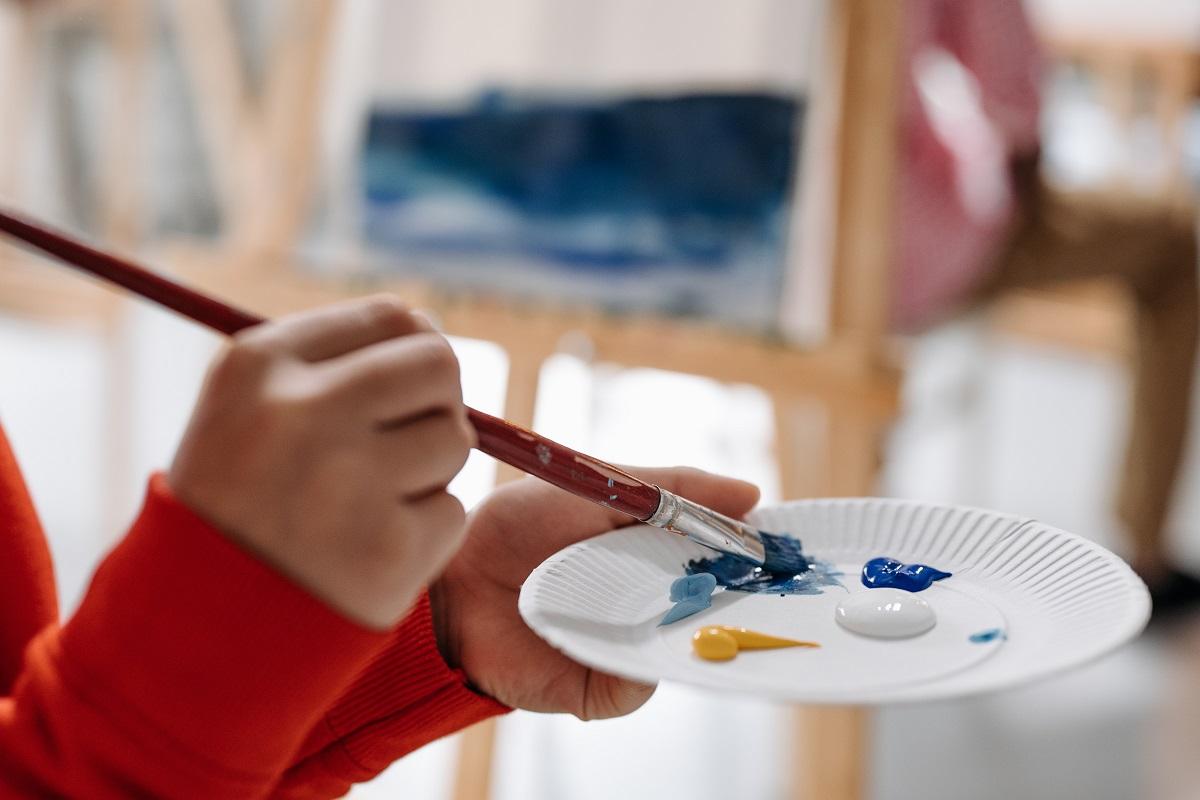
While you’re combining colors, it’s best to utilize palette knives as such a tool will help you mix different colors evenly and prevent the brush from getting too pigmented. Moreover, you can apply palette knives to paint the artwork structurally as they add to the paint texture.
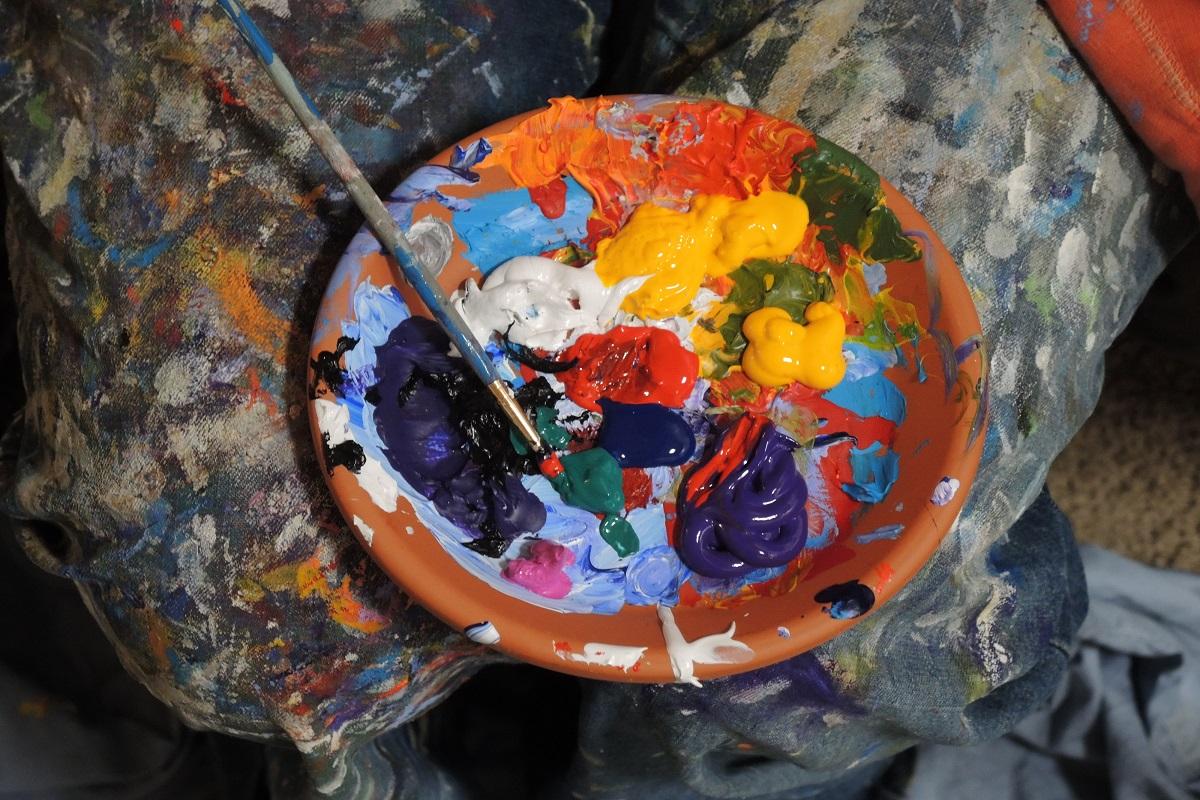
Generally, melamine or plastic palettes are quite easy to use and are the conventional palettes for oil paints. But in case you’re searching for the quintessential curved palettes, wooden boards having thumb holes are a great option. Just make sure you’re conditioning the surface using linseed oil to keep the colors from seeping through.
To start with, we’ll be discussing this technique which literally requires blocking in the general shapes and colors applied on the canvas.
Blocking means to apply the colors and create the general composition without worrying about minute details. Using this technique, painters can develop an idea about where the artwork is headed.
Typically, thinned paint and large brushes are applied for this technique, as it will result in a no-frills artwork, which you can see by squinting your eyes for a moment. You can start adding the details and making all adjustments from then on.
To block in, you’ll have to begin by toning down the main color you’re using. Once that’s done, you can build up the color saturation as required in the course of the painting.
Keep in mind that if you block in a color with high saturation, the painting might end up being overwhelmed with too many hues. Consequently, you’ll have to spend a large fraction of your time toning it down again.
At times, a large section of the blocked area is kept exposed in a finished artwork. Blocking is one of the most popular techniques applied for plein air artwork as it lets you cover the canvas much faster by following a general color harmony and layout.
A monochromatic underpainting can be utilized to create light and dark tones on the canvas before applying color. Those new to the oil painting genre might have difficulty applying colors to an empty canvas at the beginning.
Underpainting is a way of resolving this problem, as it serves as the first paint layer on a canvas prior to adding color. It’s more of a guide on the areas you would like to concentrate on while completing your painting. Note that this helps remove the fear of making an error when you ultimately start painting.
To use this method, you’ll first need to sketch a rough structure of your artwork using a thin paint layer. Subsequently, block off the area where you’d like to apply certain color tones and elements.
This ensures you have a basic idea for the composition as it acts as a map that you can refer to. Hence, you can start with the painting in a planned manner.
Know that this technique of textural painting might require additional patience and practice. Impasto painting is especially suitable when you wish to add dimension to your paintings.
The traditional impasto painting style involves making thick paint strokes on the canvas, with every mark added intentionally. Notably, this style of painting is often regarded as bolder than many others, as the brushwork is visible after you’re done painting.
An advantage of the impasto technique is that the colors can be combined directly on a canvas, so the more striking areas attract the attention of the beholder. This thicker paint style lets you enhance the three-dimensionality of your work since you can alternate between a palette knife and a brush to bring about this depth.
The sole method to use in this regard is to apply paint to the brushes liberally and then spread it freely on the canvas. Beginners in oil painting should start by applying thick foreground paint and then thin it out gradually. This method can help create an illusion of distance, and you can enhance this by adding paint blobs to the close-up portions of the painting.
Glazing is another widely used technique when it comes to oil paintings, with glazes being applied on top of opaque paint layers that have been dried. In art, the word glaze implies a semi-transparent, thin paint layer.
Usually, monochrome underpaintings are created with opaque colors, and the glazes are built up on top, which allows every layer to dry in the meantime. But this technique is quite time-consuming owing to the greater drying time of oil paints. Based on the layers of glaze you’re using, the time taken to produce an oil painting can be anywhere between a couple of weeks and a few years.
While glazing, you should ideally use more translucent paints. For instance, white isn’t very appropriate for glazing since it’s quite opaque. As the glazes are applied in different layers the different colors blend optically, but the pigments aren’t actually mixing. As a result, interesting effects are created that can be very useful for portrait painting.
As painting involves multiple layers of colors, you should take care to follow the fat-on-lean rule for the process. Every subsequent paint layer should contain more oil than the previous one to prevent the paint from cracking.
Several painters apply both impasto brushwork and thin glazes to give rise to variations in the artwork. Notably, the areas where impasto is applied will look as though they’re slightly protruding in comparison to the soft glazes.
The Alla Prima, or wet-on-wet technique, is a direct painting style where you apply the paint without letting the earlier layers dry out. Artists employing this method can complete their artwork as quickly as within a single painting session.
This method is different from the traditional strategies used for painting layer by layer by letting the paint dry in between. Artists often create lots of layers, sometimes more than 50, prior to completing the painting. This was naturally a quite time-consuming painting technique, as the paint would take anywhere between a couple of days to a few months to dry completely.
Several great impressionist artists adopted the Alla Prima method, as they could use it to capture elusive light as fast as possible. Some famous painters who applied this technique were Claude Monet, John Singer Sargent, Joaquin Sorolla, and Vincent van Gogh.
In the blending technique, two different colors are blended together while they’re slightly wet, which results in a smooth transition between different hues. Note that the transition hue will be produced after the two colors blend together, so if you’re blending yellow into blue, the transition color will turn out to be green.
This technique falls among the most overused painting techniques by people who are new to oil painting, as they wish to create realistic and smooth artwork. But excessive blending can easily cause the painting to develop an overly-refined and plastic appearance.
On the contrary, blending is more effective when applied sparingly wherever necessary. The colors and brush strokes should be left undisturbed otherwise.
While you’re looking at it from a close distance, it might look rough, but on stepping back, the broken colors and brush strokes will merge, creating an illusion of form. So, don’t try to make the artwork look perfect from a close distance.
We’d advise going through some of the paintings by John Singer Sargent. They appear to be a mess of colors and bold strokes when you’re viewing them closely, but the painting comes together when you take a step back.
This term refers to monochrome artwork that’s executed only using a gray tone or different gray shades. Interestingly, “Gris” is the French word for gray, and while brown-scale paintings are called Brunaille, the green-scale ones are known as Verdaille.
Grisaille was widely utilized during the Renaissance as a stand-alone painting technique to mimic sculptures. You can also utilize this method as a preliminary painting phase, whereby grisaille serves as an underpainting that can be glazed later on.
However, as the Alla Prima technique is more prominent nowadays, this method has taken a backseat.
Next up is another interesting technique which involves applying the paint in a thin amount using a brush with stiff bristles, creating the impression of a broken glaze. It also provides a textured look that causes the underpainting to remain exposed to some extent.
Scumbling is, in effect, a dry-brush method that requires little or no use of an additional medium. It’s different from glazing in that artists don’t wish for smooth paint application over the whole surface. They will rather want a broken application that leaves certain areas exposed.
This method is ideal for producing an impressive atmospheric depth in a painting. For instance, you can go through some paintings by the artist Turner, who employed scumbling to produce an atmospheric feel in many of his artwork.
A technique originated in Italy, Chiaroscuro means “light-dark” in Italian and is basically all about creating a structure and balance of light and dark in the painting.
This also came into being in the Renaissance period when artists would produce strong contrasts between dark and light to render a dramatic effect to produce 3D forms. Some prominent artists who have used this method include Giovanni Bagilone, Rembrandt Harmenszoon van Rijn I, and Michelangelo Merisi da Caravaggio.
Caravaggio ultimately became a leading figure in the art movement known as Tenebrism, where the Chiaroscuro technique was applied using violent light-dark contrasts. Rembrandt also employed this method to produce several dramatic portraits.
Sgraffito is created by applying decoration to wet paint by eliminating some portions of the paint film to make the lower layer prominent.
Apply the handle end of a brush to scratch the surface, as that will help achieve the finer details. Rembrandt applied this method in a few of his portraits to create fine highlights in the hair of the subject.
If you need to scrape off larger portions of the paint, utilize the side of a palette knife. Notably, this method will produce different results if you’re working on textured surfaces, like canvases with prominent weaves.
That’s because a portion of the paint will then settle in that weave, and you wouldn’t be able to remove it by scraping. Ultimately, it can create a more grainy or uneven effect.
In this technique, the oily part sinks into the underlying layers of an artwork, which reduces the vitality of the upper layers. Sinking often takes place in patches and not over the entire painting owing to the different drying times of the paints applied. Keep in mind that certain colors dry quicker than others.
However, this method isn’t essential for beginners, as it’s rather an advanced technique and not imperative for learning to oil paint.
If you consider the practical part, oiling out involves dabbing an artist quality oil medium in a thin amount over the portions of a painting that have sunk in. You should only apply this step once the painting has dried out, as you wouldn’t want the colors to mix and create a mess.
This term stands for “toned ground” and is a technique whereby a color stain is used on a prepared canvas. It’s often applied as the first stage while developing any painting.
Notably, there are quite a few benefits of using this technique, but, mostly, it makes establishing dark and light tones quite easy while you’re using a mid-toned surface. Another advantage is that not all the paint layers would be opaque depending upon your painting style. There might be some transparent areas in the painting where the imprimatura technique can be allowed to shine.
Alternatively, you can use this method to seal the underdrawing, which can make it easier to trace over later on. Just like underpaintings, artists generally use earth pigments for imprimatura as they dry faster. However, even transparent pigments that can help achieve mid-tones will work well.
In Italian, Sfumato means “soft as smoke” or “softened.” Developed by the world-famous artist Leonardo Da Vinci, this technique can be seen in certain darker parts of his artwork, such as Virgin on the Rocks.
This technique involves creating shape transitions and gradual color, with the outlines appearing hazy and soft and the shapes blending into each other. It aims to imitate the eyes’ perception of out-of-focus subjects – the artist lets you focus on a certain area by creating sharper details there. Note that this is slightly similar to blending but is employed for producing a stylistic effect.
To achieve the best results in an oil painting, artists generally apply 3 tried and tested principles that serve well for any subject:
When you’re painting with heavy color, you should always apply the thicker layers over thinner layers because the latter dries out more quickly. If you are fond of the Impasto style with its bold and thick brush strokes, it’s essential to keep in mind that the thicker layers should be painted on top. Thin layers painted over impasto layers will eventually crack.
Every successive layer should be more flexible compared to the one underneath it. You can achieve this by adding oil paint mediums to each layer that will provide it with greater flexibility than the earlier layer. The painting will be protected from cracking, so you can also regard this rule as “flexible on non-flexible.”
It’s best to continuously apply colors that dry fast as the underlying layers. If a fast-drying layer is put on top of a slow-drying one, the painting might crack. That’s because the slow drying layers twist and pull the layers above as they start drying, resulting in a crack in the painting.
When you’re working wet-on-wet, the paints will blend, which is highly useful for producing gradients or transitions. But a dry brush will provide a more textural effect that’s ideal for painting dirt or brick.
We hope you enjoyed knowing all about the different oil painting techniques, just as we enjoyed curating this guide. So, what are you waiting for?
Gather all the essential painting supplies and start painting your latest art piece using the technique you liked the most. Remember to consider your proficiency level in using oil paints while opting for a suitable technique.
But before we bring down the curtains, here’s a pro-tip for you. While applying oil paints, use both sides of your brush differently to control the strokes, thereby improving your adaptability and speed during painting.
Plus, turning the brush on one side will let you produce finer lines than simply applying the flatter end of the brush, that’s ideal for wider strokes.
It’s time to wrap up our guide, but we’ll be back soon with more informative content on painting techniques. So stay tuned.