Expertises: Paint, Home improvement, Wood, Car, Painting
Updated on

Inspiring Ideas for Modern Home
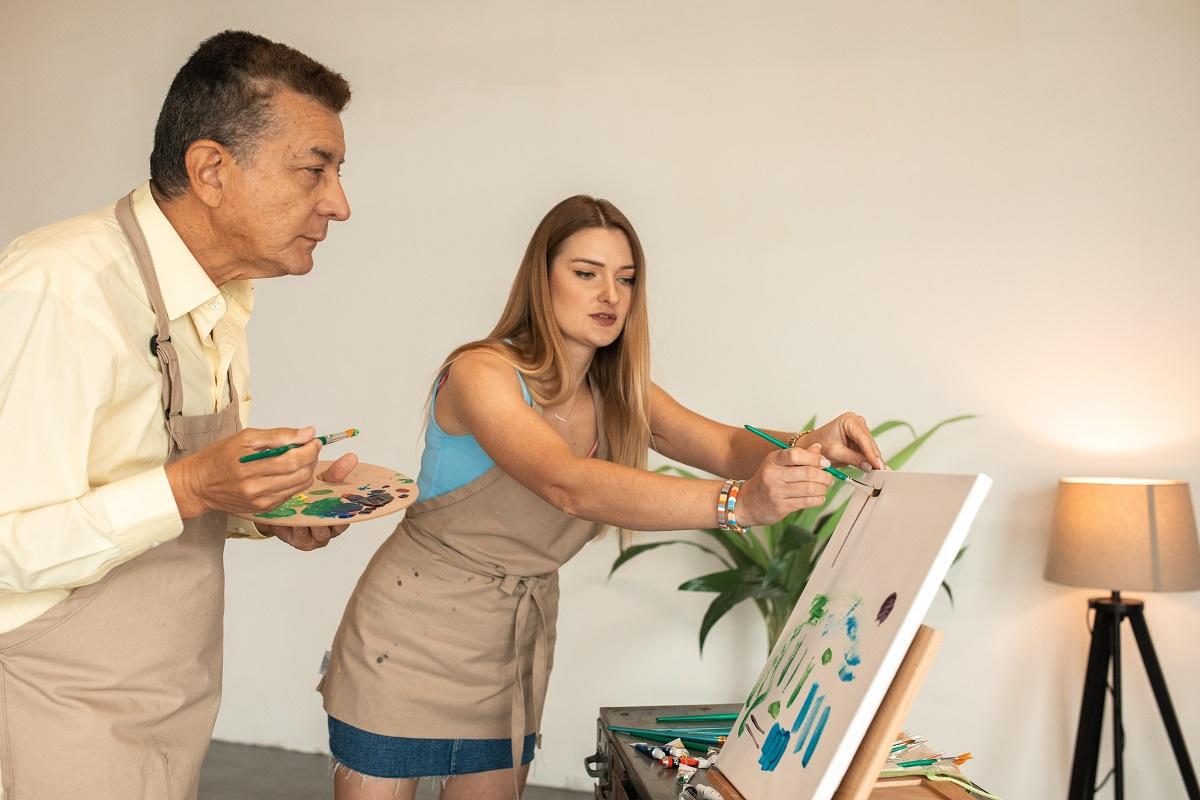
On our trips to art museums, most of us would have had the desire to paint like the Renaissance masters.

Most of them used best quality oil paints, a medium that doesn't appear to be that approachable compared to something like acrylics. But there's no need to worry, as the easy availability of oil paints and other art supplies today has made starting with oil painting rather simple.
In fact, oil mediums are making a comeback as many contemporary artists opt for their rich and versatile qualities. That's why we thought of creating this guide to familiarize you with painting using oil paints, especially if you're a beginner. We hope our step-by-step approach will help you create an art piece in a few sessions.
FUN FACT | Do you know that acrylic paints dry way faster than oil paints?
Thus, choosing oil over acrylic paints is a wise decision in this aspect. Check out our exclusive article how long acrylic paints take to dry to find out more on this topic.
So, without further ado, let's get started with oil paints how to guide!
The general conception is that it takes a lot of courage to start oil painting and pick up the numerous techniques to blend oil paints required to make the piece look good.
However, most artists state that oil painting is not that hard with a bit of practice. It does require a lot of patience as the composition of oils and pigments gives the paints a slow drying time. So, a painter needs to apply the paint in layers, often leaving gaps of a few days to avoid messing things up.
With time you'll surely begin to get habituated to the distinctive nature of oil paints. Nevertheless, we wanted to highlight some initial steps that can make the process of oil painting a tad simpler for you. So, let's begin!
One of the first things you need to take care of is acquiring suitable quality paints. Like most other art supplies, oil paints are available in different grades. We suggest you steer clear of student-grade colors as they are of inferior quality, which can make your painting experience quite frustrating.
Instead, try purchasing mid-budget paints from brands like Winsor & Newton and Gamblin with good reviews. High-quality paint also ensures that you will get the expected vibrancy and blend-ability in a single coat.
Coming to the colors, you don't need a whole lot of them. A set with primary colors, along with black, brown, and white, would work just fine. The most common colors recommended by artists are cadmium yellow, yellow ochre, alizarin crimson, burnt sienna, cadmium red, ultramarine blue, titanium white, and mars black.
You can mix these paints in different combinations to create any shade for painting. Do stock up on white as it usually gets used up the quickest.
Before you jump to the step of creating a whole art piece, it can be useful to spend some time getting familiar with the paint. Playing with the colors will help you get a better idea of their vibrancy, thickness, texture, pliability, and drying time.
Here's a comprehensive list of supplies that you'll require to create oil paintings:
These are the basic things you will need to have when planning to create an oil painting. One of the common mistakes made by people is to use the wrong brush with a specific painting medium. That's why we suggest you get brushes designated to be used with oil paints.
Most artists use hog hair and synthetic brushes while painting with oil colors. While hog hair helps add texture to the artwork, synthetic brushes let you create smooth layers of paint. You'll most likely require both variants to create a full-blown art piece.
However, there's no need to go out and purchase a big set of paintbrushes. Rather spend on some high-quality brushes with round, square, and fan-shaped bristles in a couple of sizes to experiment with oil colors.
Originally, artists had to stretch and prime their own canvases. But, these days, you can easily find pre-stretched and pre-primed canvases on the market. Even though it isn't necessary, we suggest getting an easel as it lets you set the canvas at a proper angle for painting with comfort.
Another essential thing to get is a solvent like white spirits or turpentine, which will help to thin out the thick paint. Always remember to wear latex gloves or nitrile gloves and a mask while using a solvent as it can be toxic for your body.
Here are some of the things to keep in mind while setting up an area for oil painting:
As you may know, most artists prefer to prime their canvas with a layer of gesso before starting to apply oil paints. That's because if you apply colors directly to the canvas, the porous material can soak up the oil, ruining the paint.
However, if you apply a thin layer of gesso before starting to paint, the colors will stay on the surface and last longer. The gesso also helps to make the application of the paints much smoother than painting directly on a bare canvas.
Gesso is nothing but a mixture of chalk, gypsum, and pigment that painters use to prime the boards before applying acrylic or oil paints. Usually white, gesso is also available in various colors, including black.
All you need to do is take a flat brush and apply a layer of gesso on the bare canvas. Wait an hour for it to dry, and top it off with a second layer if required.
As a beginner, you'll want to start with the basics of oil painting. We recommend choosing a relatively small object like a fruit or a vase as your first subject. Now, take an appropriately sized canvas and think about how to fit the object in the available drawing area. Let's check out some steps that can help you make the preliminary decisions for the painting.
One of the extremely helpful painting tips provided by professional artists is to always start with a rough sketch. If you don't feel comfortable beginning on the canvas, try drawing on a sheet of paper.
Try to compose your subject in a way that looks proportional to the canvas. It's best to start by sketching dominant lines, shapes, and focal points onto the surface with a hard pencil or charcoal. Remember not to apply too much pressure as it may leave an impression, which isn't desirable.
While sketching the subject on the canvas, make sure to leave enough negative or empty space for it to stand out. The areas may seem empty at first, but you can use them to add details later. Also, having a few overlapping shapes in an oil painting adds depth and makes it look realistic.
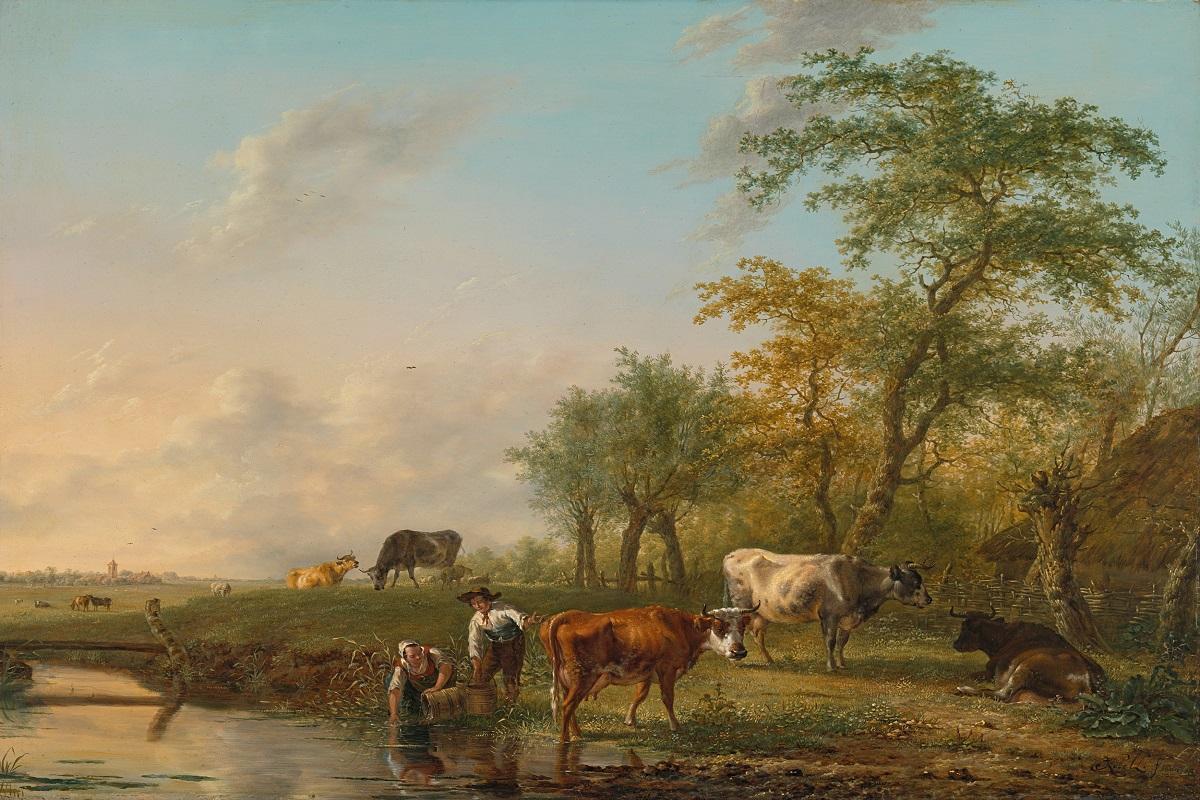
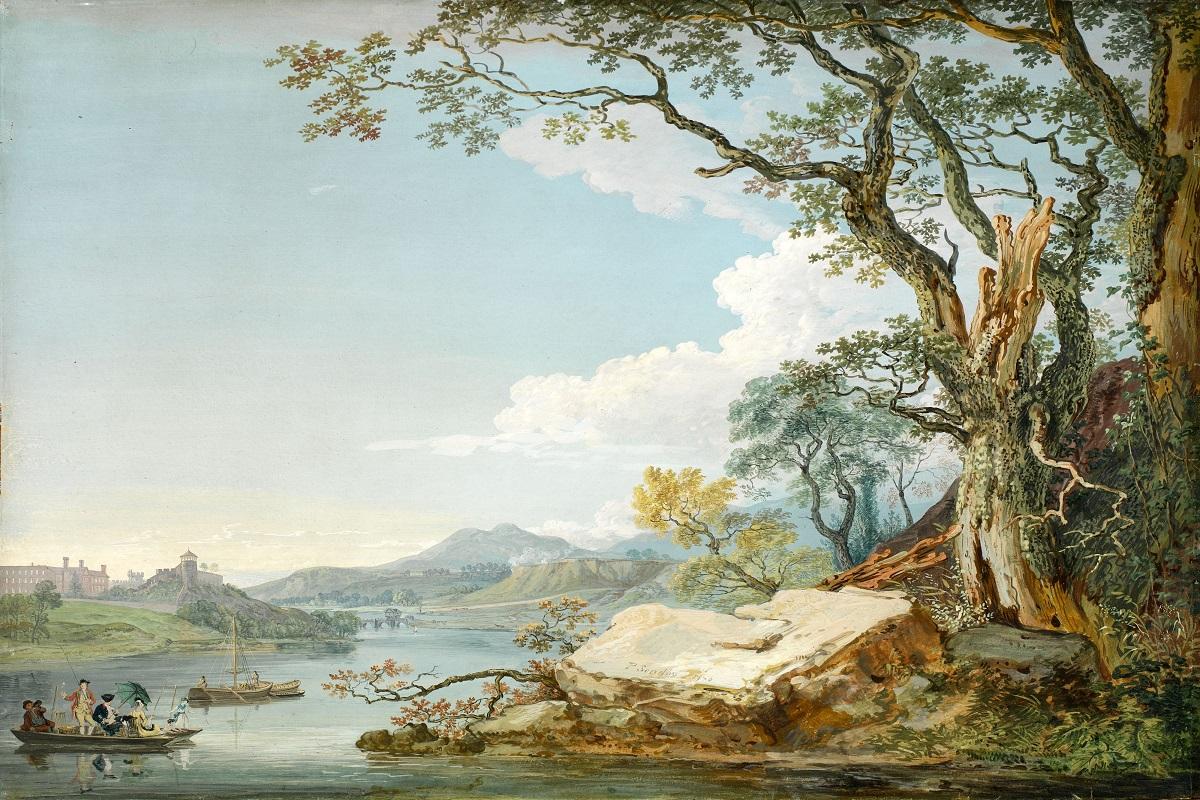
Those familiar with the oil paintings of renowned artists will know that one of their distinct painting techniques was to play with light and shade. On witnessing the artworks of Johannes Vermeer and Rembrandt, you may almost feel where the light source would have been.
As a beginner, finding the angle of light might seem a bit challenging for the first few paintings. But, we suggest you keep on practicing placing the highlights and shadows to get a more realistic outcome. Try using real objects as your initial subjects to grasp how light and shadows are formed and can change based on positioning.
Keep in mind that highlights or shadows may not be extremely bright or dark. You'll find a range of values rather than a strong definition in most cases. When you can depict that on a canvas, your oil painting is bound to become more lifelike.
We asked you to purchase a limited number of oil paints because a new painter can quickly become overwhelmed by the task of choosing colors. By using the colors suggested by us, you'll be able to mix and create most shades. However, they may not be quite accurate at first.
It's best to observe the actual color of the object and check its nuances, especially under natural light. You may notice that the color needs to be darker if the painting is set in the evening or night compared to a sunny day.
Does your sketch have any movements like rustling feathers or leaves? If yes, you may need to prepare to add brush strokes to create a sense of motion. We found making proper brush strokes was easier for those who have experience painting with other mediums like acrylic.
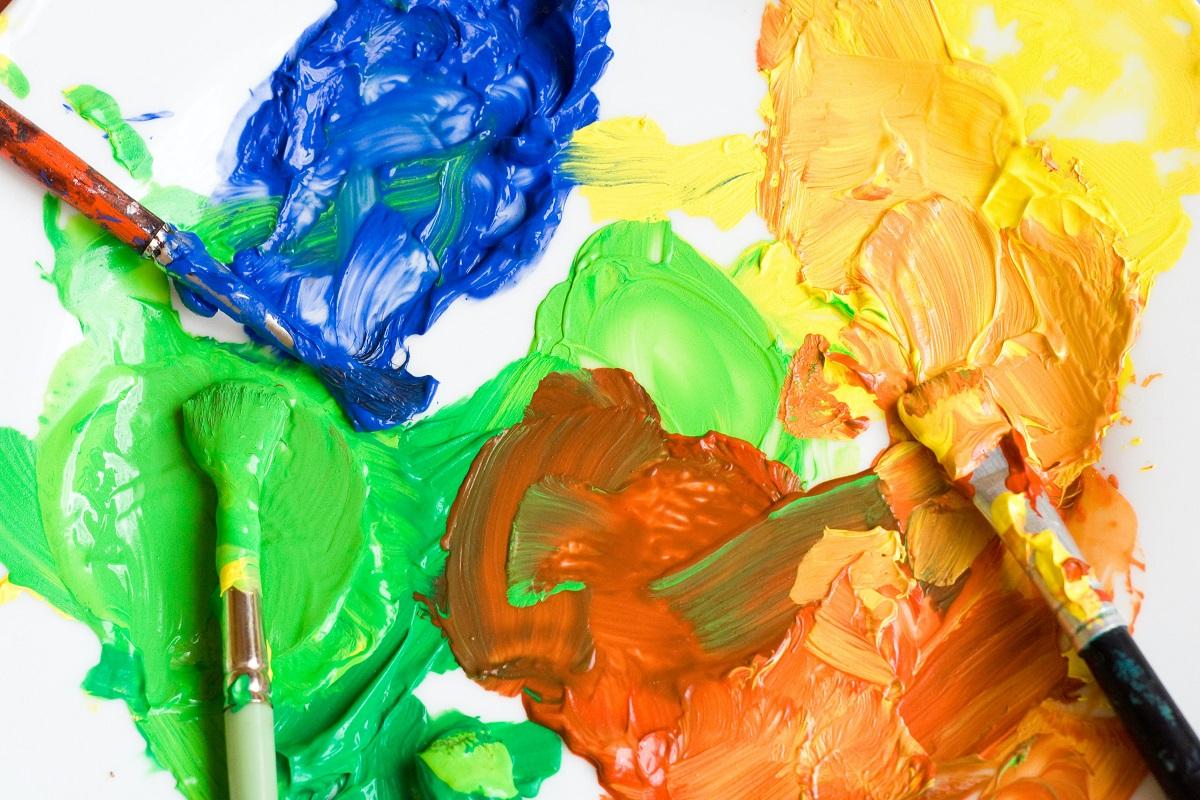
Before you can layer the colors on your prepped canvas, you'll need to mix the shades. Oil paints are often known as a forgiving medium as they take several days before beginning to dry. So, you have a much longer time to work with them than other mediums like acrylic, which dry almost instantly.
It can be tough to mix the same shade twice, so we recommend mixing large batches at once and storing them in jars to use between painting sessions. Also, it’s advisable to mix oil paint using a palette knife to get an even shade and also avoid wastage of color.
New painters prefer to use color wheels as a reference for mixing their shades as they are quite handy. The wheels will guide you through creating primary, secondary, and tertiary colors by mixing the right paints. You can also refer to the brand website of your paints as it may contain more information on mixing colors.
One of the basic things you need to remember is that pure hues are colors that are yet to be mixed with white or black. So, you can add either of them to lighten or darken the hue.
To create a tint or a pastel shade, you need to add white to the color. On the other hand, mixing black will create a darker shade. You can then add white to the shade to create a new tone, which are colors primarily used to paint everyday objects.
Yes, it's finally time to start with your oil painting. As we have told you already, the golden rule of oil painting is to start with thin washes of color and move on to thick layers. That's why you won't be able to finish a painting in a single sitting, as the layers need to dry in between sessions.
The average wait time is around three days before you can add a second layer. However, the duration may vary between brands, especially when using heavy body professional paints that may take weeks to dry.
Follow the thin-to-thick method and start filling the obvious shapes of your canvas. Use linseed oil or turpentine as thinning mediums, but don't go overboard and add small portions at a time to get the right consistency.
This is the best time to get your hands on different oil painting techniques as a beginner. So, let's have a look at some of them.
I. Scumbling
In this technique, you take a small yet thick portion of color and apply it to the canvas with short strokes to add texture. For scumbling or dry brushing, you can take the color straight from the tube and apply it to the canvas without adding a thinning agent or medium. Many artists use this to soften the edges of their oil paintings as well as to add specific details.
II. Alla Prima
Don't be fooled by its name, as this is nothing but the well-known wet-on-wet technique cherished by artists like Rembrandt. In this technique, the subsequent layers of an oil painting aren't allowed to dry, letting you get done with the piece sooner. Painters using this technique are commonly known for finishing a project within a single session.
III. Impasto
This is primarily a technique used by painters to add textures as it requires you to apply the paint with broad and quick brush strokes. It's commonly used to create shadows, as well as add highlights and depth. Rather than using oil paint brushes, palette knives are often used for the impasto technique for a more defined outcome.
IV. Sfumato
Hailing from the Renaissance era, sfumato is the direct opposite of impasto, as the technique adopts a much softer approach. The transition between colors is well-blended and often lacks distinct lines or borders.
A soft and clean brush is commonly used to apply new colors for optimal blending. Leonardo da Vinci frequently used this method, the most obvious example being the use of sfumato to paint the eyes of the Mona Lisa.
A great thing about using oil paints is that you get around three to four days to fix any mistakes and wipe excess paint before the colors have dried. Use this time efficiently and make changes only after observing the painting for a considerable time.
Do you still have some colors left after your painting is over? Rather than throwing them away, scoop up the excess color into small jars to use for another painting. You can also use saran wrap to cover your palette and keep the paints fresh.
One of the common mistakes of new painters is to forget about cleaning their oil paint brushes. Letting the oil paint dry on them can be detrimental, especially if they are natural hair brushes.
Hence, make sure to clean the brushes with turpentine or paint thinners and a paper towel after you have finished painting. Follow it by rinsing your brushes with warm water and mild soap, then air-drying to retain their health.
As we have said already, you need to learn how to be patient when beginning oil painting. Depending on the size of an art piece, you may need to wait for weeks or months for it to dry. A much longer drying time is needed for paintings with several layers of thick paint.
Remember to put your painting in a clean, dry place free from any disturbing elements to avoid damage. Once the painting is completely dry, add a coat of high-quality varnish to preserve the brilliance of your painting.
In the case of common painting mediums like watercolor, gouache, or acrylic, it's a must to have a pot of water by your side. But, that isn't true for oil painting, as water repels oil. Instead of using water, you'll need to stock up on solvents like turpentine and linseed oil which will help get a thinner paint for layering on the canvas.
At times, even after investing in the best quality oil paints, a painting may end up looking dull or lackluster. This is due to a phenomenon called sinking, where the oil of later layers gets absorbed by a previous layer. It can happen for several reasons, including improper priming of canvas, using an excessive amount of solvent, or using too little medium.
To avoid dull areas in your area, make sure to prep your canvas well, and allow a layer of paint to dry before adding more layers. You can also try to fix the sunken or dull areas after they have dried by lightly treating them with a painting medium.
One of the oil painting basics is knowing how to apply a very thin layer of paint on the canvas. This single shade acts as a background on which you can build up the other colors and thicker layers. The underpainting technique can also help an artist portray layers added to create depth and shadows.
That's everything we had to tell you about, starting with oil painting. We hope the guide will help you find your footing in the medium and clear any remaining doubts on oil painting basics.
As we have said already, remember to use the "thin to thick" or "fat over lean" method to ensure that your painting comes out good and doesn't develop cracks. Also, wait for enough time to let the painting dry before applying the varnish to prevent smudging of colors.
If you're still a bit confused about where to start painting, we recommend purchasing canvas boards and begin practicing the oil paint techniques. This will help you get better acquainted with oil paint qualities and paint texture.
Until next time, take care and have fun painting!