Expertises: Paint, Home improvement, Wood, Car, Painting
Updated on

Inspiring Ideas for Modern Home
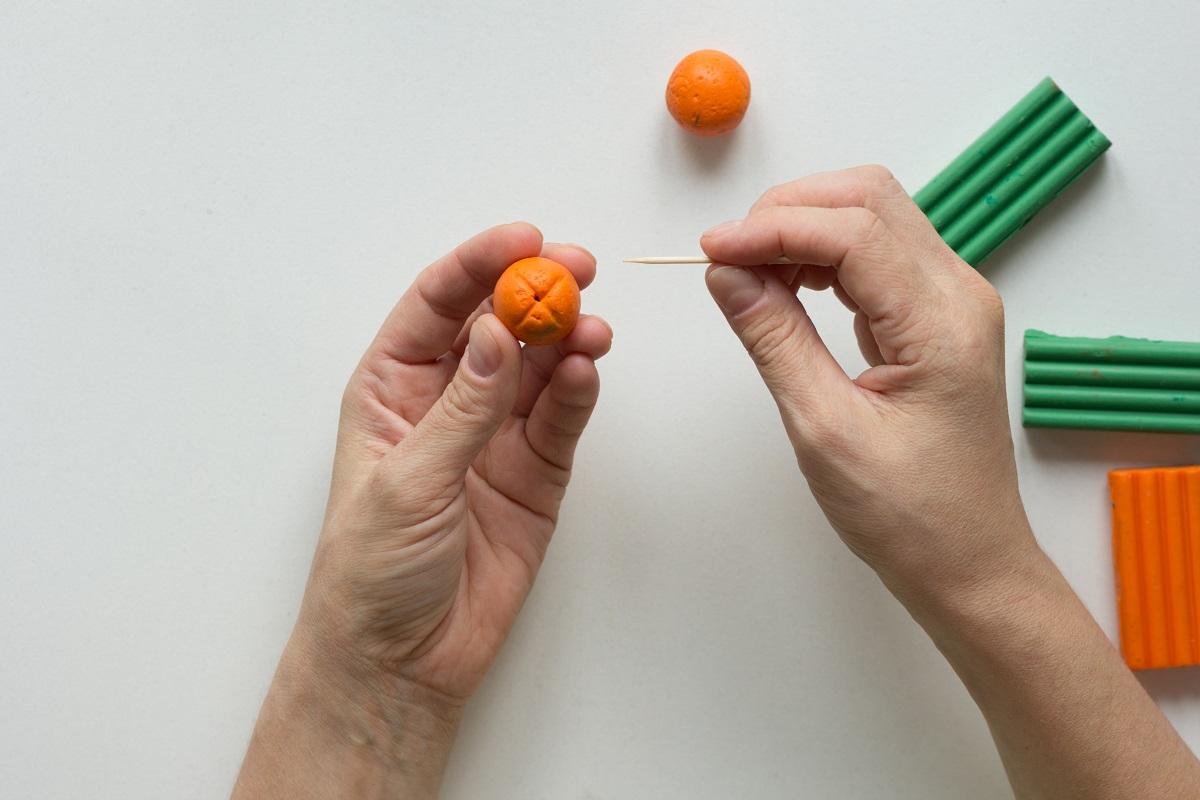
When it comes to the best clay for sculpting, many people prefer to side with modeling clay.

Both children and adults like this flexible material as they can make fun sculptures out of it. And the popularity of the clay has led companies to introduce various types of modeling clays catering to different age groups.
Most associate modeling clay with its pliability, which is preferred for children as they are able to reuse it to make new things every day. But, that might not be true for someone who wants to preserve their project.
That's why today we're here to discuss whether you can bake modeling clay. We hope this guide will help you in figuring out if modeling clay would be the best for your projects.
One of the things you need to know before purchasing any modeling clay is that all variants can't be baked or hardened. The most common colorful kids modeling clays available on the market are meant to be reused, so they can't be baked. They usually have an oil-based formula that prevents the material from drying out.
Having said that, there are options available that allow you to either bake or air dry them to make the clays non-pliable. A popular option is polymer-based clays, which are preferred by artists and sculptors. The projects made using polymer clay can be baked as per instructions provided by brands to harden them within minutes.
Another alternative is air-dry modeling clays. After creating a project, you need to let it sit for a period of 24-48 hours, during which the moisture will dissipate to harden the clay.
At times, packaging for modeling clays can be vague, and brands don't mention whether they can be hardened. Before making the purchase, check the package to see if it mentions drying or baking.
We also want to point out that it isn't a good idea to try clays that don't explicitly mention the baking process. Doing this can be especially hazardous when the material contains toxic compounds. If in doubt, check out the recommendations of professional modeling clay artists about which modeling clay would be best for preserving projects.
Even though you may not be able to harden modeling clay by baking, you can try other techniques. These would require you to get a few extra things, but they are a handy and economical way to harden projects made from modeling clay.
A polymer clay sealer is one of the best ways to harden modeling clay figures to preserve them for a long time. You just need to brush the sealer on your project and wait for it to dry. The sealer would make the project much less pliable than before, but be careful while handling your sculptures as they may get damaged if you apply too much pressure.
Do you love making tiny knick-knacks or jewelry using modeling clay? If yes, dip your models in a layer of quick-drying resin to make them non-pliable.
All you need to do is get a pack of quick-drying resin and mix it according to the manufacturer's instructions. Then, carefully dip the items into the resin and put them on a dust-free surface. Wait for them to dry, and the resin should create a transparent, waterproof coating over the modeling clay.
Remember to be careful when using resin, as some can be toxic. Always follow safety precautions and never involve children while working on resin projects. The good thing is that resin becomes non-toxic after curing and doesn't react with your modeling clay pieces.
Make sure to get a modeling clay that can be hardened by baking in an oven. Usually, the package of such clays will provide you with detailed instructions related to the temperature and duration needed to bake the sculptures until they are completely hardened.
Some brands even create video tutorials of the procedure to make the process simple for you. The general rule is that the clay items should be baked at a lower temperature, and the drying time would depend on their thickness. Most sculptors agree that when in doubt, you should bake the items for a bit longer for them to harden fully.
Here are the detailed steps based on the basic instructions provided by modeling clay brands:
The first step is always to preheat the oven as per the baking instructions provided by a brand. In case you decide to combine clays from different brands, use a lower baking temperature out of the two instructed temperatures to prevent overbaking the sculptures.
Based on the different methods we studied, most brands recommend using an aluminum foil-covered metal cookie sheet as the baking surface for modeling clay items. You may also try to use other materials like parchment paper, but make sure it doesn't have artificial colors as they may seep into your projects.
Want some pieces to harden in an upright position? Use rolled-up pieces of aluminum foil to prop them up to prevent the pieces from toppling. Sculptors even prefer to use oven-safe glass and ceramic pieces as support for fragile items that may fail to remain upright.
This step is pretty simple, as all you need to do is put the pieces into the oven and wait for them to bake for the specified duration. Most brands recommend baking clay items for 15 minutes, but you may need to wait a couple of more minutes for thicker pieces. You can also choose to glaze or paint the pieces before baking.
Remember not to open the oven immediately after the baking time is over, and let the pieces cool down before checking on them. If you feel that the sculpture isn't fully hardened, re-bake it for 10 more minutes.
While going through the different methods used by polymer clay artists, we found that some prefer to dunk their pieces in ice water right out of the oven. They believe it helps prevent thermal shock and makes the pieces shinier. But, this step is completely optional, and you may skip it if you're a beginner.
For the process, sculptors usually take out the clay pieces as soon as the baking time is over. Then, they use a pair of tongs to place the pieces in a freshly prepared ice bath. The pieces should be completely submerged in water, and the bath should last for no more than 30 seconds.
Even though air-dry clay isn't supposed to be hardened in the oven, some advanced sculptors still prefer to do it to reduce the drying time. However, the baking temperature should be less than 175°F to prevent the clay from overbaking. And make sure to leave the oven door open to let the moisture in the clay escape.
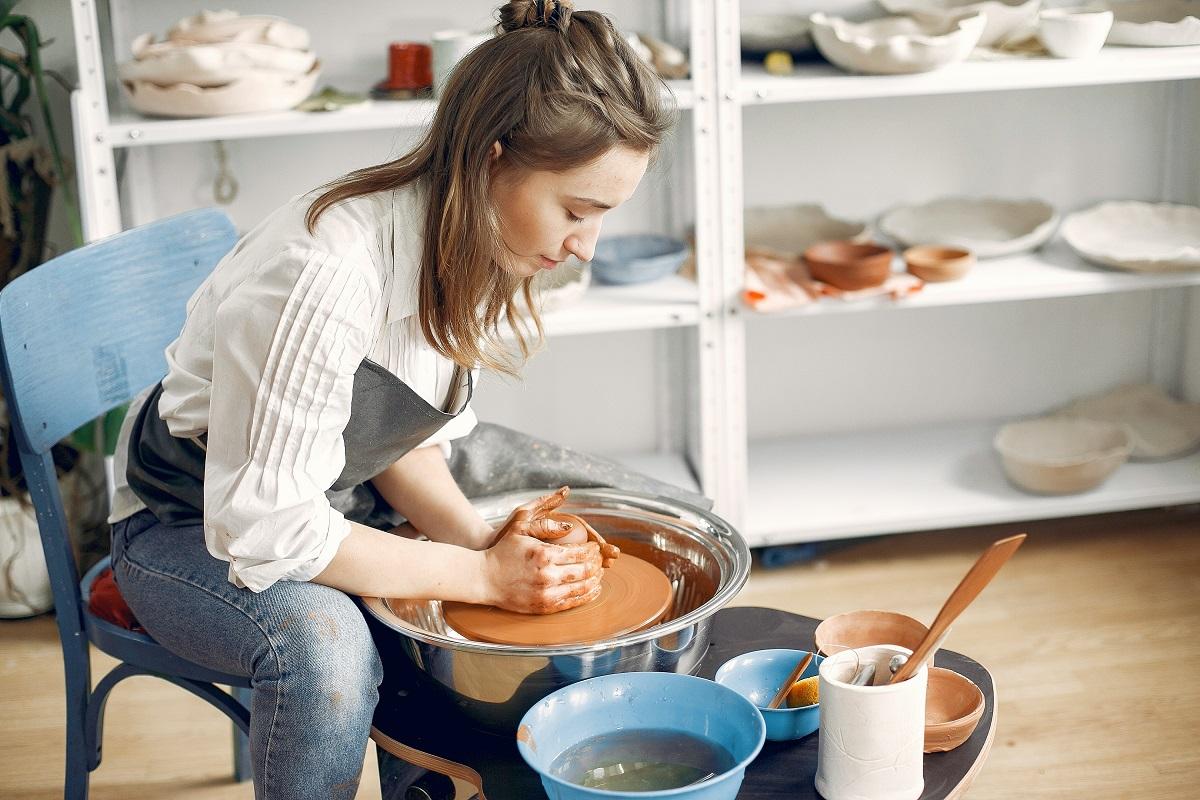
In strict terms, modeling clays aren't meant to be baked or hardened. On the other hand, sculpting clays are nothing but natural air-dry clays that harden when exposed to air. If you're looking forward to preserving your clay projects, try using beginner sculpting clay that can be suitable for everything from sculptures to pottery items.
No, most modeling clays, including polymer clays, shouldn't melt in the oven, but the modeling clays of the plasticine variant may melt due to the oils present in them. So, before purchasing any modeling clay for permanent projects, ensure it's free from the plasticine compound.
That's everything we have to tell you for now. We hope that all the details on how to harden modeling clay will help you create long-lasting craft pieces.
As you might have noticed, the best method to have non-pliable, hardened modeling clay items is to choose the right clay. So, spend time researching different types of clay to pick one that suits your crafting projects.
Until next time, take care, and goodbye!