Expertises: Paint, Home improvement, Wood, Car, Painting
Updated on

Inspiring Ideas for Modern Home
Let’s put it this way—you’ve got the best clay for sculpting, acrylic paints, and every other supply needed for creating an amazing model.

But, if you don’t bake the model at the right temperature or air-dry it properly, it would be of no use. Hence, the secret to creating a perfect masterpiece lies in the hardening of the sculpted clay.
From polymer to oil-based, there are different types of clay used by professionals and hobbyists alike. While oil-based clays can be air-dried, polymer and water-based ones are baked at high temperatures in cooking ovens or kilns to solidify them.
So, if you’re a beginner in the art world who doesn’t know the way around modeling clays, this guide is for you. Today, we’ll walk you through some of the easiest (beginner) sculpting clay techniques to help you pull off the projects in a breeze.
Keep reading!
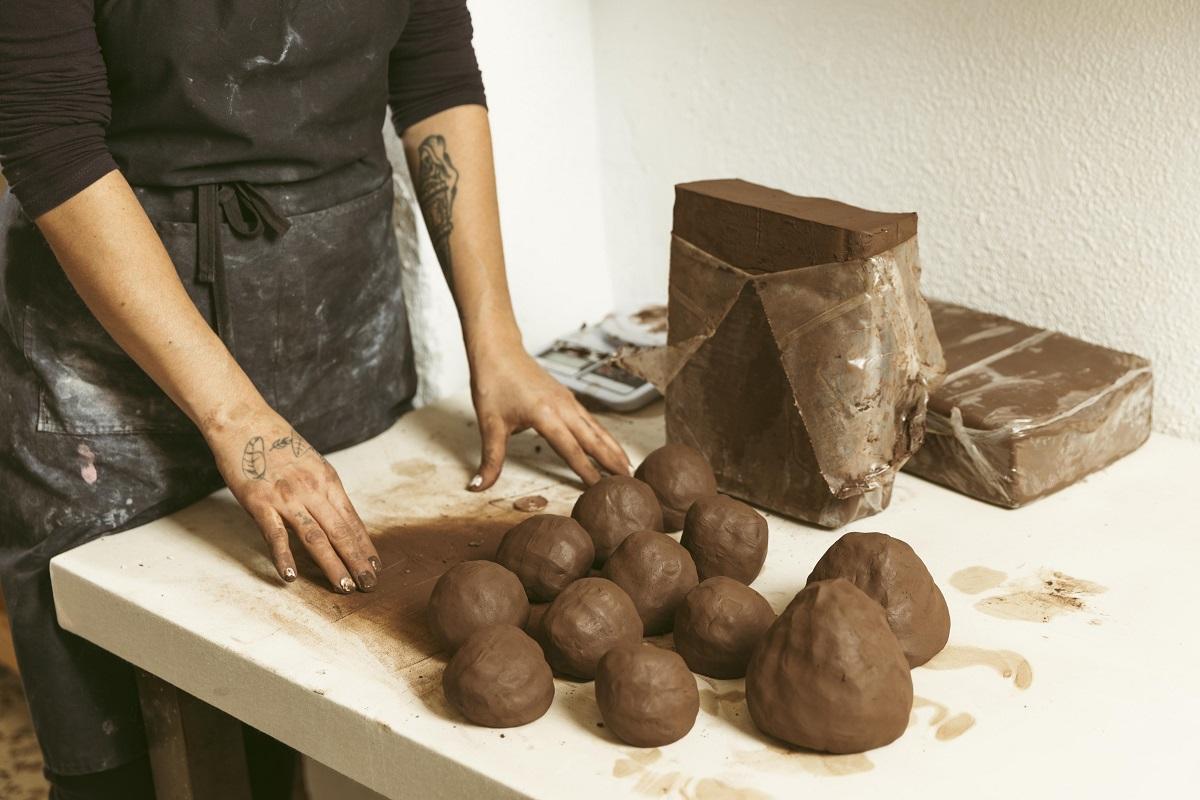
Artists and sculptors prefer easy-to-use and non-toxic modeling clay to create prototypes and models. However, its versatility doesn’t end here, as it is also used by children, art students, potters, and animators for creative purposes. Whether you’re a DIYer who wishes to carve ornaments or an amateur potter, hardening the clay is important to make your artwork durable.
Now, there are four different types of clay used by artists—ceramic, polymer, paper, and oil-based modeling clay. And the method you opt for depends largely on the clay you use for the project.
Having said that, we’ve enlisted two quickest and easiest methods to harden clay. So, let’s check them out.
If you’re a jewelry maker who sculpts earrings, pendants, and necklaces out of clays, epoxy resin is a must-have in your craft kit. That’s because dipping your creations in epoxy will solidify them and create a waterproof coating that will withstand the test of time.
All you need to do is mix the epoxy resin as per the instructions on the package and dip small jewelry pieces in for a couple of minutes. Once dried, you can sand the piece to eliminate drips accumulated on the bottom. Not only will it solidify your art pieces, but it will also add shine to them.
Another quick way to harden modeling clay is to use a polymer sealer on your artwork. Simply grab a brush, dip it in the polymer sealer, and coat a thin layer of it all over the sculpture. After it dries, your creation will become durable, and you can use it without the fear of tampering.
However, make sure you read the instructions on the package before applying it to your sculptures to avoid making mistakes.
The best way to harden polymer-based modeling clay is by baking it in the oven for a few minutes. Though clays are baked in less than ten minutes, the exact time depends upon the type of clay you are using.
You will first have to create a vent hole on your models before tossing them in the oven. Usually, it is created on closed-off air pocket models to prevent the clay from cracking due to temperature variations. So, grab a needle and pierce the model till you reach the inner air pocket.
More often than not, clays are baked at 275°F for about ten minutes. However, the baking temperature and time vary from clay to clay which is why going through the instruction manual is recommended.
Another thing we’d like to mention is that the thickness of the clay plays a crucial role in determining the baking time. Hence, make sure you read the instruction manual thoroughly to avoid over-baking the clay model.
If your model is fabricated out of clays from different brands, set the temperature of the oven at 265°F. You can even follow the directions provided by the brand whose clay you have used the most in creating the masterpiece.
Most likely, the oven is preheated between 220°F and 300°F, but we suggest referring to the instruction manual in the polymer clay packaging. Once you figure out the right temperature, turn on the oven and preheat it.
Moving on, place your model on a ceramic baking dish, preferably an oven-safe one, and toss it in the preheated oven. In the absence of a dish, you can use a ceramic tile, glass dish, or even parchment paper.
As a piece of advice, dispose of the surface after baking clays because polymers contain a lot of colorants.
As soon as the oven is preheated, place the ceramic dish into the oven and turn it on to start baking. In case you’ve painted the model, bake it for a couple of minutes more than the time specified in the manual.
When baking models that are more than 1-inch thick, bake them for about 30 to 40 minutes at a lower temperature to avoid burning them.
As soon as the oven beeps, take out the ceramic dish from the oven and transfer the model to a pot filled with ice water. Keep it submerged in the cold water for about 30 seconds so that the clay doesn’t get over-baked.
Also, make sure you use a spatula to separate the model from the ceramic, not tongs, as they tend to leave marks on the clay. Alternatively, if you’re unable to separate the model from the surface, submerge it in water along with the ceramic dish.
While baking is the most preferred option among professionals, beginners may find it slightly overwhelming. That’s because baking clay in the cooking oven requires constant supervision and can get damaged if baked at high temperatures.
But don’t worry, for we’ve enlisted a few ways that will come in handy while hardening non-hardening clay without using the oven.
Pots, ornaments, coffee mugs, or flower vases—no matter what you wish to create, using a dehumidifier is the best way to harden non-hardening clay. All you need to do is unpack the clay and place it in front of the dehumidifier to maintain the humidity level. In the absence of a dehumidifier, a space heater or a humidifier will serve the purpose.
Another preferred option for hardening non-hardening clay among hobbyists is using chemical binders, such as vinegar or glue. Irrespective of whichever binder you use, add around four ounces of clay and start sculpting your masterpiece.
Though uncommon, some people use heat guns for hardening non-hardened clay. However, we suggest trying it only if you’re well-versed with its operation, or you may end up damaging the clay.
Compared to traditional ones, self-hardening clays (air-dry clay) need not be fired in kilns for the purpose of hardening. This means the model you carve out of them will have to be hardened at room temperature.
While most harden within 24 hours, some self-hardening clay may take up to a few days to solidify. However, you must keep in mind that the drying time depends upon the size and the thickness of your project.
That being said, we’ve mentioned a few tried-and-tested tips that every artist and DIYer must keep in mind while hardening air-dry clays.
The first thing that you should do after completing your project is to keep the model in a dry and well-ventilated room. Ideally, the model should be left undisturbed for about 24 to 48 hours, but keep checking it every five to six hours to ensure no cracks.
Though most clays dry within 48 hours, some may take up to 72 hours to solidify completely. Of course, the thickness of the clay and the moisture in the air play a significant role in the drying process.
If your air-dry clay isn’t drying even after 12 hours, use a hair dryer at high temperatures to dry it. Alternatively, you can dry it in the oven at a low temperature for about one or two hours if you have access to one.
Pieces like pots, earrings, or pendants are multi-dimensional, so you’ll have to flip them over to let the other side dry. Preferably, you should flip over such pieces after 12 to 24 hours to avoid damaging the clay.
During the drying process, cracks or dents may appear on the clay model. So, if that happens, dip your fingers in clean water and rub it over the dents to smooth them out, and repeat the procedure if needed.
At times, large cracks may appear on your models, which you’ll have to fix by adding water to the clay and putting it in a plastic bag for about ten minutes or so. After that, knead the clay and keep adding water till it becomes usable.
When it comes to air-dry clay, make sure you paint it only after it has completely dried. Once it is fully cured, grab a paintbrush and coat it with tempera or acrylic paint.
After leaving it aside to dry for 24 hours, coat a paint sealant or spray it over the surface to protect the coating. For models with intricate details, using a fine or thin paint brush will be the best bet.
Most people love crafting kids’ toys out of plasticine modeling clay but don’t know how to harden them. Though it may appear overwhelming in the beginning, hardening plasticine isn’t impossible.
To make it easy for you, here are some time-tested methods for hardening plasticine that are worth a shot.
If you’re a newbie in the world of clays, you may find sculpting a bit challenging. But, with patience, practice, and determination, you’ll soon become a pro at clay art.
Here we’ll walk you through some techniques that you must follow while sculpting clay.
Though we suggest referring to the package instructions, 24 to 48 hours is sufficient to air-dry modeling clay.
Yes, polymer clay is compatible with paint, which means you can coat it with any color you want to make designs pop.
On that note, we’ve reached the end of our guide on the topic.
Clay is an excellent art medium, and you can use it to carve almost anything you wish—ornaments, flower pots, vases, wall arts, paperweights, or pencil holders.
Honestly, modeling clay serves as a fun, relaxing, and therapeutic activity, but the secret to a stunning masterpiece lies in its hardening. So, whether you bake or air-dry your creations, don’t forget to follow the instructions of the manufacturer and do it the right way to avoid ruining them.
With that, we’ll call the curtains for the day. Till then, take care!