Updated on
Your refrigerator is a reliable and hard-run home appliance that can cause a disaster if it breaks down. Your food could go bad, and the repair bills can skyrocket depending on the issue.

There is another way: you repairing refrigerator yourself! Many fridge issues can be fixed at home without calling a handyman.
Our quick guide to DIY refrigerator repair can help you save money by fixing your refrigerator. All you need are a few tools and some free time.
What Are the Issues Refrigerators Face, and How Do You Fix Them?
Now we'll cover how to repair a refrigerator without calling for the nearest handyman. Here is how to fix some of the most common refrigerator problems.
Important!
Before fixing anything, ensure your refrigerator is unplugged, and its capacitor is fully discharged. Check "How do I Discharge the Capacitor?" below for your own safety.
Grab Your Tools
Before we get to the refrigerator repair, you'll need the right tools. Grab these tools before you start.
- Hair dryer
- Flat-head or Phillips Head Screwdriver
- Vacuum
- Level
- Brush
- Putty Knife
1. Refrigerator Is Leaking
If you've got a leaking refrigerator, you can narrow your diagnosis to a few pesky parts. Let's start with the drain pan.
Drain Pan
Your fridge may leak onto your kitchen floor, making a big mess. Your fridge's drain pan (located at the bottom) is designed to catch this water, but it may have started overflowing.
Carefully remove it and remove any collected water, then mix up a quick cleaning solution with warm water and mild soap. Wash the drain pan with soapy water.
Remember to use a soft cloth for this stage. If your drain pan smells off, use bleach and warm water in a 1:10 ratio.
Once you've finished cleaning, return the drain pan properly. If the drain pan's rusty or cracked, replace it.
Door Gaskets
Your fridge's door gaskets help create a seal that keeps the cold and warm air in, but old gaskets can leak.
Go over your refrigerator doors for any leaks and dripping water. Once you've found a soggy gasket, clean the area around it and leave it be.
You can also check if your door gaskets are working by slipping a dollar bill between the gasket and the fridge door, leaving a corner sticking out. Try pulling the bill out.
If you feel resistance as you pull, then your gaskets are fine. However, if the bill falls out and the gaskets leak, replace your fridge's door gaskets.
Avoid buying a universal gasket, and give the new gasket time to adjust to your fridge's door frame. Remember to test your freezer door gaskets too.
Tip
You can help your gasket conform to the fridge door frame with petroleum jelly. Massage it onto the gasket for better sealing.
Will It Drain?
Now it's time to inspect your defrost drain. Depending on your fridge's model, you may have to remove the back cover panel to get at it.
Once exposed, use a hair dryer or hot water to melt any visible obstructions and ice pieces, then soak up the excess water with a sponge.
Get a tube that fits neatly into the refrigerator drain and blow out any remaining bits and pieces.
If none of the solutions above work tackle water leaks with this guide on how to fix leaking fridges.
2. Refrigerator Is Too Loud
It's normal for a perfectly-functional refrigerator to make noise while it's on, especially a very low hum. But if the noise starts getting irritating, it's time for refrigerator repair.
Buzzing Noises
You may notice your refrigerator buzzing at regular intervals. This is likely the ice maker filling up the ice tray with water.
However, your refrigerator's ice maker may buzz because it's disconnected from the water supply.
In that case, ensure you unplug the fridge first, then check the supply valve leading to the fridge. You'll likely find it underneath the kitchen sink.
If your fridge has been removed from the water supply line, reconnect it.
Reconnect the water line to the fridge and plug the fridge back in. Note that this cleaning trick can also be used for fridges with water dispensers.
It’s Not Level
Refrigerators are heavy appliances and can become uneven over time. This won't typically be an issue until you hear the compressor motor humming while the refrigerator is running.
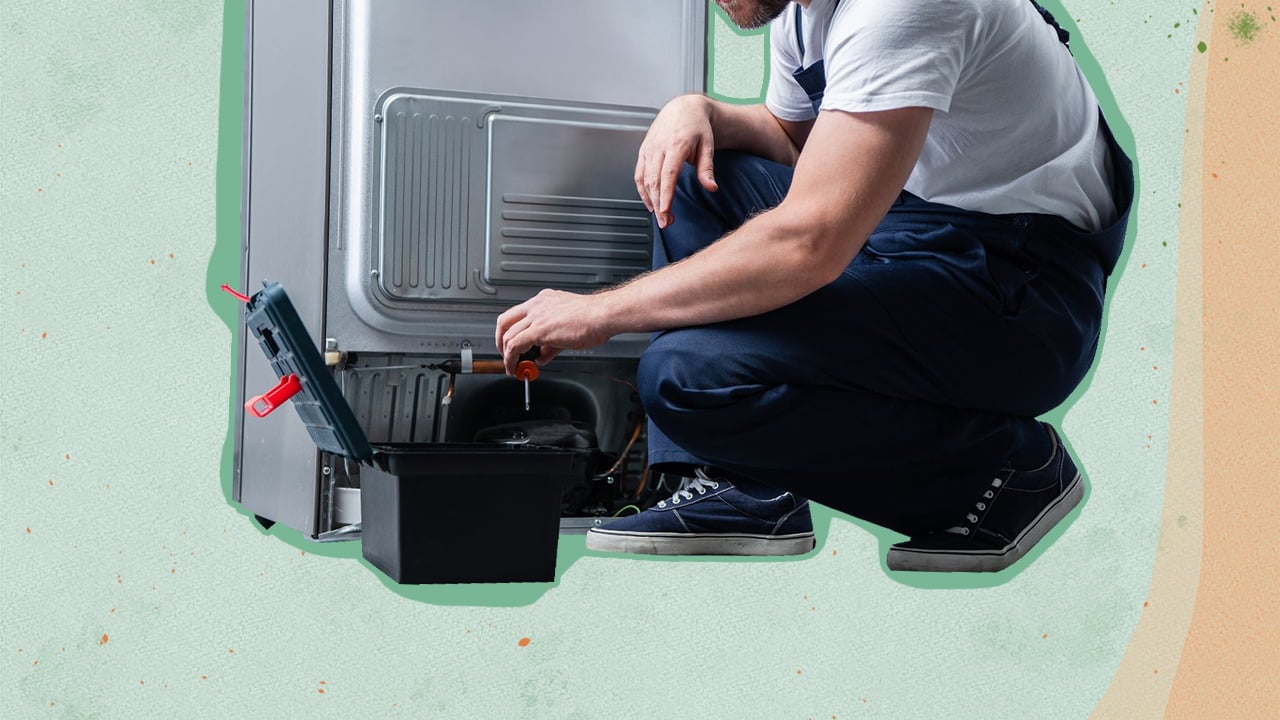
Remove the cover panel at the bottom of your fridge's legs if you hear that humming. Test whether the legs can be tightened manually, but you'll likely need a screwdriver or wrench.
Check the screws on your fridge's legs and grab the matching same screwdriver to tighten them. Typically, turning the screws holding the legs clockwise will raise the refrigerator.
Turning them counterclockwise will lower the fridge. As an additional test, open your refrigerator door and tighten the screws until the refrigerator door swings shut on its own.
Grab your level and place it on the fridge to check its level.
Dampen It
An even fridge won't hum too loudly because the floor will dampen the noises, but an uneven fridge will freely transmit its humming.
If your fridge is level but still humming up a storm, pick up some anti-vibration pads for its feet. Grab a friend to tilt the fridge slightly while you install the pads, and be careful.
You can also purchase a thick foam mat and slip it underneath your fridge to soundproof it.
Faulty Evaporator Fan
Now it's time to check your freezer compartment. If you open it and hear strange noises, your evaporator fan motor is likely the culprit.
Clear your freezer until the evaporator fan is visible, and unscrew it from its mounting bracket. Tighten the grommets and see if that stops the noise.
If your evaporator fan motor is still noisy, it may be time for a new fan. Repeat the previous procedure and unscrew the old fan, then replace it.
Busted Condenser Fan Motor
Most refrigerators have a condenser fan, but it's not a given, so check your manufacturer's manual for more details on your refrigerator.
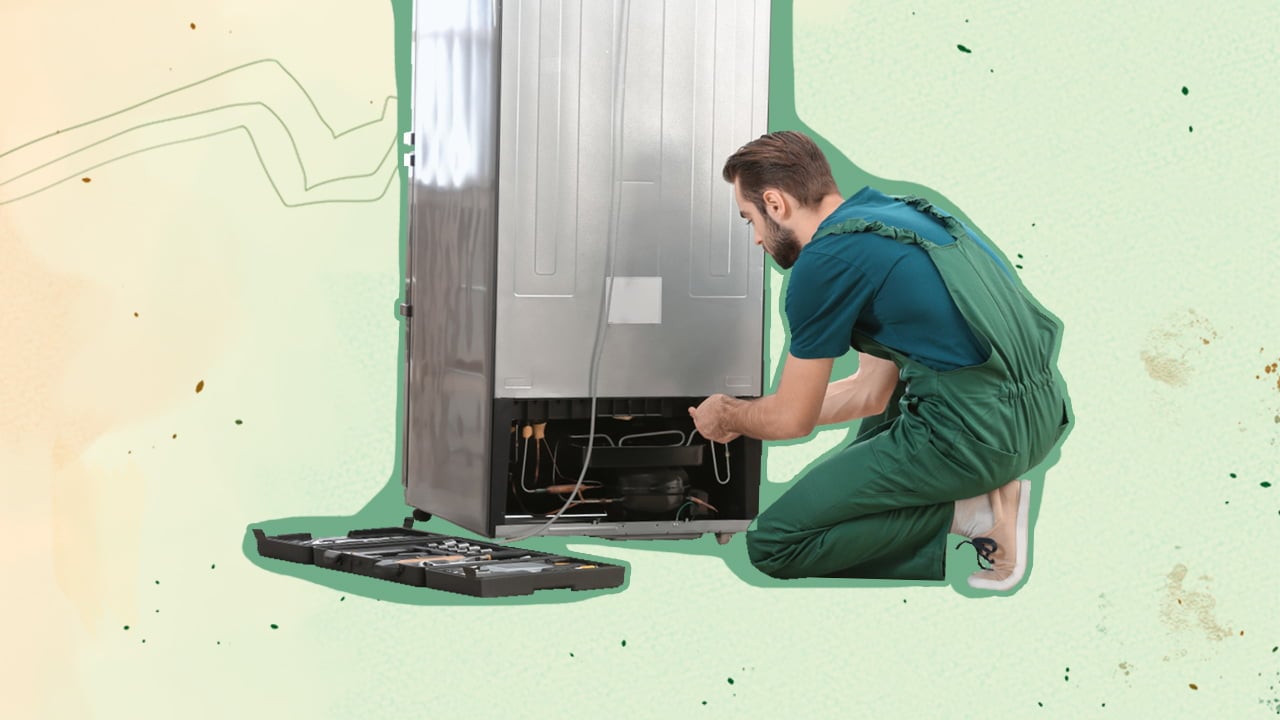
Remove your fridge's rear access panel and get the vacuum. Give the condenser fan and motor a good once-over with the vacuum.
Ensure the fan blades are undamaged and clean them out if so.
Broken Compressor Motor
In the worst-case scenario, a broken compressor motor is the cause of those nasty fridge noises.
Replacing the part isn't worth it unless your fridge is still within the warranty period because of how vital the compressor is to a fridge's structure.
Purchasing and installing a new compressor may match or exceed the price of a new fridge, especially if your model is 10 or more years old.
Review the functional components, like the freezer and water dispenser, and whether you can salvage them. Otherwise, all we can suggest is getting a new refrigerator.
3. Refrigerator or Freezer Is Not Cold Enough
If your refrigerator isn't cooling properly, don't panic yet! Your area may have experienced a power outage, giving you a bad case of melted ice cream.
Ensure your fridge is plugged in first. If your fridge's power cord has any signs of damage, unplug it and prepare to move your refrigerator's contents.
Once that's done, it's time to check the fridge interior and condenser coils.
Check Refrigerator Box
We're not talking about the box your fridge came in, but the refrigerator's interior. This is a simpler fix, so we recommend doing this first.
Some of the larger containers or items in your fridge can block the flow of cold air between your freezer and refrigerator.
Most refrigerators are designed with hard-to-block air vents, but it still happens. Clear your fridge's air vents for better airflow.
Condenser Coils
Your condenser coils help provide the cold air and coolant that keeps your food fresh, but they can get clogged with dust and grime.
Condenser coils typically look like large copper wires and are located either at the refrigerator's bottom, top, or back.
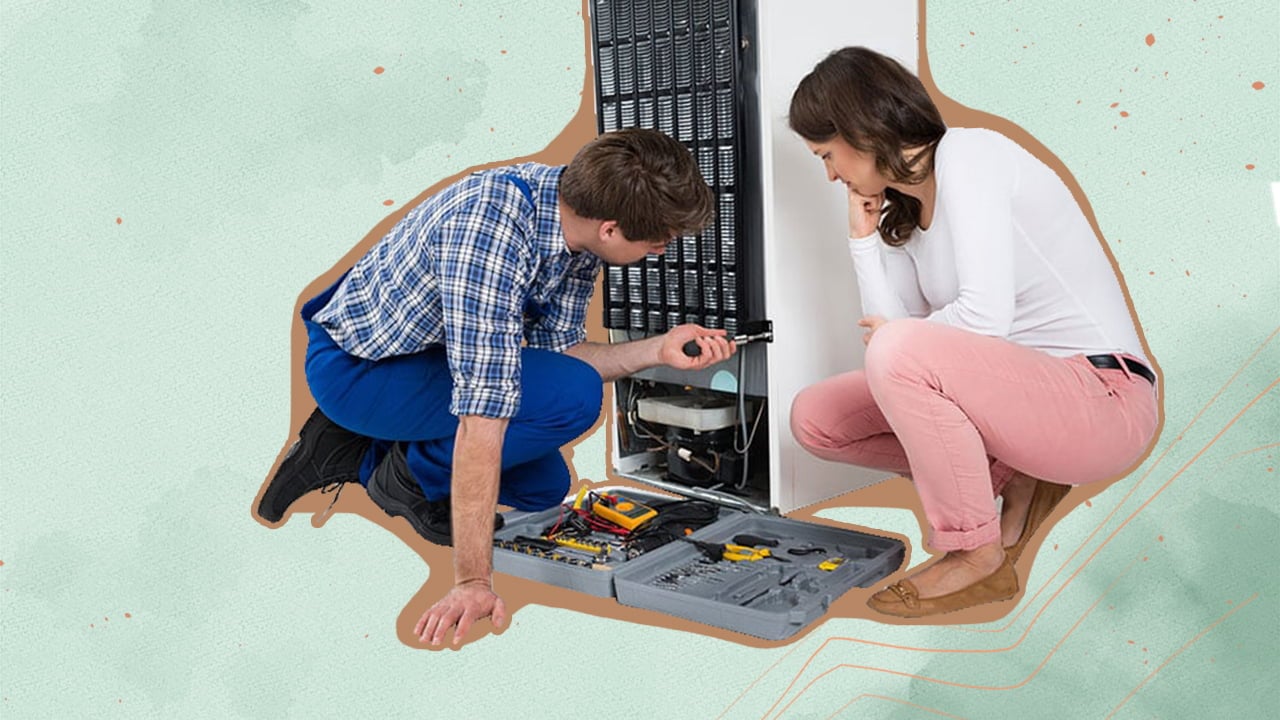
Dirty condenser coils are inefficient and can hamper your fridge's interior temperatures. Unplug your refrigerator and vacuum around the coils.
You want more airflow, but be careful while vacuuming; a broken condenser coil will require a professional's help!
If you can reach them, regularly dust your condenser coils with a stiff brush to keep them at peak efficiency.
4. Refrigerator Is Too Cold or Freezes Over
Sometimes your refrigerator works too well, and ice buildup forms around your fridge door. Before trying any of these methods out, check the thermostat first.
Someone may have accidentally changed the refrigerator temperature settings. Check the back of the freezer compartment for the thermostat and ensure it's working.
Time for a New Thermostat
However, if the thermostat is set to the correct temperature settings but isn't working, it's time to replace it.
New thermostat installation is an advanced repair method, so we only recommend it if you've had previous experience fixing your refrigerator.
- Ensure your refrigerator is unplugged and the capacitor is discharged, then open the freezer's cooling compartment. You'll also have to get through a few assembly covers.
- Carefully remove the assembly cover; mind the wires attached to the refrigerator!
- Once you see the plastic capillary tube, you're looking at the thermostat. Take a photo of the wiring arrangement for the reassembly later.
- Pull the tube and wires out, and install the new thermostat. Remember to replace the one green ground wire, orange wire, and 2 black wires.
- Reassemble the unit. Don't forget the capillary tube and screws!
Note
Above is a sample wiring arrangement. Your thermostat's wiring may be different.
Busted Damper
Once you've unplugged the fridge, look between the cooling compartment and freezer for your refrigerator's damper. A stuck damper may cause your freezer issues.
If you can move the damper, try to close it. Some refrigerators have automatic dampers, which can be removed, tested, or replaced if needed.
5. Icemaker Issues
Your refrigerator or freezer likely has a convenient ice maker, which can cause various issues. Here's how to get that ice maker up and to run again.
No Ice
If your icemaker's completely unproductive, you may have accidentally turned it off.
Check whether the ice sensor arm is in the "off" position and flip it on to get some refreshing ice again.
Strange Looking Ice Cubes
Now you're sure the ice maker is on, but what if it's only making small misshapen cubes? It's time to check the inlet tubes behind the ice maker for blockages or frozen chunks of ice.
Once you find any, use a hair dryer to melt any ice buildup. You'll know you've melted all the ice when the tube stops dripping water.
Carefully reconnect the tubes and turn the ice maker on again.
How Do I Discharge the Capacitor?
Before you can repair anything, you'll need to unplug your fridge and ensure it's safe to disassemble; for that, you'll need to discharge the fridge's capacitor.
This step is necessary to ensure you aren't shocked by the fridge's capacitor.
Check the manufacturer's manual for how to disassemble your fridge, and get the following tools:
- 2 screwdrivers
- 2 jumper cables with alligator clips
- 1 20,000 ohms, 2-watt resistor.
Connect one clip to one end of the resistor wire and the other end to a screwdriver, and repeat with the other screwdriver.
Leave the capacitor on the ground and hold each screwdriver by its insulated handles.
Hold each screwdriver to one terminal on the capacitor for a few seconds, then disassemble the refrigerator. You may need a putty knife to expose some interior components.
What Should You Do if a Refrigerator Repair Goes Wrong?
So your refrigerator repair didn't work? Don't worry, because you've still got options! Check whether you're still within your fridge's warranty period.
If you are, then see if you can get a one-for-one replacement refrigerator. If this happens again, you may also want a backup mini-freezer to help you salvage more food.
Check your current unit for the model number and order a replacement. Otherwise, you'll have to eat the expense and buy a new refrigerator.
Once that's over, remember to take better care of your refrigerator. Knowing how to repair it is one thing, but regular maintenance can save you the trouble of repairing it!
Learn more about refrigerator repair here! Refrigerator repair is doable, even if the cause is a failure. If your refrigerator is older, it’ll likely be easier to repair yourself. That’s because the basic elements of a fridge are simpler to repair or replace, like the door gaskets. Likewise, a minor leak won’t give you much trouble. However, if your smart fridge has a malfunctioning touchscreen, get ready for a major expense because you’ll need to call a repairman or contact your fridge’s manufacturer. Two of the most common refrigerator problems are overstuffing and compressor failure. All refrigerators have a maximum capacity for food, and going over this capacity can harm your fridge. Refer to your owner’s manual for your fridge’s capacity in cubic feet, and remember to include the weight of your containers. Then there’s the fridge compressor, which pumps refrigerant throughout the system. Compressors can overheat and fail, especially if your refrigerator is over 10 years old. Some refrigerator issues are easy to spot, like if the whole unit suddenly stops working. Immediately check the power cord and ensure it’s fully plugged into the outlet. Inspect it for signs of visible damage, like severe kinks in the cord or exposed wire. If your refrigerator cord is damaged, leave it unplugged and order a replacement. In the meantime, move your perishable food items to a cooler and preserve them with some ice packs. Test the fridge’s outlet with another appliance in case the outlet is at fault.Repairing Refrigerators FAQs
Can I Fix a Refrigerator Myself?What Is the Most Common Cause of Refrigerator Failure?What’s the First Thing to Check When the Refrigerator Stops Working?
Conclusion
The only sounds you should hear from your fridge are the ice clattering from your ice maker and a soft humming. Anything else is a cause for concern.
Fortunately, these DIY refrigerator repair tips should be able to handle most issues you run into and keep your food items nice and fresh.
Contact a repairman if your fridge issues require disassembling the unit or replacing the compressor. Contact the professionals; don't risk your fridge!