Expertises: Architecture, Design, Art, Home improvement, Painting
Updated on

Inspiring Ideas for Modern Home
Simplicity is beautiful, the ultimate sophistication one might argue. The candle light, a simple shiver of simplicity encapsulating sensibility, coziness warmth and the feel of intimacy in it can beautify our world with ease. Often used to melt down our problems and calm us down, candles are becoming more and more popular each day as their simple light animates our interiors at the end of the day next to the glass of wine.

In the following rows you will find a simple to create DIY concrete holder, realized at home in less 15 minutes or less. Its simplicity and concrete texture has already beautified a few late nights with friends and a few relaxing bath sessions.
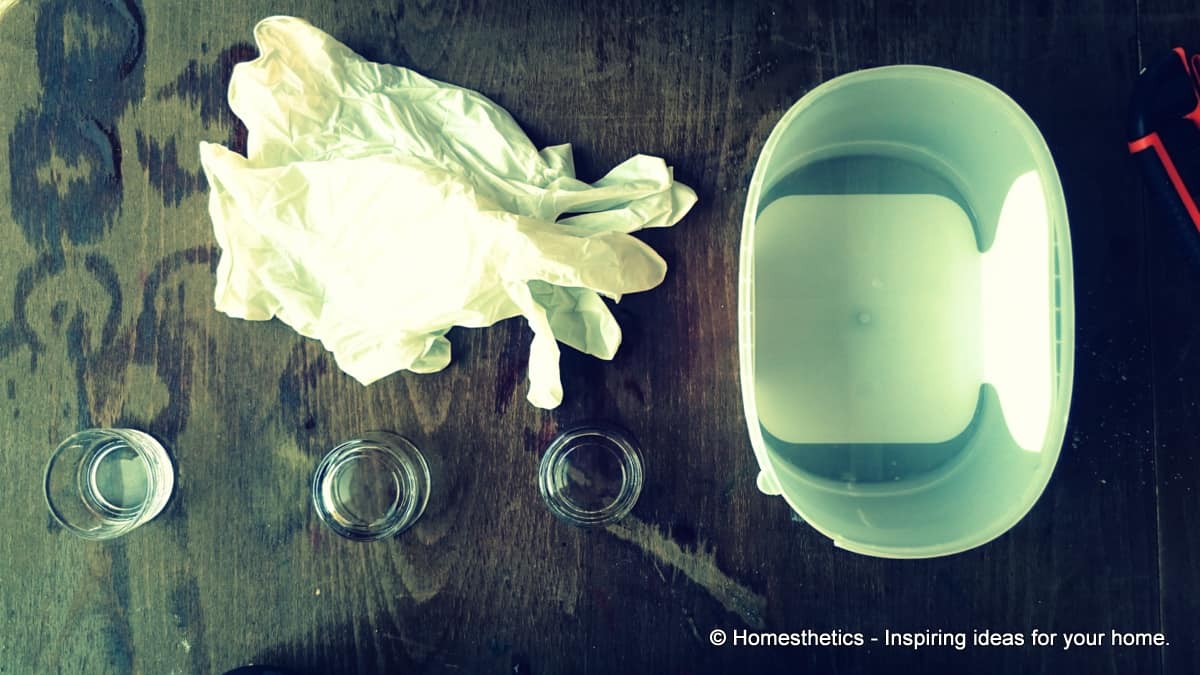
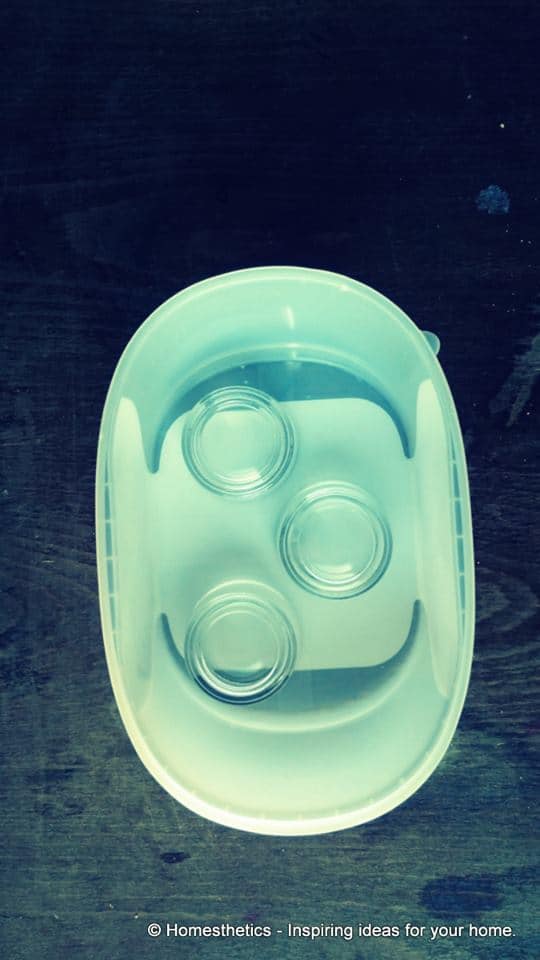
Once you have your plastic recipient ready insert the glass, plastic candle holders into it. Place them on the bottom, facing the floor; in this manner the end item will use the smooth face of the recipient properly. Keep in mind that the recipient dictates the shape so try to find something that would fit your needs, not small nor big enough. In an ice scream container we`ve inserted the magical number of glass candle holders. It is worth mentioning here that the surface must make perfect contact and be heavy enough to support the pressure between the concrete and the air captured within.
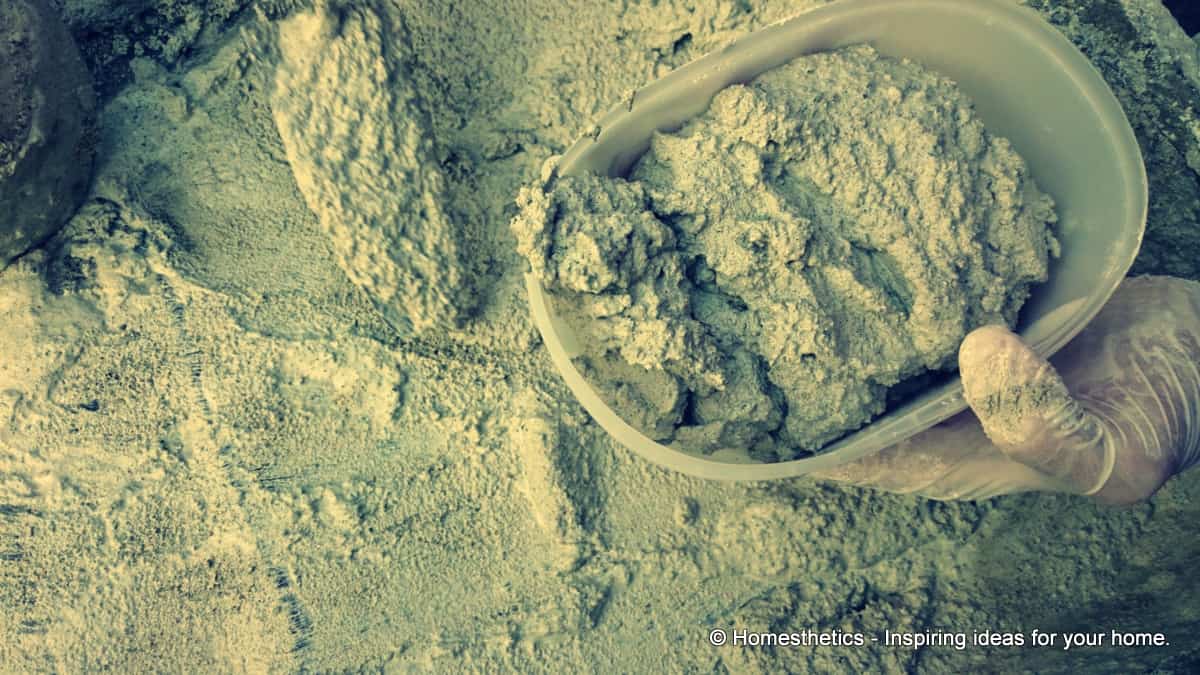
Add water to you concrete mixture and with care pour spoon by spoon in the recipient. Make sure that you place the first spoons over the candle holders to apply pressure on them. Take a few seconds glancing on them, if you see any movement, pour the concrete back, clean the recipients, put them back into position and use some kind of glue or discrete tape to stick them to the sop surface.
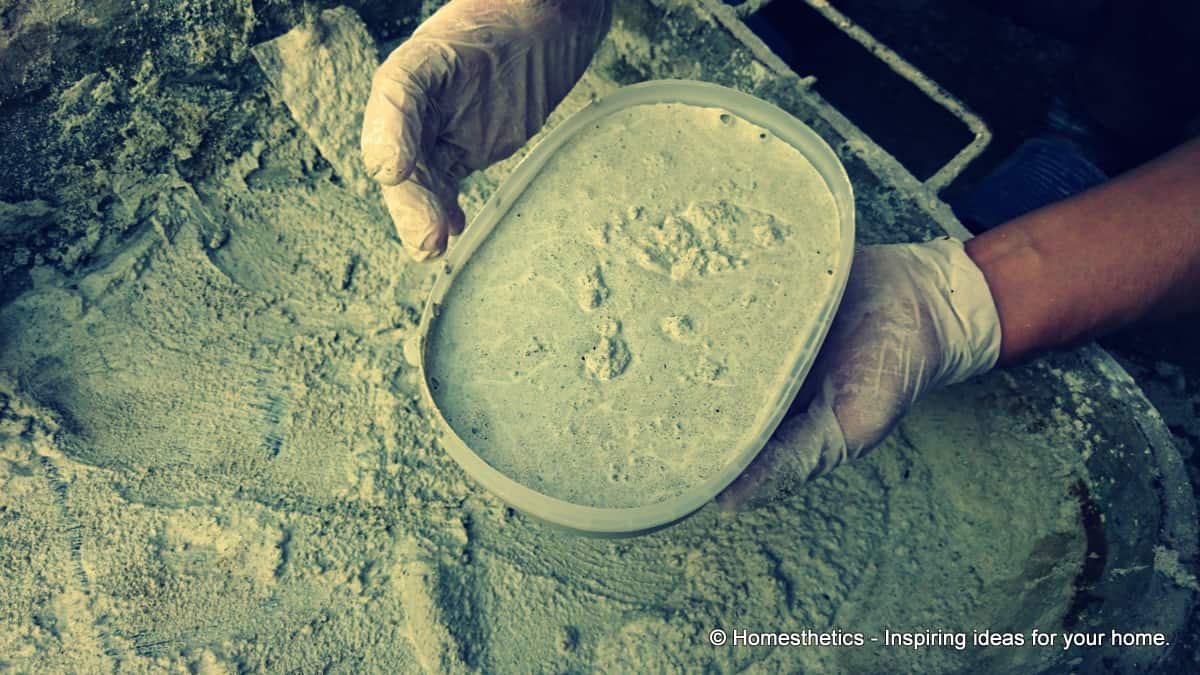
After filling the mold you need to vibrate the concrete and get air bubbles out, ensuring that concrete has filled everything evenly. Do this with caution, we don`t want to get the air out of the candle holders or the concrete will replace it and ruin the little project.
If everything ran smoothly patience is now required. Let the concrete rest for at least 24 hours before peeling off the mold.
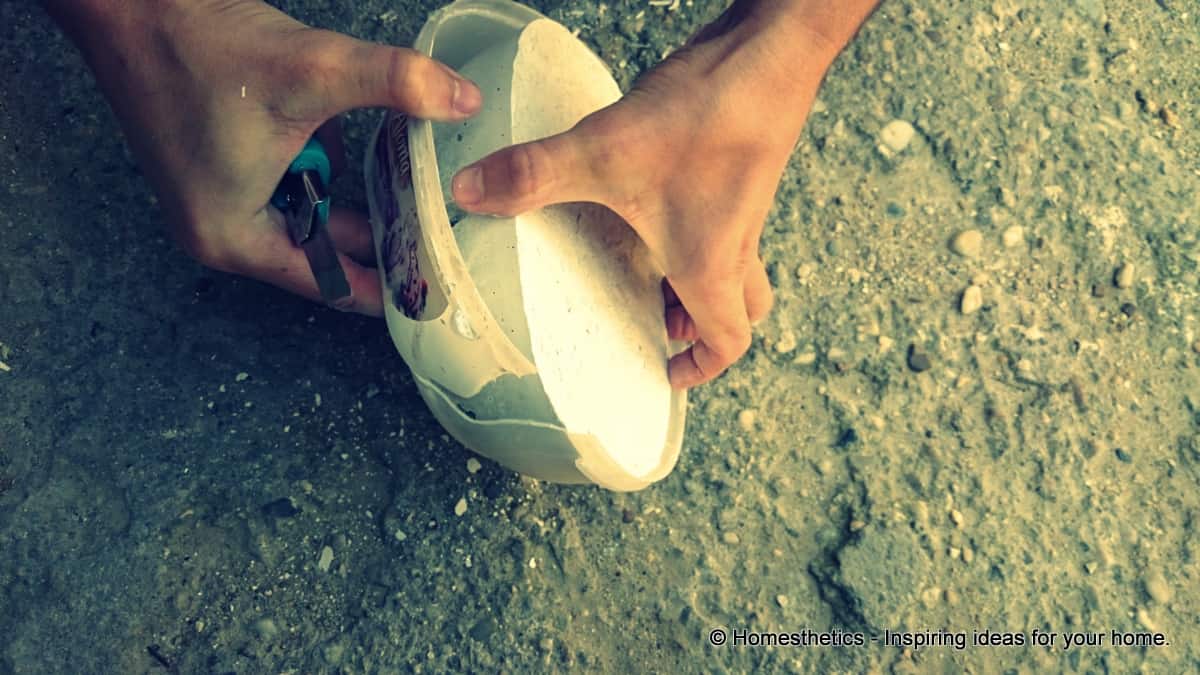
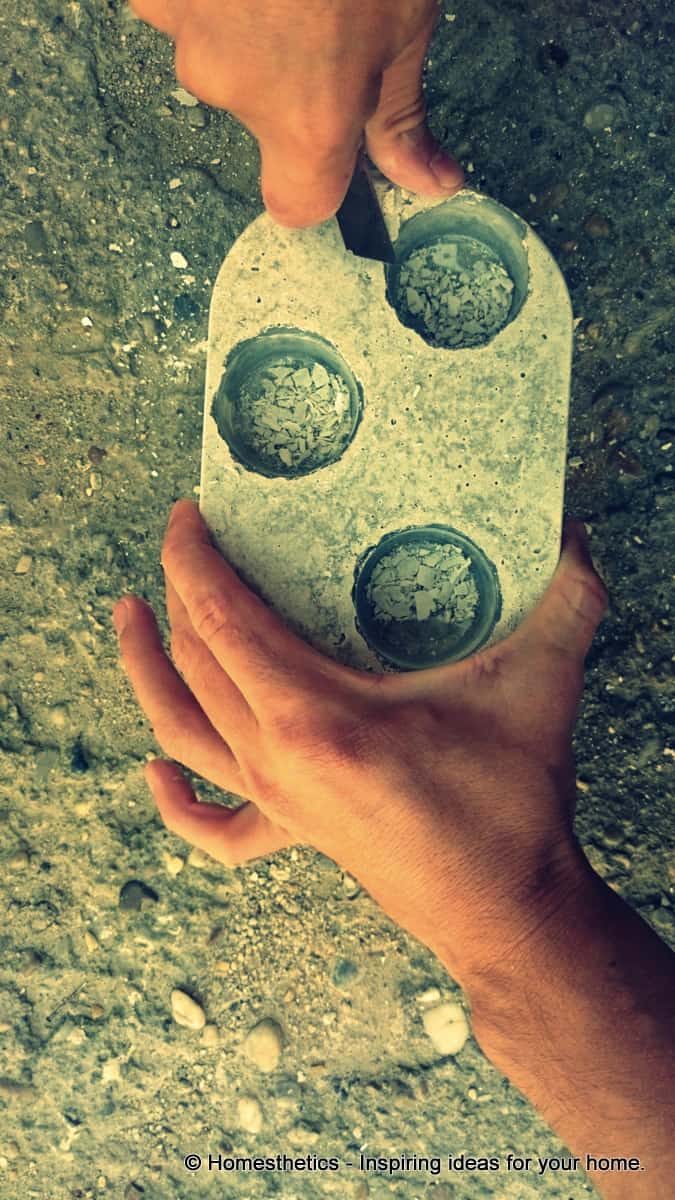
It is time. At least 24 hours have past and you can now peel of the magical object. In our case everything ran decently this time, this being the second attempt; some concrete milk managed to get past the candle holders but nothing that our cutter can`t manage.
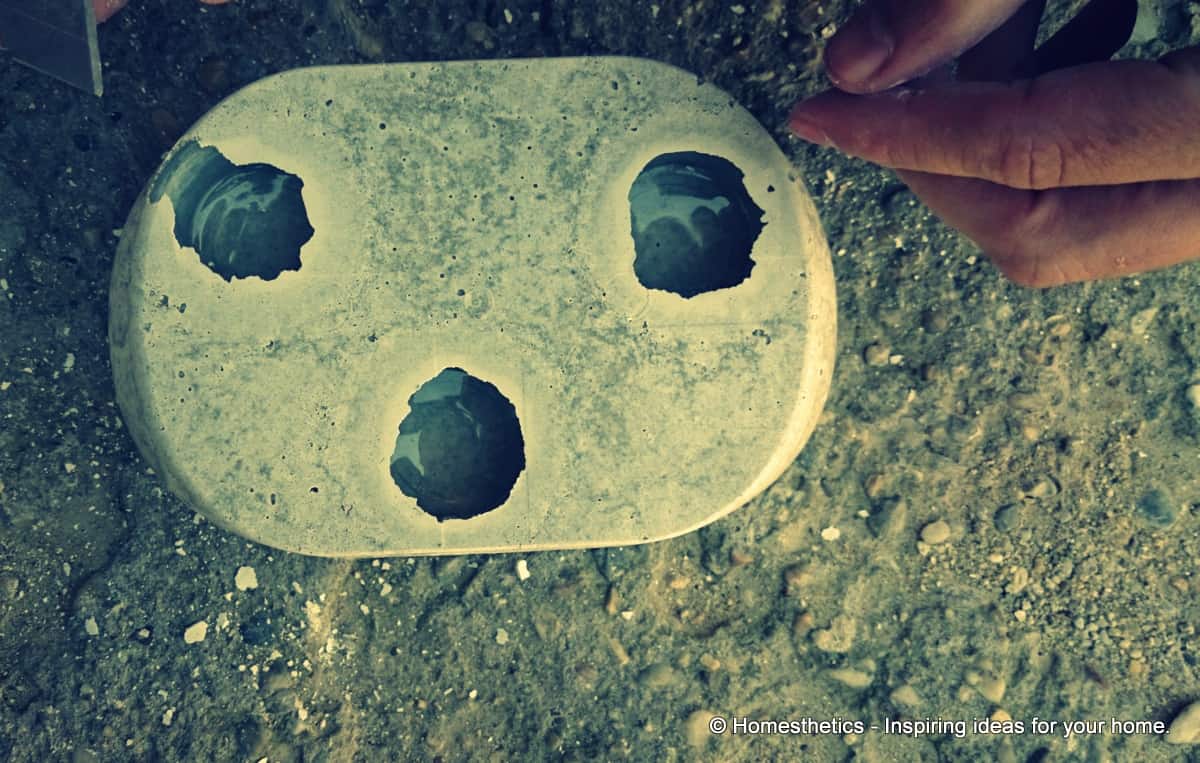
Finish off the your concrete holder by removing excess and clean it with water to remove all the dust.
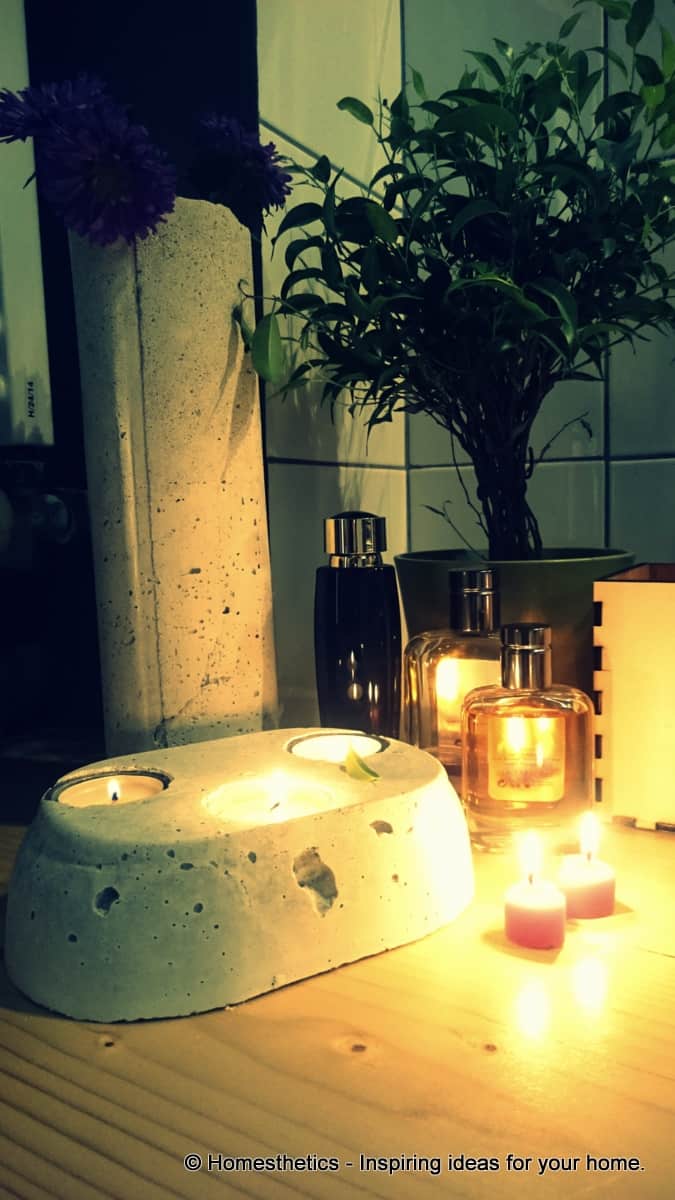
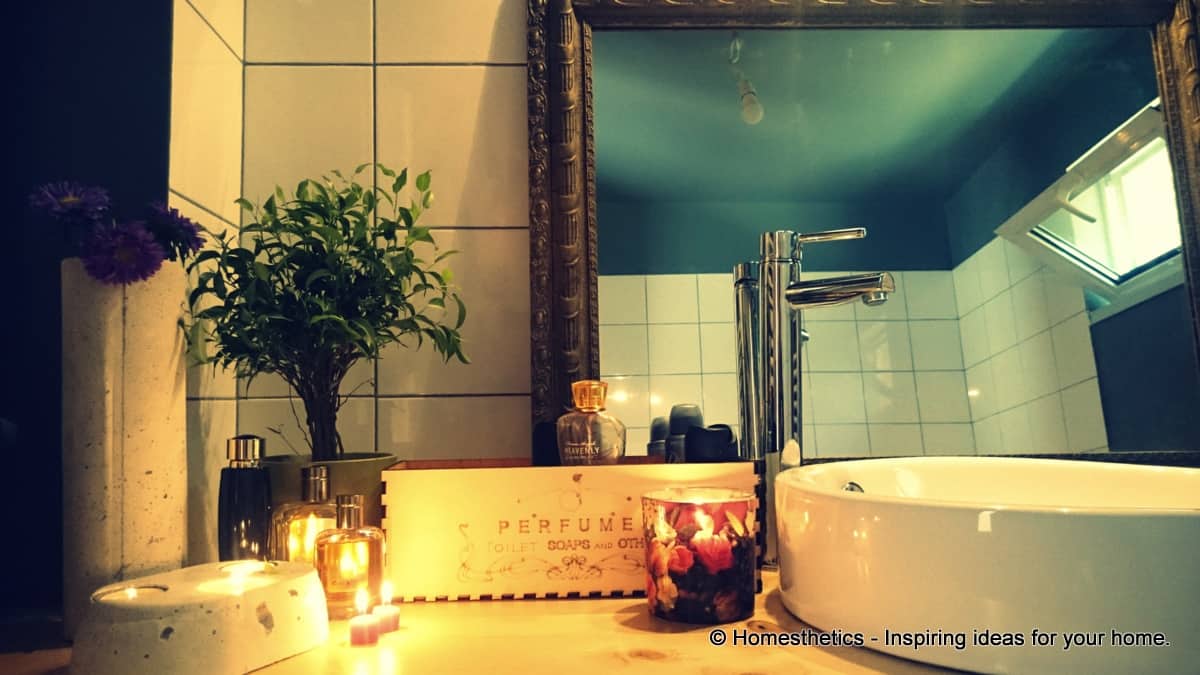
Enjoy ! Use your DIY concrete holder in your bathroom proudly, its shiver of light will beautify many magical moments from now on.
What do you think about this DIY concrete candle holder? We would love to hear your opinion on the project in the comment section below.