Expertises: Paint, Home improvement, Wood, Car, Painting
Updated on

Inspiring Ideas for Modern Home
Do you have some old pieces of leather lying around? You can repair these old leather pieces to make them look as good as new.

Or, you might be working on an exciting new project where gluing leather pieces can make it easier to sew them together. You can also glue two leather pieces to create a unique and attractive design. If you know the right method to glue leather, the entire leather project becomes much easier.
All you need is a clean workspace, suitable leather glue, and the right equipment to get started with gluing leather. You have to prepare the adhesive or glue, apply it uniformly to the leather, and hammer it down to let it dry. Depending on the glue, the drying time can vary from a few minutes to a few hours.
FUN FACT | Did you know there are top notch glues for faux leather available in the market just like real leather glues?
You can check out our other article on super glue being used on leather to know about other types of leather patching options. Or, check out another article on super glue working on metal, another application of super glue other than leather.
Now that we've covered the basic steps let's dig deeper to explain how do you glue two pieces of leather together!
Simply speaking, gluing leather is basically joining two pieces of leather using a smooth adhesive layer. The essential parts of the process include choosing the right leather glues like suede glue, the right tools, applying the adhesive, and perfecting the execution of the project.
It might take some time to get used to the gluing process if you are a beginner. But once you get acquainted with it, gluing leather is quite easy and can be a new skill to add to your leathercraft.
In fact, gluing leather pieces can prove useful before sewing. Or, you can also create new and finished leather products by gluing them to make them flexible and strong.
You can glue leather for different reasons depending on the requirements of your leather projects. For instance, you can use it as a temporary bond to initially organize where every leather piece will fit before finalizing a design.
Under such circumstances, you can choose light leather glues or adhesives that you can remove easily from leather fibers after the initial planning stage. A common PVA glue will work just fine in this case.
The right glue can also hold the leather pieces in place if you're trying to sew them together to create a new design for your project. Although you might not need a super-glue, make sure to choose strong glue so that the leather pieces won't move once they are put under the sewing machine. You can use an adhesive like the Gorilla Glue for this job.
If you are trying to create a more permanent bond between the leather pieces using glue, contact cement might be your best option. It's flexible, strong, water-resistant, and can permanently hold the materials together. The Barge All-Purpose Cement works well in such leather projects.
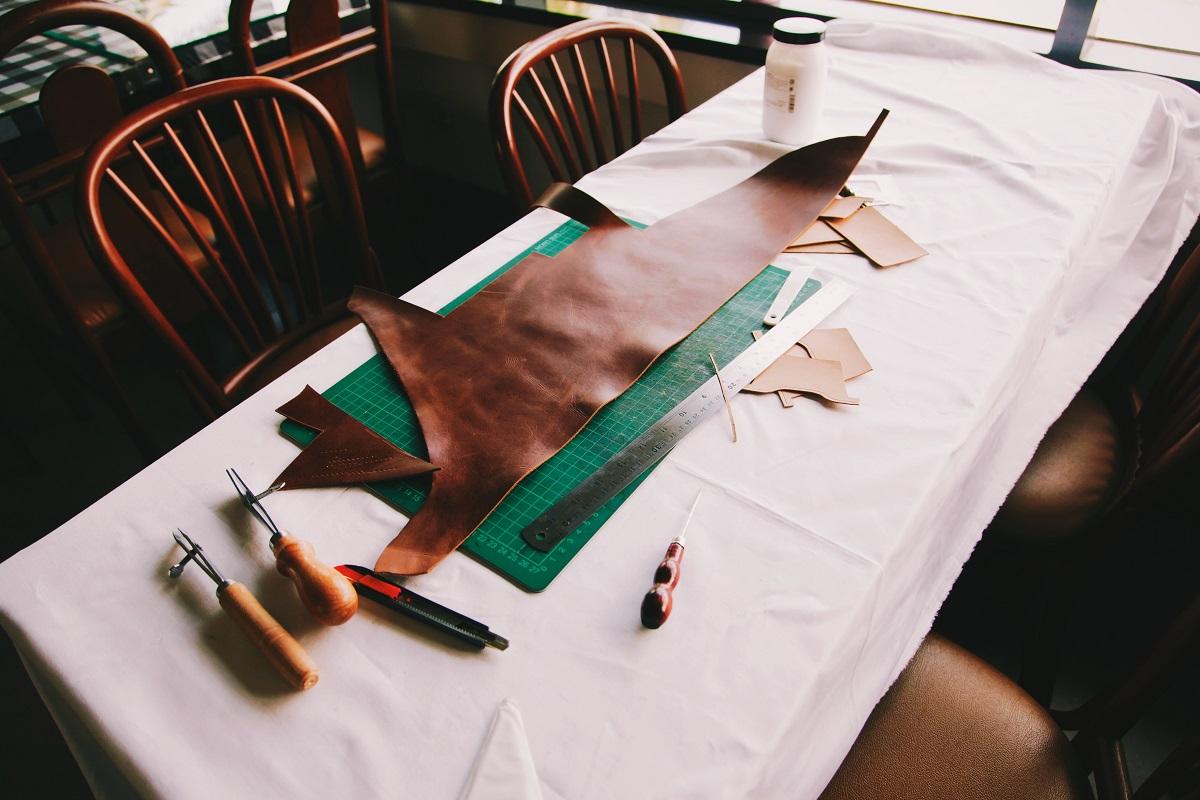
You'll need a flat, large, and open workspace, such as a table or a workbench, to glue leather pieces. It might be a good idea to put down some old newspaper on the work surface to prevent any excess glue from falling and ruining it. In that way, you can keep your workstation clean for future projects.
Also, make sure you have enough space on the work table to accommodate all the necessary materials and tools that you'll need for the gluing process. It's best to move the table or desk to the center of the room, which will allow you to move around the table throughout the project without any obstruction.
Once you've made enough room around the desk to work effortlessly, you'll be good to go.
You'll need some specific tools while working on a leather project that can determine the outcome. Let's take a look at these tools and how to use them!
When it comes to working with leather, you have different types of glues and adhesives available on the market. Some glues are for temporary use, and you can remove them easily and reapply them when needed. At the same time, there are other glues that are more permanent and difficult to remove.
Some of these leather glues expand into a leather material when they dry, while others form a permanent and flexible bond. If you are working with a super-glue, try not to remove it after applying it because forcefully removing it can ruin the leather material.
Even though glue can be an excellent addition to your project, it tends to dry off pretty quickly if you keep it in the open while working with it. That's why you have glue pots that are airtight plastic containers to hold glues and adhesives. So, keep your leather glues inside a glue pot to store them for a long time.
When you want to use the glue, unscrew the airtight cap of the pot, and you can dip the brush inside the glue to apply it to the leather material. Once you're done, screw the cap, and the glue will stay in perfect condition for future use.
When you are used to working on multiple leather projects, a glue pot can be a great tool to prevent your leather glue from expiring anytime soon.
When you apply glue to a leather material, you have to be careful to keep the layer as even and uniform as possible. Glue spreaders are flat-edged plastic tools that can make the work of evenly applying the glue much easier for you.
They allow you to apply the glue in a thin layer over the flat leather surface to prevent the glue from pooling on the leather. You need to wash these glue spreaders before reusing them because you need clean edges to spread the glue evenly.
You can also use glue brushes for spreading the glue if you want to apply large volumes of the adhesive quickly on the leather. However, glue brushes are not as precise as glue spreaders and won't help in evenly applying the exact volume of glue on the leather surface.
Glues adhere better to leather materials and create a stronger bond if they have a rough surface. You can use a leather rougher to scratch up the smooth surface of the finished leather to make it suitable for gluing. The glue will have a better chance of setting into the newly roughed-up leather surface and binding the leather pieces together once it's dry.
Edge clamps are special tools mostly made from steel with rubber clamp jaws. These jaws are super smooth to protect the leather from damage, and the rubber coating makes sure that the jaws don't leave any marks on the leather surface.
The rubber coating helps to grip the leather tightly and hold the glued leather pieces together without creating a mess while the glue is left to dry.
Some edge clamps can also help in flattening leather and you might find a soft leather layer on the flat jaws of edge clamps instead of rubber. This leather layer prevents any damage to the leather goods.
Leather weights are small devices made of metal that can keep leather pieces in place while cutting, gluing, stamping, or punching them. They are usually made of steel or brass and have smooth surfaces to prevent leaving any mark on the leather if kept on top of it.
If you are gluing or cutting thin leather pieces, they can move quite easily while working. Placing metal weights can help to hold these leather pieces in place so that you can get a stable and more precise cut.
Furthermore, leather weights can help flatten the thick leather pieces so that you can work on an even surface. Depending on your requirements, you can choose leather weights of different sizes that usually range between a few ounces and a few pounds.
You can also use different objects as leather weighs, as long as they have a smooth surface that won't scratch or ruin the leather material. But when you want a well-balanced and highly polished weight, you can try out dedicated leather weights. They might be a useful addition to the tool kit of your leather projects.
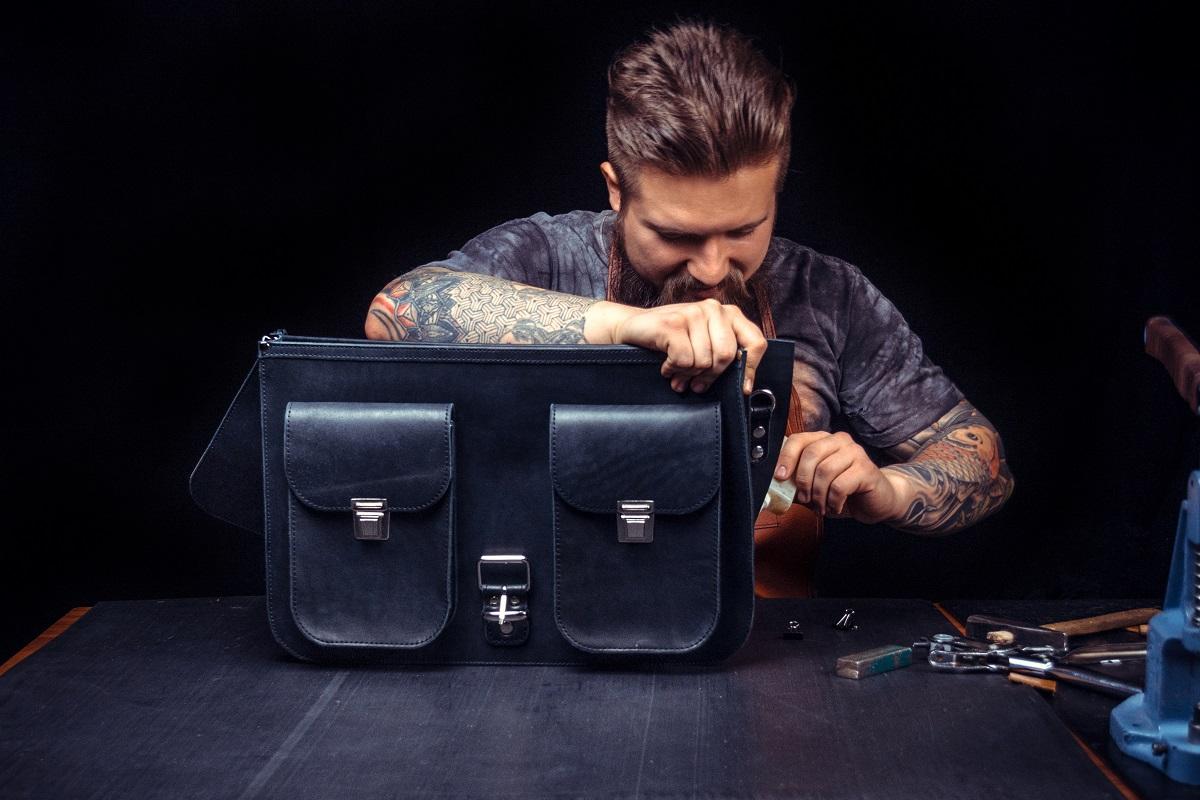
Leather shoe hammers are mostly applied to hammer down the leather pieces before stitching and even out the sharp folds, while keeping the glued leather materials together. They come with a wide and heavy head made of steel to produce a steady impact on the leather.
These hammers are used quite often while making leather shoes in the shoemaking industry. They are also a popular tool in luggage making, saddlery, and making leather bags.
Leather metal rollers can be effective in smoothing out different layers of leather materials that are joined together using glues. These metal rollers help to manage the thick leather pieces that come with a finished and smooth surface without damaging them.
If you work with glue frequently, you'll see air bubbles and gaps form quite easily within the adhesive layer, leading to tacky results. That's why leather rollers help to smooth out the leather pieces to remove any bubbles or gaps to deliver a fine-looking and finished leather design.
The solid metal roller has a heavy metal cylinder that comes with an easy-to-use handle. When you pull or push the roller, it starts to roll over the surface to smoothen out the leather uniformly.
By applying pressure on the roller, you can ensure that the leather layers adhere tightly to one another while gluing them.
As you know, working with glue can get messy and old rags always come in handy to keep your workstation spick and span. It's best to use lint-free rags, like worn-out cotton t-shirts or microfiber cloths. They can wipe out any excess glue and help to smoothen your work surface.
A wire brush is a common hardware tool that has sturdy metal bristles and a wooden handle. It is excellent for heavy-duty uses, and you can also use it to roughen up the leather surface while gluing the leather pieces.
Once the surface is more uneven and porous, it becomes easier for the glue to adhere tightly to the material. So, the wire brush basically works as a leather rougher and can be a great alternative to it for your leather work.
As we mentioned earlier, it's easier to apply glue on rougher surfaces because they offer more area to which the glue can stick. When it comes to gluing leather, it's better if you rough up the flesh side to expose all the leather fibers. In that way, glues, like contact cement, can adhere quite nicely to the leather materials.
When you want to stitch the pieces together or want the leather to have a high tolerance, you might want to leave the surfaces smooth. But, generally speaking, roughing up the leather using a leather rougher or a wire brush can make the gluing process much more effective.
Other than this, you need to clean the leather thoroughly to make sure it doesn't contain any dirt or debris. If you are working with unfinished leather, applying a deglazer on it, like the Fiebing's leather deglazer, might help remove any grime or impurities from it.
You can also opt for a gentler approach by using a damp, lint-free cloth to get rid of dirt and debris from the leather surface. This method of cleaning the leather is particularly effective for smooth and finished leather materials. Once you've thoroughly cleaned and prepped the leather surface, it's time to get your glue ready.
Some leather glues can be quite thick and highly viscous, so you might need to thin them out a little to make them more liquid and free-flowing. Thinning them out won't hamper their strength; instead, it will prevent the formation of a bulky mess once they completely dry up.
You can get commercial thinners made of special thinning glue to thin out contact cement and leather glues for your leather projects. Glues from multiple manufacturers usually have different material compositions, so many brands often sell specially formulated thinners that work with their glues. Try not to mix glues and thinners from different manufacturers because it won't give you the best results.
If you are using contact cement, the general rule is to mix ⅔ of the cement with ⅓ of the thinner to get the most effective results. However, depending on the manufacturer, the recommendations might vary, so it's always best to carefully read the instructions provided on the containers of the cement and the thinner.
Once the glue is thinned out evenly, it is ready to be used on leather. If you are using unthinned glue, you can store it in its original tube and apply it directly. But, if you've thinned out the glue or cement, storing it inside a plastic glue pot is a better option.
You can prevent the prepared glue from drying out and enhance its shelf life by storing it in an airtight glue pot. Many glue pots also come with an integrated brush, making it much easier to apply the glue as required.
After you have prepared a large amount of thin glue and want to store it for future projects, glass containers can be a good choice. Glass works better than plastic in maintaining the texture of the glue for a long time. So, properly storing the thinned-out glue in a glass container will allow you to easily use it for upcoming projects.
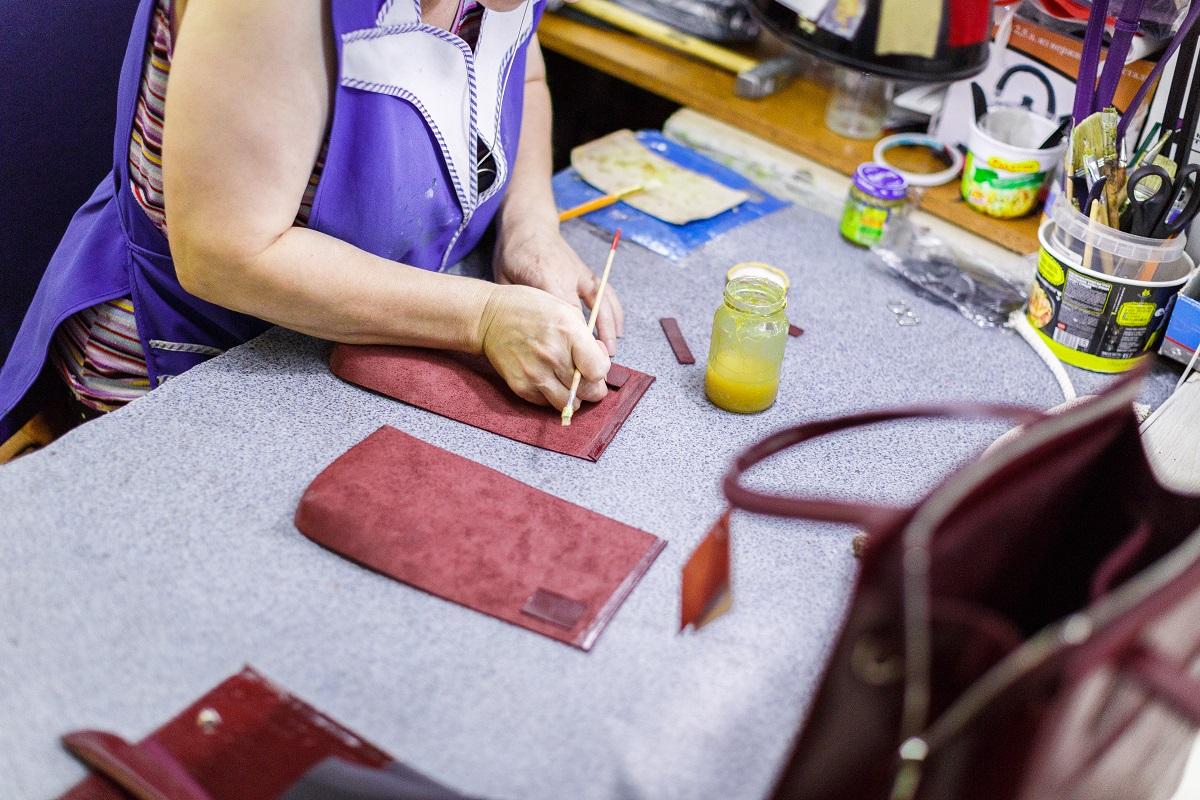
Once you've prepared the glue, it's time to get down to business and start gluing the leather pieces. Applying glue on leather is pretty straightforward and requires minimum effort. First and foremost, you need to apply the glue to the center of your leather piece and slowly and evenly spread it over the entire surface.
If the majority of the glue stays in the middle, it becomes much easier to spread it uniformly to the edges of the leather material. On the contrary, If you start from the edge, it might become more difficult to spread the glue across the entire leather surface.
Also, applying glue directly on the edges might result in excess glue dripping on the tabletop, creating an untidy and messy effect.
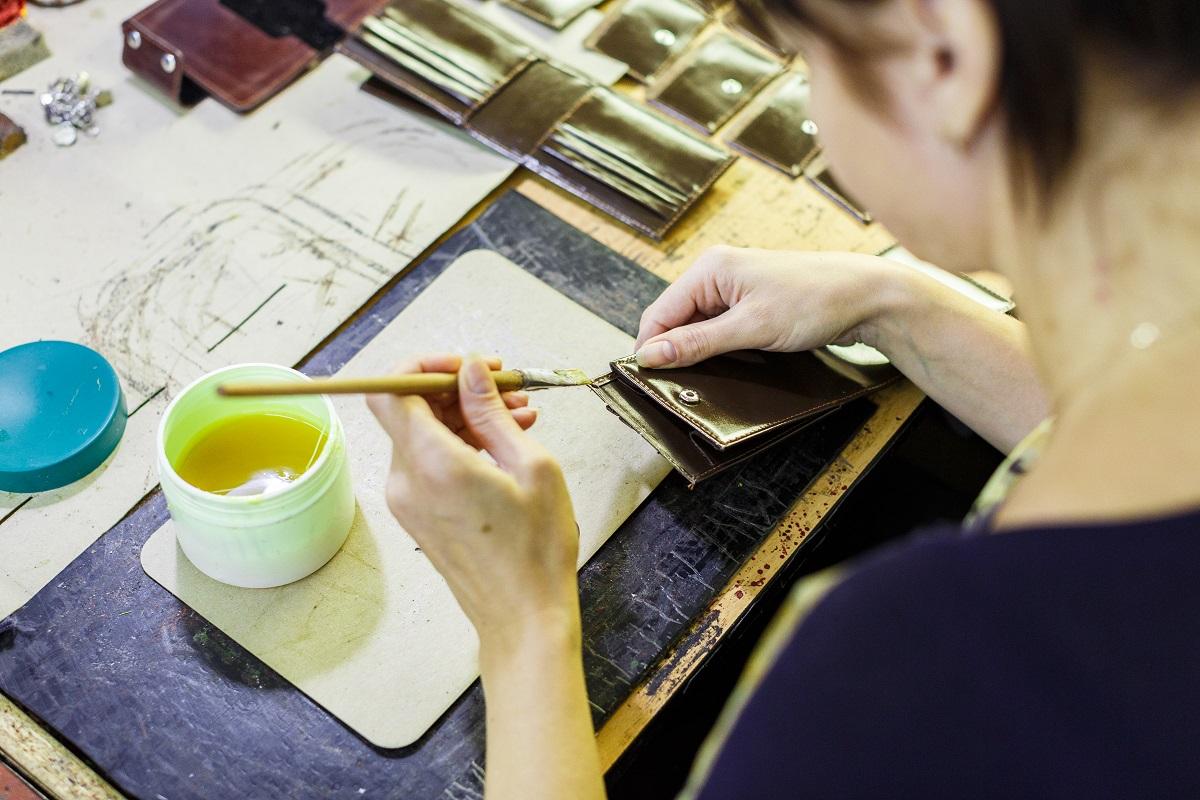
You can use a glue spreader to spread the glue in uniform and thin layers from the center to all the edges of the leather piece. If you don't have a glue spreader, a glue brush will work just fine.
Normal paint brushes or the leather glue brush that comes with the glue pot can be good enough for this purpose. If you have a glue container that comes with an integrated glue brush, applying the glue directly from the container becomes quite easy.
No matter which method you use, try to apply the glue on the leather surface as evenly and smoothly as possible. If you are using leather glue, you need to apply it only on one surface of the leather piece.
But, for contact cement, you must apply it on both the surfaces of the leather material. Follow the next step only when you are working with contact cement.
When applying contact cement, the adhesive must partially dry out for about 20 minutes before you can join the leather materials. You need to apply the contact on both sides of the leather and allow it to dry to join the surfaces together.
When working with heavy leather pieces that are quite rough and porous, it's best to apply a single coat of cement to establish a strong bond. Let it dry for about 20 minutes before applying a second coat.
The first coat of the contact cement will strongly adhere to the leather, filling the air gaps and pores on the leather surface. Then, applying the second coat will help to create a more even and flat layer to firmly bond the leather materials together. Even though applying a second coat isn't mandatory, it helps to create a more permanent bond while joining the leather pieces.
Waiting for 20 minutes for the contact cement to dry can be a bit of a hassle, so you can use a hair dryer or get the fan running if you are in a hurry. It will effectively speed up the whole drying process, and you might save some time.
Once you've applied the contact cement or glue and left it to dry, you can move forward to joining the leather pieces together. It's essential that you keep the bond as even, tight, and smooth as possible to get the best results and make the leather look aesthetically appealing. You can even use some special tools to get the job done perfectly.
First, you need to hand press the leather pieces together to ensure they line up the way you want. Use all your strength and press down hard on the leather materials. You can use a leather roller to join the flat pieces by rolling it across the leather surface.
It'll help smoothen the leather, remove air bubbles, and push the excess glue towards the edges. With a leather roller, you'll get consistent results with minimum effort.
Furthermore, you can use a shoe hammer with a wide head to hammer down the uneven leather surfaces and join them together. It can also help in getting rid of all the excess air and glue. You can place a discarded piece of leather between the hammer and the leather surface to prevent the tool from leaving any marks on your leather material.
The hammer can help spread the glue or adhesive to the tight corners and curves. It's quite useful in shoemaking and can make the gluing process much more effective.
After you've glued the leather pieces together and evened out all the corners, it's time to secure the whole thing and let it dry. Make sure to keep the glued leather surfaces in place as they dry to create a tight bond.
You can use a leather clamp to hold the glued leather surfaces securely without disturbing them to keep them in place, so they join together beautifully. Or, you can put some leather weights on top of the leather pieces for securing them and preventing them from shifting.
It's not necessary to buy a fancy leather weight to keep the leather secure. Any heavy object, such as books or utensils, will work quite well to hold the leather pieces in place. So, let them dry completely without disturbing them. Just make sure that the object has a smooth surface and it doesn't mar or damage the leather.
You can also try placing a scrap leather piece between the weight and the freshly glued leather to prevent leaving any scratch marks on the surface. And make sure that the weight isn't too heavy to keep the leather well-protected.
Alternatively, you can use a vise to hold the glued leather pieces together while they dry. A vise comes with teeth having an additional leather layer and can certainly be used as a leather clamp. However, be careful while applying pressure on the vise so that it doesn't ruin the leather underneath or alter the position of the glued surfaces.
For consistent results, using a clamp or leather weight can be your best option to secure the glued leather materials.
Now that your leather pieces are glued together, you need to clean off the excess glue from the workspace before it dries. A lint-free cloth works best to clean glue from your work desk without ruining the surface. If the glue has already started to dry up, it might be best to use a damp cloth to remove it.
In addition to this, you can rub off some of the contact cement and glue using an eraser. Make sure to rub off the excess adhesive gently with the eraser, so it doesn't damage or mar the freshly glued leather. If you've been using a paintbrush to apply the glue, wash it thoroughly with some soap and water before storing it.
On the other hand, if you use a glue pot, make sure there's no excess glue dripping along the sides of the pot. Clean the screw cap of the glue pot to remove all the excess glue so that you can easily unscrew it for future use.
Once you've cleaned all the excess glue from your workstation and washed the tools, it's time to store the remaining glue safely. If you use pots and cans with built-in brushes, keep the contact cement upside down so that all the content stays at the top of the container. In that way, you can prevent the adhesive from drying out when you unscrew the container.
Most often, the adhesives dry around the top of the container, making it almost impossible to unscrew the airtight cap. By keeping them upside down, you can enhance their shelf life and use them for a long time. You can also place the container inside a sealed zip-lock bag, so the adhesive won't spread all over your work desk, even if there's a leak.
If you're storing prepared or thinned-out glues, it's better to use a glass container instead of a plastic glue pot. It helps retain the moisture for a longer time and maintains the right texture of the glue. You can use small airtight mason jars for safely storing the glue.
Finally, the hard part is over, and now it's time to relax as the leather pieces are left to dry. Depending on your choice of glue, it can take a few minutes to a couple of hours to dry completely.
Some contact cement and heavier glues can even take up to 20 to 48 hours to become completely dry. So, whatever you do, try not to move the leather pieces and let the glue do its work.
You can use various methods to join leather pieces other than gluing, such as riveting, snapping, stitching, and eyeletting. But gluing is the most cost-effective method that has been proven time and again to produce excellent results.
We come to the end of our guide on how to glue leather pieces together. As you can see from our article, you can glue leather materials before sewing them or creating a brand-new design. Whatever you choose to do, you can achieve excellent results by using the right gluing technique.
Anyone can glue two leather pieces together, but it takes the correct technique and tools to create a durable bond between the leather materials. You have to choose the best glue or contact cement to get the most effective results, so follow the steps that we've mentioned above, and you'll be good to go.
Make sure to keep your workstation clean at all times to avoid creating a mess or ruining the leather materials. Stick to the basics of gluing leather and you’ll have nothing to worry about.
On that note, we’ll sign off. Until next time!