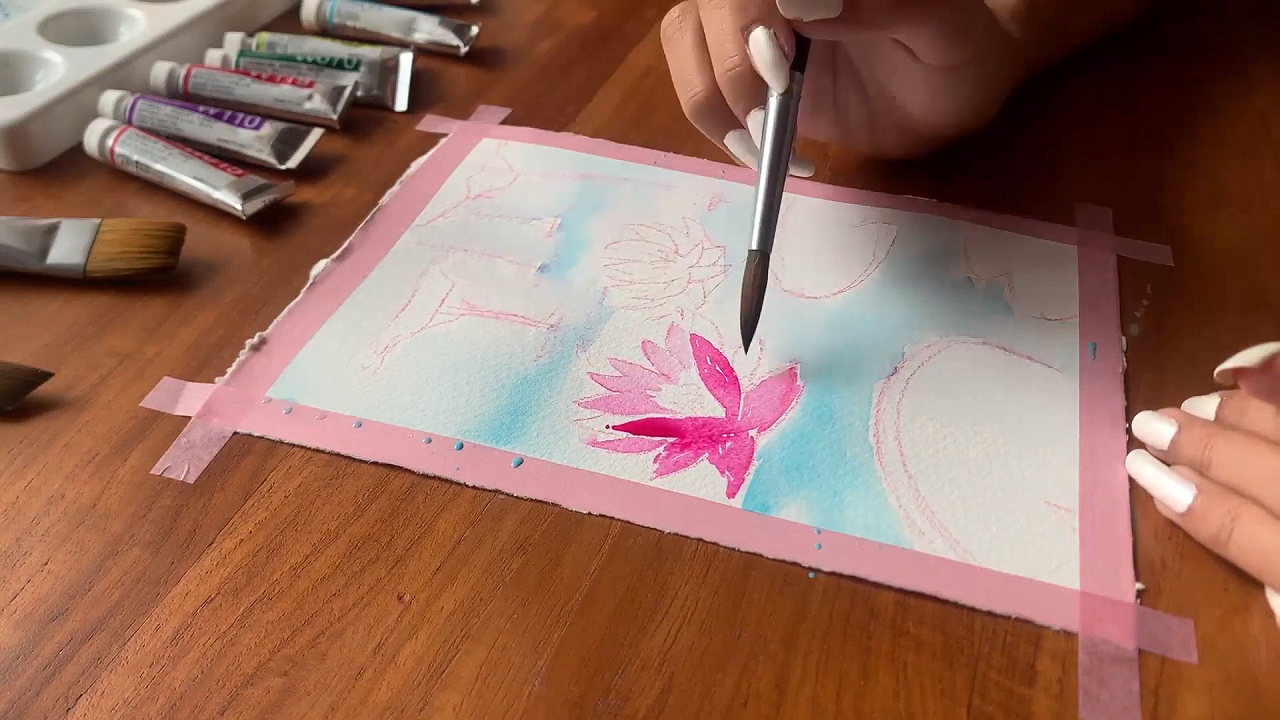
Every watercolor sheet has different characteristics, and to flatten the paper, you must get it slightly damp with a brush or spray bottle. For papers made of 50% cotton, apply 4 layers of water and less for lighter sheets.

Most artists need help to maintain the quality of a watercolor painting owing to warping. But there is a simple trick to prevent this issue, which is wetting the sheet's reverse side and allowing the paper fibers to relax.
However, you must refrain from applying too much water as it might damage the painting. To know how to use this technique, read my guide for all the details.
Materials Needed To Flatten Watercolor Paper
Here are some materials you will need to flatten a piece of paper and make it suitable for watercolor painting -
- Spray bottle
- Heavy objects, like bricks or books
- Flat surface, such as a weighted board
- Clean water
- Large flat brush
- Kitchen paper towel or tissue
- 2 pieces of board or card bigger than the sketch paper
- 2 sheets of absorbent paper (you can use 100% cellulose watercolor paper).
Why Do Paper Fibers Buckle?

The buckling of the paper fibers could occur for one of two reasons. Sometimes, painters leave a non-painted border on the sides of a damp sketch paper while the center area of the paper expands after getting wet.
As the border is completely dry, there are several portions on the paper where the fibers have contracted and expanded and other areas where no change has occurred. But if you haven't left a border on the painted paper, buckling could have occurred due to uneven wetting, so different portions of the paper are drying at different rates.
In such instances, you can use several techniques to flatten watercolor paintings, but these methods require wetting the reverse side of the paper.
Tip
It's important to dampen the back of the sheet and allow the water to dry uniformly. Moreover, artists who have used water-soluble paint must ensure water doesn't travel through the paper and ruin the painting on the front side.
Method 1: Using Weights Or Heavy Objects
In the first approach, place the sketch on a damp surface and apply a fine mist from a spray bottle to soak the back of the paper. Some artists also prefer damp sponges to avoid overwetting the surface.
You can also use a large, flat brush to apply clean water in gentle strokes from top to bottom or left to right. It would be best to take your time and ensure there are no puddles on the surface.
As the brush reaches the edges of the paper, the paper will start curling, and water will slowly drip to the sides. To avoid ruining the painting, keep a tissue in hand and wait for the paper to absorb the water.
Once the paper has lost its sheen, prepare the cardboard surface by placing a copy paper over it. The sketch/copy paper size should be bigger than the painting.
Slowly lift the painting by its edges and place it face down on the sketch paper. Then use another sketch paper to cover the moist side and cover it with cardboard larger than the newsprint paper.
This creates a sandwich, and you can place heavy books or bricks over the entire surface to prevent buckling. Replace the board, weight, and moist sketch paper every 2 hours and place dry sketch paper until it no longer feels damp before leaving the sandwich to rest for 24 hours.
Method 2: Using Moisture And Iron
Another technique that is less time-consuming involves using an iron set with water. However, I should warn you that if you haven't used this technique before, it would be best to do a test. The iron must not be too hot or sit on the paper for too long to avoid ruining it.
Again mist the entire back of the paper by gently rubbing with a paintbrush, spraying, or using a damp cloth. Don't wet the paper excessively, and place a sketch paper bigger than the painting on a flat, clean surface.
Place the painting over the sketch paper gently to avoid smudging the drawing with water. Then cover it with another sketch paper, but I recommend using a clean, dry towel.
Adjust the iron on a medium-low setting and gently run it over the entire surface. The goal is to remove dampness from the back of the paper and adjust the heat to relax the fibers.
After a few minutes, replace the sketch paper with a fresh piece and place cardboard over it. You can add books or bricks over the cardboard surface but remember to replace the damp sketch paper with fresh paper until it absorbs all the water.
Finally, leave the board and weight to rest on the painting overnight, and it should be wrinkle-free in the morning. Because the moisture slowly relaxes the paper fibers and reduces the chances of damage, this is one of the best, albeit slightly tricky, techniques.
Tips For Flattening Watercolor Papers
You must remember a couple of points while removing buckles from a painted paper. I have mentioned spraying water on the surface, but it's a difficult technique since all the areas of the paper get different amounts of water. But avoid using too much moisture or heat, and choose the right weights to prevent damaging the painting.
Other than that, you can get kitchen towels from the online website of a local art store. Use these towels instead of sketch paper in the sandwich to keep the painting image side safe. However, you must use several layers below and over the painting while ensuring the color or design of the towel doesn't ruin the painting.
Ideally, an artist should use watercolor paper for faster drying since you will have to replace the wet kitchen towels with dry ones frequently.
Stretching or flattening watercolor paper is essential to prevent ruining the painting. If you use unstretched paper, it will probably warp or buckle after applying the paint. That’s why many artists soak the watercolor paper beforehand to ensure the painting doesn’t lose its original shape or form. A weighted board is a laminated box usually weighing 8-9 pounds. It provides the ideal surface and support to press and gently rub the watercolor sheet before you start painting. In other words, a weighted board is ideal for small pressing jobs since the surface is moisture-resistant and easy to clean. Yes, it’s possible to flatten a watercolor sheet after painting, for which you can follow these steps. To prevent a watercolor sheet from warping in the first place, you can use the following tips. The humidification and flattening technique is the process of keeping paper in an enclosed area and moistening it by introducing a water source. This technique is useful for flattening drawings that have warped with time, as water vapor helps the paper fibers relax. As a result, you can open the document safely, press it, and let it dry, so it becomes flat. It’s also possible to create a homemade humidification chamber with a plastic container, towel, water, and light diffuser panel. For flattening the sheet, you will need several blotters, glass, and weights. But if the sheets have adhesives, use spun-bonded polyester to prevent sticking. Despite following all the steps, even good paper tends to buckle, especially when using two watercolor paper sheets. This happens when you mist the back of the painting image side, although the paper will still be okay for use. After you remove the weights and open the sandwich, the painting may curl if moisture is trapped on the reverse side. This happens in 1-2 minutes, so use masking tape on the edges to keep the sheet flat. How To Flatten Watercolor Papers FAQs

Conclusion
Having had my fair share of mishaps with folded watercolor sheets, I have tried and tested these techniques numerous times. Rest assured, if you follow the steps I have mentioned, you won't face issues with warping again.
I recommend arranging all the tools and components before stretching the paper. And always use high-quality paper to prevent ruining the painting. You can even experiment with different techniques to find the most suitable method.
Moreover, when using blotters, ensure each paper is the same size for particular blotters and keep the sheets in the same position. Most importantly, take your time and be gentle when wetting the paper to get the desired outcome.
