Are you planning to give your bedroom or living room a quick makeover by repainting the ceilings?

Choosing the right color and getting top quality ceiling paints along with proper tools from the market is not enough to get the job done. As exciting as it may sound, painting the ceiling can be a daunting endeavor if you don’t have the necessary skills, patience, and a bit of practice. However, fret not because there are plenty of ways to pull off the task without ruining your floors with drips and splatters or making your ceilings patchy.
Irrespective of whether you have textured or smooth ceilings, the best way to coat them is by using a roller and working in grid-like sections to ensure an even coat. Flat white, adventurous blue, or dramatic red - no matter which color you wish to paint, we’ve got your back.
Although ceiling painting is difficult, it is not as complicated as painting body art; where you’ve to keep in mind the color, the types of paint and style for various art forms. Know more on body art starting with types of paints used for face and body.
Today, we’ll walk you through the nitty-gritty of painting a ceiling that will help you achieve a smooth and flawless finish like the pros. So, grab a cup of coffee and start reading!
How To Paint A Ceiling - The Easy Way

Whether you want to make your room appear spacious or add a modern touch to it, painting the ceiling is no doubt the best way to spruce up the space. Of course, you can hire a professional for home improvement projects, but they will charge exorbitant rates just to paint the ceiling.
Instead of spending a fortune by hiring professionals, the best way to revamp your ceiling is to paint it yourself. Not only will you save money, but you will also develop a new DIY skill.
Though slightly tricky, painting the ceiling isn’t a Herculean task. With the right skills, tools, and knowledge, you’ll be able to get the job done efficiently. Knowing the difference between ceiling and other regular paint is very important when it comes to painting ceilings.
Having said that, we’ve put together a step-by-step guide on how to paint a ceiling, so you can go about it without issues. Let’s dive in, then!
Step 1: Prepare The Room
Before starting your painting project, it’s advisable to remove the furniture, mattress, carpets, and all the other items from your room. After that, lay down canvas drop cloths or paper on the floor so that they don’t get stained by drips or spills.
In case any piece of furniture is unmovable, spread plastic tarps over them to protect them from the paint. And, don’t forget to remove any ceiling fans, light fixtures, and smoke detectors from the room, so you can paint the ceiling without worrying about ruining your expensive décor items.
Step 2: Hang Plastic Sheeting To Protect The Walls
Let’s assume you’ve painted the walls before the ceiling, which is why you will have to protect them by using plastic sheeting. Since you’ll have to use the sheets to cover the walls, make sure you buy a sufficient number.
Start with one wall and then move to the other, while including windows and doors. And don’t forget to measure the height and length of the wall using a measuring tape for accuracy before buying the sheets.
Step 3: Use Painter’s Tape Over Trim
After hanging plastic sheeting over the walls, you’ll have to grab painter’s tape and use it over the molding and trims of the ceiling. Mainly, such tapes are used to create crisp lines and protect the trims from the paint.
If you skip the painter’s tape, the ceiling paint will lack perfection and smoothness.
Step 4: Prep The Entire Ceiling
Now that you’ve taken care of the trims and moldings, it’s time to prep the ceiling to make your job easy. Though it may sound challenging, cleaning the ceiling is an easy task.
Take a vacuum cleaner and use it all over the ceiling to remove the dust and other minute particles. When the ceiling is free from impurities, the primer and paint will adhere to the surface properly.
In case there are cracks or tiny holes in the ceiling, fill them before priming the ceiling. Ideally, it takes two hours for the spackle to dry, after which you’ll have to sand it to smooth the surface and blend the patches seamlessly.
If there are rough spots on the ceiling, use sandpaper for sanding and then vacuum the surface to ensure it’s free from dirt.
Step 5: Grab Your Tools And Arrange Your Supplies
Before moving on to painting the ceiling, we suggest laying a liner on a paint tray on one side of the room. You can even keep it outside the room so that you don’t trip over it while painting.
Now, attach a spout to the primer can and pour it over the paint liner in the tray. Next grab a paint roller frame and replace the old roller cover with a new one.
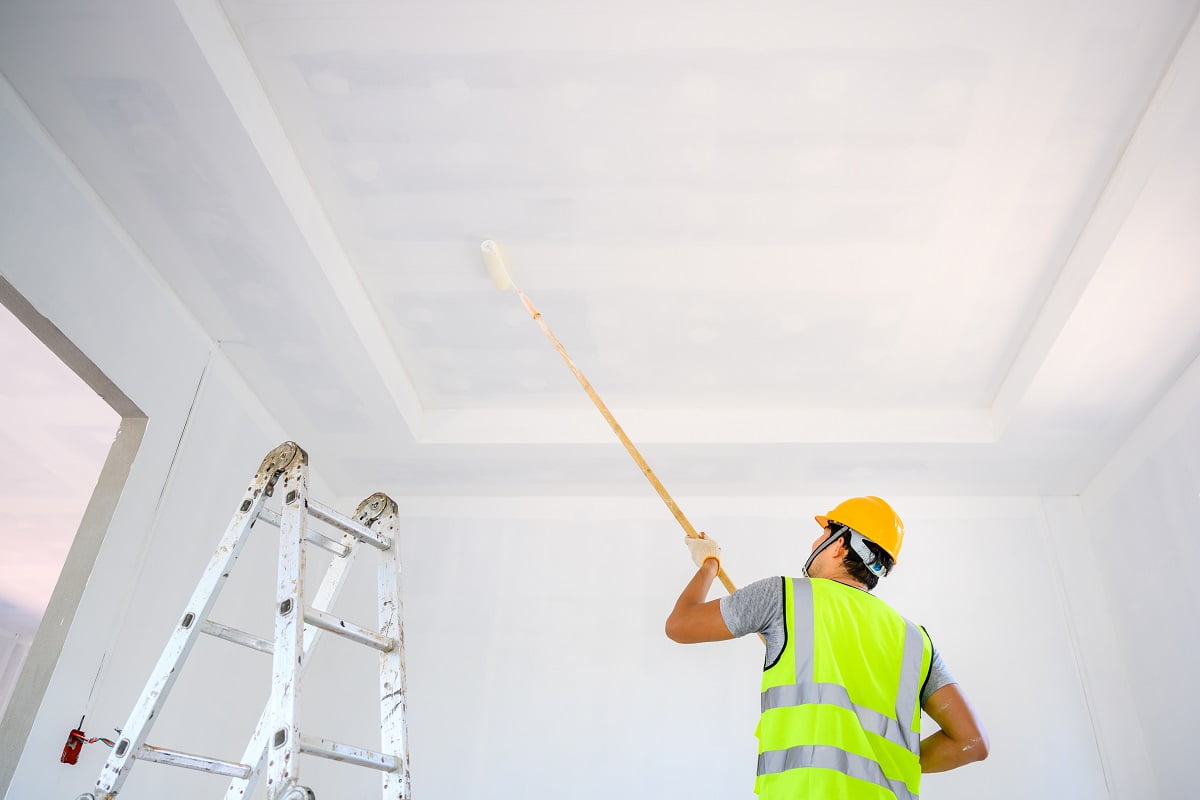
Subsequently, dip your roller into the primer and attach it to the extension pole so that you can have better control while painting the ceiling. Another benefit of using an extension pole is that it reduces strain on the arms and back, which means you can work for hours without any issues.
Note that the secret to success lies in using the shortest possible extension, or the weight of the pole will lead to pains and aches.
Step 6: Start Priming The Ceiling
When it comes to applying primer, start by cutting in the borders of the ceiling using a paint edging tool or an angled brush. After completing the edges, apply primer onto the rest of the ceiling and allow it to completely dry.
More often than not, people prefer using a stain-blocking primer to prepare their ceilings before painting. Mainly, they use it to hide stains, flaws, and other imperfections while preventing stains from bleeding through.
Step 7: Paint The Edges Of The Ceiling
After the primer dries, it’s time to paint the ceiling, and we suggest starting with the edges. But before that, pour paint onto the tray and use an angled brush or a paint edging tool to coat the edges.
However, make sure you only paint the edges of the ceiling, not around them. And once you’re done painting the edges, let them dry before moving on to the next step.
Step 8: Apply Paint To The Rest Of The Ceiling Using A Paint Roller
As soon as the edges dry, you’ll have to paint the other parts of the ceiling without further delay. Certainly, changing the paint roller cover is important, so replace the dirty cover with a new one and then start painting.
Before that, make sure you pour more paint into the tray and dip the roller into it to soak the paint. As already mentioned, the best way to paint the ceiling is to use the roller in three-foot by three-foot sections. That’s because keeping track of how much area you have covered is easy when you paint in grid-like sections.
When painting a new section, make sure you overlap the wet edge of the previous portion to prevent lap marks and blend the sections seamlessly. Once the ceiling is painted, you can apply a second coat of paint if need be.
Another thing we’d like to mention is that you must move the roller slowly in straight lines to avoid splattering the paint. And you’re done!
3 Tips That Every DIYer Must Know Before Painting Their Ceiling
1. Ceiling Paints Are Thick And Sticky
Only a few people know that ceiling paints are different from wall paints because they are formulated to prevent paint drips. That is why they are slightly sticky, have a thick consistency, and are compatible with roller covers.
2. Different Ceilings Require Different Naps
While thick naps are perfect for textured ceilings, a 3/8-inch nap is excellent for smooth ones. Before buying roller covers, make sure you consider the surface of the ceiling and then buy the one that fits the bill.
3. Flat Or Matte Paints Are Best For Painting Ceiling
As you already know, the market is saturated with varieties when it comes to ceiling paints. Different colors can go with different types of ceiling finishes, and mastering them all is almost impossible if you’re not a professional.
However, we suggest going for flat or matte paints because they hide imperfections better than others. Going for a satin or gloss finish ceiling paint is a big no-no because they highlight every dent, bump, and flaw present on the surface.
How To Paint A Ceiling Frequently Asked Questions ?
How Many Coats Of Paint Does A Ceiling Need?
Basically, a ceiling needs a minimum of two coats of paint, only then will it cover imperfections from the surface.
How To Paint High Ceilings?
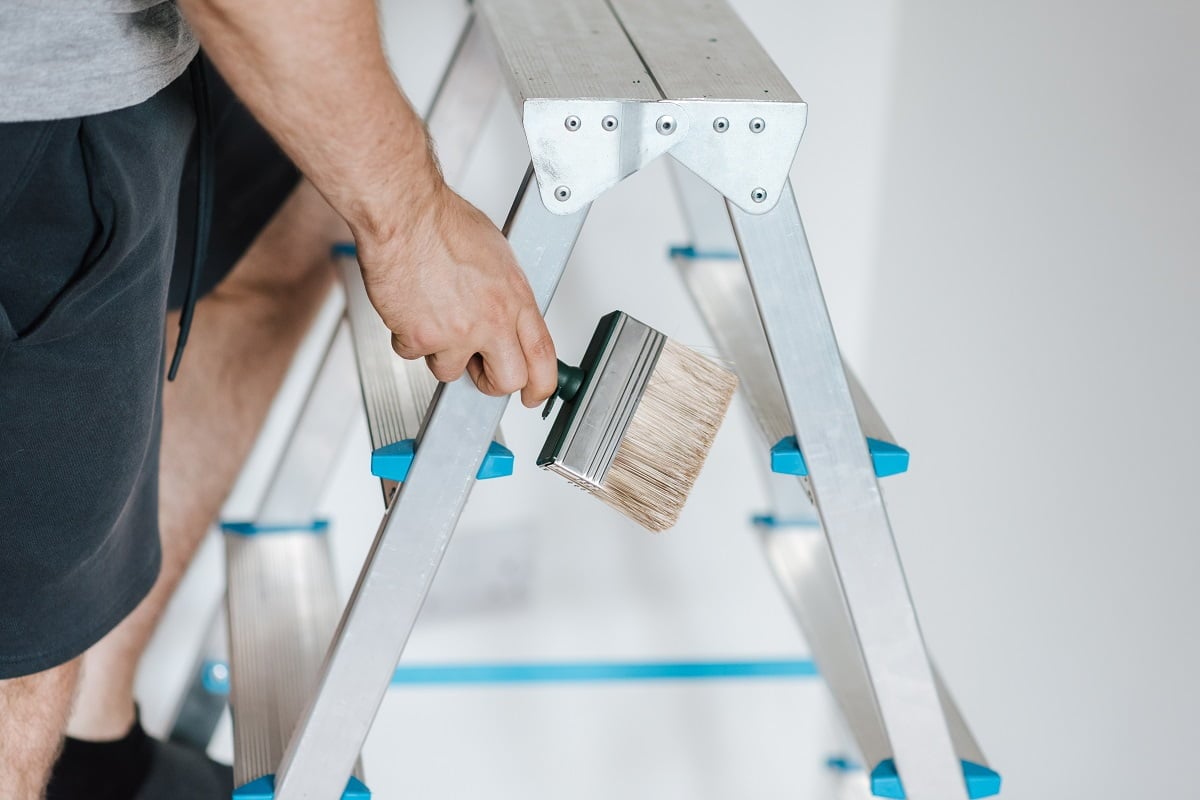
If you want to paint high ceilings, using a sturdy and premium-quality extension pole is the best bet. However, those using a brush for painting ceilings must use a durable step ladder to reach the ceiling.

How To Paint A Ceiling Summing It Up
There you have it - everything you need to know about painting a ceiling like a pro!
Without a doubt, painting the ceiling is the best way to add depth and element to a room. Though white is the most preferred option by homeowners, you can go for any other bold color like yellow, brown, blue, and red to add an understated effect to your room.
With that, we’ve reached the end of our guide on the topic. But before we sign off, here’s a last piece of advice - don’t forget to wear a face mask or respirator, safety glass, and gloves before starting your project.
And that’s it for today. Happy remodeling!
