If you’re looking for paint for furniture, then Farrow And Ball has a lot to offer.

The brand is known for its high-quality, durable paints for different surfaces. However, first-time DIY painters may get anxious, as painting furniture with these paints requires proper cleanup and priming of the surface.
And that’s where we come in. Dive in for all the know-how!
The Preparation

No surprises here- the first step in painting furniture is to clean and smoothen the surface so that the new paint adheres properly. And here’s how to do that effectively:
Step 1: Clean The Surface
Start by getting rid of any loose dirt or debris from the surface using a vacuum cleaner. And since outdoor furniture is more prone to dust, you may want to consider vacuuming multiple times to clean it properly.
However, ensure that the setting isn’t too high; otherwise, you may risk damaging the furniture.
Step 2: Sand The Surface
Now, grab a sander and begin sanding the piece of furniture. It’s usually recommended not to skip this step, as sanding will help remove the existing paint, sheen, and varnish from surfaces like previously painted wood.
Begin sanding the wooden surface with a low sandpaper grit (like 100) and gradually move up for a smooth finish. While low grit sandpapers are coarser and can remove larger irregularities, the high grit ones are finer and ideal for finishing off the process to make the paint adhere better.
In case of metal surfaces, you may want to choose higher grits (in the 300s), which will help smoothen any bumps as well as remove stubborn rust. However, you shouldn’t go above a 140-grit sandpaper for sanding plastic furniture, as it doesn’t really need too much finesse.
If you don’t have an orbital sander handy, then you can wrap the sandpaper around a sanding block to get the job done. Naturally, this alternative will take more time, so plan the painting schedule accordingly.
On that note, you can use this technique to lightly sand around the curves or tight corners of the furniture. Don’t apply too much pressure, as it may damage these areas or remove any design specific to these parts.
Step 3- Cleaning The Surface (Again)
Whether you’ve sanded solid wood, metal, or plastic furniture, it will produce a lot of debris and dust, which should be cleaned thoroughly. Here again, you’d want to start by dusting the loose debris before going in with soap and water. Remember that any unwanted particle on the surface can result in an uneven or distorted finish.
Furthermore, you can use either normal or sugar soap, but don’t use too much water. Both wood and metal don’t tolerate excess moisture well, so the surface may get damaged if the furniture doesn’t dry properly.
Likewise, use methylated or white spirit to eliminate any greasy or oily residue from wooden surfaces. This is specifically important for new wood, as it may have sticky resin knots that should be removed before you paint the surface. Then, get the patches treated with a wood filler before applying the primer.
Step 4- Priming
Applying primer before the paint gives it a nice surface to stick on to, as well as makes the paint more durable in the long run. In this regard, use an all-surface primer, which will be compatible with wood, metal, and plastic.
To cut corners, go over the larger areas with a small foam roller and use a synthetic bristle brush for the tight spots. And the number of coats you employ will depend on the formula of the primer, so check the manufacturer’s instructions.
In case of multiple coats, let each of the layers dry properly before applying the next one.
How To Paint The Furniture?
With the preparation part done and dusted, it’s time to get your hands on paint brushes and your favorite Farrow Ball paint tub. But the process will depend on the kind of surface you’re painting.
For wood that has been previously painted, apply one coat of the brand’s “wooder primer and undercoat” in the shade that best matches the topcoat paint color. Then, go with two coats of the topcoat, allowing the first layer sufficient drying time before applying the second coat.
However, bare wooden surfaces will absorb the primer faster and more effectively, which is why it’s a good idea to dilute the undercoat by adding about 20% water of the total amount being used. Apply an even layer, followed by a drying time of at least 4 hours and an undiluted coat of the same.
Once the undiluted coat dries completely, apply one layer of your preferred topcoat, let it dry thoroughly, and finish off with two coats of modern eggshell paint.
We’d advise using a fine-bristled synthetic brush for this step to get the best possible results. Besides, you can browse the brand website to look for other options (like estate eggshell or full gloss). These are compatible with non-wooden surfaces as well and render unique finishes to breathe new life into your old furniture.
How To Paint Furniture With Farrow And Ball Frequently Asked Questions ?
Can You Use Farrow And Ball Paint For Antique Furniture?
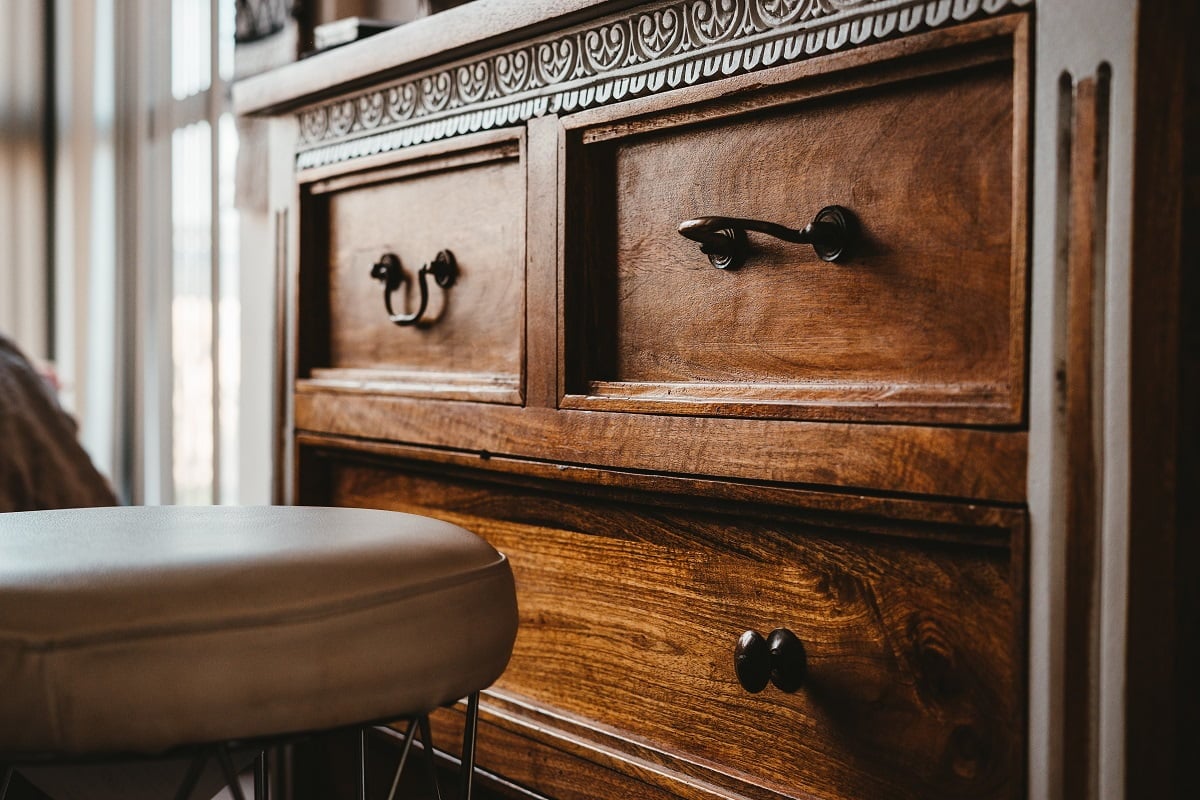
Yes, you can use Farrow And Ball paint for antique furniture like a chest of drawers, irrespective of whether they’re painted or unpainted. However, you will need to handle the piece with care, especially when it comes to sanding and priming the surface.
Does Farrow And Ball Manufacture Paints For Walls And Ceilings?
Farrow And Ball has a special “California Collection” manufactured in collaboration with renowned international designer Kelly Wearstler. It comprises eight distinct “sun-kissed” shades meant for indoor and outdoor walls, ceilings, and skirting boards.
These neutral paint colors suit most style preferences, so you can choose a color that best matches the existing decor of the space.
How To Apply Glaze To Painted Furniture?
Once the paint on the furniture is dry, prepare the glaze by shaking its can thoroughly. Open the lid and use a brush to mix it for another minute. Then, use a flat brush to apply it to the furniture while paying attention to the nooks and crannies, as well as other parts prone to damage.
Damp a cloth and use it to take off the excess glaze immediately according to the final look you want. If you end up removing too much of it, just use a small amount to re-apply it. Now, that’s how you apply glaze to painted furniture.

How To Paint Furniture With Farrow And Ball Final Words
That brings us to the end of our guide today.
But before we wrap up, here are a few tips that will make the overall painting process easier. If you haven’t worked with Farrow and Ball paints before or aren’t sure about the color, get some tester pots and apply the paint to a small section of the furniture.
And while painting, take out the required amount in a paint tray instead of dipping the brush constantly in the can. This will prevent the paint from constant exposure to wind and moisture.
See you next time!
