Expertises: Art, Pastel, Brush, Drawing, Pencil
Updated on

Inspiring Ideas for Modern Home
With this gouache painting tutorial, you can explore a world of textures, layering, and creative techniques that will leave you mesmerized. In this article, you will explore the exciting and colorful world of gouache paint, from the basic materials and gouache techniques to the more advanced tips and tricks.

Have you ever been frustrated with your artwork and thought, "there must be something missing"? Like it needs an extra layer of depth or a pop of color that just can't be achieved with traditional watercolor paints or acrylic paints? Well, I have just the thing for you - gouache paint, the paint that's like watercolor's more opaque cousin.
In this gouache painting tutorial, I will cover everything you need to know about this unique medium. So, let's grab some paints and get started on your artistic journey with gouache!
Are you ready to rock the art world with a medium that's just as unique as you are? Look no further than gouache paint! This offbeat and often misunderstood medium is sure to take your art to new heights.
Gouache paints have been the secret weapon of commercial artists for decades, but now it's time for fine artists to get in on the action. With its rich opacity and endless possibilities for experimentation, gouache is the perfect way to break free from the same old, same old, and create something truly one-of-a-kind.
But before you dive into your painting session, let's talk about the materials you'll need.
This is the star of the show and the key ingredient that sets gouache apart from other water-based paints. Gouache is a type of watercolor paint, but with added white pigment to create an opaque, matte finish. You can find gouache paints in tubes or pans, and they come in a wide range of colors.
To get the best results with gouache, it's important to use high-quality watercolor painting paper. This will allow the paint to adhere properly and prevent warping or buckling.
Synthetic brushes are best for gouache paint, as they can handle the thick consistency of the paint without getting damaged. Look for a range of brush sizes, from small rounds for detail work to larger flats for blocking in areas of color.
A palette is essential for mixing your gouache colors. You can use a traditional painter's palette or a plastic palette with wells for holding your paints.
You'll need a container for clean water to rinse your brushes between colors.
Keep some paper towels handy to wipe excess paint off your brushes and clean up any spills or mistakes.
A spray bottle filled with clean water can be useful for keeping your paint moist and workable, especially if you're working on a larger piece.
Acrylic paint gouache or white oil pastel for creating highlights, graphite pen for sketching your design onto the watercolor paper, and gum arabic for adding a glossy finish to your finished painting.
With these materials at your disposal, you'll be well-equipped to start your journey to painting with gouache. So let's get creative and see what you can do with this unique and versatile medium!
Gouache comes in a variety of types, each with its own unique properties and characteristics that make it perfect for different artistic styles and applications.
First up, we have traditional gouache. This classic paint is like a smooth, creamy dream on your canvas, thanks to its binding agent of gum arabic. With a wide range of colors to choose from, you can paint anything from bold and bright to soft and subtle.
Next, we have acrylic paint gouache, the speedy Gonzales of the gouache world. Made with acrylic resin as a binder, this type of gouache dries quickly and is more water-resistant than traditional gouache. Plus, it has a super matte finish that will make your artwork stand out. While acrylic paints are often opaque, acrylic gouache can be thinned to create transparent washes.
Now, for all you designers out there, we have designer's gouache. This ultra-pigmented paint has a smoother consistency than traditional gouache, making it suitable for graphic design and illustration work. With a limited range of colors, you'll be able to create eye-catching designs that really pop.
For those who demand the best of the best, we have Schmincke Horadam Gouache. Made in Germany with top-quality ingredients, this artist-grade gouache is highly pigmented and has a smooth consistency that's perfect for fine art applications. Your artwork will look like a masterpiece with this paint.
Last but not least, we have Acrylic Gouache. This highly pigmented acrylic paint gouache is a favorite among artists and illustrators. With its matte finish and water-resistant properties, your artwork will be protected against the elements while still looking fresh.
Gouache painting techniques are similar to those of watercolor paints but with a few key differences. Let's start by preparing the palette and paints. This is where the magic begins, as you carefully choose your colors and arrange them on your palette. It's like selecting the ingredients for a secret recipe that will result in a masterpiece. You mix and match colors until you find the perfect blend that will make your painting pop.
With just a few basic colors, you can create a vast spectrum of hues and shades that will breathe life into your canvas. It's like being a mad scientist, mixing potions and experimenting until you find the perfect blend.
Now, get ready for some seriously captivating techniques.
The wet-on-wet technique is a masterful way of blending colors together, creating a dreamy and ethereal effect. It's like watching colors dance and swirl together in a cosmic ballet, creating a stunning masterpiece that will transport you to another dimension.
The wet-on-wet technique involves applying wet paint to a wet surface, creating a beautifully blended effect. This technique is often used for creating soft backgrounds or atmospheric effects. It's a technique that requires a delicate touch, as too much paint can cause the colors to blend together into a muddy mess.
Or, if you're feeling bold, the dry brush technique can give your painting a raw and textured feel, bringing it to life in a whole new way. It's like creating a rough and gritty landscape, adding depth and dimension to your painting in a way that will leave your viewers in awe. Watercolor brushes can be used for gouache painting, but a stiffer brush may be necessary for thicker layers.
The dry brush technique involves using a dry brush to apply paint to a dry surface. This creates a textured effect that can be used for creating realistic textures like grass or hair or for adding depth and dimension to a painting. It's a technique that requires a light touch, as too much pressure can result in a harsh and scratchy effect.
But the fun doesn't stop there! Layering is a technique that can add depth and complexity to your painting, creating a stunning visual experience. It's like creating a multi-dimensional universe, with each layer adding a new dimension that will leave your viewers captivated.
Layering is a technique that involves building up layers of paint to create depth and complexity. It's a technique that can be used for creating realistic textures, like the layers of leaves on a tree, or for adding dimension to a portrait. Watercolor paints are often used as a base for gouache painting, creating a layered effect.
And if you make a mistake? Fear not, because the lifting technique can save the day by removing unwanted paint and giving you a fresh start. It's like being a magician, waving a wand and making a mistake disappear, leaving you with a clean slate to work on.
Finally, the lifting technique involves removing paint from the canvas, allowing you to correct mistakes or create highlights. It's a technique that requires a light touch and some patience, as it can take several attempts to achieve the desired effect. But it's also a technique that can save a painting from disaster, giving you the opportunity to start fresh.
Let's explore a few more:
This technique involves layering translucent paint over an already-painted area to create depth and color variations. The glaze technique can be used to create a luminous effect or to deepen shadows.
Impasto is a technique where thick layers of paint are applied to the canvas, creating a three-dimensional effect. The paint can be left in visible brushstrokes, adding texture and depth to the painting.
Alla prima, also known as "direct painting," is a technique where a painting is completed in one sitting, with wet paint applied on top of wet paint. It's a bold and immediate approach to painting that can create a fresh and spontaneous effect.
Pointillism involves painting small dots of color that blend together to create an overall image. This technique creates a luminous and vibrant effect and requires a lot of patience and precision.
Sgraffito is a technique where a layer of paint is scratched away to reveal the layer underneath. It can be used for creating fine details and texture or to add interest to a plain background.
Grisaille is a monochromatic painting technique where the entire painting is created in shades of gray or another monochromatic color. This technique is often used as a foundation for oil paintings, with color added on top of the monochrome base. But unlike oil paints, gouache dries quickly and can be reactivated with water.
These basic techniques are just the tip of the iceberg when it comes to the world of painting. Each technique can be explored in greater depth, allowing you to unlock a world of artistic possibilities. So grab your brushes and paints, and let your creativity soar!
From the very first stroke to the final touch, each step requires focus, creativity, and imagination. But what goes into creating such a masterpiece? What are the essential steps that every painter must take to bring their vision to life on canvas?
Well, let's break it down into four key stages: sketching and drawing, blocking in colors, adding details, and finishing touches.
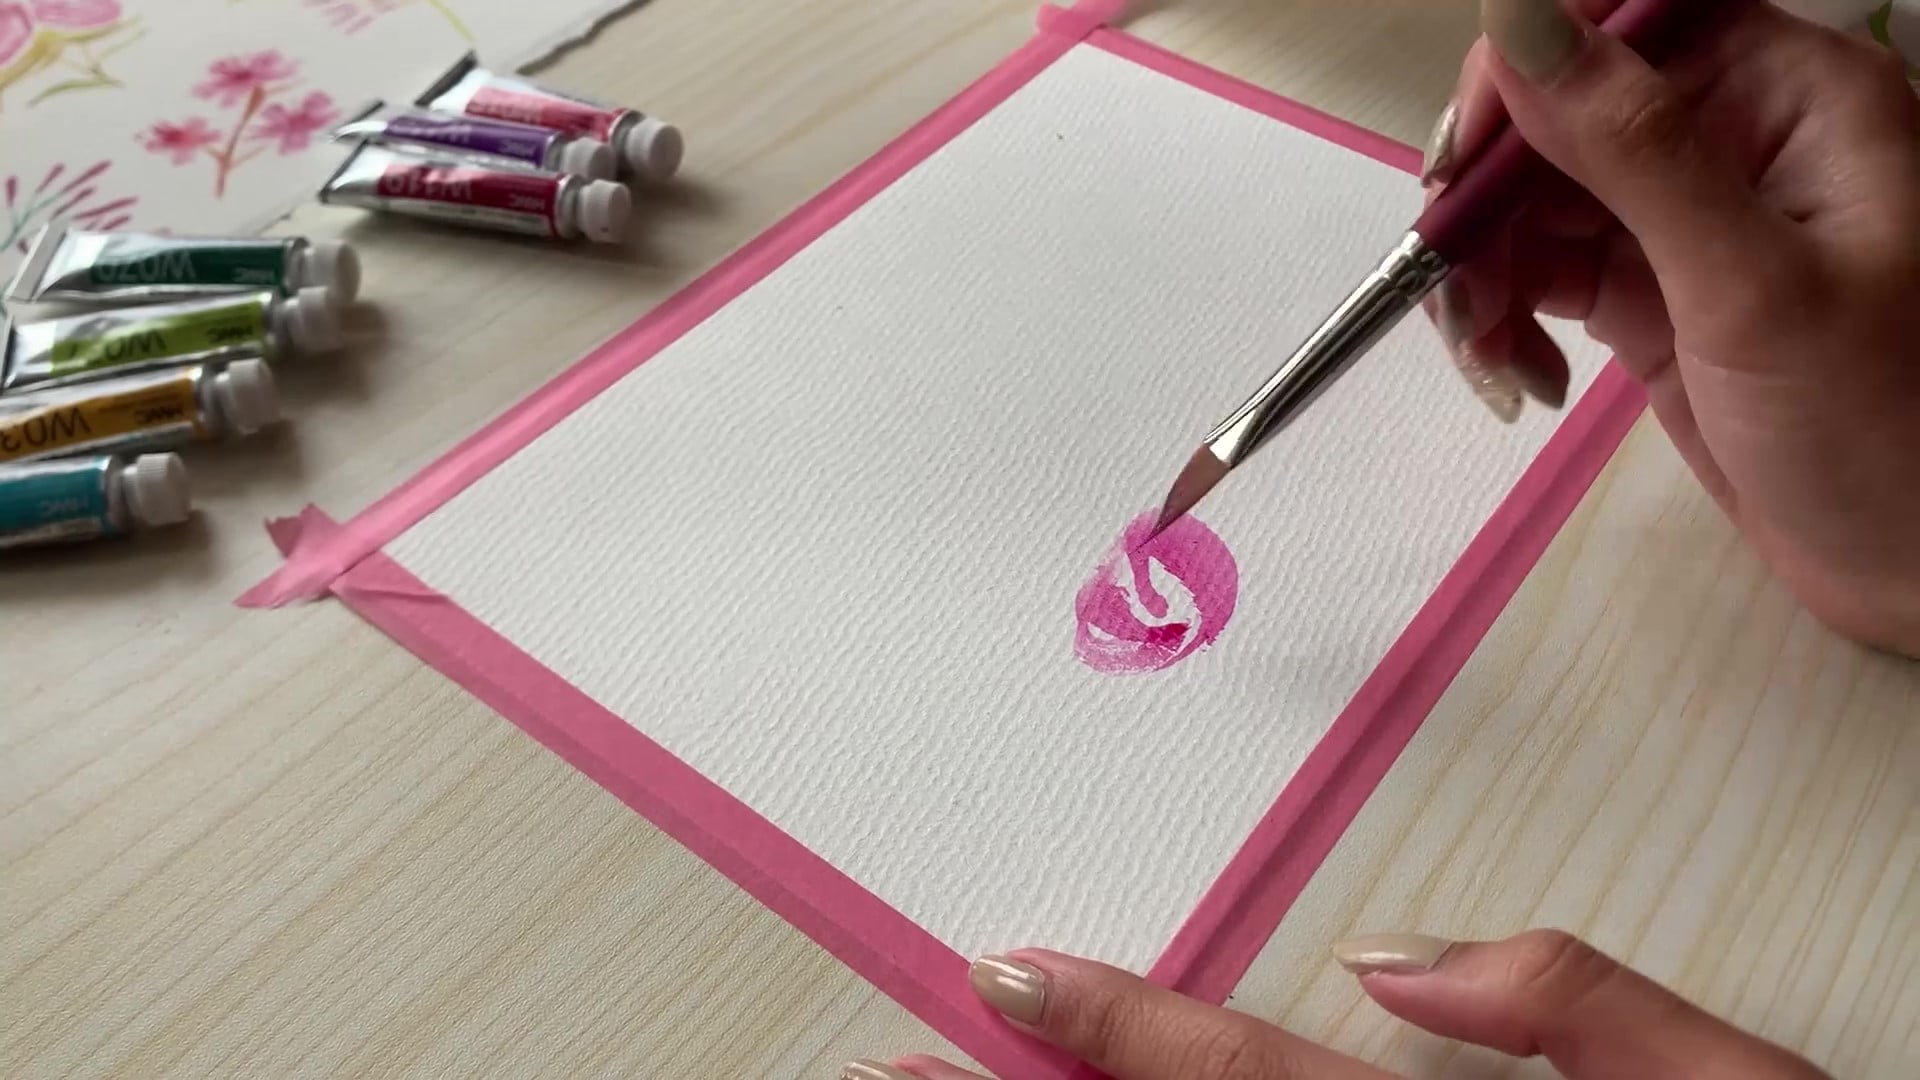
First things first: before you can start painting, you need to have an idea of what you want to create. This can come from your imagination, a reference photo, or a combination of both. Once you have your gouache painting ideas, it's time to start sketching and drawing. This step allows you to plan and refine your composition, proportions, and overall design. Don't worry too much about making a perfect sketch; the goal is to have a rough idea of what you want to paint.
Next, it's time to block in your colors. This step involves using large brushstrokes to establish the overall color scheme and values of your painting. Think of it as laying the foundation of your artwork. You can start with a monochromatic underpainting, or you can jump right into adding color. Natural or synthetic pigments can be used to create a wide range of colors with gouache. Remember to keep your strokes loose and energetic; this will help you establish a sense of movement and mood in your painting.
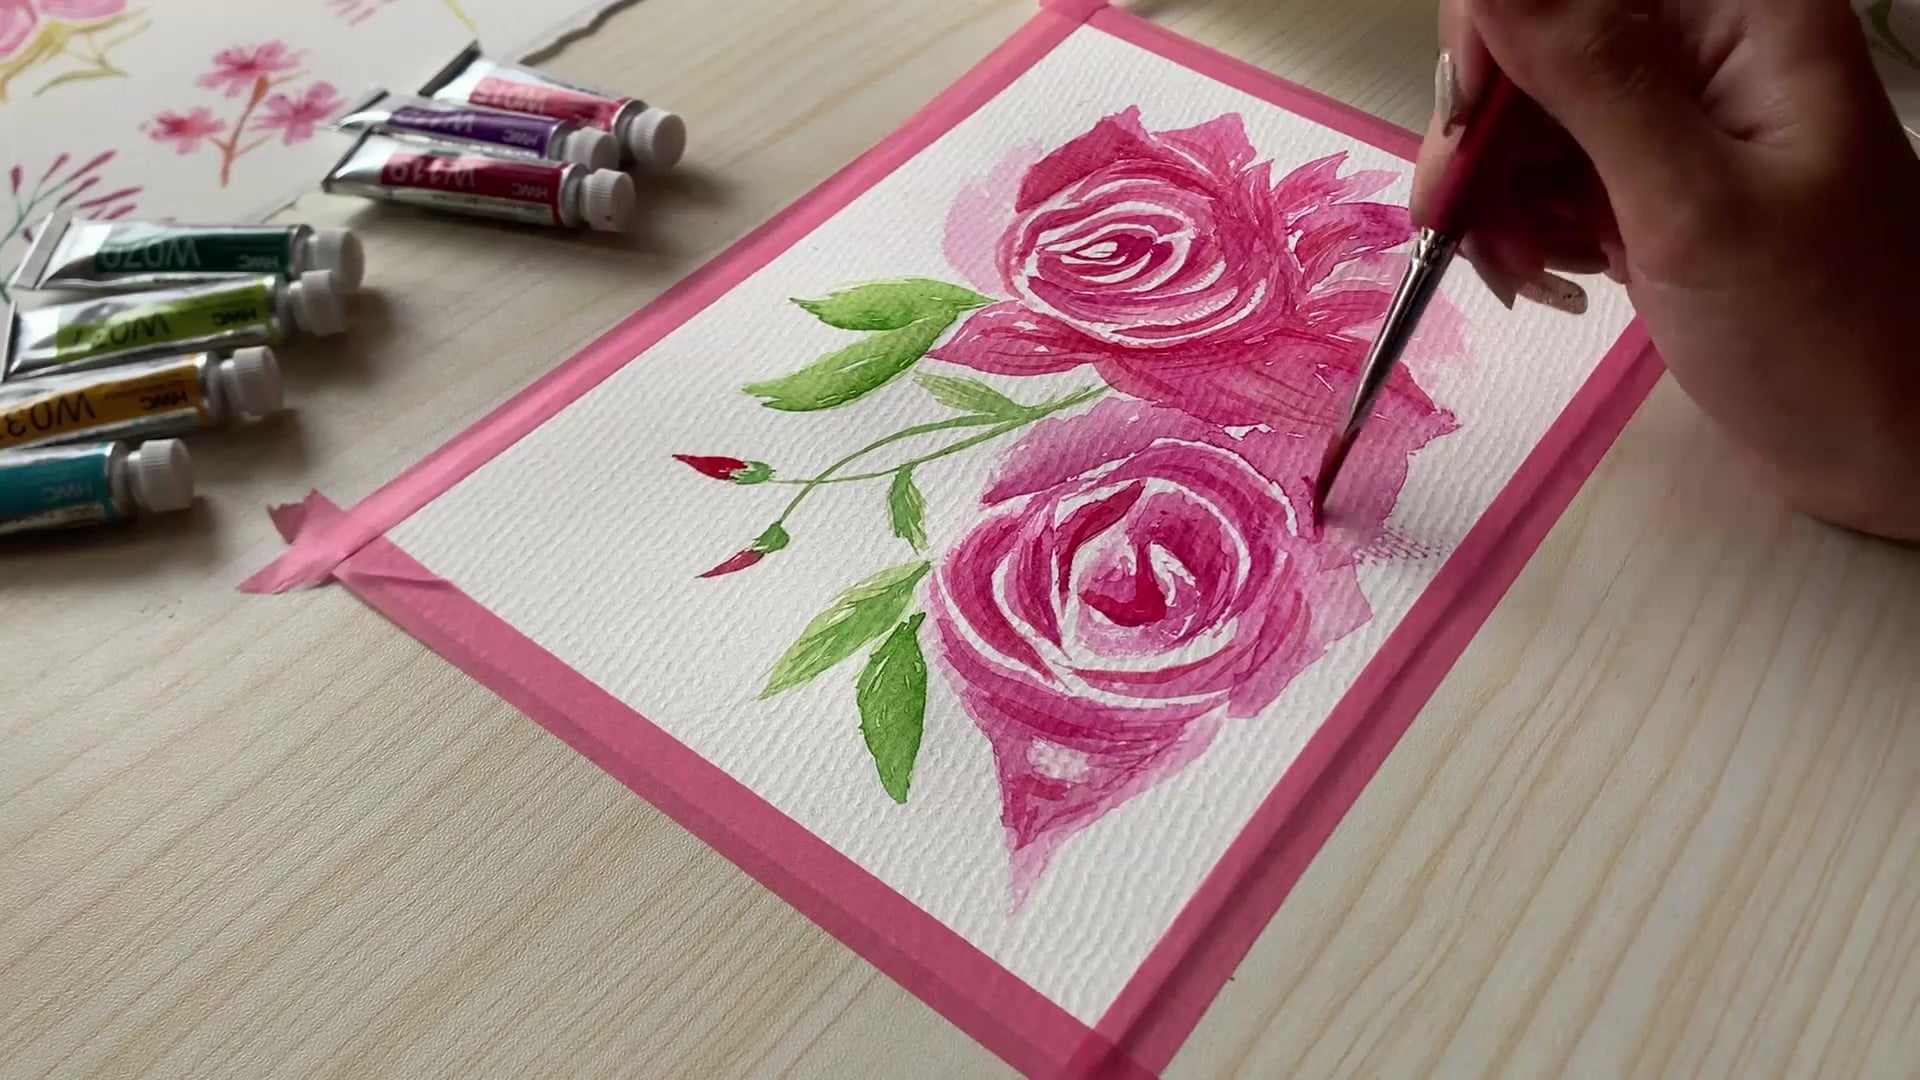
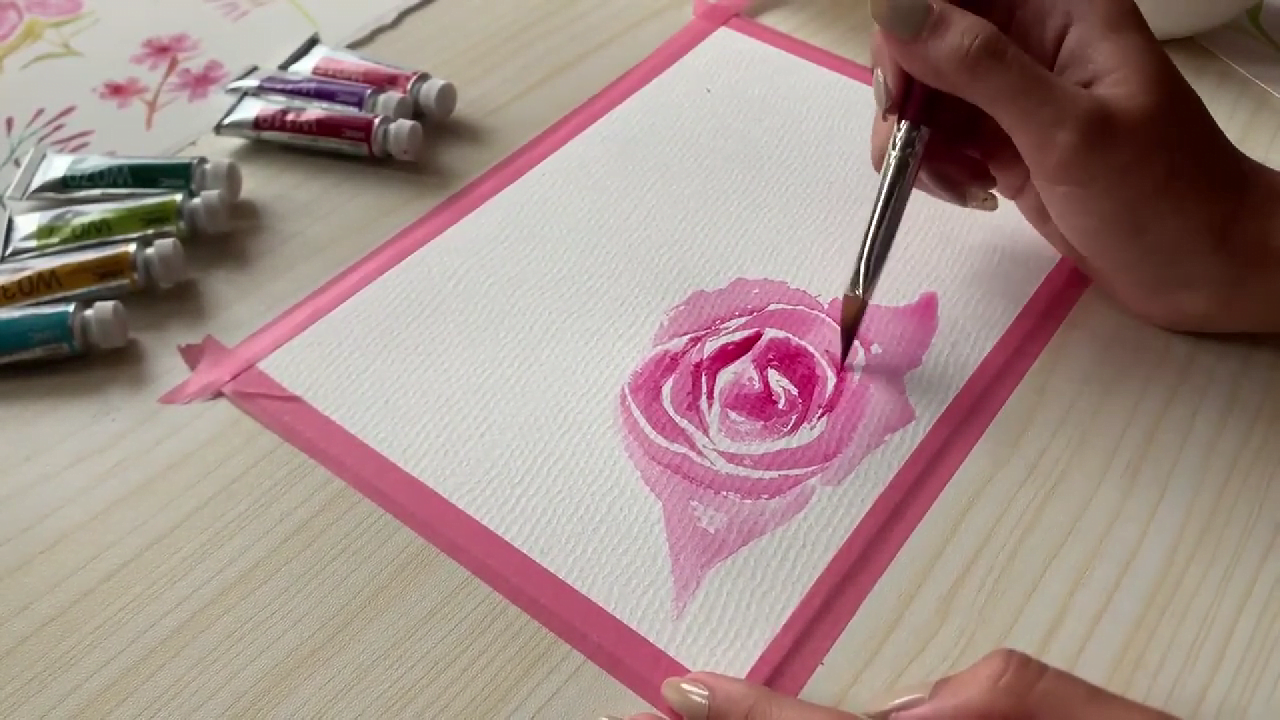
Now that you have your basic colors in place, it's time to start adding details. This step involves using smaller brushes and finer strokes to add texture, highlights, and shadows. Take your time with this step, and remember that less is often more. You don't need to include every little detail; instead, focus on the key elements that will bring your painting to life.
As you move on to adding details, things start to get really interesting. This is where you'll start to bring out the individual elements of your painting, adding texture, depth, and contrast to create a sense of realism or abstraction. Depending on your preferred medium and techniques, you might use a range of tools for this stage, from brushes and palette knives to paper towels and wax paper.
Finally, it's time for the finishing touches. This is where you'll put the final polish on your painting, tweaking the colors, adding highlights and shadows, and refining the details until you're happy with the finished graphics.
Creating something unique and beautiful is an exciting journey, but sometimes it can be challenging to know where to start. Fear not because, with these tips and tricks, you'll be on your way to mastering your craft.
Art is all about exploring and pushing boundaries, so don't be afraid to try new techniques and mediums. You never know what you might discover, and you might even find a new signature style that sets your artwork apart from the rest.
When it comes to choosing your colors, a limited palette can work wonders. By sticking to a few colors, you can create a cohesive and harmonious piece that's pleasing to the eye. Plus, it can challenge you to get creative with color mixing and come up with unique combinations.
While brushes are the most common tools for gouache painting, don't be afraid to try out different materials, such as pens, chalk, or wax, to add texture and depth to your work. This can create a unique and compelling effect that sets your work apart.
One technique that can add visual interest to your paintings is creating a gradient effect. You can achieve this by mixing gouache colors on your palette to create a smooth transition from one color to the next. Additionally, you can use newspaper as a stencil to create a textured gradient effect.
Gouache paints have varying levels of solubility, which affects how easily the paint dissolves in water. This can affect how you work with the paint and achieve certain effects. For example, wet gouache can create a more fluid and translucent effect, while dry brush techniques can create a more textured and opaque watercolor effect.
To paint with gouache, it's important to consider waterproofing and varnishing your work to protect it from water damage. Satin varnish can be used to protect your work without altering the appearance of the paint.
Many artists choose to incorporate other mediums, such as ink or acrylic paint, into their gouache techniques. This can add visual interest and create unique effects that can't be achieved with gouache alone.
Gouache paints can be quite thick, so it's important to manage excess paint and avoid overloading your brush. Use paper towels to blot excess paint and keep your brush wet but not dripping.
One unique aspect of gouache paint is the ability to create both transparent and translucent effects. To create a transparent effect, dilute the paint with water and layer it over other colors. To create a translucent effect, use wet gouache and apply it in thin layers to allow the underlying colors to show through.
Of course, like anything else, practice is essential. The more you paint, the more you'll learn about your own techniques and preferences. Don't get discouraged if your first attempts don't turn out as you envisioned; keep at it, and you'll see improvement over time.
One thing that can hold artists back is the fear of making mistakes. But mistakes are a natural part of the creative process, and they can even lead to happy accidents that make your artwork more interesting. Embrace imperfection, and don't be afraid to take risks.
Clean your brushes thoroughly after each use, store them properly, and replace them when necessary. Use high-quality paints and paper to ensure your artwork stands the test of time.
- Start with a light hand and build up the colors gradually
- Always test your colors on a scrap piece of paper before applying them to your painting
- Use a white pencil to lightly sketch out your composition
- Experiment with different paper textures to see how they affect your painting
- Let each layer dry completely before adding another
- Don't use too much water, or your colors will become too translucent
- Use masking fluid for fine details
- Gouache paint is not typically toxic, but it's good to use proper ventilation and avoid ingestion
- Join a gouache painting community for inspiration or watch a gouache painting tutorial.
So, there you have it – some tips and tricks to help you along your artistic journey. Remember, the most important thing is to have fun and enjoy the process!
By now, you should have a good understanding of the properties of this versatile medium, as well as the techniques and tools required to create beautiful, vibrant artwork. Gouache painting can be a wonderful and rewarding experience for artists of all levels, from beginners to professionals.
Painting with gouache is not just about creating a piece of art; it's about pouring your soul into the canvas, expressing your emotions, and sharing your unique story with the world. With every stroke, you are creating a piece of your heart, and that's what makes gouache painting so special.
So, let your creativity soar to new heights, experiment with your imagination, and let your passion for art take over.