Expertises: Paint, Home improvement, Wood, Car, Painting
Updated on

Inspiring Ideas for Modern Home
While working with clay for sculpting is fun, it can be truly disappointing to find your unused clay all dried up.

Now you need to remember that air-dry clay and water-based clay will easily dry if you leave them exposed to air for a few days. But you may have bought a lot of clay that cannot be used at once.
So, we are here to tell you the right way to store clay so it stays moist. You will need very basic materials for the job, which will be mentioned below. Just read through this guide carefully, and you’ll be able to store your clay for a long time in the right manner.
Let’s get started.
This section is divided into two parts, the first talks about keeping clay that you have partly molded moist so that it can be worked with later. And the second part talks about how to store clay blocks.
The materials needed for this job include
First of all, take a small bowl of water and keep a sponge near you. The water will keep the clay moist as you work with it or store it.
If you are working with clay, then ensure that you make it moist occasionally. To do that, take the sponge and put it in the water bowl. Then wring out the excess water and gently pat the clay from all sides. Do not use excess water, which may lead to very wet clay.
You can alternatively use a spray bottle to spray on the clay from all sides. Also, if you wish to store clay that you are molding for a few days, it is essential to spray water once in a while to prevent it from drying.
Also, when you are not using the clay, you can wrap it in a damp paper towel and store it. Just moisten some paper lightly and ensure that they do not tear. Then use them to wrap the clay piece well.
You can also follow this process and wrap clay in a wet towel if you are to store clay for some time. This can be while working on other parts of your sculpture.
After you have wrapped the clay in a damp cloth, it needs to be stored in plastic bags. You can use sealable plastic bags or ziplock bags, for that matter. Ensure that the paper is not very wet before putting the clay inside the plastic bag.
Also, if you are using a ziplock bag, take the air out by gently pressing the sides. Then place the wrapped clay inside and seal it immediately.
The moisture is then trapped inside the paper towel, and the bag and the clay will remain moist for longer. Also, it will remain moldable until the next time that you find it.
You can also use plastic cling wrap as an alternative if you do not find a ziplock bag.
The bag needs to be kept away from any sources of light. You can keep it in a cool place, like a dark storage cabinet. Just remember never to store clay pieces inside the freezer. The freezing temperatures can dry clay and remove and freeze all the water in it, which can lead to fracturing or flaking of the clay.
Similarly, never leave the clay in direct sunlight, as that is detrimental to the clay. It can remove all the moisture content, and the high temperature can lead the clay to crack and dry out completely.
Now, if you are wondering where to store clay other than a cabinet, the cellars or the basement are good places. They generally have a lower temperature, and the water content of the clay can be preserved.
However, if you plan to work with clay a lot, keep it inside a clay storage cabinet. These are special pieces of furniture that are made to keep ceramic and art supplies along with the clay.
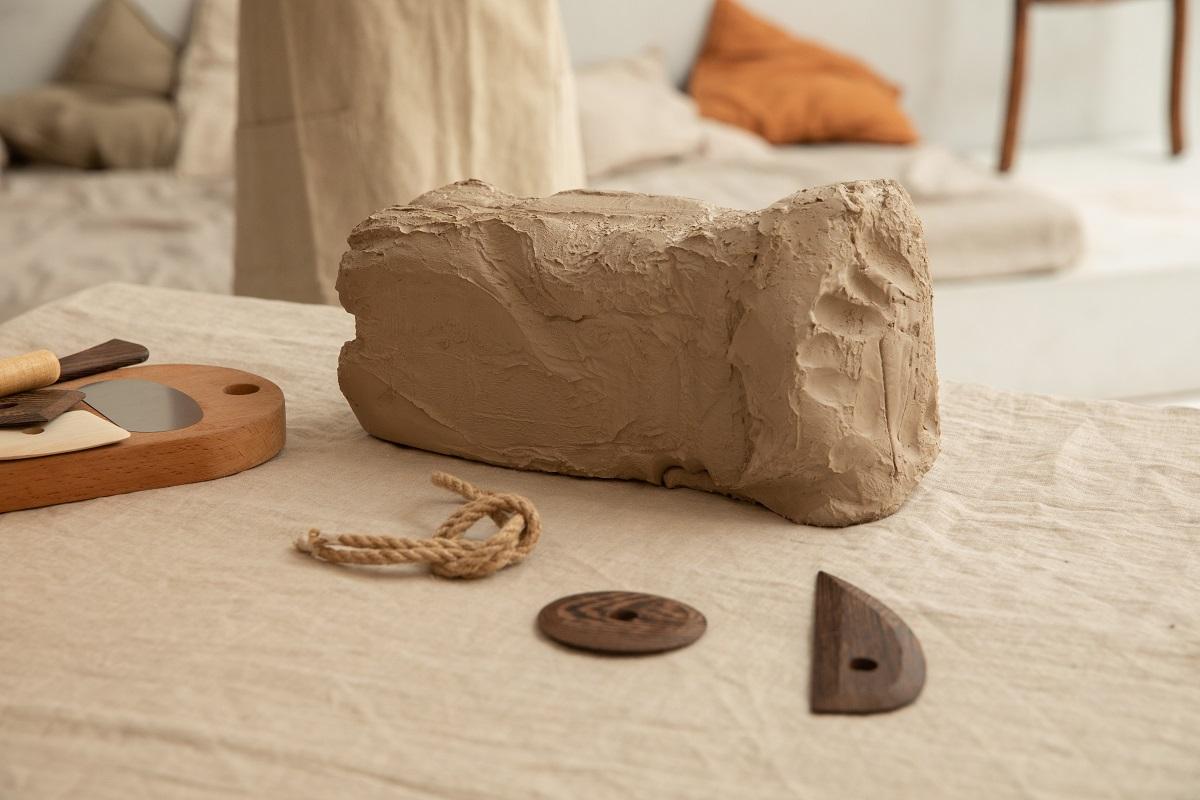
If you have a block of clay, then spritz some water on it. Ensure that the water is clean and cool before spraying.
You will have to take a plastic bag that is bigger than the block of clay. Then place it flat on a surface with the opening facing towards you. Keep the block of clay near this opening, and then roll the clay in the plastic packet. You will need to roll it in the opposite direction from you like a burrito.
Then you can tuck both the corners towards the bottom and seal the packet. For this job, any kind of plastic can be used, including garbage bags, trash plastics, and yard waste bags.
You can take any lidded container and keep the clay wrapped in plastic. After you keep it inside, the lid should be tightly placed on top. We recommend cutting a large amount of clay into small pieces so that you can only take out the amount needed.
This will protect the rest of the clay from being exposed to outside conditions.
You will have to keep the clay in a dark and cool place away from extreme weather conditions. Heat and extreme cold can be detrimental, and the cellar, basement, and storage cabinets act as the best storage places.
If you have left clay in the open for a long time, then it can dry up completely, but there is a way to revive it. You can take some water and soak a paper towel in it.
Then wrap the clay with this towel and store it in a cool and dry place for the next few days. Also, for storing large amounts of clay, you can cut the clay into small bits using a wire cutter. Then wrap them up and store them inside plastic bags, and this should make them moist again.
Alternatively, you can poke holes in large pieces of dried clay as well. Then pour water into the holes, and that should restore the moisture in the clay block.
If you do not keep air-dry clay and water-based clay moist, then they are susceptible to cracking. That would mean you will have to make the clay moist and start the work all over again. You may also need a new clay block if the previous one is damaged beyond repair.
When considering modeling clay v/s polymer clay, know that modeling clay can be bought if you want to practice sculpting with clay. It is self-hardening and is an air-dry clay that you should not keep exposed outside. It is best to store it in a damp box with plastic wrap, as the process mentioned above.
Also, you can lightly spritz it with water to help it stay moist and remain in a workable state. However, polymer clay is different as it is made from polyvinyl chloride. This is known to be versatile and can be baked to cure permanently.
When wetting the clay, make sure you do not add too much water, as that can destroy it. Just dampen paper towels or a cloth towel and use it to keep the clay moist. Also, if you are stopping in the middle of clay projects, then store the clay immediately in the same process that we mentioned above.
Yes, you can use a damp piece of napkin to wrap the hardened clay and keep it inside a plastic bag. Leave it for a few days, and then remove this napkin. The clay should have absorbed moisture and softened by then.
There is no need to worry about oil-based clay as it will not dry up with time. You can easily keep it anywhere and mold it as and when needed. Only water-based clays are prone to drying and cannot be exposed to air for long.
By now, we hope you have the answer to “how to make modeling clay soft again?” So, you should be able to store all kinds of clay properly. Just remember to keep water-based clay sealed tightly with moisture, and it should be ready for future work sessions.
Also, we recommend removing the original packaging that the clay comes in to preserve it better. This is because the plastic container/packaging will only keep your clay well until opened. Then you will have to cut it into smaller pieces and store them in containers.
Now you are ready to be creative and work with clay. If you are just beginning out, know that there are multiple tutorials that you can check out on YouTube.
Also, if you liked going through this article, watch this space for more informative guides.
You can also checkout our exclusive article on removing paints from concrete to get an idea on painting on concrete surfaces.
Until next time, bye!