Today you will learn to create something extraordinary, something that can change the way you envision and materialize designs in a great manner. Today you are going to learn how to transfer pictures onto wood with wax paper. Through a simple, fast, and inexpensive procedure you can materialize absolutely any wooden surface with absolutely any image or text that you can think of. The possibilities are endless and the results are staggering, a vintage-like feel will be embedded now into the item in an extraordinarily beautiful manner.

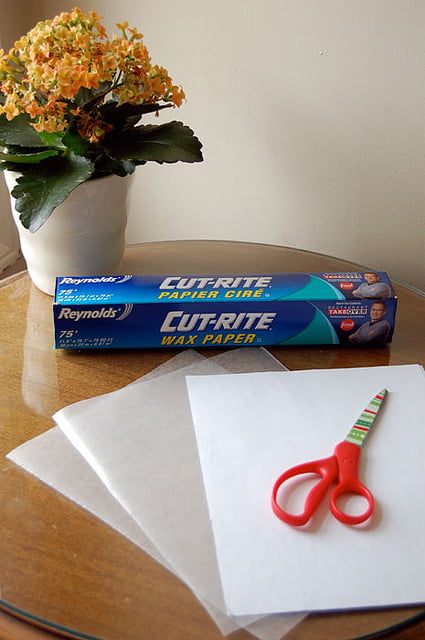
You will only need wax paper and a printer for this tutorial and, as printers are all around the world, all you have to do is to find some wax paper at a local shop and you are good to go.
It is worth mentioning that the printer should be inkjet, not laser.
If you are using a Silhouette Cameo for the transfer we have featured in an article on Homesthetics the Best Heat Transfer Vinyl [HTV] Options right here!
Take the roll of wax paper and cut just a few sheets of a standard paper size for the printer. In most cases A4 will do but if you need a bigger surface try A3 or A2 .
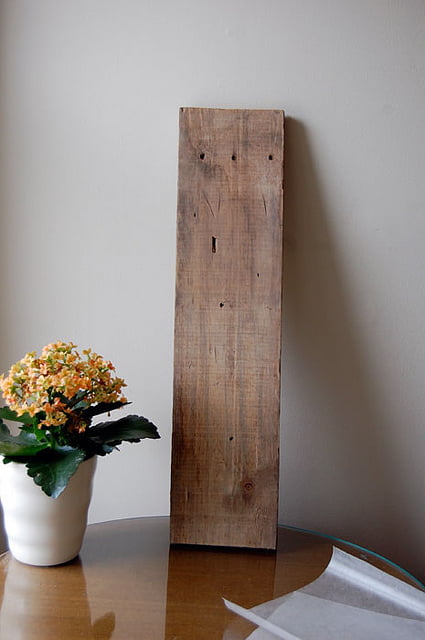
Pick your lovely subject, a smooth, preferably a light coloured piece of wood. It is worth trying on multiple pieces before you go ahead and try on the one that you want to imprint. Find a decent resolution for the image you are going to print. If you have found just a small size online you can check the whole web for other size of the picture with tineye.com, a reverse image search engine. Pick the best resolution in the results for print.
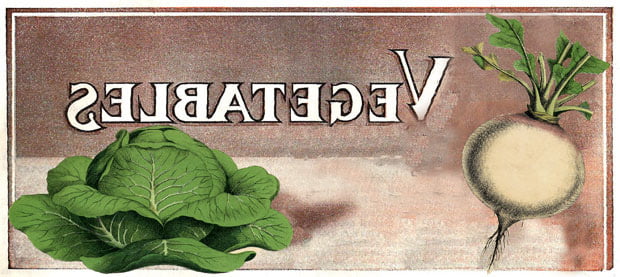
Once you have the image ready it is time to reverse it. Just flip it horizontally through any photo program you have on your computer. You will probably find a few web based programs as well to help you with it.
Now simply put the cropped piece of waxer paper into the printer and click paint.
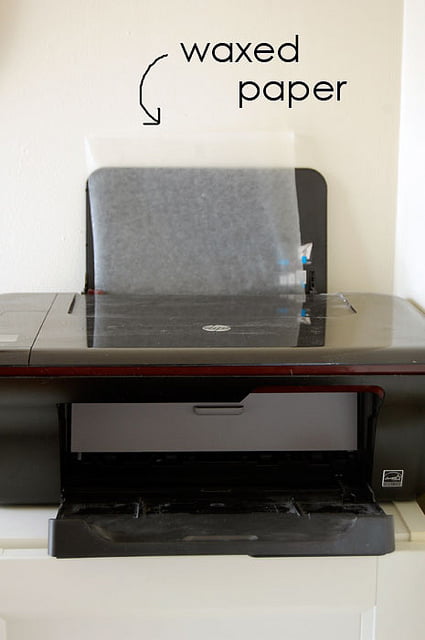
Keep in mind that waxed paper is quite thin and it may require a normal A4 as support. If you manage to print on it without support be careful to gently guide it as it comes out of the printer to avoid rolling accidents or jamming the printer. The ink must remain intact.
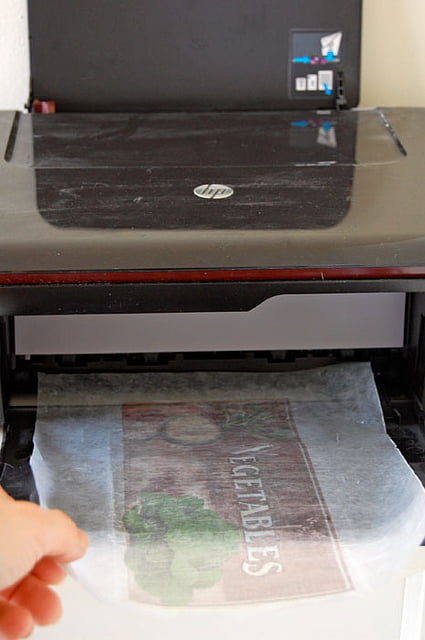
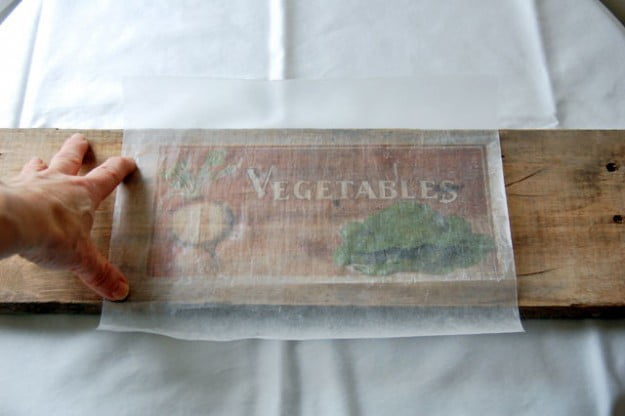
It is time. Position the image exactly where you need it on the wood and make sure that the wood is unfinished, if the surface is glossy it won`t work. Try it out on a piece of salvaged wood, a bench or vegetable box for example.
Once you position the image you can`t relocate it so make sure you know where it will go. You can even draw some guiding lines to aid you.
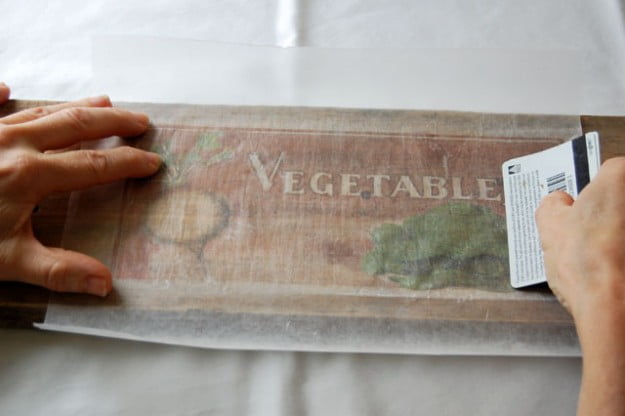
Hold the piece of wax steady and tight on the wood and slowly, carefully swipe the edge of a credit card or something similar across the image; in this manner you will push the ink from the wax paper onto the wood which will absorb it.
Push hard enough on the wax paper to make sure you get results yet not so hard that you rip the waxed paper. If you consider yourself skillful or experienced with the process you can gently lift the paper to see if it works well.
If everything worked well you are probably speechless now, glancing on the beautified piece of wood. Congratulations.
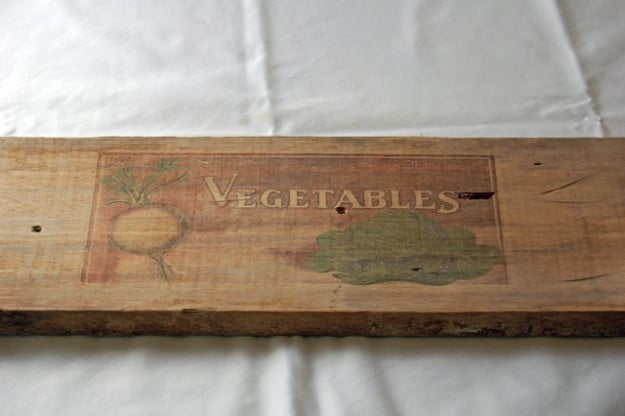
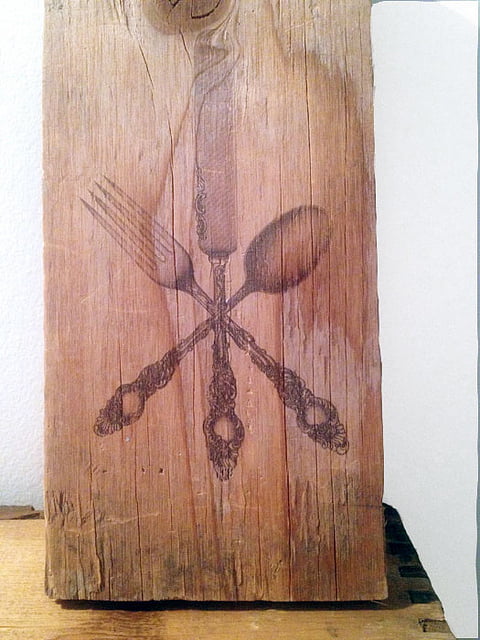
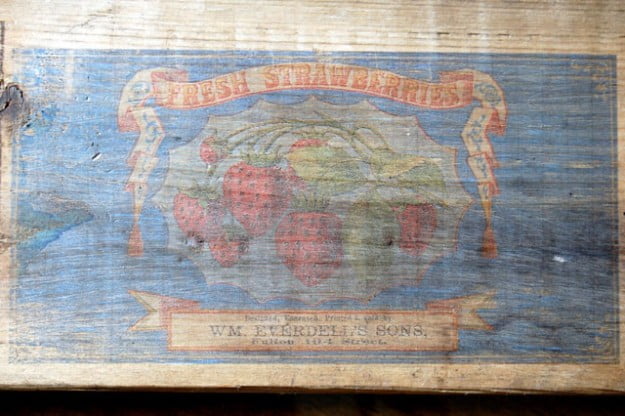
More examples materialized with the same process :
After the ink is all dried out you can now finish the surface to enhance the item`s life span. The tear and wear will look great on the vintage piece too but it is your call entirely. Any sealer will do the trick so do not waste money on special items. Needless to say, extraordinary photographies can be transferred for the ultimate gift. Everything can now become wall art. Keep that in mind.
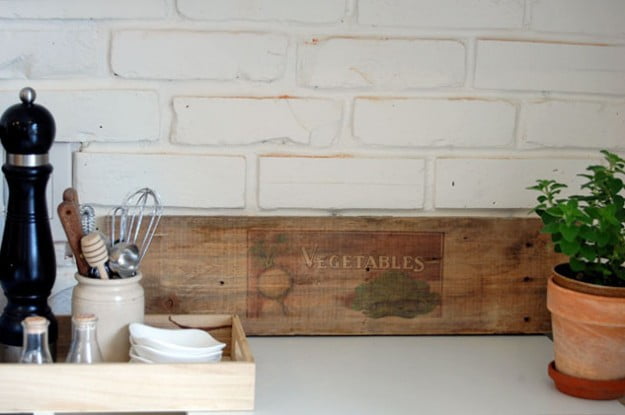
What do you think about this technique? We find it extremely creative, it changed the way we see certain items now and it opens up limitless possibilities.

