Light shapes everything in a spectacular manner. Light creates ambiance. Light coming from within an item creates one of the most mesmerizing atmosphere that we can experience. Paper star lanterns gracefully suspended into air, exuding fragility, beauty and sophistication while being lighten from within. Brilliant. Mindblowing beautiful Star-Shaped DIY Lanterns will be covered in the detailed guide showcased below, these are meant to beautify your interior and exterior in a spectacular inexpensive personal manner.
![Mindblowingly Beautiful Star-Shaped DIY Paper Lanterns That Will Beautify Your Special Moments [Printables Included] Mindblowingly Beautiful Star Shaped DIY Paper Lanterns That Will Beautify Your Special Moments Printables Included homesthetics](https://homesthetics.net/wp-content/uploads/2014/11/Mindblowingly-Beautiful-Star-Shaped-DIY-Paper-Lanterns-That-Will-Beautify-Your-Special-Moments-Printables-Included-homesthetics.jpg)
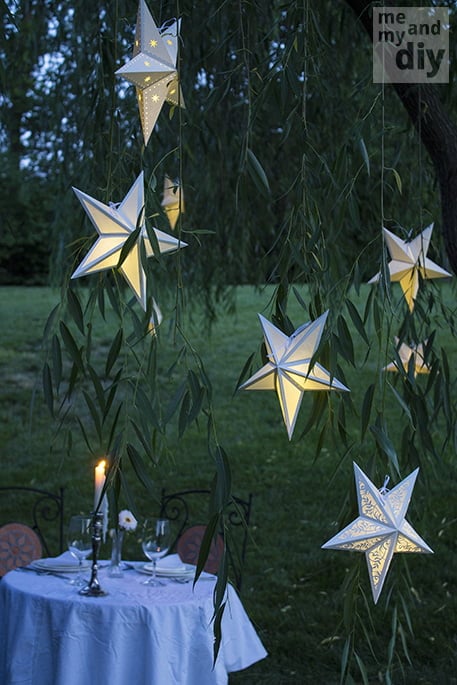
These simple diy masterpieces have been realize using Silhouette but you can use any other cutting technology at hand, laser cutter included. A free pdf template can be downloaded below. The instructions are exactly the same. The guide covers a simple basic star lantern as the one showcased below but you can materialize absolutely any design you envision.
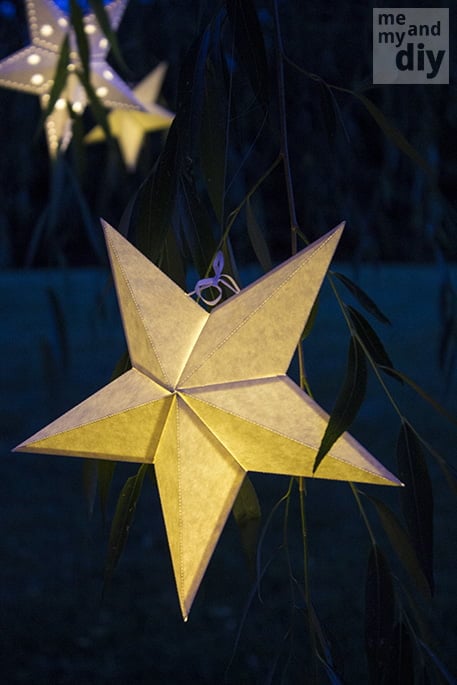
The pieces already cut that have been showcased below are a little different from the ones provided in the template, the ones that you will print and cut yourself. The instructions are the same though and for a better understanding, the three different pieces below have been labeled A, B and C.
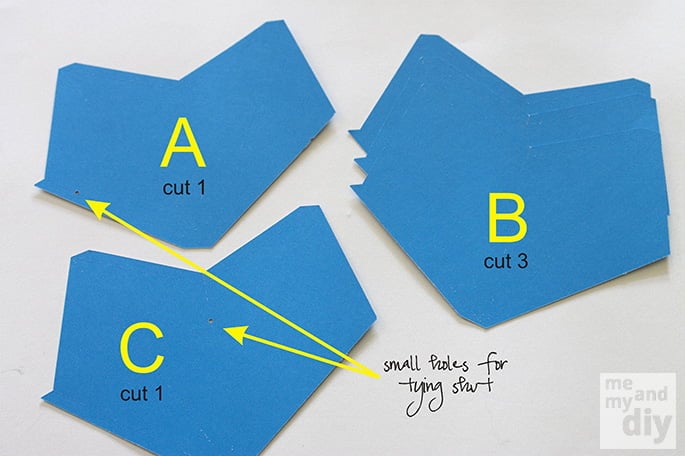
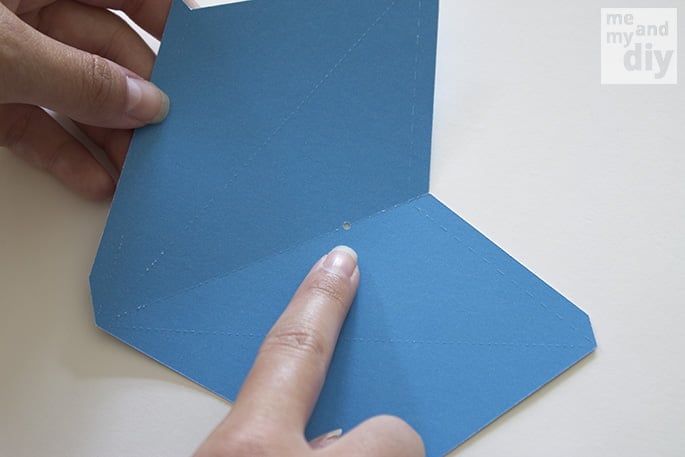
Pieces A and C are different because they feature a small hole through which you will introduce a thread that will later tie the star together, they are different because basically piece A wears the hole near the outside edge while piece C wears it in the middle.
Piece C and A will be cut one time each while piece B will be cut three times for this tutorial.
If you have the possibility add dotted lines for a smooth professional fold. You can use a needle to dot it a little yourself if you do not have any other method at hand.
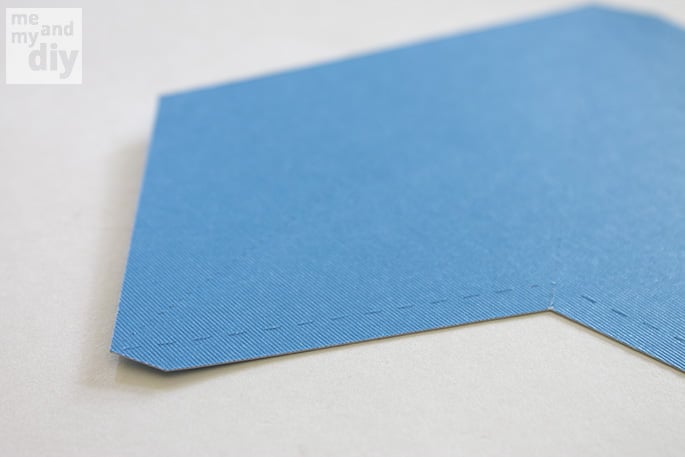
In this tutorial a double-sided cardstock has been used for explanatory purposes, basically the right side is the dark blue one while the wrong side side is the light blue one. After cutting the five pieces of star out of your print, lay them down with the wrong side up and the long flap close to you to begin the folding of the four long folds away from you.
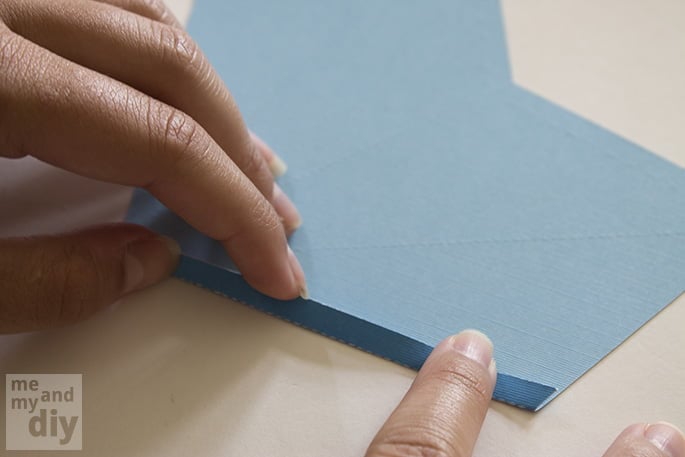
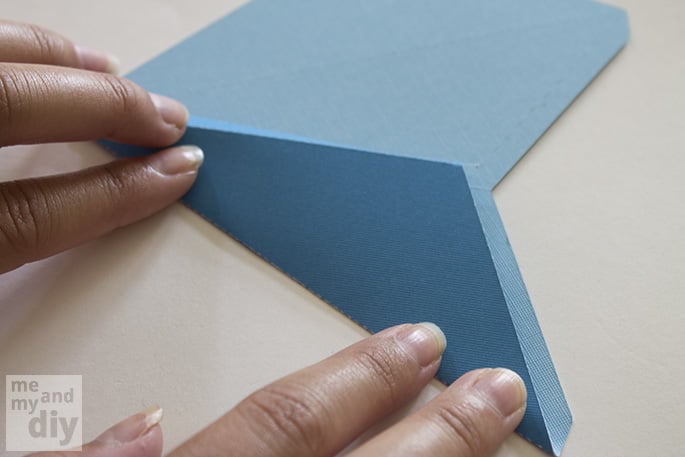
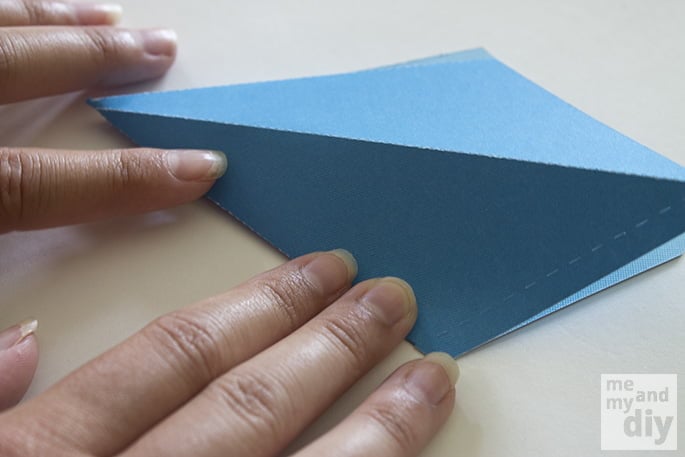
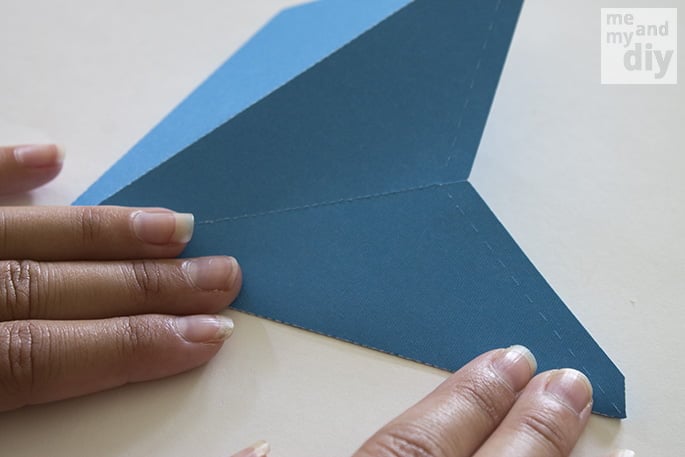
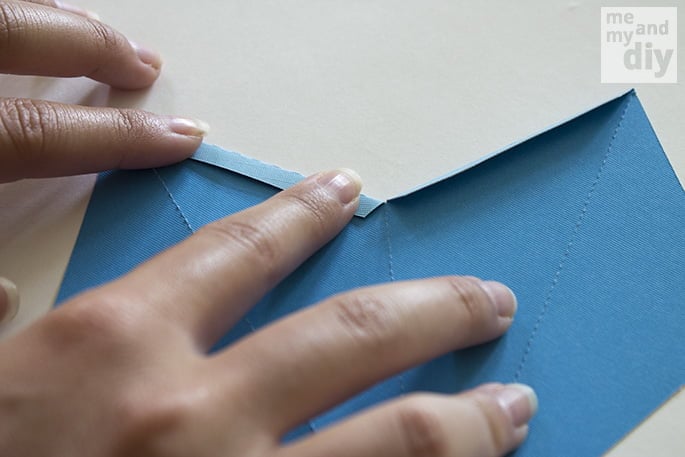
To ensure smooth connections between volumes open the entire piece out again and with the right side up this time fold both short flaps toward you.
The piece A, the one with the hold on the edge, will be the first tasting glue, apply paper glue on the single long flap. You can also apply tape in these areas but the holding power of glue is recommended.
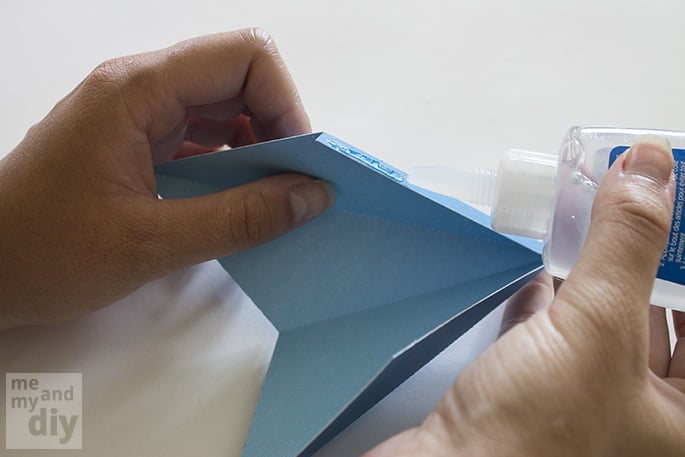
Lay the piece down now and press the outside edge over the glued edge to glue it into place.
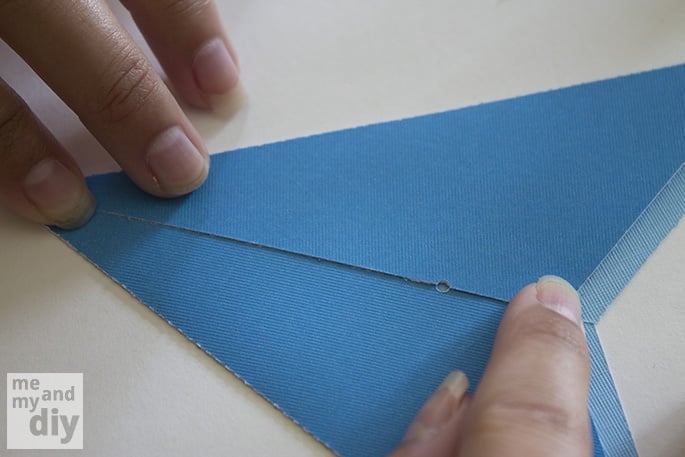
Now simply repeat the process for all five points of the start, finishing it with the C piece. If you maintain this order you will basically have them dried in the order you need them for the next step when you are going to glue them together.
Now to glue the five points into the desired shape we should respect the order A-B-B-B-C. This is utterly important because the piece A and C have those small holes adjacent to each other, these pieces will not be glued together. Start with A, which hopefully, is the first piece that you have glued together and apply glue to the two bottom flaps.
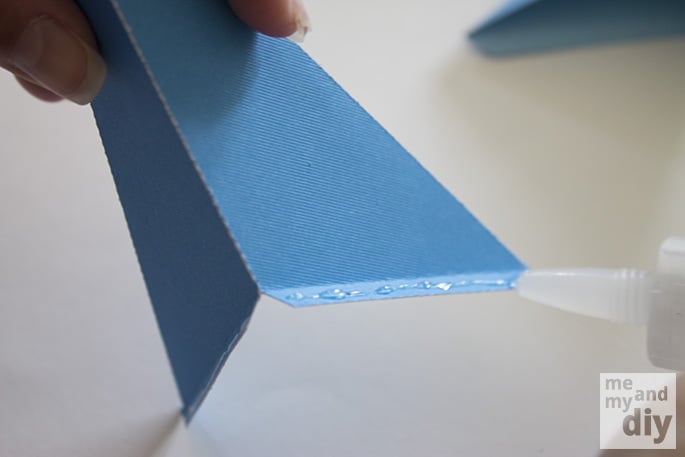
Insert the two glued flaps in the interior of another two plain edges, part of a piece B, as shown below.

Hold them into place until they dry out properly.
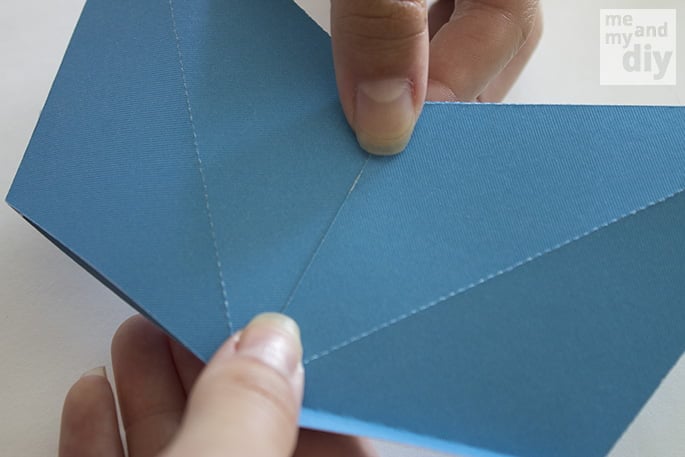
Repeat the process, apply glue to the two flaps of the piece you have glued on. Repeat the process for all the remaining B pieces.
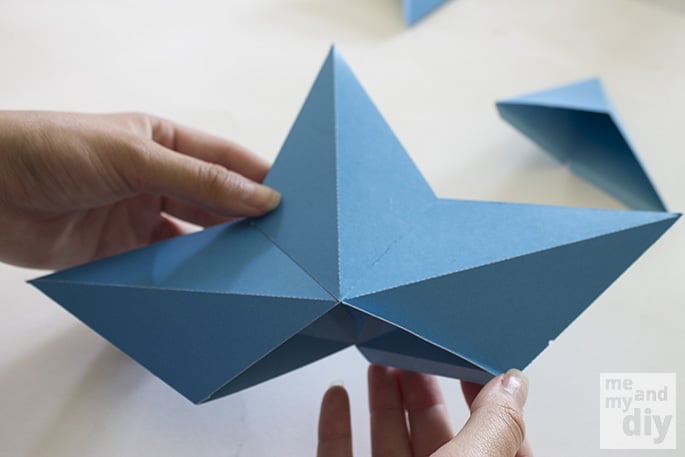
Now for the ending point of the star it might be easier for you to just fold the entire star accordion like and with caution glue the C piece one flap at a time whilst holding them into place until they dry.
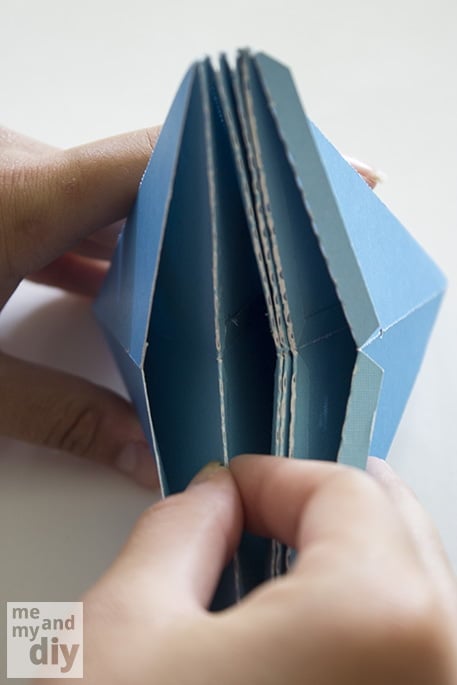
At this point it should as showcased below. Between A and C a gap remained, this will allow you to fold the star flat for storage later on. Most paper lanterns brought from a store will arrive folded in a similar manner. If you want only to hang it and have no intent in storing it later on you can just glue it together for good.
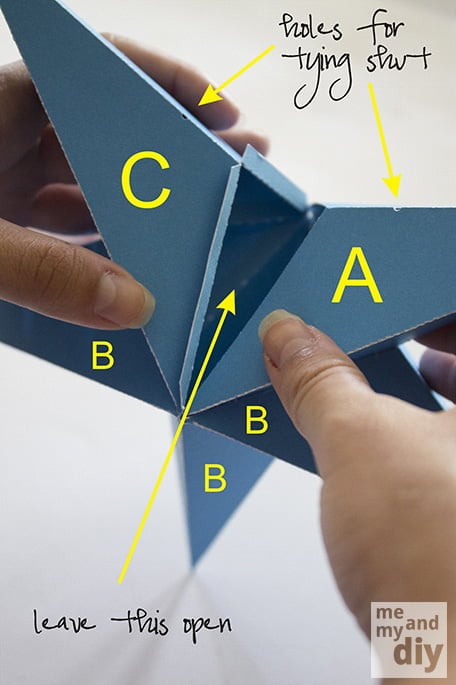
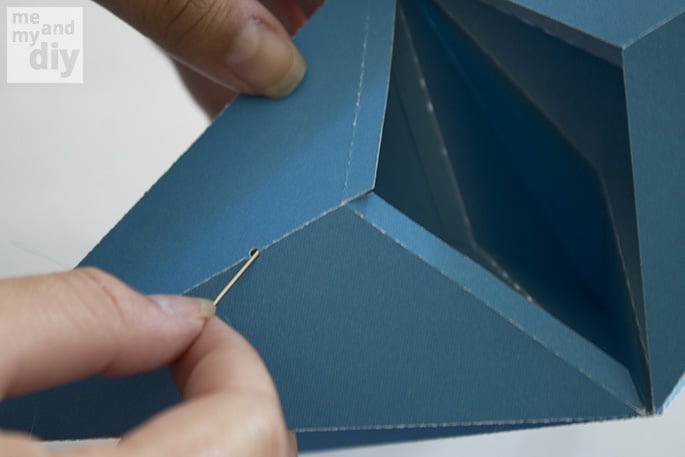
To hang it through a thread or string make use of a needle and a long piece of monofilament thread that looks invisible; insert the needle into one of the holes as displayed below.
The illustration below will explain the procedure better.
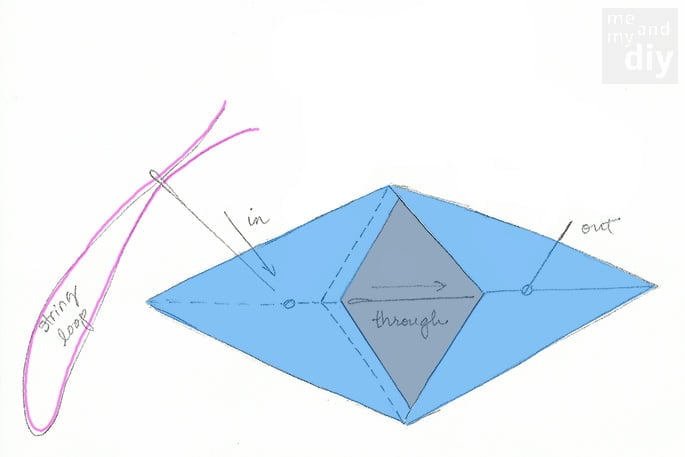
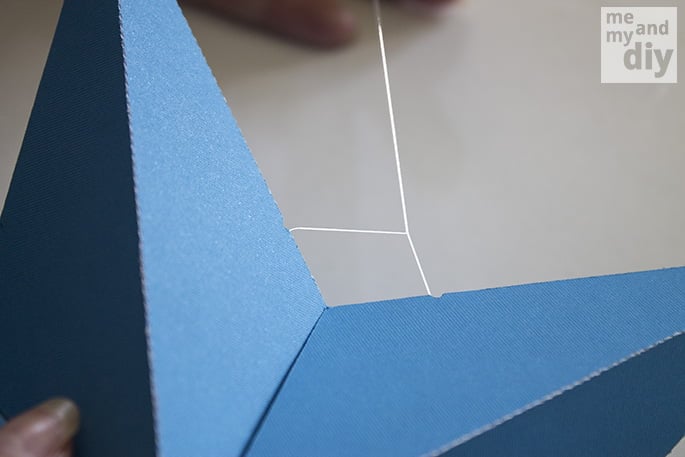
Get the needle out through the other hole. This will leave the loop hanging out of the first hole, allowing you to insert the needle back through the loop.
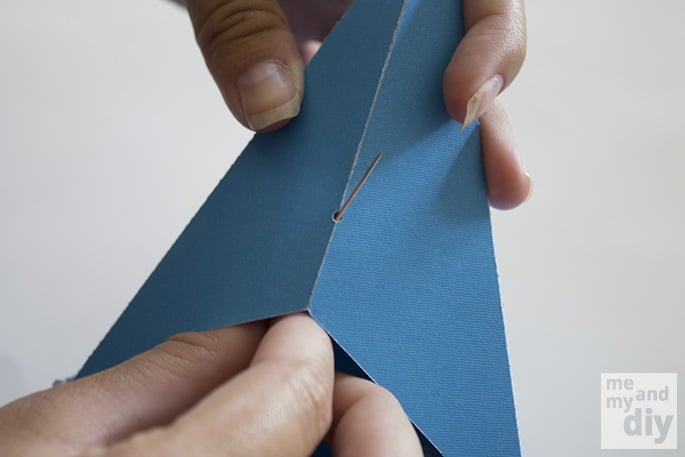
After pulling out the thread simply tie the piece together, closing the gap and offering the viewer the illusion that it "floats" in the air magnificently.
You are done! The extraordinary diy paper lantern has been materialized. It is extremely easy and yet extremely rewardful. What do you think?
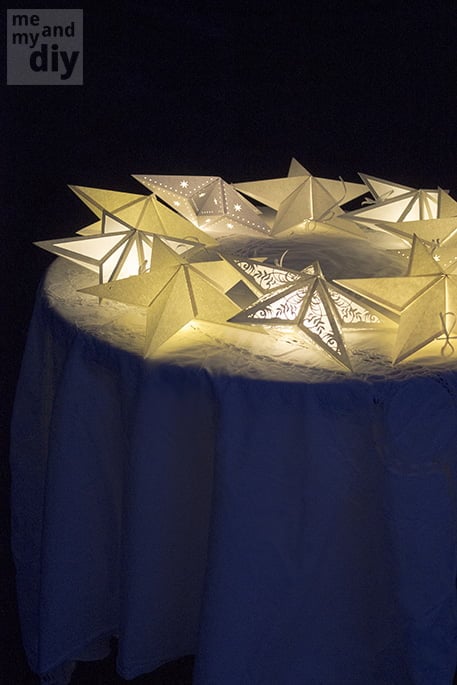
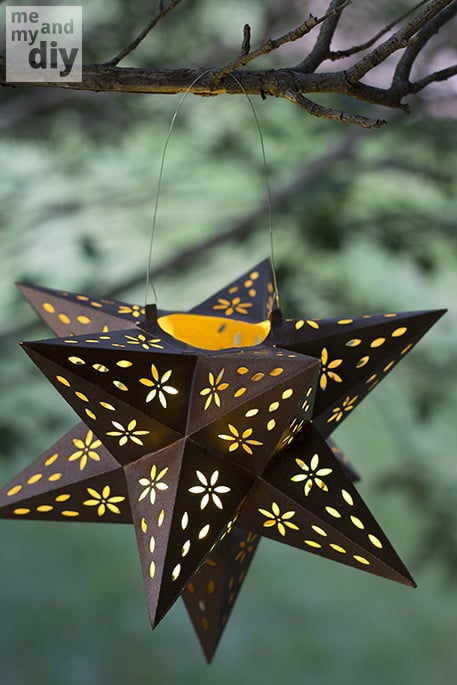
Below, through the Silhouette program little stars have been added to beautify the star. You can enlarge the stars or change the model in this one and customize it in a great manner.
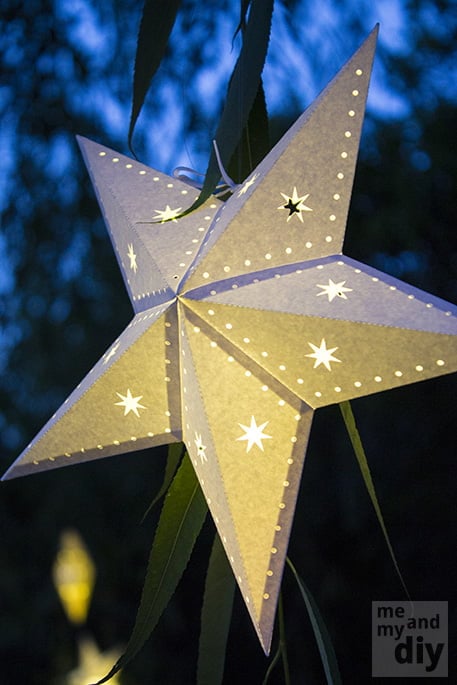
The one showcased below had consistent cut outs which have been filled with tracing paper.
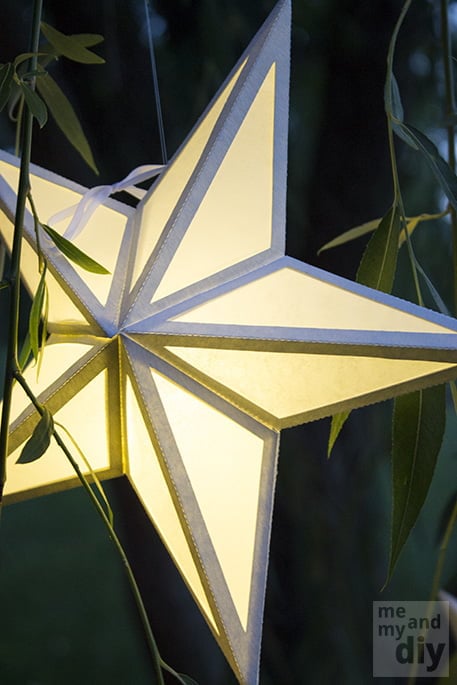
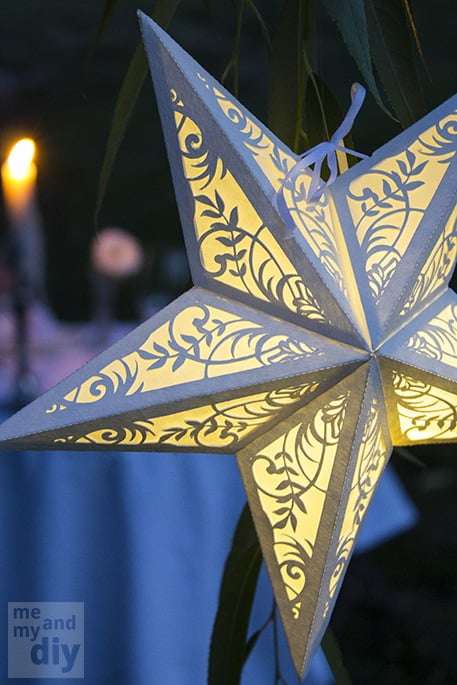
The next star is extremely beautiful and delicate yet very sturdy because it has been realized out of watercolor paper, the cutouts have been doubled by tracing paper here as well. Sensible and special.
You can always trespass boundaries and go the extra mile, below different paper lanterns are basically respecting the same thread of thought, both have been shaped out of plain white cardstock yet one has been painted into a copper color.
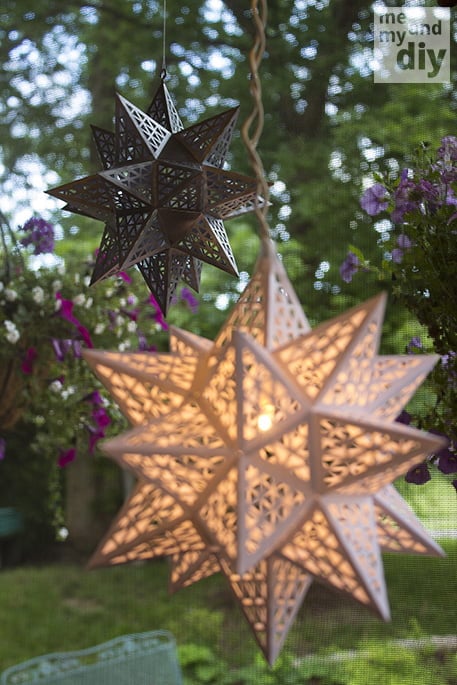
This last piece has been modelled after Pottery Barn’s Bronze Star Luminary. This as well has been cut from cardstock and spray painted copper. You can now purchase the cutting files for this lantern in the Etsy shop here)
We would love to hear your opinion in the comment section below. This extraordinary tutorial has been the work of Debbie from http://www.meandmydiy.com/ and we would like to publicly thank her for sharing such extraordinary tutorials on her blog, we would like to thank her for the extraordinary amount of knowledge that she shares with the rest of the world.
