Imagine having guests over for a special occasion, and you have no time to buy new furniture. In such a situation, you should use the best paint for furniture to restore its original look.
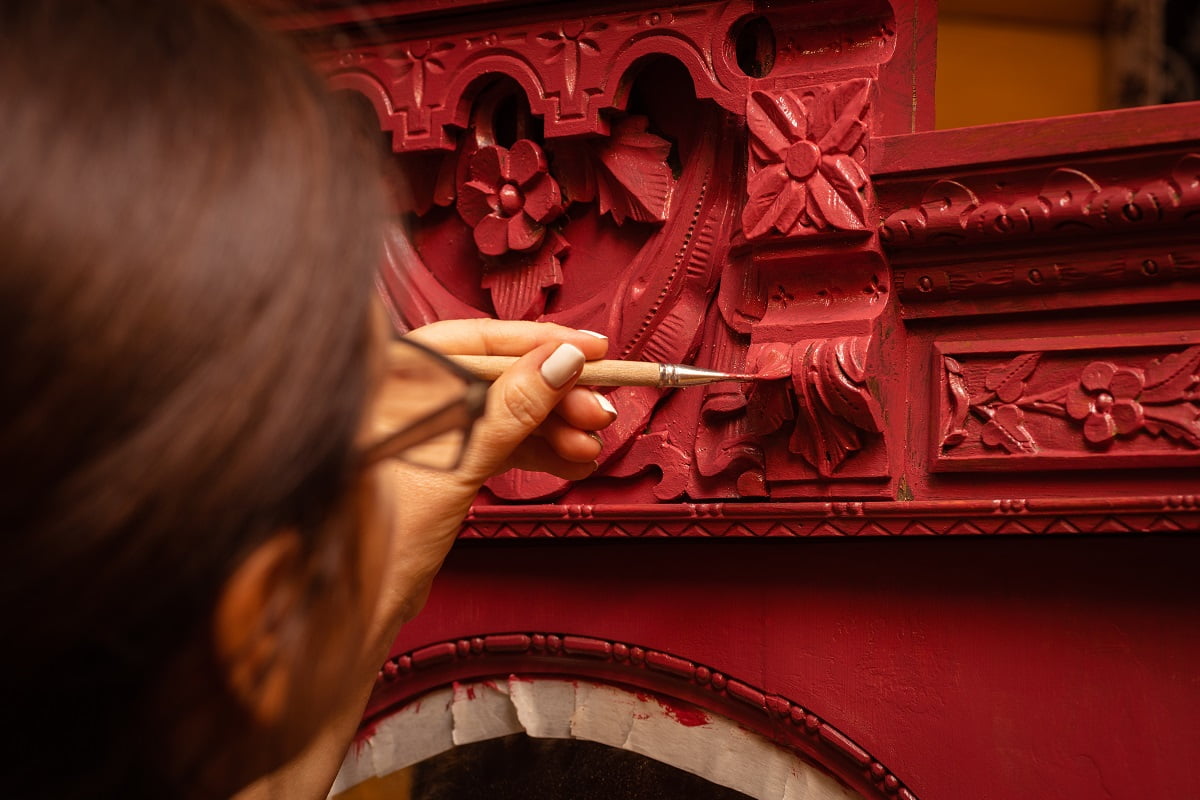
Buying new furniture can be a costly ordeal altogether, and modern furniture is fragile compared to old and antique furniture. But nowadays, you can use different types of paints to restore the look of your old furniture without paying a high cost.
Do keep in mind, though, that there are a few factors you need to consider while painting wood furniture. For instance, you need to choose the right painting technique since the adhesion of the paint may differ based on the texture of the surface.
Similarly, you need to have all the necessary painting supplies so that you don’t encounter any hurdles while painting. Hence, we have compiled this article to help you find the right solution for your antique furniture.
So, let’s dive in.
Best Paint For Antique Furniture
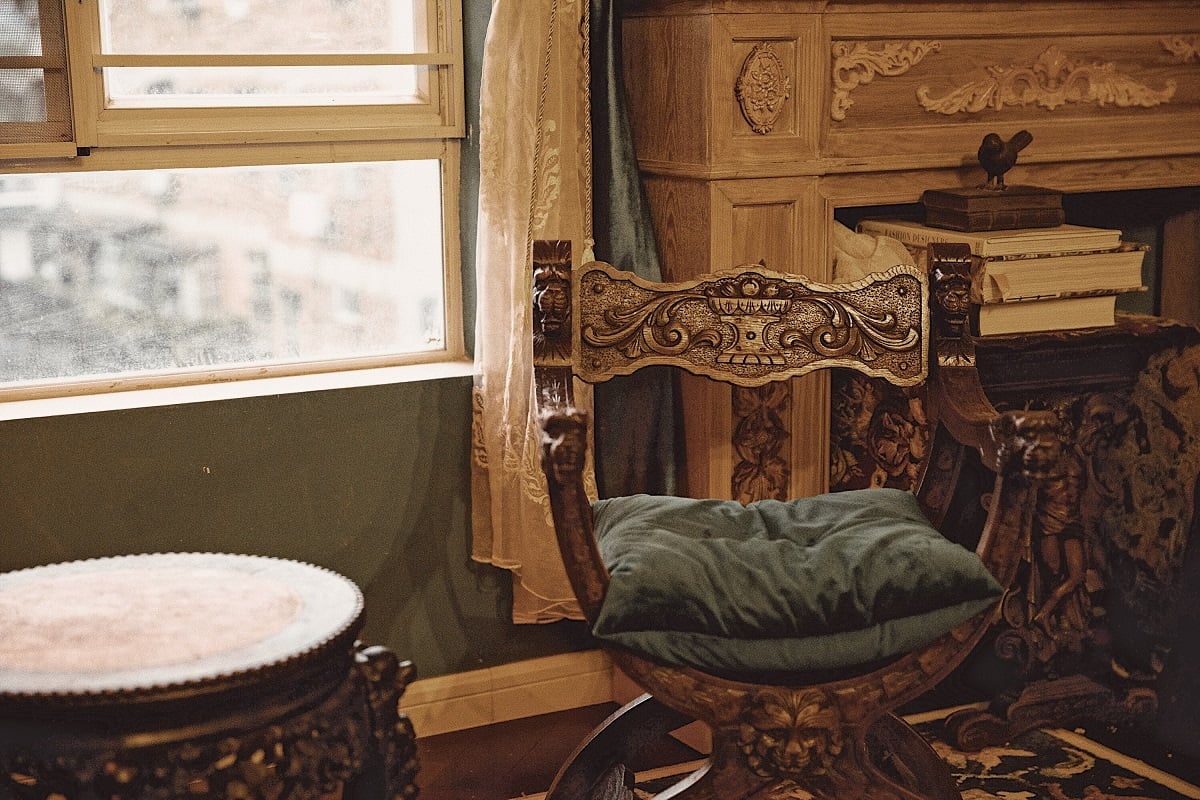
When it comes to painting wooden furniture, you need to ensure that you use paint that is formulated for wooden surfaces. Using the wrong paint can have an adverse effect on the wooden surface, which might cost you a lot of money to fix. On that note, here are a few things that can happen if you use the wrong paint on wooden furniture:
- Can cause paint dents
- Fades away quickly
- Doesn’t leave a smooth finish
- Paint doesn’t cure properly
- Paint starts to chip and peel off eventually
That said, we recommend using the best paint formulated for wooden surfaces. One prime example is Emerald Trim Enamel which is one of the best paints for painting antique furniture with hard surfaces. Besides this, you can use Vintage Revivals to achieve a more vintage look for your antique furniture.
However, Emerald Trim Enamel doesn’t require a top finish coat as long as you sand the surface. In some instances, we do recommend priming the raw wood surface to achieve a smooth and clean finish. Therefore, by applying the right paint, you can achieve the following effect:
- Provides a durable and hard finish
- Furniture doesn’t have a dent finish
- Smooth finish
- Paint doesn’t chip off easily
- You can wipe the surfaces without difficulty
Painting Techniques
After you have chosen the right paint for your wooden furniture, the next step would be to choose the appropriate painting technique for the furniture. Most professionals prefer to use three types of painting techniques. Each of these techniques comes with its own advantages and disadvantages; therefore, you need to choose wisely when comparing the different paint techniques for furniture.
Notably, spray paint, brushing paint, and rolling are the three techniques you must use to achieve the best results. However, we have decided to only talk about brushing and rolling techniques since they are easy to apply and extremely reliable.
1. Paint Brush Technique
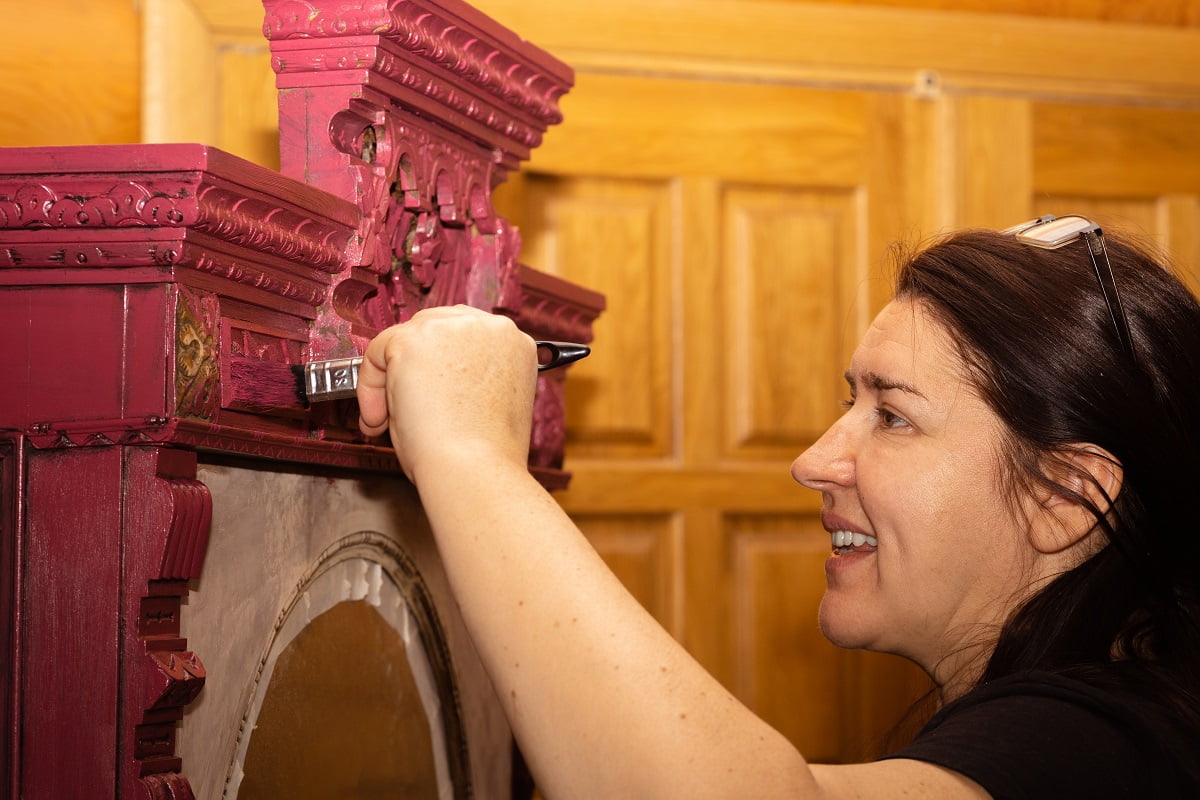
In this technique, you will be required to invest in a good brush since quality plays a critical role in achieving a perfect finish.
Using a cheap brush for $2 will not only waste your money, but it will also waste your time since it won't get the job done. Instead, we recommend using a high-quality paintbrush, albeit a bit pricey, since it will provide a smooth, refined finish to your furniture.
The only drawback of this technique is that it takes a longer time to complete the paint job since it covers less surface area of the solid wood each time you apply a fresh coat.
2. Rolling Technique
Rollers are the most effective way of applying paint on wooden furniture since it covers a wide surface area without any difficulty. Moreover, different rollers will leave a different texture on the wooden surface.
For instance, lint-free rollers have a lower nap which enables them to provide a smooth finish while applying the furniture paint.
Painting Supplies
We have now discussed the different types of paint and techniques used for painting antique wood furniture. That said, your next step should be to buy all the necessary painting supplies from the local thrift store. In addition, we highly recommend using good-quality painting supplies since they prolong the durability of your furniture piece.
Here is a list of essentials you must keep in hand while making the necessary preparation for painting furniture:
- 220 Grit sanding sponge
- Paint can opener
- Painter’s tape
- Paint stirrers
- Paintbrush
- Paint roller
- Drop cloth
- Roller tray inserts
- Paint triangles
Five Easy Steps To Paint Wood Furniture
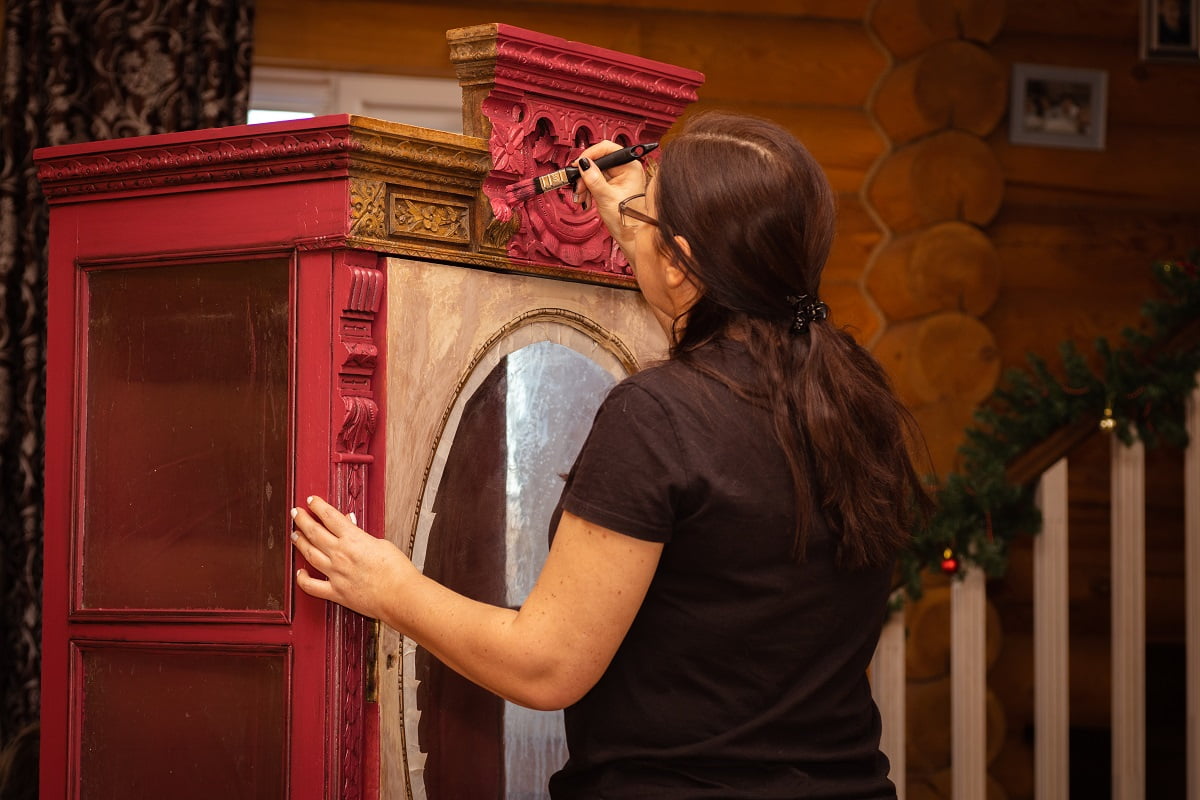
In this section, we will discuss five easy steps that will help you achieve the best results while painting antiques. Moreover, most of these steps are easy to follow since they don’t require any prior knowledge or experience. Just follow the steps carefully, and you should be good to go. So, let’s begin!
Step 1: Preparation: Cleaning, Sanding, Stripping, Disassembly, Taping, and Testing
The first step in painting furniture is to ensure that the wooden surface has been prepared properly before you apply the different coats of paint. If you don’t prep the surface properly, the paint will not stick to the surface, and this can cause the paint to peel off easily. When it comes to furniture prep, there are six important areas you must cover, such as cleaning, sanding, stripping, disassembling, taping, and testing.
A. Cleaning
Before sanding or painting the wooden furniture, you must clean the surface thoroughly since dust and other forms of contamination can interfere with the adhesion of the paint. On that note, you can use a strong cleaning agent such as TSP or a powder cleaner to remove any grime on the surface.
In addition, you must wear gloves while using such cleaners since the harmful chemical can cause severe skin damage if you are not careful. If you have sanded the surface, we recommend using a tack cloth or a microfiber cloth to gather the dust and remove them.
B. Sanding
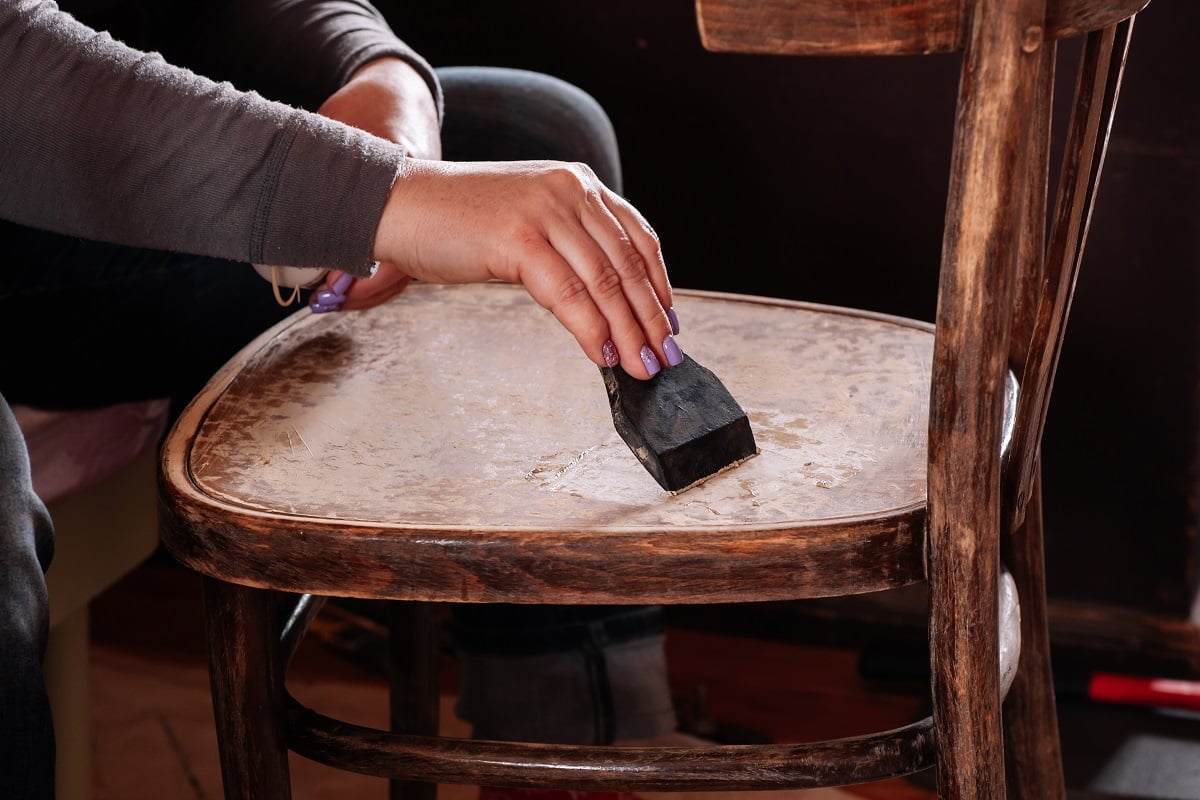
Moving on, your next step should be to sand down the raw wood, especially if old pieces of furniture have imperfections, such as scratches and roughness on the surface. In fact, sanding is one of the most effective ways of restoring the top layer of the furniture and giving it a natural look and even finish.
Sanders usually comes in different textures, so you must choose wisely while picking the right one. If you prefer a smooth and even finish, we recommend using a light sander to provide a good gripping surface for the paint.
Nevertheless, you must not sand a wooden surface if it has old paint on the surface. You must remove the paint first using a chemical cleaner and then sand the surface. This will ensure that you don’t encounter any severe health issues caused by the old paint fumes.
C. Stripping
In certain cases, sanding may not be the best option, especially if you are working with exotic woods or antique pieces since they have a lot of details. Under this situation, we suggest using a stripper to eliminate any uneven surfaces or textures from the wooden surface.
However, a stripper is not ideal for tough corners and grooves on antique pieces since it can easily get stuck. This complicates the whole prepping process; therefore, we recommend using this as a last resort if you don’t have any other options.
D. Disassembly
Nowadays, most furniture is designed in a way where you can disassemble them easily. This makes it easy to focus on each piece of furniture so that you can have a uniform and even finish. So, if your furniture can be disassembled, we recommend removing the doors, hardware, and back so that it makes the painting process an easy experience altogether.
Similarly, if you are working on a china cabinet, we suggest removing the drawers before applying the different coats of paint. On the other hand, new furniture already comes disassembled, so you don’t require any disassembling as long as you remember to piece them together after painting.
E. Taping
After you have cleaned and sanded the wooden furniture, it is time to apply the painter’s tape on the edges of the furniture piece. You can also use a credit card to smoothen the tape while applying it to the edges of the furniture. This will ensure that the paint doesn’t seep away or leak.
F. Testing
Before we move on to the main painting process, you must test the paint and see if it adheres well to the primer. You can apply a small amount of primer to a surface and let it dry before testing the adhesion of the paint. If the paint sticks well to the primer, you can repeat the step for the whole furniture.
Step 2: Cutting In
The next step in the DIY painting process is to cut in any mold or trim on the wooden surface. This ensures that the wooden furniture has no hard paint lines or unwanted textures. Begin the process by gently cutting in the corners of the furniture piece using a brush to paint the edges.
In certain situations, you might not need to cut in since the piece has no mold growing on the surface. However, you must feather the furniture by painting at the edge of the piece.
Step 3: Rolling the First Coat Of Paint
From now onwards, things will get interesting since you will actually get to work with the paint. For starters, roll the roller and let it absorb some paint so you can apply it to the wooden surface; however, you should ensure not to absorb too much paint.
One of the best ways to determine if the roller has absorbed too much paint is by observing the texture of the roller. If you can’t see any texture, then it is a clear indication that the roller has absorbed too much paint. A roller with the right quantity of paint would look full but not saturated, so you must keep this in mind.
From here on, you can start painting the piece by rolling the roller with even pressure on the surface. In addition, you should ensure that you follow one uniform direction while applying the first coat of paint. After you have applied the first coat of paint, leave the piece alone and let it dry. Fiddling and touching the piece while drying can cause various imperfections to emerge on the surface.
Step 4: Touch Up - Texture Or Sanding Drips
After the first coat of paint has completely dried up, you might notice a few mistakes or imperfections that might need a minor adjustment or a touch-up. For instance, you can use a 220-grit sanding sponge to eliminate any uneven surfaces formed by the first layer of paint. It is extremely effective in removing texture issues, drips, and hair from the surface.
Besides this, you can wipe away the dust using a damp microfiber rag.
Step 5: Roll The Second Coat Of Paint And Do Some Final Touch-Up
Once again, you can repeat the process mentioned in step 2 by applying a second coat of furniture paint. This will serve as the final layer of the furniture, and it will restore the original finish of your piece. However, you will need to let it dry before making final adjustments to the painting.
The final touch-up shouldn’t be excessive since it can ruin the adhesion of the paint and cause it to chip off easily. Therefore, you should only make the touch-up if you notice any form of imperfections while applying the second coat.
Paint For Antique Furniture Frequently Asked Questions ?
What Happens If You Don’t Sand A Wood Furniture Before Applying Paint?
Generally, it is recommended to sand the wooden surface before applying the paint since you might not achieve a smooth finish from the fresh coat of paint. Scrapes and scratches can easily interfere with the adhesion of the paint, which causes it to leave an uneven finish.
Furthermore, if you apply paint to a wooden surface without sanding it, the paint will not stick well, and this will cause it to peel off easily.
What Is The Best Finish For Wood Furniture?
Finishes determine how durable and aesthetically pleasing your furniture will look. On that note, milk paint is one of the best paints since it acts as a self-sealer. Once fully cured, it will make the wooden surface extremely durable in water and intense weather conditions.
Besides this, matt chalk paint will give the wood furniture a slightly cloudy finish, while gloss chalk paint provides a high-end sheen.
Do You Need To Prime A Wooden Furniture Before Applying Paint?
Normally, you wouldn’t require a separate primer for wooden furniture since most paints come with a primer added to the main formula. For instance, mineral and chalk paint already have primer integrated into the main formula. This enables them to give the wooden furniture a flawless finish.
However, some furniture paints require a primer before applying a fresh coat. Therefore, we recommend checking the tin of the paint before starting any new project.
How To Avoid Streaks While Painting A Wooden Furniture?
Two of the best ways to avoid streaks while painting are paint finish and direction. For instance, you should paint along the direction of the grain while using milk paint. In addition, milk paint dries really quickly, but a light sanding will help the coat to achieve a rich and smooth finish.
On the other hand, if you plan to work with mineral or chalk paint, we recommend painting in different directions since it helps to avoid brush marks.
Is It Important To Paint The Interior Of Wooden Furniture?
It totally depends on the person if he/she wants to paint the interior of the wooden furniture. Simply cleaning and applying wax will be sufficient to clean the interior. But in some cases, you might be required to paint the interior of the furniture if it starts to smell.
Paint For Antique Furniture Final Words
With that, we have come to the end of our extensive guide on how to paint wooden furniture and the different techniques used for painting antiques. Before signing off, we would like to share a few tips that will help you achieve a better look for your antique furniture.
Firstly, you should always prep the antique wood furniture before applying any paint to the surface. For example, smoothing the surface with sandpaper will help the paint to adhere properly to the wooden surface.
Secondly, if you are planning to use oil-based paint on a wooden surface, we highly recommend getting the surface primed with a primer since oil can spoil the wooden surface. Moreover, it can cause the wooden surface to rot and leave a foul smell.
That said, we shall sign off. Until next time!
