Expertises: Paint, Home improvement, Wood, Car, Painting
Updated on

Inspiring Ideas for Modern Home
Painting furniture is often a straightforward process at first glance. Trouble is, even with the top paint for furniture, you may not have an easy time getting the finish you desire.

Clarity and foresight are crucial to the success of the look of any painted furniture. You can find inspiration on the internet with the myriad of designs available to take a gander at. If you find each design more appealing than the next, you may end up muddying up your vision for the next furniture painting project entirely.
The first thing you should do is plan ahead. With these great tips, you can maintain clarity while drawing inspiration from other designs. This will also help you prepare for every step of the painting process so that you never have doubts about the matter again.
FUN FACT | Do you know painting a bathroom is not an easy task?
As bathroom is the most neglected part of a house for painting, but it gets most molds and damps. You'll need special paints for bathroom or at least have to select a paint carefully. We have an exact article for you to look into before painting your bathrooms.
Without further ado! Let's begin!
Do you want a smooth finish, or is a textured, worn-out look the one to cater to your tastes? You can narrow down your search for design ideas significantly with this simple categorization.
Smoother finishes demand the usage of paints like latex paint designed for a satin look. These also require a steady hand and even brush movement for the best appeal.
As for a textured look, you’ll have more freedom to experiment with your paints and tools. By opting for milk paint, you’ll achieve an aged, distressed look that has a matted quality to it. Textures are all about variety and lack of pattern, so you don’t need to focus on your brushwork much.
Cleaning your furniture using sandpaper or a simple rag is vital to a blemish-free finish. Remove any traces of dirt and grime from the wood well before you start painting.
If your furniture is painted already, you’ll find that it starts to peel off after aging a while. Sanding the furniture will even the cracked and peeled surface out, while making the wood ready to be painted on. Paint sticks better on coarse surfaces and so, you should start the furniture painting process here.
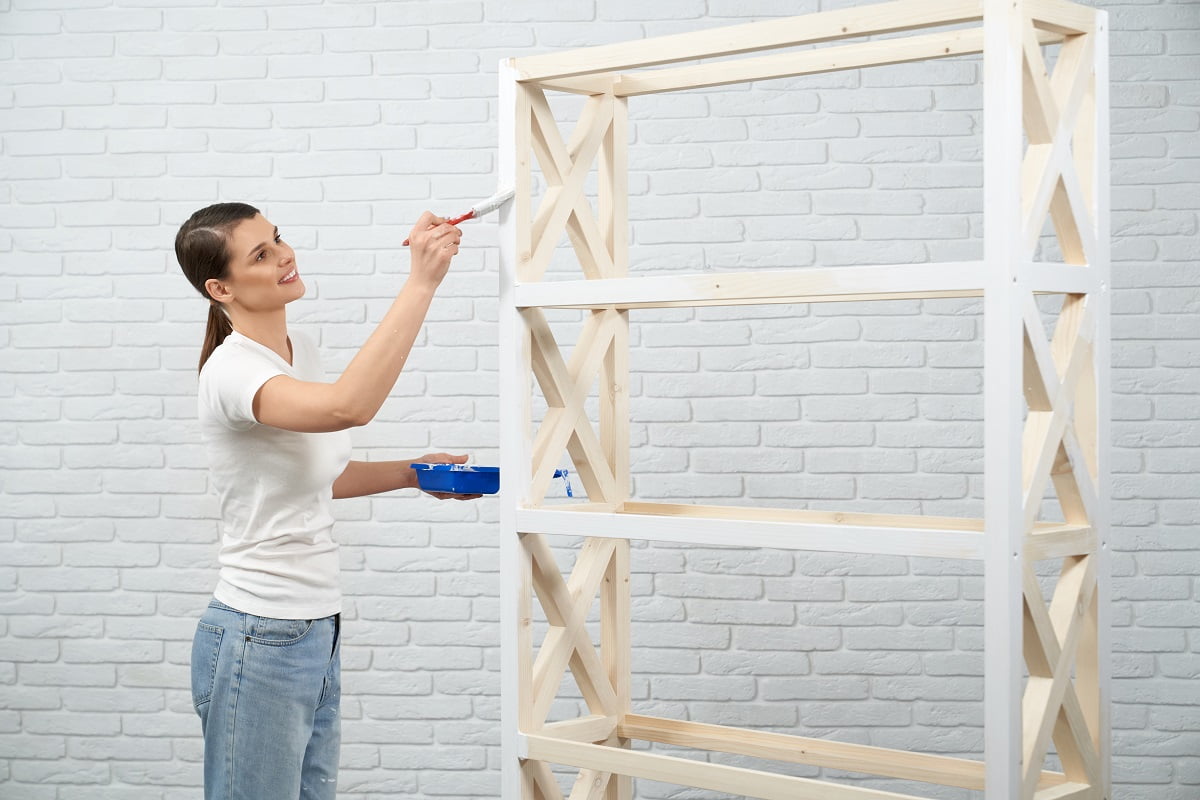
Now, your finish is heavily predicated upon the kind of furniture painting tools you use. These come in a number of varieties, ranging from traditional paint brushes and rollers to spray paint cans. Feel free to experiment with the different textures these bring about, especially the traditional kind.
Following is a brief overview on how the traditional tools offer several finishes.
Brushes leave strokes, which is precisely why you would want to use them when trying out different textures. When new, brushes are versatile and can offer both a distressed look and a smoother result. As they grow old, the bristles will harden or shed, leaving marks where you may not want them to be.
But before you throw old brushes out, observe the kind of patterns they leave behind. Old brushes will offer something unique to each of them, making them an overlooked wild card in the world of furniture painting instruments.
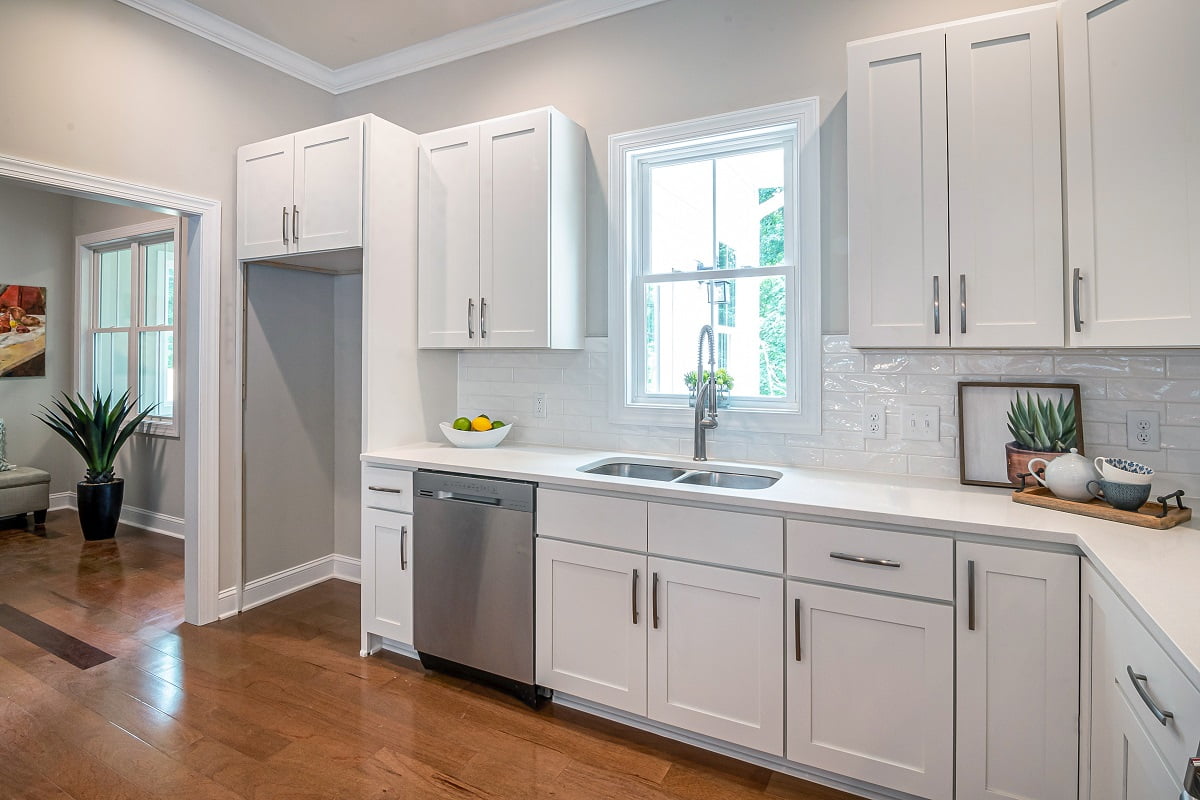
Rollers are best suited for flat surfaces and smooth finishes. These are generally faster and more consistent than their bristled counterparts, making them excellent for painting cabinets and doors.
But, if you have an old roller, you can DIY a stencil onto the roller foam and create visual variety with simple strokes. The unique flair of an improvised stencil roller will certainly breathe new life into your furniture.
Some kinds of paint, such as latex paints, require one coat of primer before you begin applying your first layer.
If the furniture you’re painting is dark in color, you are pretty much required to use primers for a good finish. In such cases, primers keep the old furniture color from showing through the new paint and prevent yellowing as well.
Remember to check the texture a primer leaves behind, as it may require you to sand your wood furniture over again. It’s far from ideal if a stray stroke left behind during priming shows up in the finished furniture piece.
Oil paint, chalk paint, milk paint, latex paint, acrylic paint- there are so many to choose from! The ideal choice of furniture paint depends entirely on your tastes and the finish you’re aiming for. Latex paints are popular for a smoother finish, while other, more niche paints are typically used for creative textures.
What you must be vigilant of is the consistency of the paint, as well as using the right kind of painting tool with it. If the paint is too runny, your painting layers will be too thin and will require more coats than necessary. On the contrary, if it’s too thick, it will not level itself on the wood properly and leave visible brush strokes behind.
Going bit by bit is the way to go when thinning your furniture paint. If you go overboard, you won’t be able to reverse it without adding more paint.
Furniture can be visually aged by using dark wax or a glaze layer, but the same can be achieved with paint. All you have to do is apply a painting technique called layering paint colors.
By layering darker and lighter hues, you can achieve an aged effect on your wooden furniture. Take care to work the paint into the grooves and apply each layer thoroughly. Ensure the previous layer has dried before painting the next layer. And consider mixing contrasting hues for an eye-catching aged finish.
Black and white: the greatest color combination known to humans. These colors give an antique look to your piece of furniture and combined with dark brown décor, you can give it a truly aged and old-timey appearance.
The two-tone look is the safest option on this list and there is a good reason why it works. It’s all in the contrast between black and white, the duality that they bring to your furniture. The manner in which light bounces off each will determine the ambiance of your room, so it’s a good idea to balance the two carefully.
All you need are stencils, a can of spray paint, painter’s tape, and a lot of newspaper. Cover the areas where you don’t want stray droplets of paint sticking to with newspaper and tape. Affix the stencil to your furniture with a piece of tape and spray away.
With proper contrast, you can create something truly eye-popping.
Distressed furniture is the shredded jeans of furnishings. Shabby, chic and cool, you can create this look by deliberately damaging your piece of furniture to age them superficially . There are several common ways to age your furniture, with vinegar and Vaseline being the most prominent distressing media.
Here’s how you can create an artistically weathered finish for your furniture.
Vinegar is, in essence, a very mild acid known as acetic acid. When diluted by mixing it with water in equal parts, you can spray it over your furniture. The acid will eat through the paint to a certain degree, after which you should use a cloth or paper towel to wipe off the excess solution.
You can only distress clay or chalk paints with vinegar. Other kinds of paint, such as latex paint, are too durable to create the desired weathered look with the acid.
Vaseline acts as a deterrent for the paint to stick to. So, applying it to your furniture before painting will net you a finish that simulates aging without affecting the wood.
Simply apply the jelly on your wood furniture in a random manner and begin painting. Wipe off the excess Vaseline once the paint dries for a timeless rustic look.
With metallic staining gels, your furniture will appear as if it came straight out of an 18th-century cathedral. After you’ve coated your piece of furniture with a layer of chalk paint, apply these gels with a sponge for a rustic, elegant look.
Using the gels with stencils, you can create an old-timey mural on your table or simply do it freehand for abstract patterns. You have ample room for experimentation, so experiment away!
A laminated finish is glossy in nature, and your laminate furniture appears new for a long time. With just two coats of paint, you’ll have your table painted nicely and ready for use.
Think paper marbling but with wood furniture. This finish simulates the look of marble and still has room for creativity. It involves the use of chalk paint mixed with a pouring medium to make it thinner. Remember that you should only attempt this on a flat surface, as performing paint pours on uneven or curved furniture will make a mess.
Here are the step-by-step instructions on how to use chalk paint for your furniture with the pouring paint technique.
One part paint and two parts pouring medium will make your paint thin enough to be used for paint pouring. Stir the mixture well before using to ensure a consistent thickness.
Do so with multiple colors to maximize the vibrancy of your paint-poured result.
Begin pouring the colors onto the surface. This is where your creativity will come in handy, as you don’t have to stick to a method to gain results. The more you experiment with the amount and placement of your colors, the more unique your finish will be.
Begin tilting the surface in different directions. Doing so will mix the spots of paint you poured earlier, making a beautiful abstract blend of pigments. Continue tilting it to your heart’s content and allow the design to speak for itself.
A faux finish, or a false finish, replicates the appearance of a different material by employing the corresponding furniture painting techniques. Candle wax, leather, marble etc. can be simulated by a faux finish.
Here are a few ways to faux paint your furniture:
In order to make your wood furniture appear as if it were made from leather, simply add two extra steps to the sand-prime-paint method. Firstly, apply a layer of glaze on your painted surface.
Next, place a newspaper onto the painted area and press down on it. As you press the paper against the furniture with your palm, the crushes and folds of the paper will create a cracked leather look. Repeat this step until you have the desired finish.
If you want to make your furniture appear as if it has been around for a while, apply a coat of wax and crackle medium onto the painted surface. As soon as the crackle medium spreads over the wax, it will crackle at once and give you the desired result.
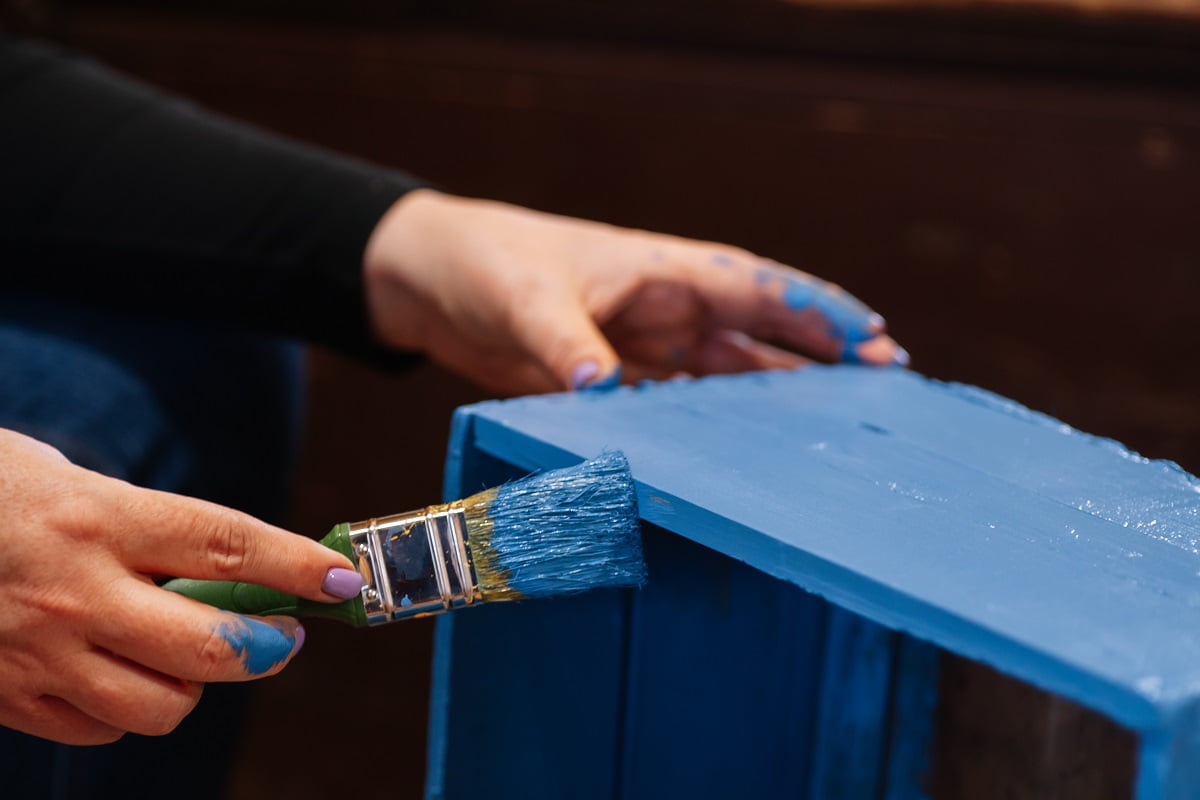
A paint brush is the most common DIY tool used for painting furniture. If you’re someone who prefers a smoothly painted surface, brush strokes can be a real pain to deal with. So, to eliminate strokes completely from your painted surface, here are a few great tips you can use.
Chalk-type paints will always leave out strokes and should be avoided if you don’t want a stringy set of imprints on your furniture. Water-based paints do not share this issue and so, high-quality latex paints will be the preferred kind of paint.
Paint additives keep your paint wet for longer. When mixed with latex paint, you’ll have a higher degree of control over the elimination of stroke marks. A can of paint requires little more than a few tablespoons of additives to keep it fresh for long and so, it’s a good practice to use them whenever you can.
Old brushes or those that are of poor make will, inevitably, leave out undesirable marks in their wake. High quality brushes remain soft and functional for a long time.
By using brush cleaners, not only will you extend the working life of your brush, but you’ll also face no additional strokes left after a paint job.
Don’t rush into painting. Section off your working area and approach them one by one, as haste will lead to unsightly marks on your painted furniture. Take care not to let stray spots go and remain patient.
A little patience pays dividends in the long run and it is definitely worth the minor hassle it poses.
If the paint has dried and strokes are still visible, you can use a fine grit sandpaper and gently sand the strokes down. With a 320- or 400-grit sandpaper, you’ll have the strokes eliminated from your painted furniture completely.
Sanding does produce a lot of dust, which is why you should have protective gear on while doing so.
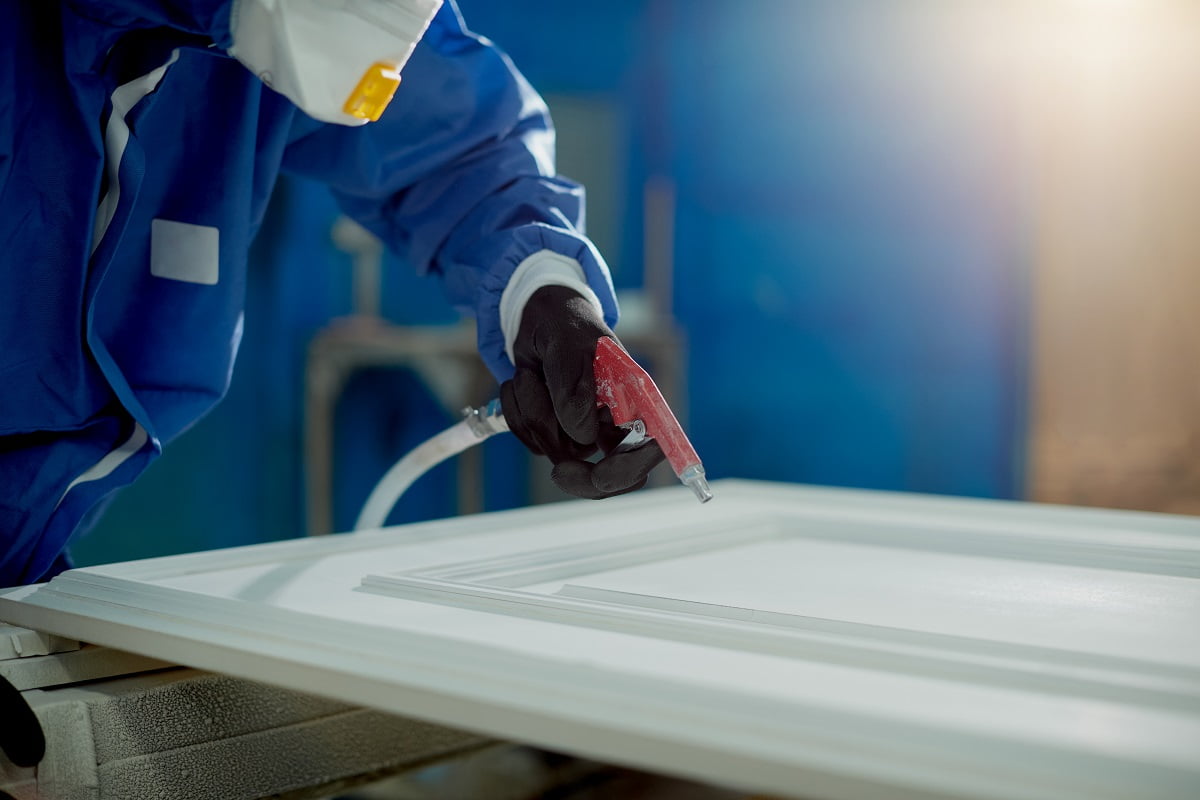
Spray painting furniture is certainly faster than hand painting. Moreover, spray paint dries more quickly, and it applies an even layer of paint across the painting surface.
However, you cannot experiment with textures as freely with spray painting as you can with hand painting tools. The fast drying speed of spray paints can also be a hindrance if you want to get creative with the finishes.
The bottom line is, it depends on the kind of finish you want on your painted furniture. While spray painting is more consistent, hand painting allows for more freedom.
With certain kinds of paint, such as chalk paint, you won’t need a coat of good primer at all. These offer high adhesion and require little to no preparation before use.
Yes, acrylic paint is one of the best paints you can use while you refinish furniture. It’s an oil-based paint that will last through the wear and tear and give you a nice glossy finish. So, painting furniture with acrylic paint is a good option to proceed.
What may surprise you is that some of these furniture painting techniques are not limited to wood. Layer painting, for example, can be performed on glass as well, leading to interesting results. The concepts remain similar in a broad sense, so don’t hesitate to experiment.
It all comes down to what you want your furnishings to look like and how you can achieve the said look. Armed with the knowledge of various furniture painting techniques, you can now take your first step into the world of creative furnishings.
With painted furniture, experimentation goes a long way. The process can be messy and requires patience, but the end result is usually worth the journey…
So, happy painting!