Expertises: Painting, Art, Drawing, Pastel
Updated on

Inspiring Ideas for Modern Home
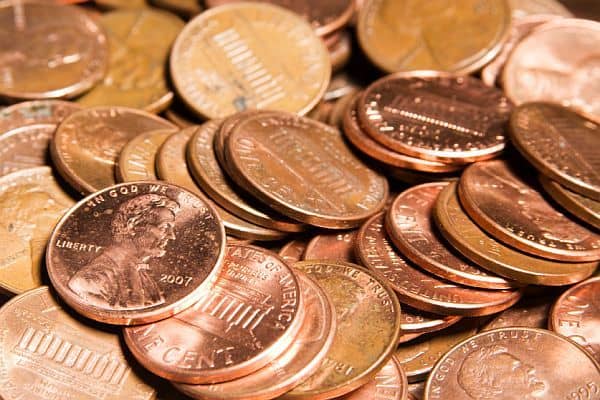
A couple of weeks ago, I found my stash of old coins that I collected as a child. Some of these coins have since then been discontinued, but I could not bring myself to throw them away or give them back to the bank. So while looking through Pinterest, I stumbled across some pretty looking DIY projects that use copper pennies and silver nickels.

1. I had been planning to install a new backsplash for my kitchen, but I had not found anything unique to inspire me. However, these penny DIY projects made me want to use the old coins to make my own new backsplash. There was no better way to display my collection than this!
Now it’s quite simple to make your own penny backsplash. According to the tutorial I followed, you will need the following things:
2. Start with cleaning the pennies with the CLR cleaner. If you do not have CLR, you can use some other rust remover too. Soaking the dirtiest pennies in coca-cola or liquid tartaric acid will surely help.
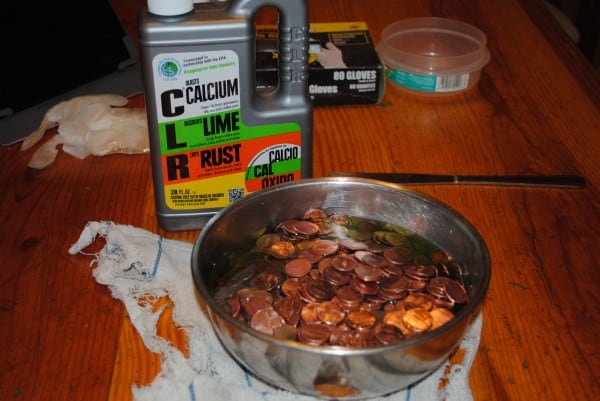
The number of pennies you will need depends on the area of your backsplash. You could also get a few dollars converted to pennies from the bank. It also helps add variation to the color.
3. Next, clean the kitchen surface that you are going to use, and start gluing the cleaned and dried pennies in the pattern you desire. It will take about 24 hours for the glue to cure completely. You could cut the pennies in half if you wish to have a straight edge for the rows.
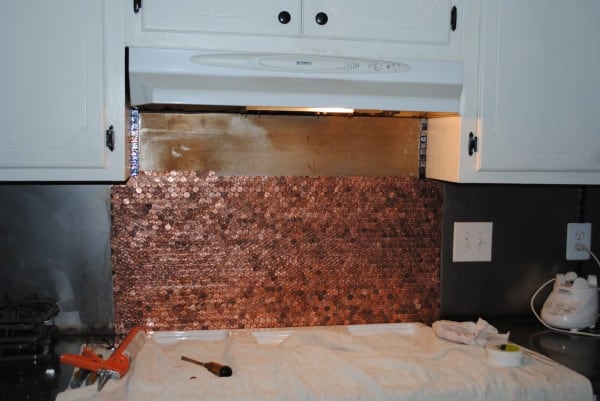
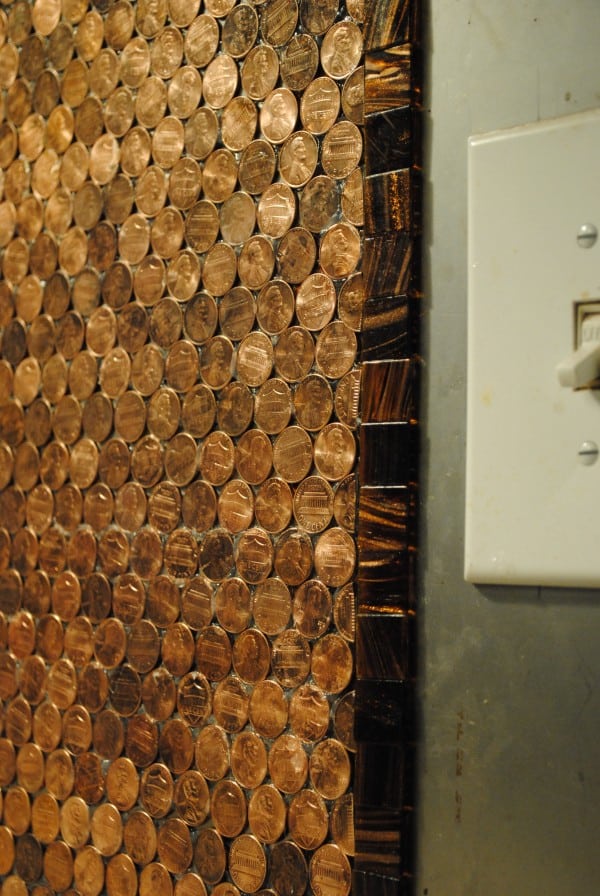
4. Adding small pieces of leftover tiles or colored glass pieces to create a boundary for the backsplash will make it look beautiful. It will take around 5 hours for the entire gluing process to be done.
When the adhesive has dried after 24 hours, use WD-40 to clear out excess glue from the coin surfaces. It will help give your project a clean finished look and prepare for the grouting step.
Make sure you clean out random blots of dried glue for a straight finish. Wiping the coins with Magic Eraser and a steel wool will help with these blots.
5. Now comes the grouting step of the project. It will take about 10 minutes to complete grouting the backsplash, and the nest 20 minutes for it to dry. Apply another round of Magic Eraser after the grout has dried.
To make your copper pennies shine a little longer without any stains, you could go an extra mile and coat the backsplash in lacquer. Using resin and hardener instead will give a permanent transparent epoxy coating to the backsplash.
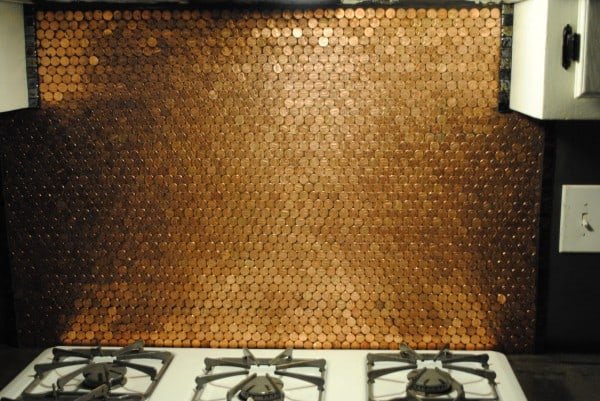
6. The finished backsplash project will look like this! This penny backsplash will give a rustic metallic look to your kitchen, and you will definitely be proud of your successful kitchen project. With demands in variation of colors and styles, ceramic and glass penny tiles or templates are readily available for sale.
Tutorial Photo Courtesy to crafterheart.wordpress.com
If you want to go for something which does not look simple, like the one above, or something with different patterns and designs, you could take inspiration from some of these brilliant ideas –
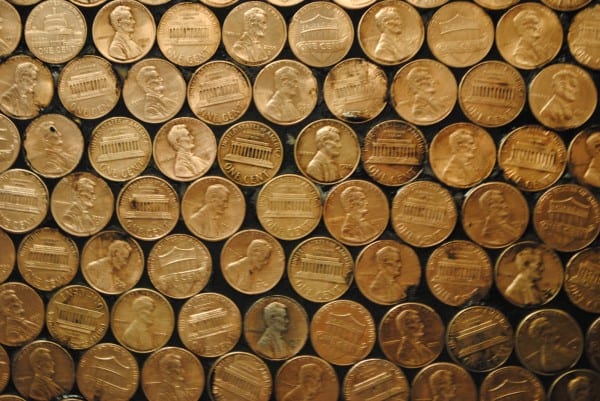
1. This design is made with unpolished old copper pennies and new shiny ones. Using the darker rusted coins with new shiny coins create different patterns. This backsplash has a symmetrical design, which uses curved and floral patterns.
It also uses pennies from other countries. These pennies were stuck to Musselbound adhesive tile mats for perfect shaping. The grouting held these mats together, and behold! There is a henna inspired design for your penny backsplash.
More details at prettypurpledoor.com
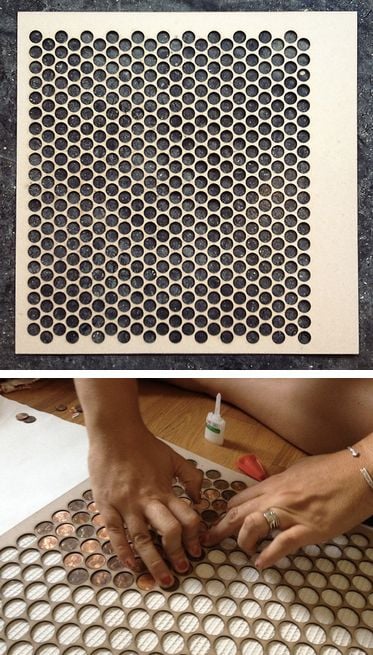
2. This copper penny backsplash is quite impressive. It has been made on a detachable wooden frame. They calculated the total area of the kitchen backsplash, and the number of pennies that can fit perfectly in the wooden frame.
The number of pennies used is approximately 1.5 thousand. If manufactured penny tiles seem expensive, this copper penny design can actually be replicated with a tight budget. The diamond shaped pattern gives the overall backsplash a refreshing look. The epoxy layer helps keep the backsplash clean and makes it durable.
More details at removeandreplace.com
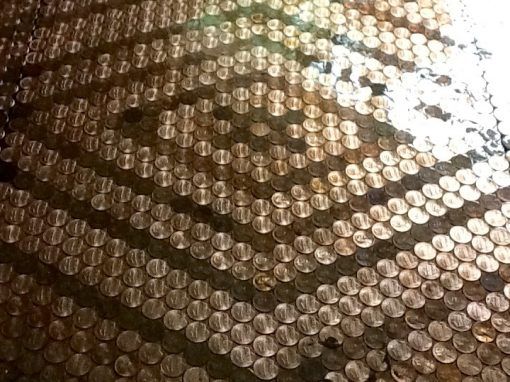
3. If you adore geometric shapes and designs, this idea is quite easy to recreate. It looks quite hypnotizing to look at. The concentric diamond shapes are alternately fixed to give this trippy effect.
You could try different shapes like circles, squares, and triangles as per our desire. Using copper pennies and silver nickels for alternating bands can give a brilliant look to the backsplash.
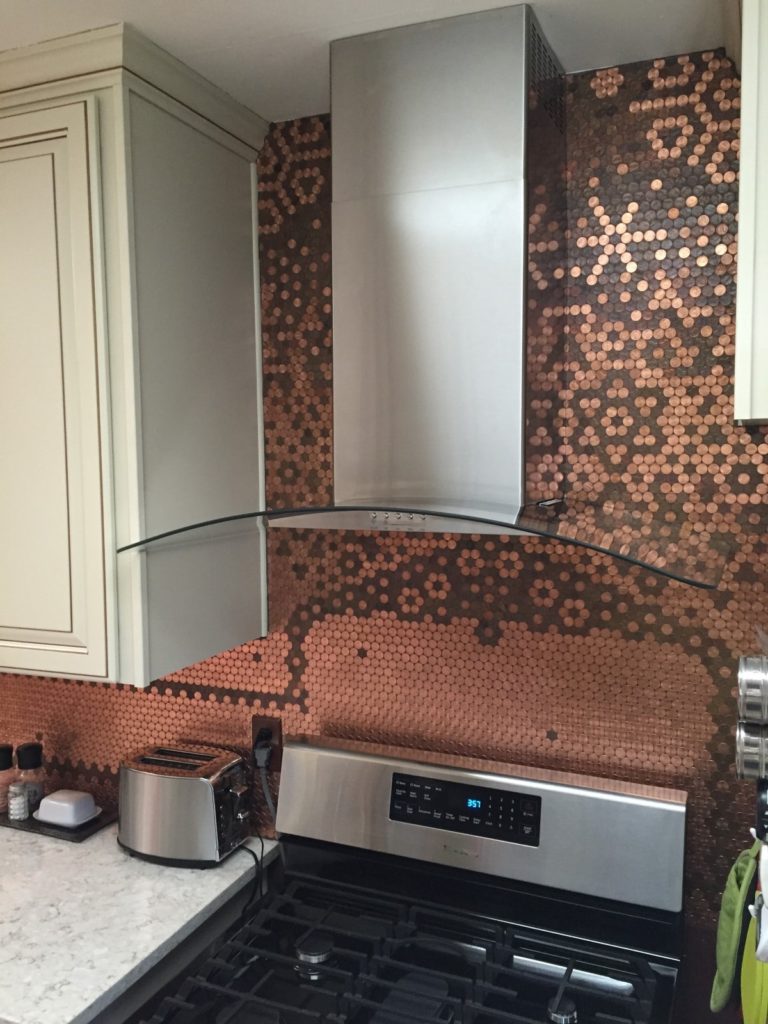
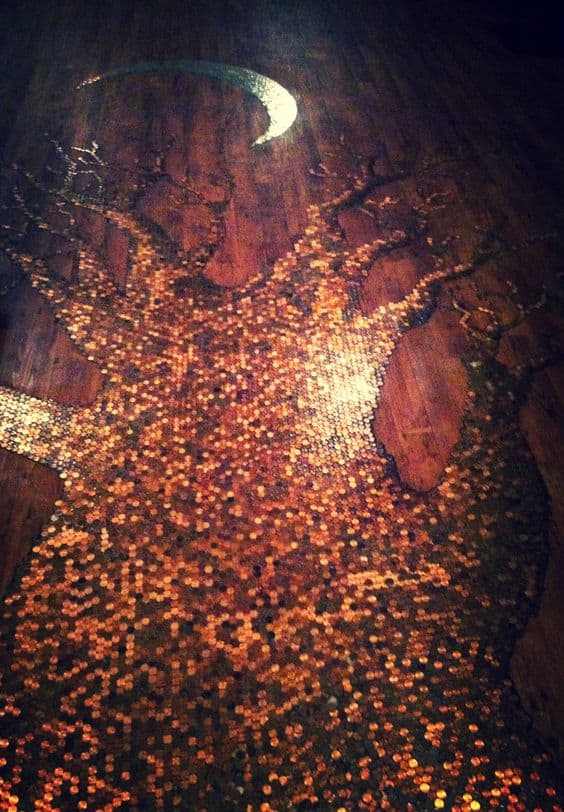
4. This elaborate copper penny wall design is absolutely one of my favorites. If you are not interested in making the regular floral or geometric patterns on your kitchen wall, you can go for something abstract and pretty. Like this tree trunk design.
You could use darker shades of pennies to show variations in shadow depths or shiny shades for highlights. Making dendrite patterns like rivers will give an illusion of fluidity to the backsplash. It will surely look wonderful behind the stove or kitchen counters.
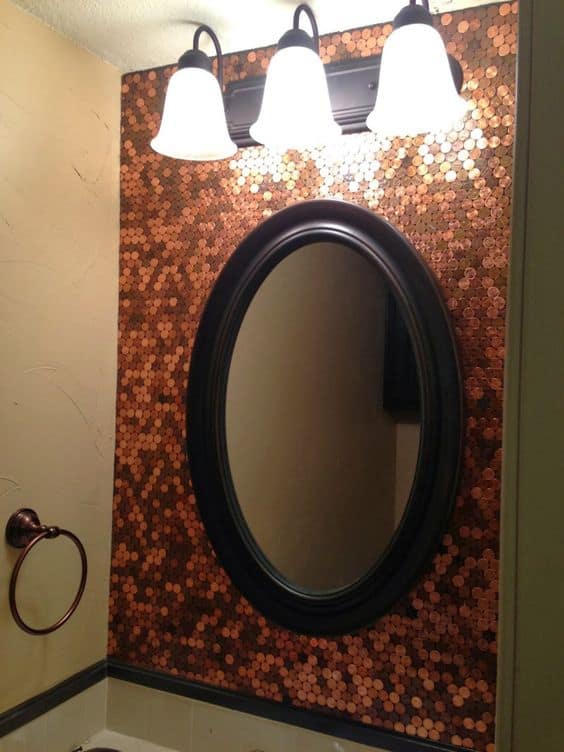
5. Diverting your attention from kitchen backsplashes, this bathroom sink backsplash is sure to catch your eye. It is such an ingenious idea. These copper pennies add to the warm yellow feel of your bathroom sink and make it look very rustic.
You can try covering your wall up with copper pennies in a rectangular shape, as shown in the picture. On the other hand, you could try making concentric patterns around the mirror. Using resin epoxy in this case will assure durability of your backsplash, so you will not have to clean the corrosion every other day.
More details at bluff-it.blogspot.com
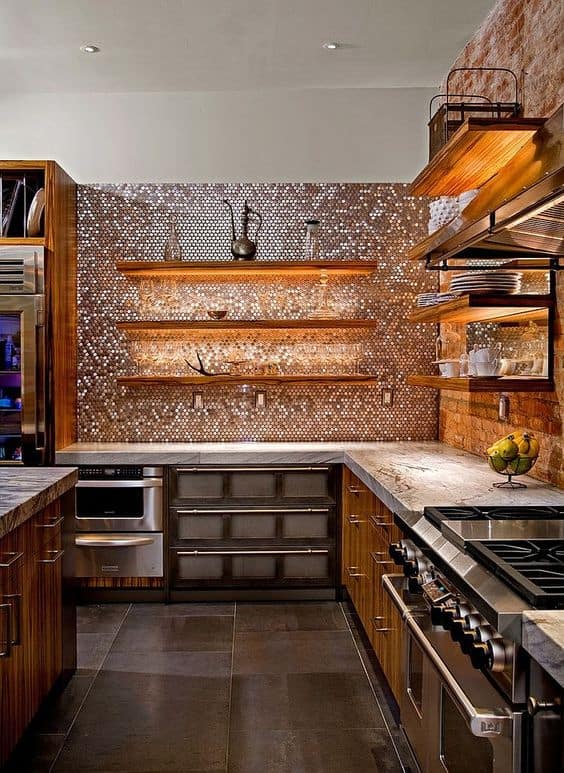
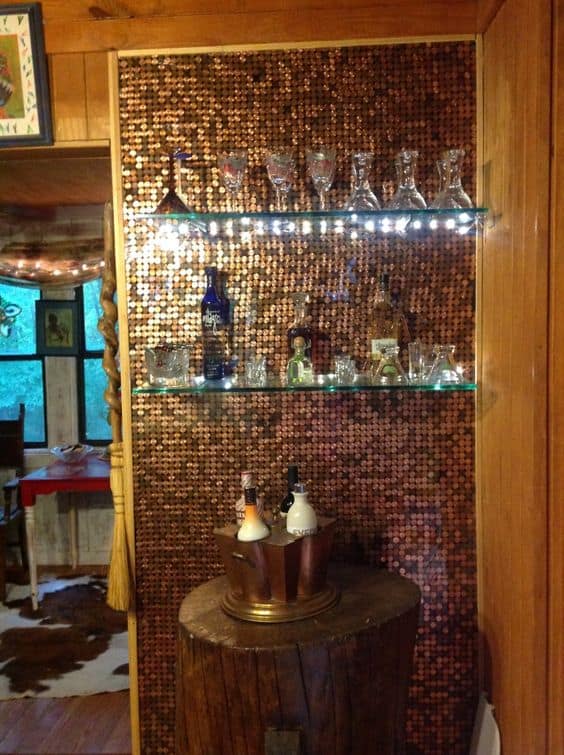
6. Copper pennies can give the kitchen room a warm and antique feel. However, using silver nickels or steel pennies to match the metallic modern interior can make your kitchen look stunning. It is also a very economical and timesaving way to make your room look modular.
This bar backsplash is the perfect example of silver décor making your kitchen look like something straight out of a magazine. Using white LED lights can highlight this backsplash really well. It just makes the wall look otherworldly.
7. Making a homogenous or patterned backsplash can seem quite mundane, especially if you are interested in giving the backsplash an abstract design. If you are low on time and can’t manage designing the backsplash in minute details, you can go for this simple idea.
Here, the designer fixed the pennies randomly, without pre-planned color grading, or patterns and shapes. This randomness makes the wall look pretty and sophisticated. You could even light up the wall with warm yellow lights, to get that shimmer dancing off the surface of the pennies.
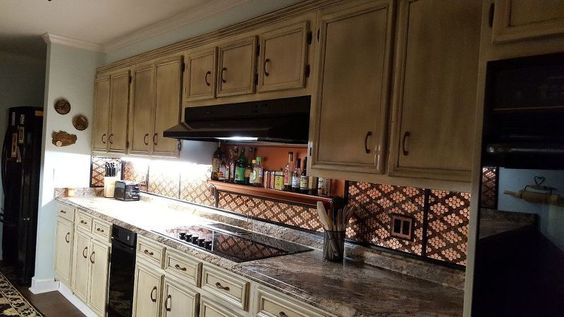
8. If you have a flexible budget and enough time to make an extensive backsplash design, you should look no further. It uses backer boards to hold the copper pennies in place, covering the entire kitchen counter wall. The best part about this project is that the overall cost was $350.
The backsplash uses two tones of copper; the brownish old pennies and the shiny uncirculated ones. The criss-cross design on the backsplash makes the boards look like they have been attached in a continuous flow. The part behind the sink uses a different pattern, which looks like the maze from Pacman.
More details at hometalk.com
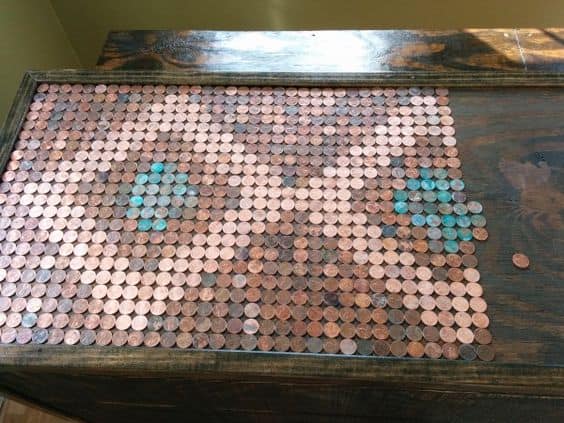
9. You might think that copper pennies can be very limitedly decorative for these crafts. It’s just the same old rustic orange color repeated over and over again, with a little variation from old blackened pennies. Turns out, when copper corrodes due to excessive moisture, it develops a teal green patina all over.
The variation on your backsplash, using this technique can give you an amazing combination of copper and teal colors behind your kitchen counter top. All you need to do is soak the pennies in vinegar and salt, and put them out to dry in the air. The green blue oxidation shades make these corroded pennies stand out against their orange neighbors.
More details at littlethings.com
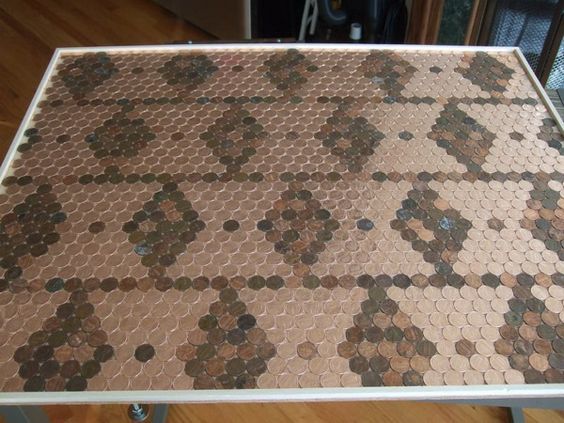
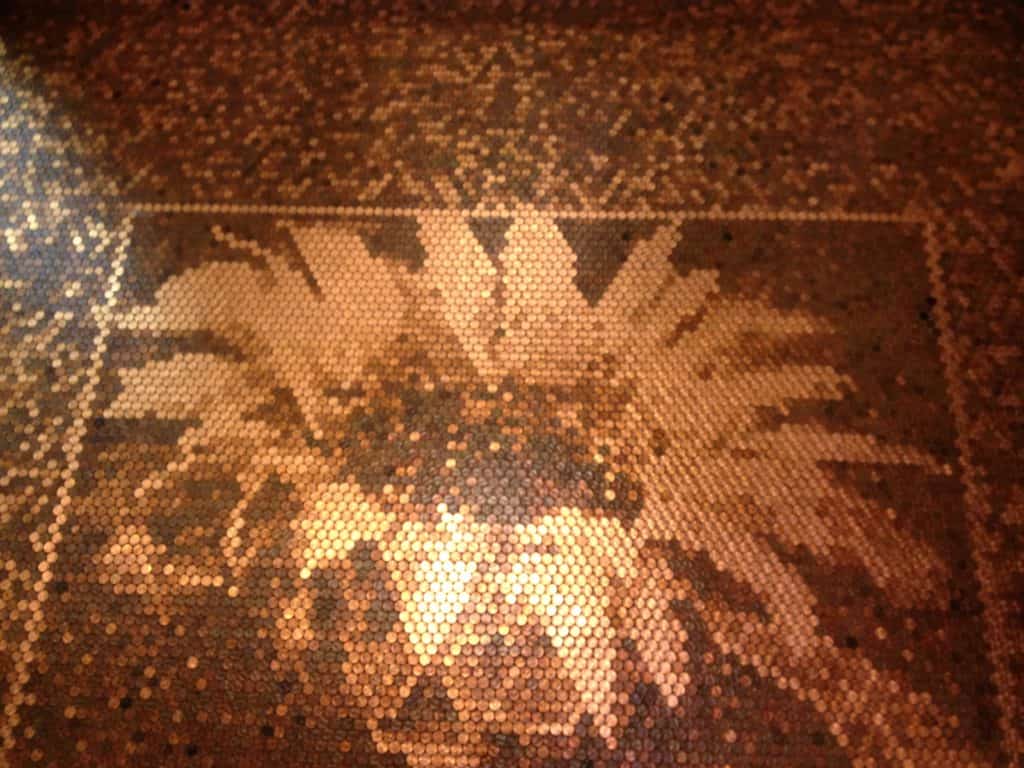
10. This design gives a completely new but literal meaning to floral patterns. They literally designed a sunflower using differently colored pennies for changing shades. The picture shows the design made on the floor, but you can absolutely replicate this idea for your backsplash.
You could try other flowers like roses, or daisies with nickels. Use darkened coins for shadows and the shiny ones for highlights. This lifelike art will most definitely catch everyone’s eyes and praises as well.
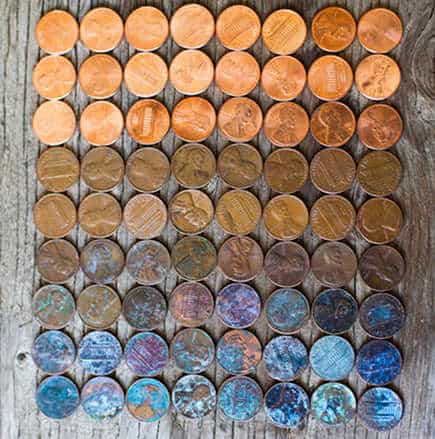
11. Copper is one of those colors that look good with ombre designs. The gradual change of color with increasing oxidation of the metal gives it a fluid look. It shows various color shades from bright orange to dark brown and finally teal blue.
You can acquire these colors by oxidizing the copper pennies with different levels of moisture. You can then glue them in place, in a smooth and gradual change of shades. Make sure to put lacquer and resin on the coin so that they don’t lose their color to moisture and oil.
More details at atticmag.com
12. If you are new to DIY arts and crafts, and you want to try your hand at making your own penny backsplash, this product is sure to help you. It is a template to help you fix copper pennies at equal distance from each other so that you get a perfect tile for your backsplash.
After you’re done sticking the coins to a wooden board or adhesive papers, grouting will hold the coins in place, giving a sturdy and compact structure to the backsplash. Resin epoxy will make sure your backsplash stays for a long time.
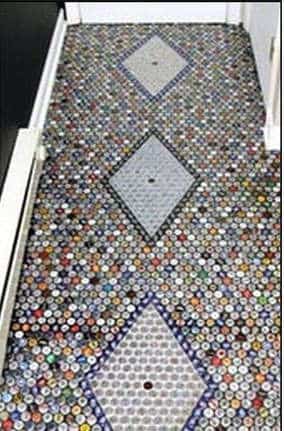
13. Do you have many beer bottle caps just wasting away in your recyclables? This idea will make a great use of them for both your kitchen and bathroom sink backsplashes. You can design your own backsplash variation that uses copper coins or ceramic tile pennies with these discarded bottle caps.
It is a great way to add contrasting colors to regular copper pennies and silver nickels. It will display your craft skills as well as the balance between rustic and modern things. Resin will make sure your craft endures water and grime splashes.
14. This idea uses readymade penny tiles. Although it does not have metal pennies, it uses a clever trick to add the metallic shimmer to your backsplash. It uses colored grout to make a simple white penny tile look special.
The grout is actually golden colored with slight shimmer. The pennies on the tile look accentuated with the addition of golden grout. If you have a modular kitchen with a theme of white and gold, this idea will look amazing. The feather-shaped accented tiles inserted in between add a different charm to the backsplash.

More details at decorpad.com
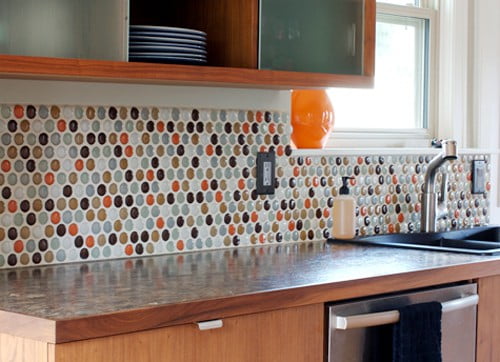
15. Glass and ceramic tiles are a roaring trend in the interior décor industry nowadays. It is mostly because of their quality and peppy color combinations. The fact that they can be matched with any type of tiles, wood or stone, makes them be constantly in demand. So you can mix and match colors, styles and materials in your kitchen or bathroom, to your penny tiles and create an inspiring backsplash.
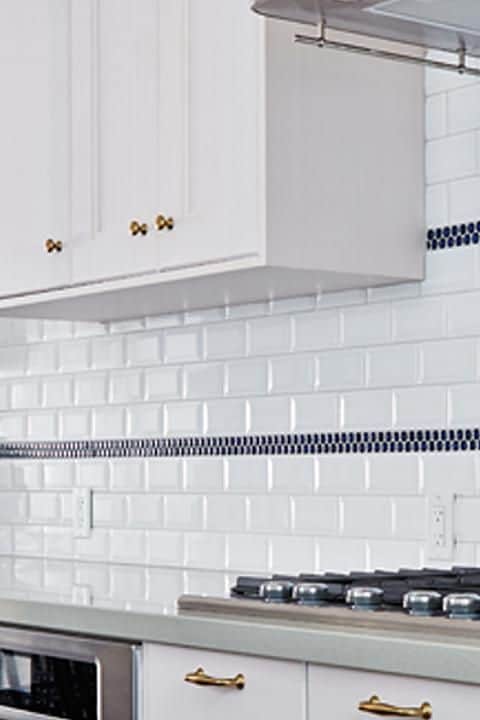
16. Penny tiles are a very versatile product and can be clubbed with any other décor item of your choice. In this case, these penny tiles add character to simple white subway tiles on the kitchen backsplash. Along with character, it also adds color, texture and novelty to the otherwise simple subway tiles.
You can use these tiles as accents on your backsplash at regular interval. Fusing two types of tiles can be quite economical and visually appealing. You can create strips of copper pennies or nickels to complement the colors of different tiles.
More details at sarahrichardsondesign.com
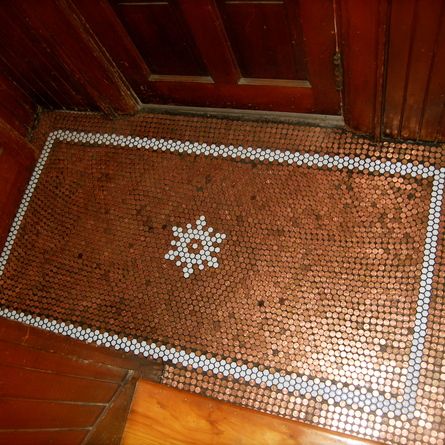
17. I adore this idea. It gives us a perfect blend of copper coins and ceramic penny tiles. Although the picture shows that it is used for flooring, you can certainly take inspiration from this and come up with a few fusion ideas of your own.
Make patterns on the backdrop of copper coins using white or black ceramic tiles, like flowers or hearts. If you don’t have copper coins to spare, you can use silver nickels or steel coins and match them with pastel ceramic pennies. You can combine almost any color and make a trendy backsplash for your kitchen or bath.
More details at thisoldhouse.com
So what do you think about these ideas for penny backsplashes? Did you like the DIY copper and nickel back-splashes or the ones with the ceramic tiles? I’m sure these must have inspired you and given you your own ideas. Share your brilliant ideas with us too, for an amazing penny backsplash!