Expertises: Painting, Art, Drawing, Pastel
Updated on

Inspiring Ideas for Modern Home
In the world of digital painting and concept artwork, there are a lot of techniques and methods that can speed up your workflow while simultaneously providing you with outstanding results.

In practice, these tricks and techniques differentiate the medium from the traditional pen and paper counterpart.
Today, in this guide we are going to discuss a similar unique method that makes digital painting more productive and convenient, and it is called Photobashing.
So, let’s dive deeper into the subject and find out what you can do with it!
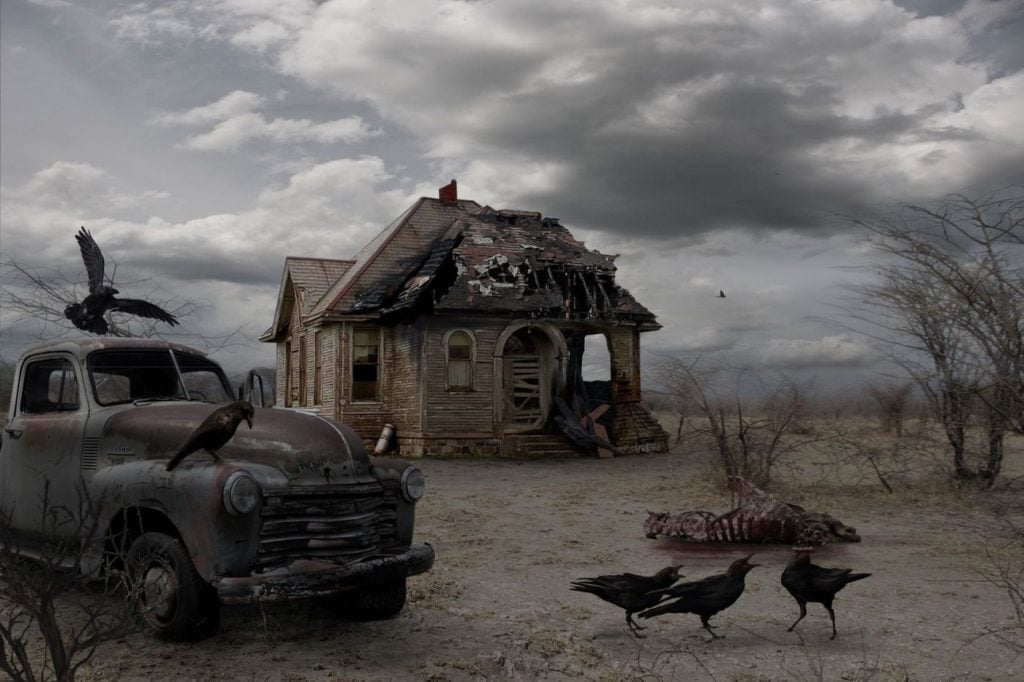
Featured Image via artstation.com
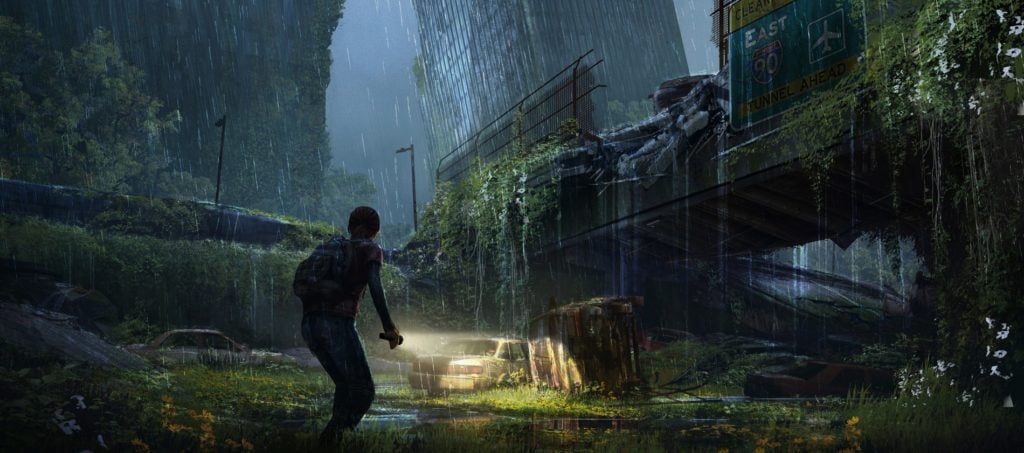
Image via davidkirkconceptart.wordpress.com
Photobashing is a unique technique in which you can use real images and 3D assets as a framework to create original artworks.
In short, an artist can use real assets and pictures that match with their concept and place them around in a canvas and use that as a base of their finished product.
Of course, this technique sounds a bit like cheating, similar to using butter paper for tracing, but this technique actually takes a good understanding of lighting and how you can realistically merge assets into a piece of work.
Creators usually use this technique to increase their workflow and make their artworks get a more realistic look.
More importantly, it can help them get and add many details that usually get neglected while working from scratch.
But we’ll discuss the feasibility of Photobashing and the particular use-case that fits Photobashing the best in the next section.
We have already discussed why most artists use Photobashing in their workflow. But we also need to understand when we should use it to avoid wasting our time trying to use this technique when it’s actually not necessary.
One of the most popular examples where artists like to use Photobashing is in concept artworks. For example, if you want to create a dystopian or alternate-universe picture of a real-life landscape, you’d prefer to use real scenery for reference.
Another great example is if you have to work with character design. Let’s say that you want to create a character and depending upon his/her attributes you want them to pose or look a certain way in the concept art.
In that case, you can simply use a stock model photo that looks similar to the way you have imagined and begin your work from there.
All and all, there are many ways you can use Photobashing to enhance your work but the ideal situation is where you can use most of the elements in the original picture or you can get the skeletal framework from somewhere else.
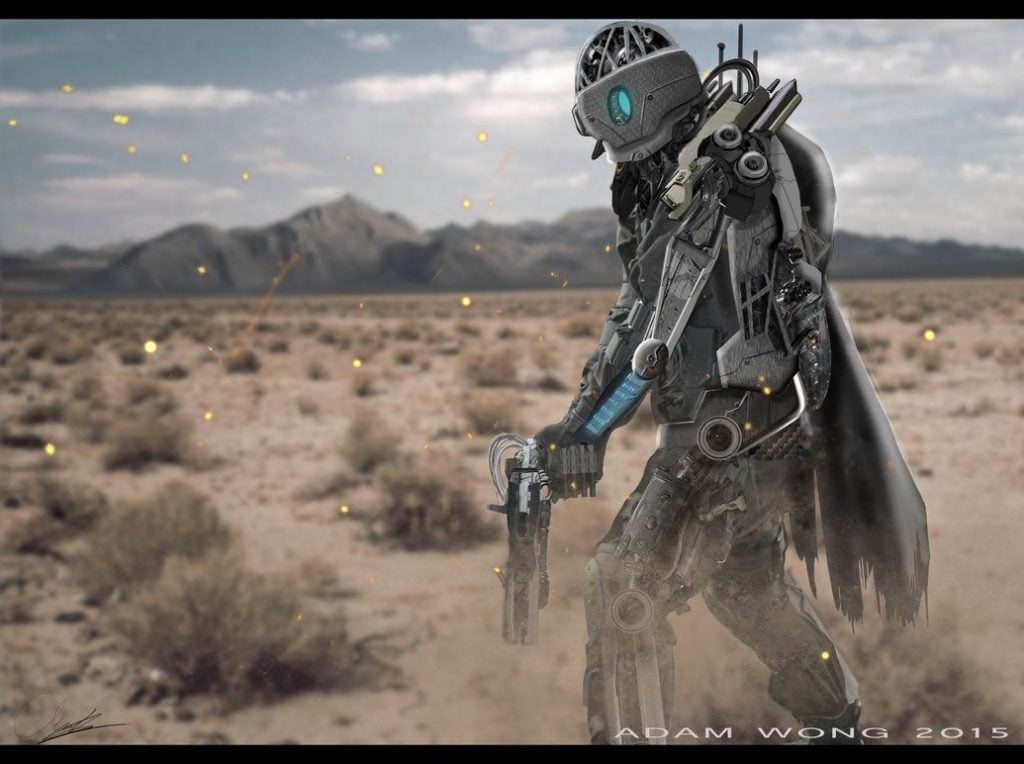
Photo Courtesy of Adam Wong
To be honest, there’s a grey thin line between the two techniques. In Photoshop, the artist usually alters the original image to a point where there’s no resemblance to the original picture.
But in Photobashing, you enhance the original image rather than change it beyond recognition.
As you might have already guessed it, this creates a grey area where one can’t decide upon the legitimacy of the artwork created through Photobashing.
And unfortunately, this is an ongoing debate in the community. Many established institutes and communities don’t even admit artworks that have a hint of Photobashing.
Many artists like to use software like Blender to create their own 3D assets and work on it after that to work around this argument.
But overall, that’s not for us to discuss. Even though, we personally believe that if it’s original, even if it is worked on other assets, then it’s legitimate.
Some of you might have already guessed it, but the answer to this question is Photoshop. From our experience, there’s no better software to Photobash than Photoshop even though there’s a bit of a hefty fee attached with it.
The main reason for our choice is the sheer control the software gives you on your artwork. Photobashing needs you to do a lot of lighting and color manipulation to make it look seamless. And the tools that Photoshop provides, are splendid for the job.
Some of the tools that you should get a good grip of before you start Photobashing are brushes, clone brushes, layer manipulation, blending options and filters.
There are many more tools and honestly, we believe that no one can truly get done with photoshop in a countable number of sittings.
If you are not willing to shell up for the expensive price tag of Photoshop, there are other tools that can help you Photobash. The ones that come to our mind are GIMP and Krita.
Out of the two, we’d like to recommend Krita because it’s a lot easier to learn. It’s less complicated and the community is much more fleshed out to feed your niched puzzles.
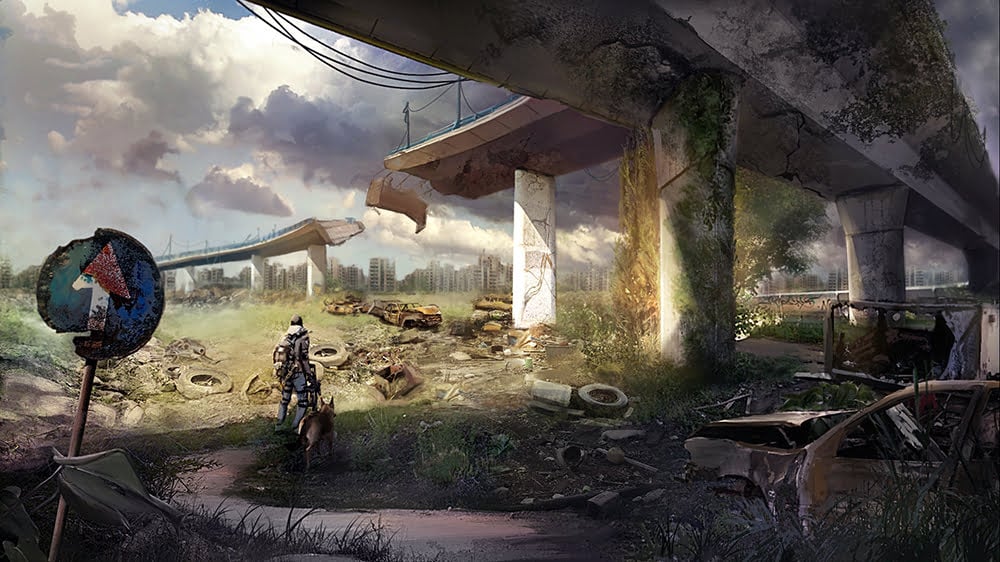
Image via arteneo.com
There are some skills that you need to master to make sure you can do Photobashing with ease. These individual techniques are quite important in other types of work as well but the lack of them will severely defect your Photobashing skills.
1. Picking up the right images
Before you do anything, you need to get savvier with the world of stock images. You need to know of all the paid and free websites that can give you the most ideal images for working on your artworks.
The usefulness of a reserve is seriously subjective, so, we highly recommend you to talk with your friends and family members who work in the similar genre of digital painting and ask them where they collect their assets.
Some of our recommendations include Unsplash, Freepik, Pixabay, Pexels and even Pinterest.
Sites like Unsplash, Pixabay, and Pexels have more photographic images than digital artworks. One of the main reasons we love these sites is because of their free license system and the high-resolution images you can get there.
But you might have to settle for less than ideal images for your artwork because these sites are designed more for photographers than digital artists.
Freepik is an awesome website that has loads of free assets, images, and illustrations. Many of our professional designers love to pick up reference items from this website, so, we thought it deserves a spot here.
And don’t judge us for Pinterest. It has the potential to give you whatever you may dream but you just have to make sure that you can use it - it’s all about the license.
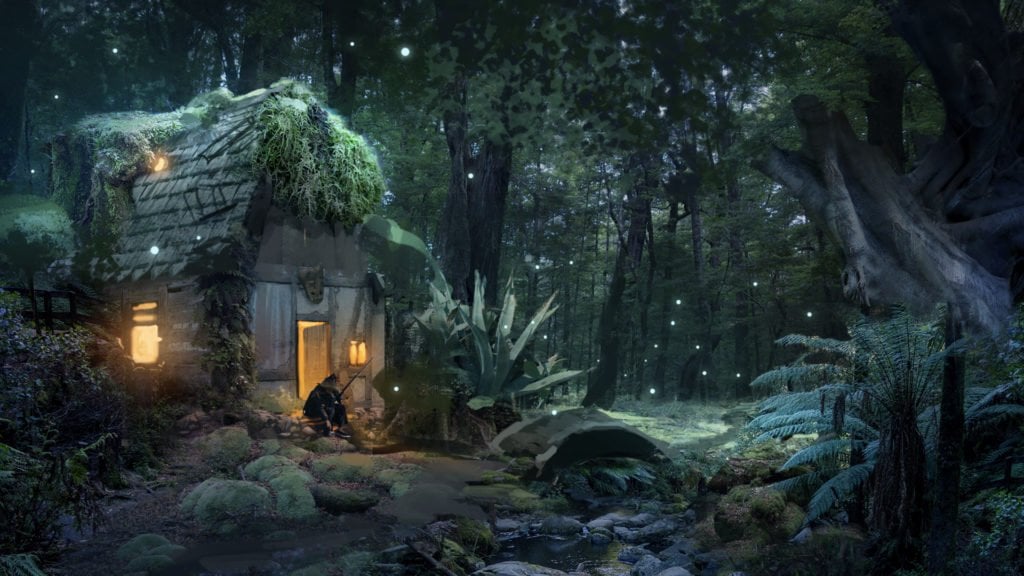
Full Tutorial @ husso.artstation.com
2. Processing the initial image or asset
Of course, you can’t just put a border on the stock image and use it as your own. You need to process the image ideally to get the things you need.
This includes separating the individual elements and manipulating it, so that, you can work on it.
One of the most important tools that most beginners tend to overlook is the famous Pen tool of Photoshop. You need to get good with it!
Not only it will help you draw custom shapes better but it’s super important for selection, and if it hasn’t hit you already, being good with selection tool is crucial for isolating the elements perfectly.
Another tool we’d like you to get acquainted with before you start Photobashing is the Blending Options that you have on each layer.
There are a plethora of actions in that dialog box and you must get handy with almost all of them! The most important of those is the shadow tool.
Full Details @ therookies.co
3. Manipulation layers
The most unique and crucial feature of Photoshop is its extremely fleshed out layer system. The layer system is heaven-sent in photoshop and digital artists who have tried working on other software understand its importance.
In Photoshop, the layers can be easily manipulated and moved around. You can mess with the layer’s colors, masking properties, blending options, filters, black levels, etc.
To truly understand the creativity of Photobashing and execute it perfectly, you need to get used to manipulating layers in Photoshop. And yes, that does need you to master the shortcuts as well!
To be honest, this article can’t encompass the magnitude of exploration you need to do for Photobashing.
Apart from mastering the skills we have mentioned above, you’d have to venture on your own to find the right way to do Photobashing.
But don’t worry because there are loads of free tutorials and videos on YouTube that can teach you Photobashing.
We’d recommend you to pick up your own project and learn on YouTube how you can do that. That way you can learn in the most natural way and you’ll also learn fast.
With that, we are done with this piece.
We hope you found this article helpful and that it got you started with Photobashing.
We wish you well and thank you for reading!
Related Articles
14 Amazing Free Krita Brushes and Brush Packs for Digital Art