Expertises: Art, Painting, Drawing, Home improvement, Gardening
Updated on

Inspiring Ideas for Modern Home
For those in the woodworking line, be it professionally or as a hobbyist, there can be moments of failure when it comes to getting a clean, smooth finish across the wood.

Either as a mistake or a natural kink in the wood itself, these holes can be a nuisance and bring down the quality of your project. To work around this slight bump in the road, so to speak, many woodworkers use either wood filler or wood putty; sometimes even both.
Both have the same purpose of restoring wood, so you won’t need to restart from scratch. They also come with their own strengths that make one an ideal choice over the other in specific restoration projects.
The two materials are hands down one of the best, if not the only, materials needed if you make a mistake or need to hide natural blemishes in your wood. Knowing what the strengths of wood putty and filler are can help you choose which one you need to add a clean finish to the project.
Wood is by no means a flat, smooth surface when taken as is. It has a number of holes, cracks, and scratches, be it from natural wear and tears, or just a result of the conditions the tree was grown in.
These imperfections can be smoothed over with a wood filler. To better understand what a wood filler is, looking at the composition can provide insight into what situation it should be used for.
It is made of a combination of epoxy, lacquer, clay, and polyurethane. Having a combination of these materials as well as different bases gives the filler unique properties, allowing it to replicate the look and feel of natural wood.
Sawdust can be added into the mix to lend an almost seamless integration with the rest of the board, almost like the filler is a part of the wood itself.
Thus, it’s ideal for more significant blemishes and holes in the wood. As it spreads well, it gives an even finish and is almost indistinguishable from the actual wood once set.
Additionally, the filler comes in a neutral color, so it can be dyed and tinted to match the look of the wood. As it can be dyed to match the raw wood, it should be applied before any staining is done on the project to have a cleaner match with the finished product.
On the flip side, it is an excellent choice if you are short on time or want a fast fix for your project. Some variants of wood filler begin drying around ten minutes after application and dry completely within a few hours.
To sum up, wood filler is the go-to choice for any indoor pieces that need to be touched up or restored. Combine this with the fast-drying property, and it is the perfect restoration material for indoor wood projects.
If a wood filler is to be used on wood that has already been stained, it can be challenging to match the shade and finish precisely. However, when there is no other option, a small amount of filler should be used with the stain until it matches the wood’s finished color. This gives you the proportion of filler to stain - to match the rest of the wood filler to the finished wood.
For projects which are exposed to the elements or regular changes in temperature, the wood filler may not be a good option to use to seal cracks. As it can not expand, it will crack when the wood shifts and pulls or pushes against it due to temperature changes. Furthermore, heat will cause the filler to contract and deform the piece further.
Another point to be noted is the lack of a bonding agent in the composition of the wood filler. The compound will not be able to stick to the wood, so it needs a seal to hold it in place.
Wood filler is ideal for surfaces that are porous to allow the filler to seep in. Wood types, such as ash, walnut, and oak would be great to use with it. These wood types, when unfinished, can give an uneven appearance to the filler. In such cases, sanding the filler away once it has dried to make it flush with the surface of the wood is a quick fix.
The surfaces the filler is to be applied on can affect how well it smooths over the blemish or crack. Consequently, sanding down this surface before using the wood filler can help if the particular wood type is not cooperating with the filler.
Wood fillers can have different bases to give the filler unique qualities that make it ideal for specific use cases. These qualities give the wood filler diverse application potential.
Many filter types are water-based to keep it from damaging the wood and keeping the option to dye open. It is also easier to apply, but if it is still too thick for your project, you can always add more water to thin it out more.
Other filter types have solvents as their bases. These solvent-based fillers are comparatively thicker in consistency than the water-based variants. With a thicker consistency, it is able to fulfill more heavy-duty jobs or larger cracks.
This water-based filler is one of the more versatile of wood filler types. As such, it is the most commonly used filler due to the easy clean-up. It is ideal for sealing raw wood to prevent any damage or water from entering the lumber and causing warps.
An epoxy wood filler is a filler that requires pre-sanding in order to have a quality application. These filters are ideal for use on unfinished wood. They will seal and bond to the wood tightly.; however, it is susceptible to becoming brittle. To combat this, you can use a sealant to protect the filler from breaking down.
Using polyurethane along with wood filler is ideal for use on furniture. The added polyurethane in the compound mixture allows it to act as a sealant or protective layer. It keeps the wood from being exposed to humidity and moisture.
Having several wood filler types to choose from can make for a more versatile experience. Working with different materials and build characteristics does not have to be an issue. It is simply a matter of choosing a suitable wood filler type for your project.
Another beneficial application of wood fillers is the functionality it brings. Not only is it perfect for indoor furniture, but it can also be used on any piece which is not regularly exposed to the sun or rain.
Finding a perfect match to the wood’s finishing color can be challenging to find. However, the ability to dye your own filler to match any finish you have is a welcome convenience. The option to have control in customization and control of how the filler matches with the rest of the wood helps in blending the filler to the wood.
When wood filler is dried, it will harden to fill the negative space. As such, it cannot contract on itself to accommodate the wood shrinking due to changes in temperature. Additionally, if the filler is pulled by expanding wood, it will result in a crack in the putty.
Looking at the composition of the wood filler, no adhesive ingredients or properties are present. This means the filler needs an extra coating of a seal over it after application. The seal will hold the shape and protect the filler.
Also known as “wood plastic,” wood putty is another common wood-filling compound used by many woodworkers.
The composition of this compound is more intricate than a wood filler to keep the compound’s ingredients from damaging the raw wood. It is advised to apply wood putty only after the project or piece has been stained and varnished.
By staining and varnishing the entire piece, it acts as a protective layer that the wood putty binds to in order to fill in the gaps and give a seamless surface.
While the actual proportion and chemicals in wood putty can change depending on the manufacturer, the base remains the same - which is oil. The most essential ingredient in every wood putty is boiled linseed oil, some colorant, and a bit of calcium carbonate.
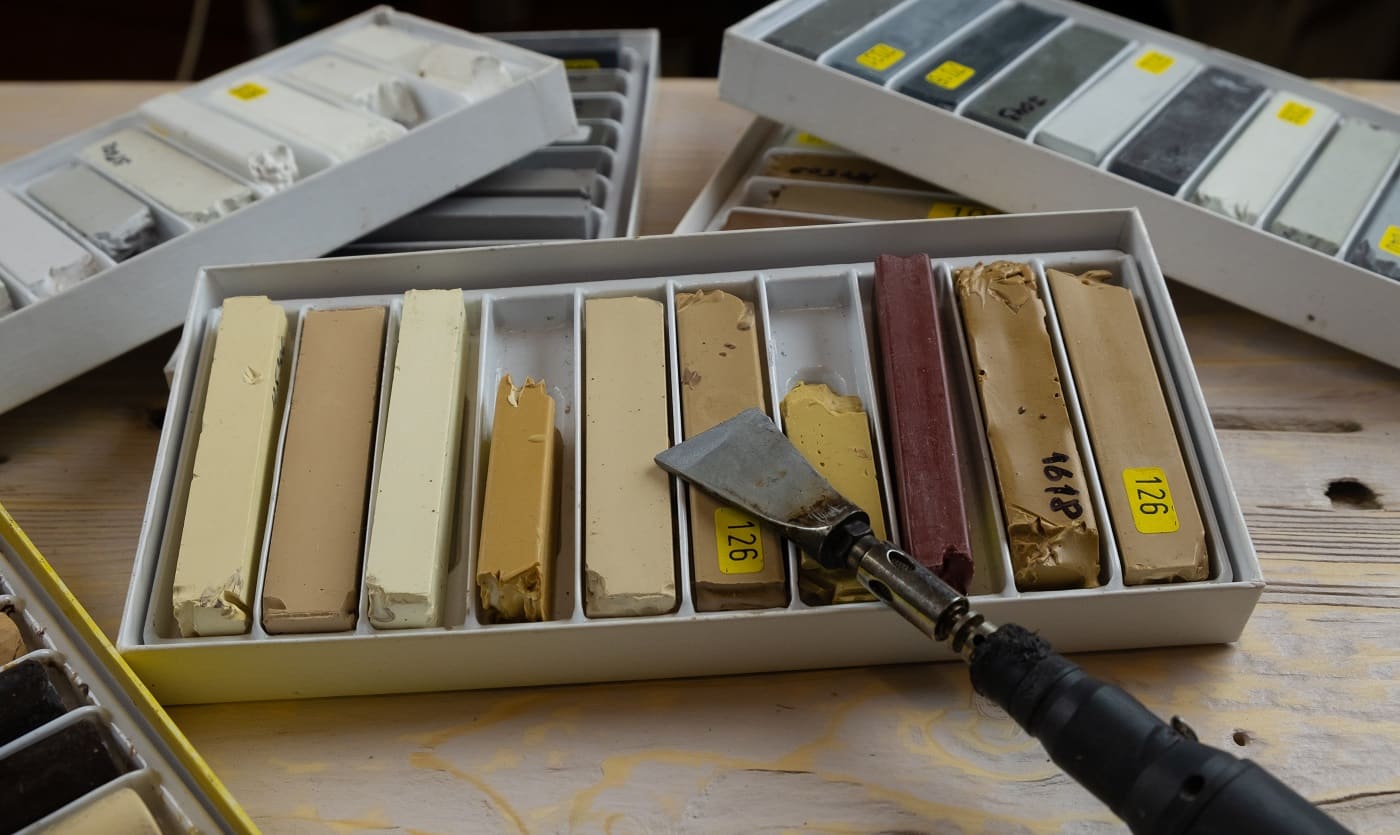
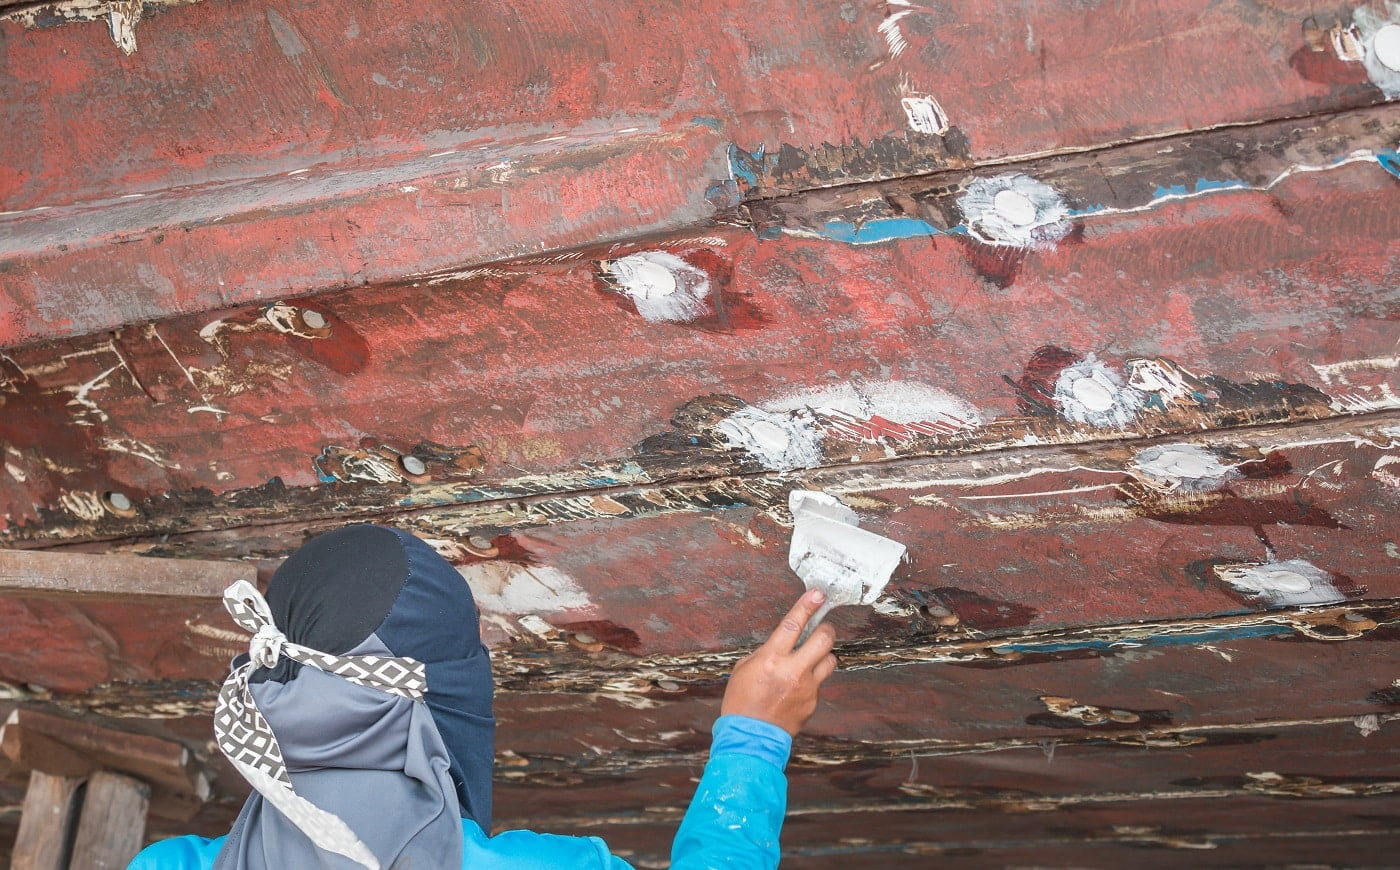
When mixed, the putty compound becomes sticky until water is added to give it a more malleable shape. Application of the wood putty is done with a special putty knife which helps spread it evenly.
This makes it ideal for large areas as it spreads smoothly, giving a clean surface when dry. Additionally, for small areas, a simple dab will be sufficient to hide those more minor blemishes.

Wood putty does not require any extra work to be applied beyond the occasional acetone to bring the putty back to a clay-like consistency. This acetone is added in a small quantity to the putty when it has dried out.
By being able to restore your putty in the container, the shelf life exponentially increases. What’s more, you won’t have to buy more putty if it can never go bad, which in turn gives you so much more value for your money.
Adding even more value for money, the wood putty’s durability is strong. After applying it to a project, there will be no requirement ever to touch up the repair. This, along with the ability to restore putty after it has dried out, can make even a tiny tub of wood putty go a long way.
The ideal piece that wood putty can be used for is outdoor furniture. These pieces are arguably the most susceptible to getting chipped and weathered away. Additionally, as the days pass, these pieces of furniture will stretch and shrink with the ebb and flow of heat.
Wood putty is not affected by the shrinkage of the wood it is attached to. In fact, it resists this shrinkage which can boost the life of your furniture or wooden pieces. What’s more, the wood putty can negate the effects of the sun and rain in preserving the quality of the wood it is coating.

After the putty is spread across the cracks and blemishes, it takes a long time to dry as compared to the wood filler. There are methods for some putty to dry faster by adding in a drying agent to expedite the hardening process.
However, this drying agent is limited to a specific few putties and may not work on all types. An area where putty does not need any added materials is the adhesion to the wood surface. As it has adhesive chemicals within it already, there is no need for a sealing agent to keep it on the wood.
One of the drawbacks of using wood putty is this long dry time. While waiting for the wood putty to dry, it remains open to contaminants settling onto the putty.
Contaminants such as dust and dirt stuck to the putty after it has been dried will be evident after it has dried. These contaminants can also affect the color of the putty after it has dried, giving it a darker shade than what was intended.
On the topic of colors, wood putty is not as versatile in its color availability as a wood filler. As this putty is a pre-mixed combination, the different shades available are limited. However, there is a large inventory of colors available to choose from to find a shade that matches the wood finish you are working with.
Oil-based putty has adhesive properties within the putty itself. After applying the putty to the surface of the wood, it does not require a coat of sealant to keep its shape. The putty will hold on its own after it dries.
Wood putty has the best value for money when it comes to restoring or covering up blemishes in the wood. It can be restored to its clay-like state by adding some acetone. Additionally, the putty will not require any further touch-ups; it is durable and holds against the test of time.

As evident from its alternative name, “plastic wood”, wood putty is malleable, making it an ideal choice for outdoor pieces. What’s more, the putty itself is resistant to shrinking and negates the effect that rain or sun can have on your furniture or outdoor projects.
One of the biggest drawbacks to using wood putty is the time it takes to dry after application. Due to the large window of time needed to dry completely, the putty can be darkened due to the accumulation of outside contaminants on the putty. This discoloration can offset the seamless integration between the putty and the finished wood.
Coloring putty is not possible as the ratio of chemical components is already set. Furthermore, the clay-like consistency would make coloring it yourself a difficult task.
To match different wood finishes there are a large number of shades available. However, this can backfire if the putty becomes discolored; you would need to remove the putty and apply a fresh layer.
Now that the basic features of each wood restoration option are known, the differences between them will highlight where each shines or falls short.
Perhaps the most significant difference between wood filler and wood putty is in their composition. While the wood filler has different bases for specific materials, wood putty is largely oil-based. This difference in what they are made up of dictates the qualities that each possesses.
On the one hand, the wood filler can be mixed with sawdust to create a more natural look when applying it to a piece. Moreover, it requires a sealing agent applied after application in order to adhere to the wood surface.
The way it works is it seeps into the wood and hardens to maintain the shape of the wood. Thus, a sealing agent is needed to be applied on top to preserve the filler.
On the other hand, wood putty does not need any sealing agent as it has adhesive qualities in its composition. Similarly, it does not harden the way wood filler does; it is thus ideal to apply putty after the wood has been finished.
When it comes to the coloring of each, the wood filler has more versatility as it can be dyed to your convenience by mixing it into the compound. Wood putty, on the other hand, comes pre-mixed to match different wood finishes to blend in.
After the application of the wood filler or putty, it must be given time to set and dry. The time difference of this drying time also differs and can be the deciding factor for many when choosing which option to go for.
Wood filler will be dried within 15-20 minutes. Once fully dried it is ready to be sanded down to be flush with the regular wood surface. Wood putty takes a considerably longer time to dry and set. Often lasting several hours to even a full day depending on the size of the blemish being covered.
As wood fillers have hardening agents, they are less flexible and can break or damage the wood if it contracts or expands due to heat. Because of this quality, it is advised to use it on pieces that are not exposed to the elements or regular changes in temperature.
Wood putty is highly elastic and can hold fast to the wood even if it changes shape due to heat and humidity. This allows them to be used for both indoor and outdoor pieces alike with no damage done to the wood or the putty itself. Additionally, it is great at resisting water and heat, making it the go-to option for retouches on outdoor wooden pieces.
Wood putty is clay-like in nature and can be rejuvenated if it dries out while stored away. As a result, it can last for years with no problem. Furthermore, once it has been applied to a project it will adjust to the natural contraction and expansion of the wood.
Other types of sealants are available if you don’t have access to any wood filler. Wood glue and epoxy glue are common alternatives to look for. It should be noted, however, that these may dry faster than wood filler and should be used carefully.
Now that both products have been briefed regarding where they work and where they may fall short or cause further damage, what is the ideal choice between them?
For those who work with indoor projects or are under a time constraint, using a wood filler is the way to go. With a fast-drying and natural look, it has no problem filling in the gaps in your wood before it has been stained.
However, if larger projects outside are what you work on, wood putty is the ideal choice. It may take more time to set, but once it is in then it is assured to stay there with no problem of cracks forming.
Whatever the project you may be working on, it is always a good idea to have one, if not both, options at your disposal. The safety net that each provides will help your end product come out looking professional and clean!
Related Articles
9 Best Primers for Bare Wood [Reviews & Buyer's Guide]