Expertises: Art, Painting, Drawing, Home improvement, Gardening
Updated on

Inspiring Ideas for Modern Home
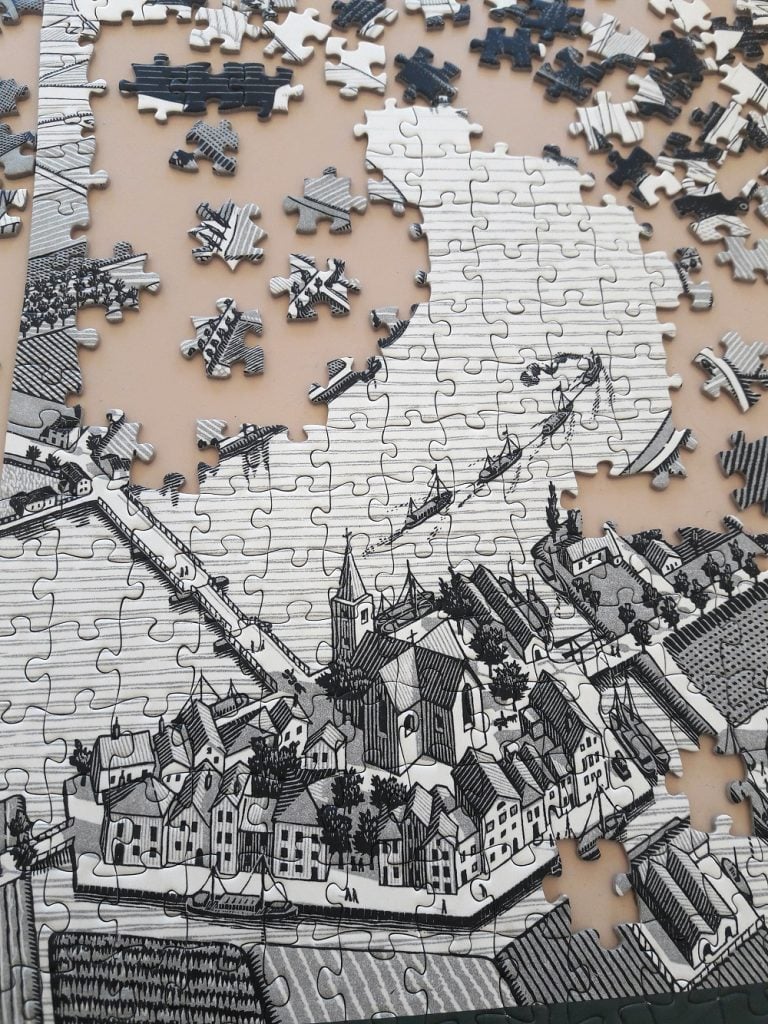
After hours, or weeks, of focus and sheer willpower, you finally have a completed puzzle. But now what do you do with it?

Undoubtedly, the best part about jigsaw puzzles is the process of placing each piece in its spot and watching the picture slowly come to life. That said, one cannot deny the intense and unparalleled pleasure of finally having completed a jigsaw puzzle.
Once the puzzle is complete, you sit back and look at it with awe. And then, you might wonder what to do with it and how to display your weeks-worth of hard work properly.
Well then, you’ve come to the right place. We will tell you about some of the best and most creative ways in which you can display a completed puzzle at home.
Take a look!
One of the most common ways that you can display your completed puzzle at home is to frame it. Now, there are two options for doing this - with or without puzzle glue. Let us first discuss how you can frame a puzzle using puzzle glue.
Begin by accurately measuring the size of your completed puzzle using a tape measure. Keep in mind that the dimensions of the finished puzzle may be different than what is mentioned on the box, so it is best to measure it yourself.
Now, purchase a frame that will fit the puzzle size correctly.
Choose a foam board, backer board, or a sturdy piece of cardboard that will act as the base of the frame. Slide a flat wax paper over the top of the puzzle to keep it flat and protected over time. Also, ensure that the edges of the cardboard or foam board are correctly cut, so they do not warp during the framing process.
Next, use a rolling pin over the completed puzzle to create one seamless piece without bumps.
Finally, purchase high-quality puzzle glue from your local craft store and brush it over the entire puzzle. Ensure that you don’t use too much glue, as it can damage the result of the glued puzzle. Although you can use powdered glue, it is best to use liquid glue for this process.
Once the glue sets, gently pick up the puzzle to check if it is ready to be framed. It is best to wait at least two hours till the glue dries; however, sometimes a puzzle glue may take longer to dry, especially if you use excess glue on it. Ensure that you do this in a well-ventilated area.
Again, apply glue to the back of the board and place the glued puzzle on top. Remove any excess glue between the two pieces, and allow it to dry.
While gluing puzzles to frame them might seem like a good option, it often reduces the value of the puzzle. This is why a lot of hobbyists prefer framing puzzles without glue. Let us tell you how you can do this at home.
Begin by measuring your finished jigsaw puzzle properly. You might come across jigsaw puzzle frames that are designed for 500-piece or 1000-piece puzzles; however, we recommend measuring the puzzle yourself to get accurate dimensions.
Now, keep in mind that most puzzle frames will not hold your completed piece properly without glue. It is best to opt for specialized puzzle frames that are designed to hold all the pieces together without damaging them.
The next part is the most crucial one - placing the jigsaw puzzle on the glass and flipping it over. Do this with extreme caution, as there is no glue to hold together the pieces. Once you place the jigsaw puzzle on the glass, add the backboard or cardboard and flip it over. Then, gently place it onto the frame and secure it with the attached clips, and you’re done!
Pro Tip: Avoid using weighted objects to secure the puzzle (with or without glue) as it may damage the surface of the puzzle and cause it to set incorrectly. You can also opt for dry mounting the puzzle from a professional store if you aren’t comfortable with the processes mentioned above.
Most of us have coffee tables in our homes. Well, what if you could display your artwork on a coffee table?
All you need to do is purchase a glass top for the coffee table (if it does not come with one). You can choose to add glue to preserve the puzzle, but this is optional. Furthermore, you can choose to turn the coffee table into a puzzle workstation.
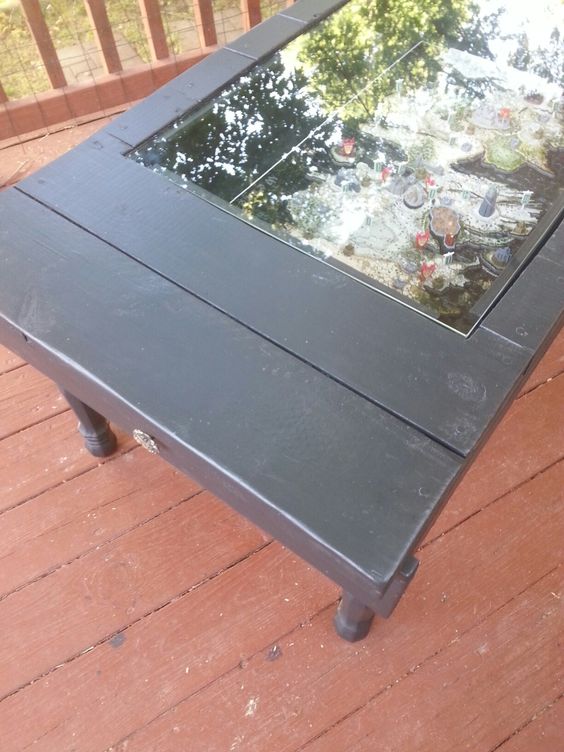
Do this by adding a removable glass top for the coffee table. This way, when you need a break from assembling a puzzle, you can simply place the glass top to ensure that any work done does not get damaged or misplaced.
This is an idea that will not cost you too much and can be a fun project to work on with your friends or family. In fact, you can turn it into a holiday game by inviting friends and family to complete a jigsaw puzzle together and turning it into a creative coffee table.
There is always an occasion around the corner, be it someone’s birthday, an anniversary, a holiday coming up, or some other cause for celebration. Most of us go berserk trying to find the best gifts to give our loved ones, friends, or acquaintances during these occasions.
Over time though, the constant gift-giving can become an expensive affair. If you are on the lookout for cheaper DIY alternatives, consider laminating your puzzles into placemats. The entire process should not cost you too much, and it can become an interesting project to work on.
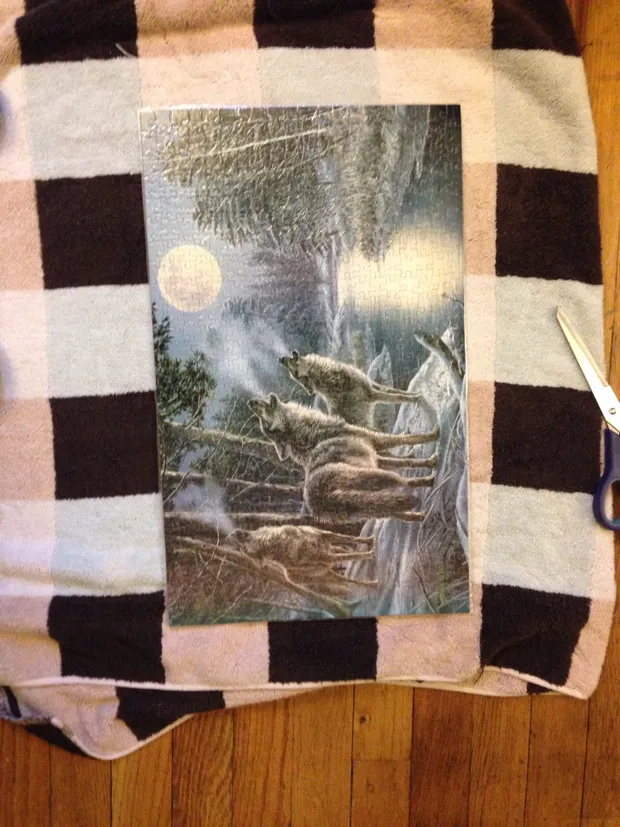
For starters, you need to purchase good quality laminating paper. Ensure that your puzzle is complete and ready to be laminated. When cutting the laminating paper, ensure that you leave about half an inch around the edges. You will find all the supplies you need at any local craft store or online store.
Now, you have to carefully iron the entire surface of the puzzle to ensure that it sticks. Iron around the folded edges of the puzzle for around 20 seconds to ensure that it is secure. Then, flip it over and continue the same process on the colored side of the puzzle.
Allow the surface to cool for about 10 seconds before removing the parchment paper. If you don’t allow it to cool first, the parchment paper may stick to the board instantly and damage the puzzle surface.
And that’s about it! Your personalized laminated placemats are ready for gifting.
Wall hangings can make fabulous DIY presents for all kinds of occasions. Wouldn’t you love to hang one of your finished jigsaw puzzles on the wall as a beautiful display? Or, how about gifting a DIY puzzle wall hanging to your loved one on Valentine’s Day?
To begin with, go to a craft store or browse the internet to buy puzzles that strike your fancy. Once you get the puzzle home, begin the process of completing the puzzle design to create a beautiful, perfect puzzle for your loved one. You can even customize the puzzle using a photograph of your loved ones and turn it into a DIY puzzle.
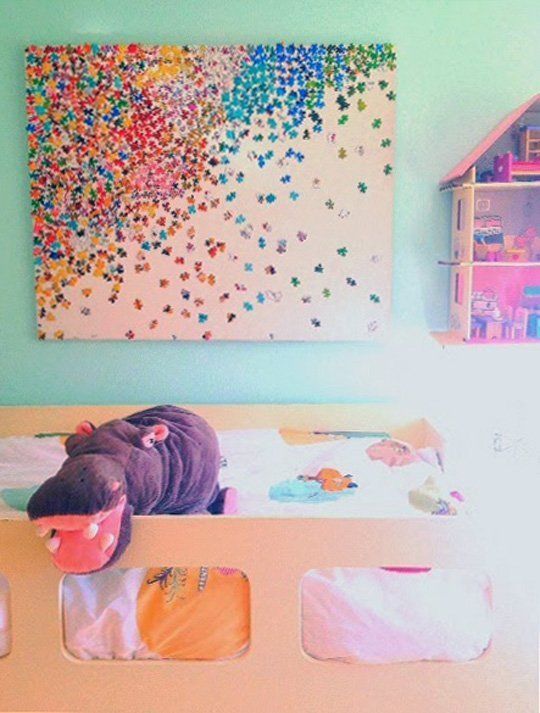
Once you have the finished product, purchase high-quality matting that you can use as a base for the puzzle. Now, you can opt for the gluing process or add a frame if you wish to. These will make the finished product steady and keep it from falling apart or getting damaged.
Once you complete adding matting for the base, use either a spray adhesive, heat-sensitive adhesive, or mod podge to secure it. While gluing the puzzle is a good option, ensure that you do not add too much glue, as it can make the end product look too rigid and inflexible.
Allow the puzzle to dry entirely, then make a loop using a rope or a sturdy piece of thread to hang the artwork by.
Begin by choosing your favorite pieces of a completed jigsaw puzzle that you want to use as DIY jewelry. Once you have selected the pieces, paint the back of the puzzle using a spray adhesive or PVA glue. Cut out a piece of cardboard or felt paper in a shape that fits the back of the puzzle piece.
Hang the original piece carefully so that the glue dries entirely. Now, get a chain or clasps and sew one end of the chain to the piece of felt. Attach the other end to create a necklace with the jigsaw piece as a pendant.
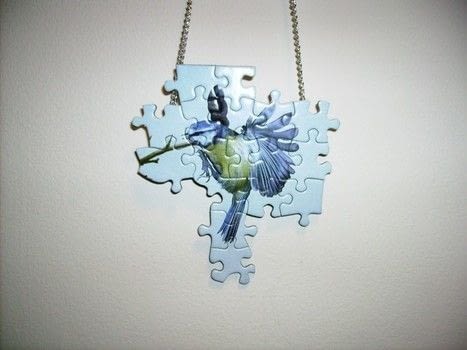
Alternatively, you can make earrings or bracelets using clasps or hoops to attach the jigsaw piece. Ensure that you let it dry completely. You can even add sparkles or varnish to give it a completed look with glitters or a glossy finish.
Buying puzzles and trying to solve them is always a fun experience. In fact, you will come across multiple brands that offer unique and interesting jigsaw puzzles that are immensely fun to solve.
However, it can be quite frustrating when puzzle solving takes too long, too much of your focus, or you reach a dead end. If the thought of leaving an unsolved puzzle gives you nightmares, don’t fret.
Let us give you some tips that can help you solve puzzles in the fastest way possible like a pro. Take a look!
For most puzzle enthusiasts, there is no better feeling than ripping open the puzzle box and getting right into it immediately. However, before you put on your puzzle-solving hat, take a moment to assess the work area.
While choosing a coffee table or kitchen table might seem convenient initially, it can become a factor of disturbance when you need to use it for daily activities. As such, we recommend opting for a work area that goes relatively undisturbed. You can opt for a table that you don’t use regularly and lay out the puzzle pieces there.
Of course, ensure that the table is large enough to hold the finished work. Moreover, if you plan on gluing the puzzle or adding a frame to it, lay a large piece of cardboard on the table before you begin assembling it. This will help you flip over the puzzle and glue it once it is done.
Good lighting is critical when assembling a puzzle like a pro. Moreover, choosing the right kind of lighting can make or break the puzzle-solving experience.
It is best to avoid desk lamps with cords as they may get in the way during the process of solving a jigsaw puzzle. Opt for good overhead lighting or floor lamps that provide an adequate amount of light to work in.
The next step may seem tedious and time-consuming, but it can be immensely beneficial when you’re scrambling around looking for the right pieces to fit.
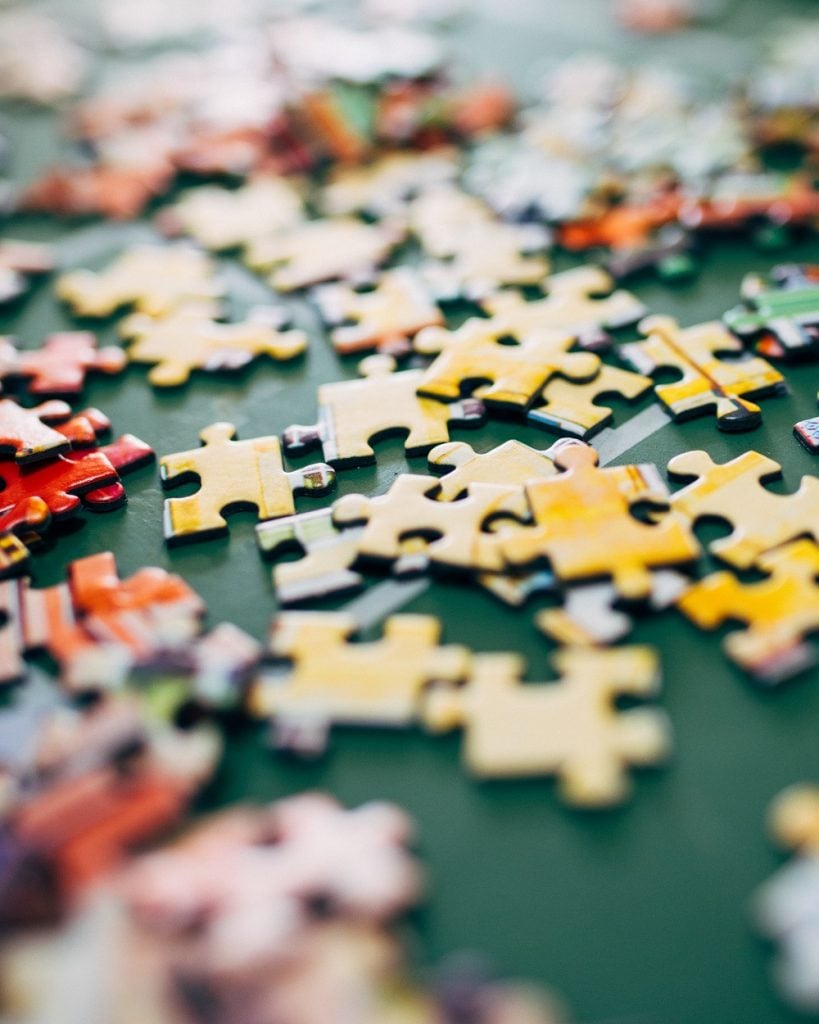
Sort the puzzle pieces and group them according to the corner pieces, edge pieces, and center pieces. Use the reference image on the puzzle box to determine the right colors and pieces and group them beforehand.
This way, you have all the pieces sorted when you want to begin assembling the puzzle. While some puzzle pros opt to solve the edge pieces first, others may tell you to go with the corners first. This is your personal preference, so don’t try and adhere strictly to any rules and remember to have fun with it!
Now that you have all the pieces sorted and grouped, you can begin by assembling the borders, corners, and finally, the center pieces. Again, remember that this isn’t a hard and fast rule. At the end of the day, it is essential to remember not to get frustrated with the process.
Puzzle-solving can be fun and an excellent group activity to enjoy with friends and family. Once you are done solving the puzzle, you can choose to glue it, frame it, or turn it into a gift for a loved one.
While framing puzzles can be one of the best ways to display your completed artwork at home, keep in mind that doing so decreases the value of the puzzle. As such, we recommend not using these methods for valuable or antique puzzles.
Furthermore, ensure that you always glue puzzles in a well-ventilated area. That being said, if you have any other ideas on how to display completed jigsaw puzzles, please share them with us in the comments below. If we like your idea, we could re-share it with our other readers.
Let us know how you liked our tips and which idea you liked best. And don’t forget to share your artwork with us.
Until next time, happy puzzle solving!