Doors don't come cheap, especially sliding ones. But it is a good method of separating two different spaces without the problem of the space a door would need to get opened. Sliding doors seem like the logical solution thus. But if you are on a low budget, the possibilities for buying a sliding door are near to nothing. So why not try and make one by yourself? Don't worry, it is not as difficult as it might seem. The projects featured below cost around the $35 price point (depending on finishing accessories like handles and such) which makes it an easy cheap fast DIY project.
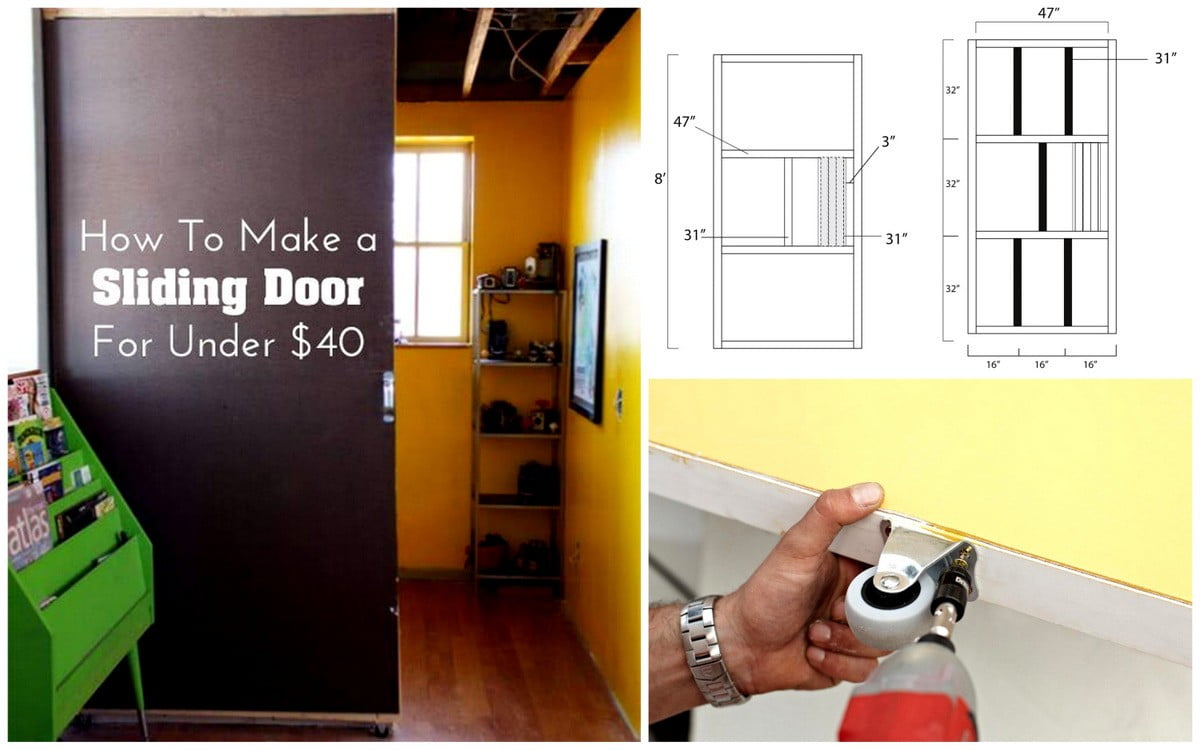
How To Make a Sliding Door For Your Home For Under $40
1. Materials required
-2 plumbing flanges
-1 (possibly 2) plumbing angle brackets
-plumbing pipe
-3 "hinged loops"
-2 full sheets of masonite
-1 bundle of 2x2s
-2 small wheels
-assorted nails/brads
-20 wood screws
2. Tools
-Nail gun or hammer
-Screwdriver
-Level
Steps to follow:

1. First thing first-building the frame of the door
You will require the aid of a screwdriver. Measure your masonite and make a wooden frame that is the same dimension, using the diagram above to assemble your 2x2 boards (with one screw joining each board). Do not worry if the structure is not quite sturdy.
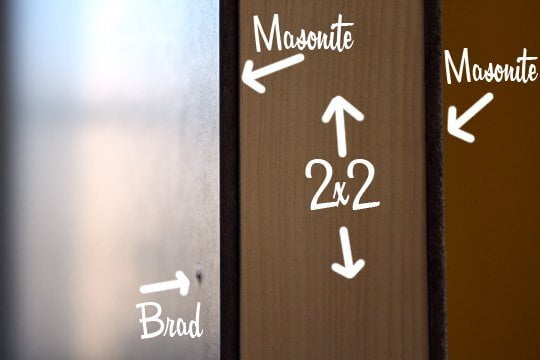
2. Cover It Up
You can use nails to attach your masonite to the wooden frame or to fix them with brads. You can even glue it, but be careful to let it dry sufficiently.
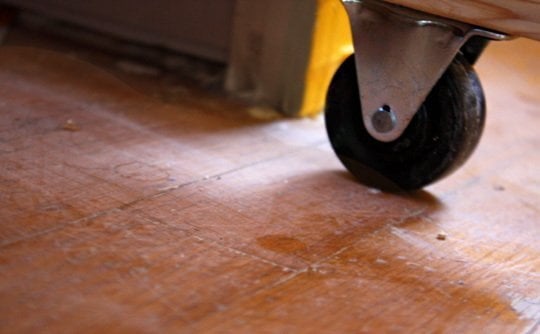
3. Add the Right Wheels
Decide which direction your door will go and find the right kind of wheels.
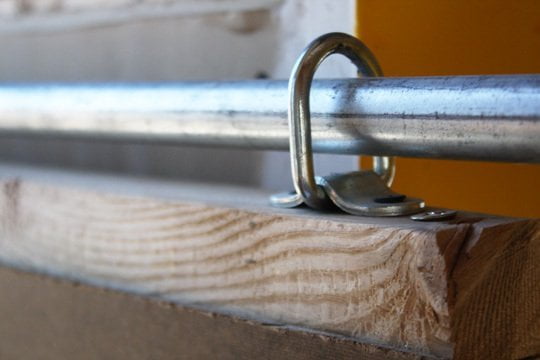
4. Find and Add Hinged Loops
Hinged loops are cheap but might seem difficult to find. But once you have found them, attach them to the top of the door with wood screws.
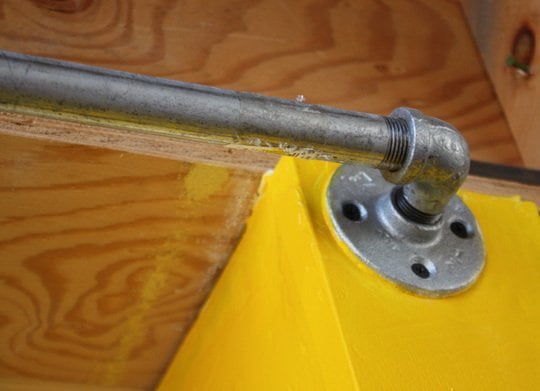
5. Add Pipe
Cut the pipe at the required length at the hardware store and then slide it through the hinged loops added to the door.
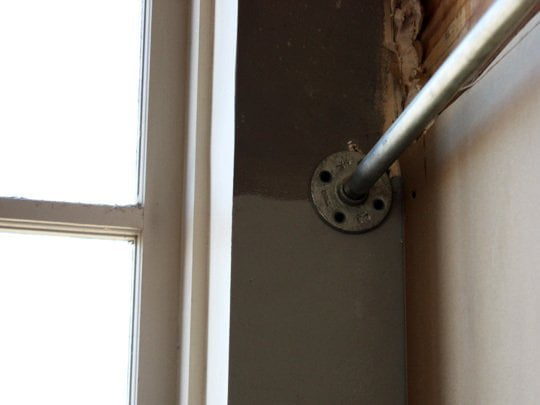
6. Add Angles & Flanges
At the end of the pipe where you will fix it to the wall add the necessary angled pieces and flanges.
7. Level and Mark
Call your friends and try to level the plumbing hardware. Use the level on the top of the door and mark the holes for your required screws to fix the plumbing pieces to your wall. The pipe must be just under the loops when they're fully extended up.
8. Screw
Now you can attach the hardware plumbing to the wall in the right position.
9. Try your hard-work
Try sliding the door to make sure everything works smoothly and that everything is leveled.
10. Soundproof the Door
To enhance the acoustic properties of your sliding door, you can incorporate soundproofing measures during construction. Refer to our how-to soundproof a door guide for specific techniques and materials to efficiently reduce noise transmission through your newly built door. Following these steps will help improve the overall comfort and privacy of your home.
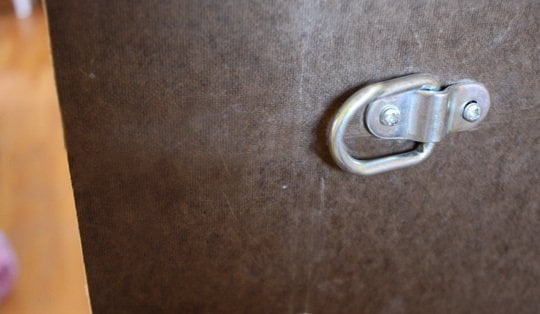
Instead of a door knob add a small loop to open and slide the door.
So what do you think? Is it an option for you? Would you try and make your own sliding door from scratch? Share your thoughts in the comment section below.
