Expertises: Architecture, Design, Art, Home improvement, Painting
Updated on

Inspiring Ideas for Modern Home
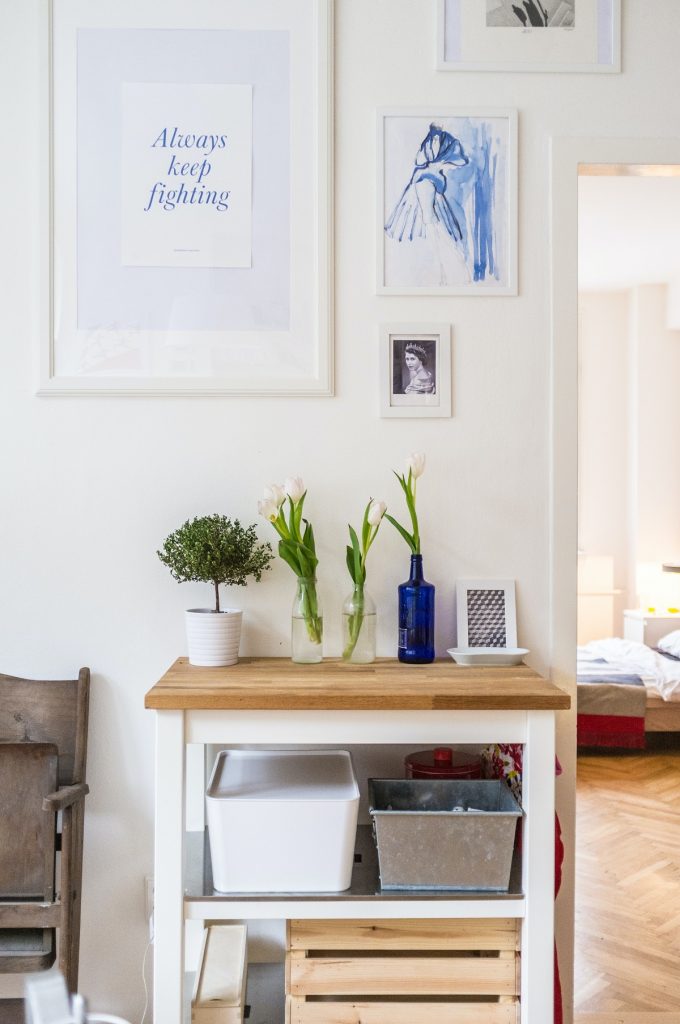
Framed photographs are excellent ways to preserve memories that also serve as beautiful pieces of wall art.

However, there is more to creating the ideal arrangement of pictures than just finding the perfect placement for them. Though there is no single standard way to place the photos, a well-organized format can help create a personalized photo gallery of your cherished memories.
Since there are several different arrangements you can go with, selecting one is not as easy as it sounds. There are several things to consider, such as which photo to place, where to place it, the backdrop, etc.
So, how can you arrange your framed photos on your walls and create the perfect art gallery for maximum impact? That’s what we are going to talk about today. So, without further ado, let us begin.
All decorative processes require some basic principles, which can help you make the necessary preparations for the job at hand.
It often happens that your favorite photos are not suitable for creating a photo gallery. In cases where there are many photos to choose from, select the most distinctive and professional-looking ones.
The reason for this is that several types of visitors are going to view the photos. So, it is best to use top-notch photographs that will help create the right impression on visitors to your home or office.
It often happens that your favorite photos are not suitable for the purpose of creating a photo gallery. In cases where there are lots of photos to choose from, select the most distinctive and professional looking.
The reason for this is that several types of visitors are going to view the photos. So, it is best to use professional-looking photographs that will help create the right impression on visitors to your home or office.
Before setting up the pictures, you need to know how the photos will look on the wall. This blueprint can help come up with different arrangements and placement ideas. Cutting paper in the shape and size of the pictures and trying them out is one of the best ways to develop this blueprint.
Another great idea is to use smaller pictures for narrower walls and bigger pictures for bigger spaces. A tightly-grouped even number of photos in a small area can help create a window-like appearance. You can even enhance this arrangement by using lighter pictures in wider areas, with bigger spaces between the photos.

Before the actual process of hanging the photos, use a pencil to mark the selected areas. Several techniques can be used to hang the photos.
One of the best ways is to use a two-piece hanger, which prevents the pictures from swinging or tilting. Also, make sure to hang the photos at eye level.
Think of the entire piece, not just a single picture. That said, the focal point should always be at eye level for maximum impact. Additionally, make sure to leave some blank spaces that can help enhance the appearance of the wall.
Picture Hangers are used to provide support for framed pieces that are to be placed on the surface. A picture hanger comes with an angled nail and a metal hook, which can be most helpful for different frames.
Different types of picture hangers are available on the market, with varying sizes and weights. That is why it is recommended to check the weight limit of the hanger to determine whether it can support the weight of your frames or not.
Not to mention how most picture hangers are suitable for smaller-sized plaques and average-sized picture frames.
Like picture hangers, there are also several wall anchors available for arranging pictures on a wall. Wall anchors are usually made of nylon or plastic and function as sleeves for screws. These typically come with instructions indicating the size of the hole that needs to be drilled.
After drilling the hole, use a hammer to tap the anchor into place until it is perfectly aligned with the surface. After that, place your framed picture on the wall, insert the screw and tighten it, which will cause the anchor to expand, securing the piece to the wall.
An expansion bolt, also called a Molly bolt, can come in handy when you don’t have access to a drill. Once this bolt has been hammered into the wall, rotate it clockwise using a flat-head screwdriver.
Once it reaches a point where it cannot be rotated anymore, turn it counter-clockwise to ensure that its collar is secured against the inner side of the wall.
To install toggle bolts, you need to drill a pilot hole in the surface like with wall anchors. Then, the toggle bolt needs to be tapped into the correct position.
Toggle bolts come with spring-activated “wings” that fold outwards inside the wall. The wings expand when the screw is tightened and become drawn against the wall. However, the thing to note is that removing the bolt will cause its wings to get detached and fall inside the wall.
Most walls are hollow, having soft drywall or plaster covering on top of a hardwood framework. The studs of boards lying behind such walls ensure adequate support for objects placed on the wall. However, these studs are not easy to locate and may not be present where needed.
That is why ordinary screws or nails are not suitable for non-wooden surfaces. That said, you can find hardware hangers specially built for hollow walls and similar surfaces that cannot hold a regular screw or nail. Such hangers can be easily purchased from local hardware stores.
To hang pictures on a concrete or brick wall, you need to use lead wall plugs available at most building supply stores. These plugs help support hanging screws. Here, a power drill with a carbide-tipped bit can be used to create a hole for the lead plug.
Tap the plug into the hole created for the purpose, and then insert the screw. If you are unsure which size would be most appropriate for your requirements, hardware dealers can recommend the correct size.
One of the surfaces most suitable for creating a picture gallery is wood. All that is required for hanging pictures on wooden panels are some nails or screws. That said, wood screws have sharp grooves and pointed ends that are very easy to install using just a screwdriver.
On that note, wooden paneling is found in several types of locations, such as home offices. Not only are they easy to work with, but they also create the perfect backdrop for your family photos. Additionally, unlike other surfaces, you can select the type of wooden paneling most suitable for your picture gallery.
There are several different techniques for arranging photos, and not every method can be applied to all types of locations. Selecting what type of arrangement is best for you depends upon a variety of factors. Here are some of the most popular arrangement techniques for creating a gallery wall.
It is more challenging to hang similar pictures in identical frames, but it can create a fantastic effect for your gallery wall. Like paintings and decorative brackets, photos can also be arranged in several types, such as free-form, asymmetrical groupings.
Before installing hooks into the wall, be sure to establish the arrangement of the pictures. Use a carpenter’s level to ensure the correct spacing. Also, while using D rings to hang the photos, first mark the spots and then use the leveling instrument to ensure evenness.
Generally, an interior designer will find a common thread that connects multiple pictures. They might be part of a collection, have a similar frame style, or use a standard color scheme. Such groups of artwork or photographs are suitable for less formal rooms.
Not only the pictures themselves, but also their arrangement determines what kind of impact they create. For creating a formal look, go with a precise grid arrangement. A group of pictures set within a rectangle or square provides a casual but orderly appearance.
Another basic principle is to center an art piece collection horizontally between two points, which creates a feeling of balance. Additionally, a strong centerline between larger frames and smaller ones is suitable for more contemporary-looking images. Pair this with jagged lines at the top and bottom to accentuate the arrangement.
A symmetrical arrangement of photos is one of the best techniques and requires you to hang multiple pictures with similar sizes, shapes, and subject matter. It helps create a balanced visual grouping and is ideal if you want to arrange pictures around a focal point, such as a fireplace or furniture.
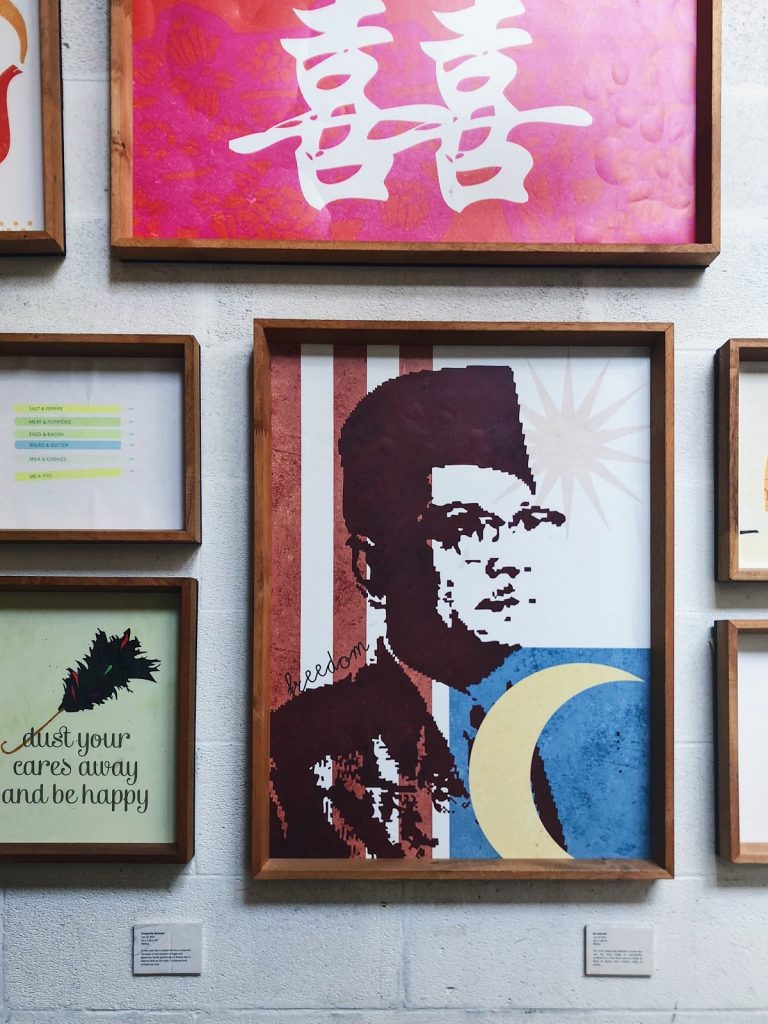
To hang a large collection of pictures that are dissimilar but have a common element, like a similar color scheme or subject matter, using asymmetry is an excellent way. Including asymmetry and picking art pieces that are not the same size can also help bring an organic feel to your gallery walls.
This technique is one of the most commonly used ones for larger staggered pieces. Staggering can be done by placing one picture lower than the other so that the top and bottom do not match.
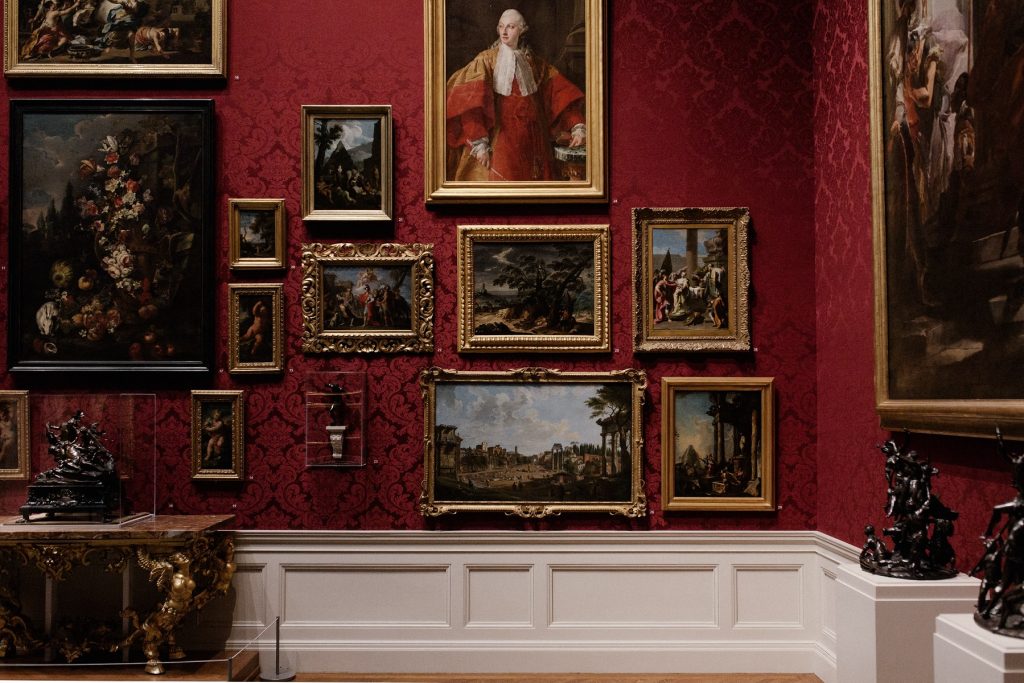
Utilizing a color palette can be very useful for those who want to experiment and enjoy a curated look. For best results, try to ensure that the pictures have similar intensity and tone. For instance, for a vintage photo gallery, go with blue, gold, and neutral colors.
One principle that comes in handy while arranging pictures is that photos arranged over furniture pieces should be about 50-75 percent of the width of the furniture. For framed pictures, start by placing the biggest picture in the collection first.
Larger pictures deserve a prominent position in the room, especially since the eye automatically reaches large objects first. When you hang large pictures in any space, they can also act as the room’s centerpiece.
In a smaller collection, place the biggest photo at the outer edges of the gallery or off-center but near the middle for larger arrangements. Ideally, the second-largest should be placed diagonally from the biggest one. It can be placed either on the same wall or on the opposite one.
To retain the viewer’s interest, ensure that there is an adequate balance between horizontal and vertical images. The largest horizontal pieces can be offset by placing smaller vertical pieces near them. From there, you can proceed onwards to the other pieces. It also helps create a break away from the mundane and creates an exciting and energetic look.
When grouping pictures in pairs, it is an excellent idea to hang pictures with their edges at ninety-degree angles to each other. The distance between any two pictures should also always be uniform throughout the arrangement.
Smaller pairings work better for crowded spaces, as they are much more versatile than bigger ones.
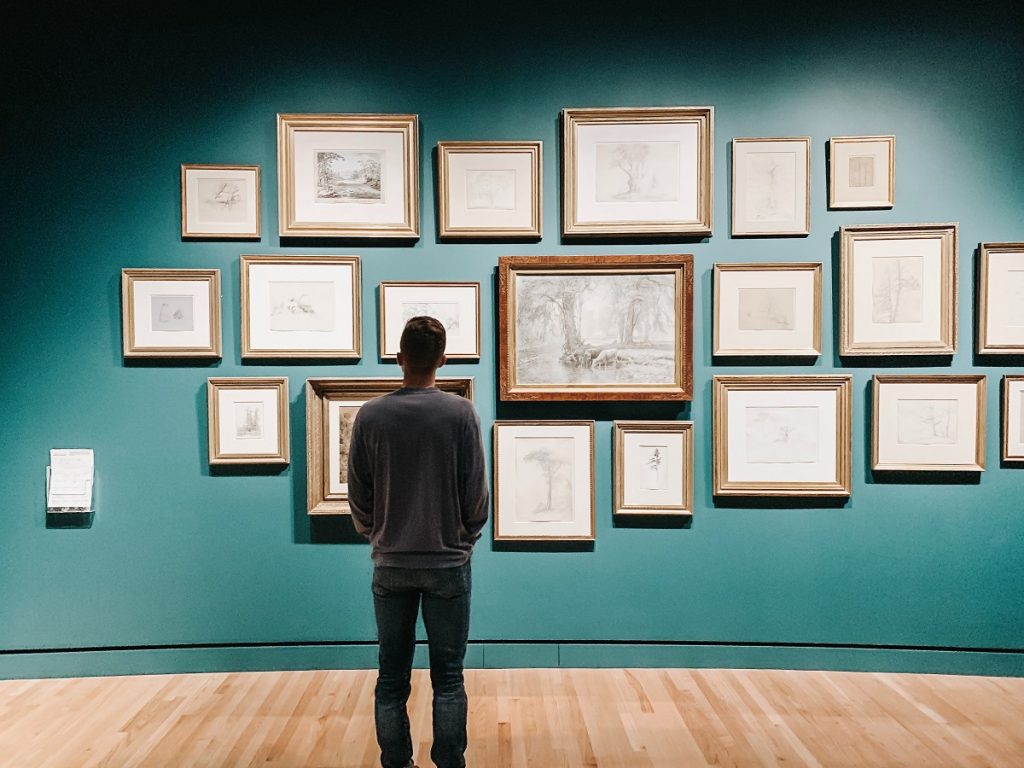
Multi-picture arrangements can be excellent for several different types of spaces, such as your family room, living room, or dining room. They can be grouped to create a visually pleasing arrangement for your living space.
Interior decorators often advise others to hang art that is suitable for that particular type of space. If the wall space is limited, use vertical or horizontal straight and neat rows with pictures of different sizes in a tight arrangement.
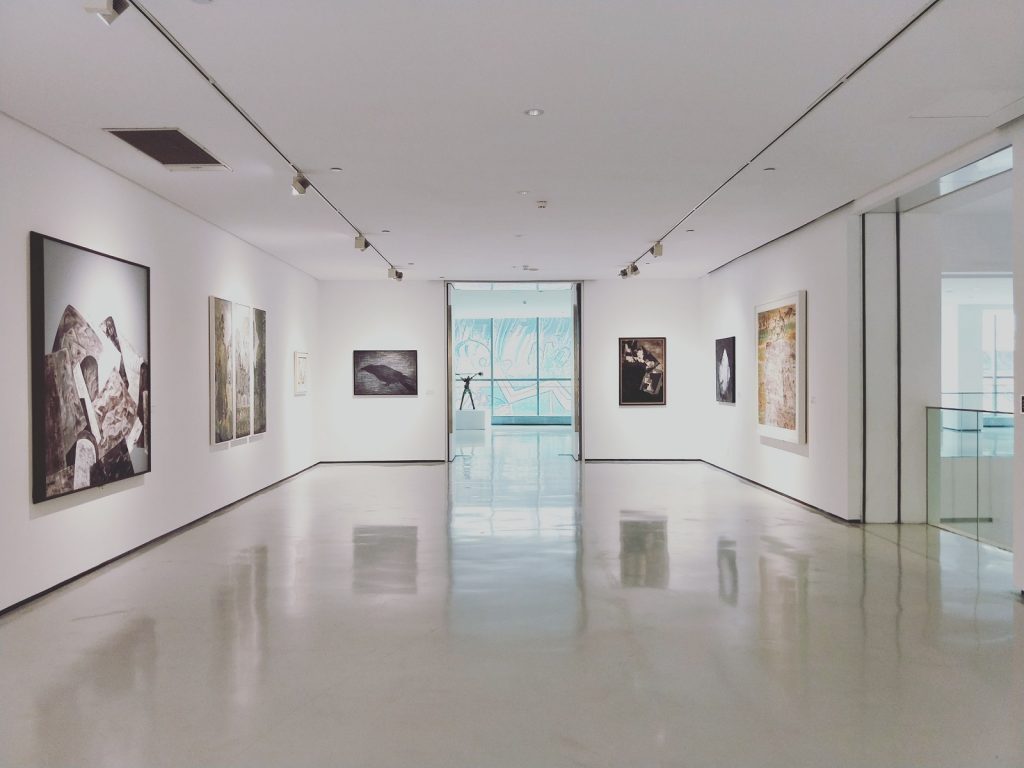
Alternatively, for a large wall, try incorporating art pieces along with larger photos in clusters. Such an arrangement can help create a modern feel and is suitable for formal spaces such as offices or studies.
Too many pictures can often create an overwhelming appearance. That is why it is best to start with fewer types of frames—having several different kinds of pieces can be of great advantage, as it can allow several different arrangement styles.
One common principle is to group pictures with similar kinds of frames together. It does not imply that every picture in the arrangement needs to have the same type of frame. It is an excellent option to have an overarching theme for the frames in one grouping.
To prevent chaos and confusion, start with three different frame styles. For instance, you could go with wooden frames, white frames, and black frames. Another option would be to go with two types of modern frames - simple black of white frames or different types of wooden frames.
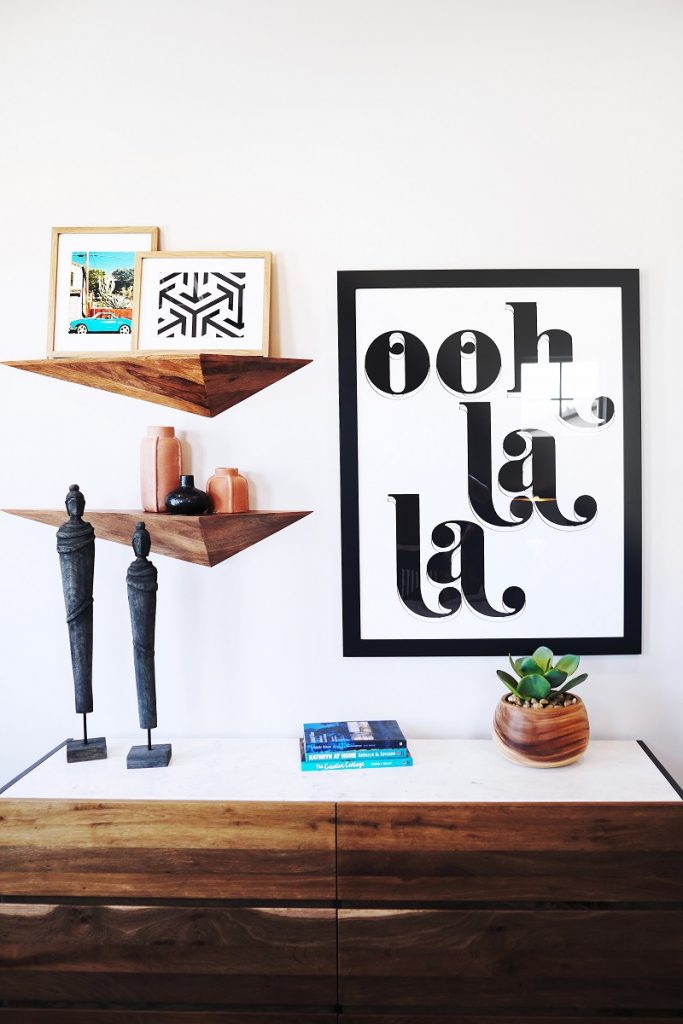
A picture gallery need not necessarily include only frame pieces. You can always include pictures that do not have frames to break up the monotony and create interest. Including a board painting or sculptural pieces are a great way to accomplish this.
Similarly, adding a variety of shapes and designs can also help shake up the wall space. Try using an oval canvas, round piece, or embroidery in its hoop for creating a visual break from a grid-like pattern.
Hanging different-sized photos together in an asymmetric manner helps generate energy and interest.
Arranging pictures in even numbers is also a highly popular method. It involves hanging pictures in a square or a rectangle, ensuring that the spacing between them is even. For tight spacing, the distance between photos can be between one to two inches. On the other hand, the standard spacing is between four to six inches.
The ideal spacing between photos should be two or three inches, while the maximum distance should be six inches. Such spacing helps create balance in the minds of the viewer.
In contrast to the previous method, this technique involves arranging pictures in groups of three. This odd number arrangement should be combined with vertical picture placement for creating an attractive and attention-grabbing space.
Such an arrangement is most suited for areas like sofa walls or hallways. Tall and narrow photos can help you create volume without creating an overwhelming crowded appearance. In such cases, using pieces in odd numbers can create a much more appealing look.
When using an odd number of photos, try placing them four to six inches apart from each other.
This method is one of the modern techniques used for placing pictures on walls for creating a photo gallery. If you want to provide an elevated look to your picture frames, floats are the best way to accomplish that.
Float mounts can easily be used on all sorts of decorative pieces, such as polaroid photographs, stamps, keys, and more. Also, contrary to popular belief, float mounting is a straightforward process.
There are several free design services where you can send your photos and pictures to get them framed. Or, purchase some shadow box display cases or frames and use foam adhesive stickers for float mounting the images yourself.
One of the most critical aspects of art and decoration is the value of blank spaces, often called negative spaces. The space in a room is one of the elements that provides it with a unique personality. For instance, tall ceilings and large windows make you feel like you are in the chapel, etc.
Pictures should not come out as an obstruction to the natural space of a room. Try to prevent overcrowding, as it can create a cluttered appearance. Additionally, there should not be any competition for space among different pieces, such as abstract paintings, botanical prints, art prints, etc.
Also, keep in mind that the backdrop of the pieces is as essential as the pictures themselves. If one section or wall has great wallpaper, one option is to leave it free of any pieces. It can create a statement by itself.
An ostentatious and large picture hanging over a dining table or smaller, similar pictures along a long wall — art pieces can light up the room. And while it may seem like a straightforward task, arranging framed prints to create the perfect picture gallery is easier said than done.
On that note, this guide and our tips and tricks can come in handy. So, go ahead, and find the perfect combination that will help establish a connection between all the elements in any space.
And once you find the most suitable technique, you will have a wall covered with art that is sure to impress visitors at home or in the office. Until next time!
How To Get Poster Putty Off Walls