Expertises: Art, Pastel, Brush, Drawing, Pencil
Updated on

Inspiring Ideas for Modern Home
The most common types of watercolor techniques for beginners include the wet-on-wet technique, dry brush method, and wet-on-dry technique. Lifting, layering, glazing, and the salt technique are a few additional watercolor techniques through which artists can create an enticing artwork. An understanding of the various concepts of color theory makes the overall process of creating watercolor art much easier.

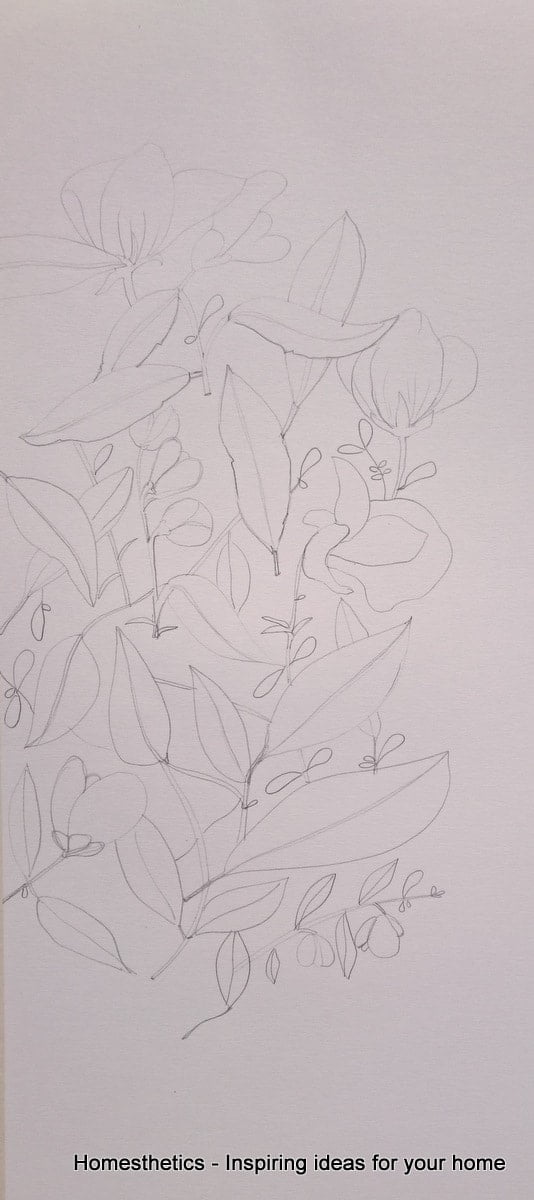
Understanding how to use different kinds of watercolor techniques can help you create a wide variety of elements in your vertical or landscape painting. From textures to transitions, every step can be smoothly established if you are well-versed in such techniques.
In this article, I will be walking you through the basic watercolor techniques for beginners through which you can easily create beautiful art using watercolors. I will also be touching upon the concept of color theory.
Let’s get started!
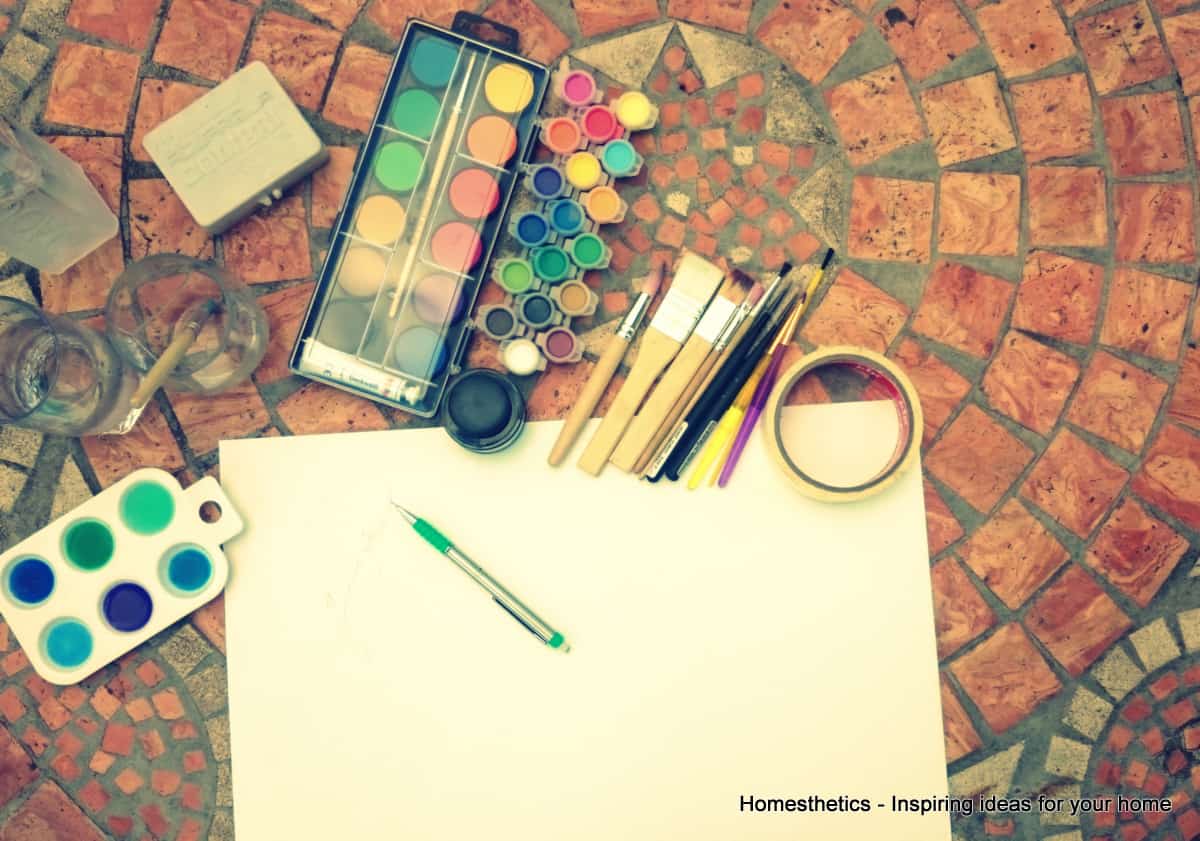
One of the first and most vital materials that you need to get started with watercolor painting is a decent set of paints. There are a variety of options available on the market, and you can choose the one that suits your needs the most based on factors like the diversity of colors and brands.
If you do not have much experience with watercolors, you may have to go through your share of trial and error to land on the perfect set of watercolor paints.
While you may want to use any kind of paper lying around your house to create art, it is best to stick to watercolor paper when trying to learn the basic watercolor techniques for beginners. The texture and design of the papers in a watercolor painting book are manufactured in such a way that water-based colors do not damage them.
Another essential material required for learning the various watercolor techniques is a brush. One brush is not enough to learn the basics of such techniques. As you will go through the section that covers these watercolor techniques, you will realize that creating a watercolor painting requires you to use more than one brush.
Hence, you should have at least the three primary sizes of a brush handy. These include a small, a medium, and a large-sized brush. The varying widths of the watercolor brushes will help you establish different tasks.
For instance, a big brush can be used to paint a large area whereas a small brush will help you when you want to outline a drawing. You may also use a combination of different types of brushes, such as fan, angular, flat, and linear brushes, to create a variety of effects.
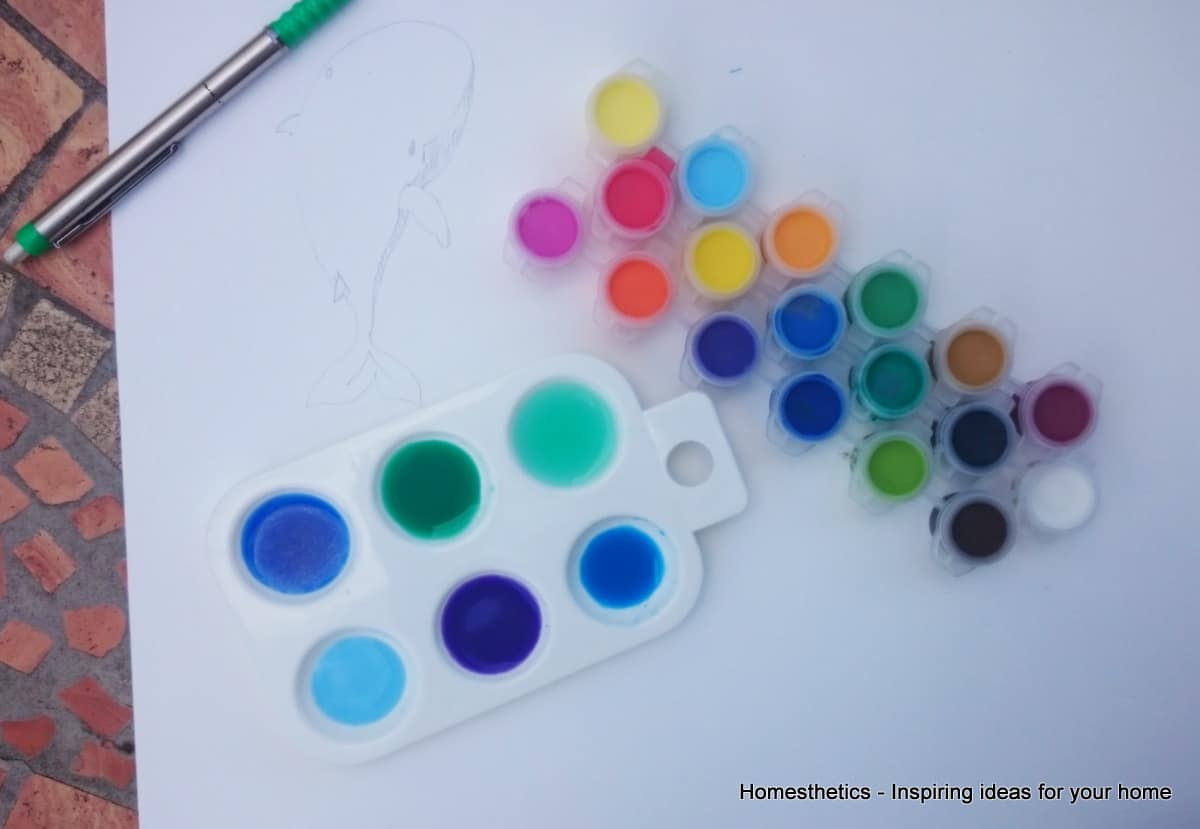
A palette is a base that is used to hold all your paints. Its function also includes acting as a surface for all your mixing requirements. Hence, you can create new colors by mixing two or more pigments on such palettes.
There are a variety of palettes available on the market, and you can choose one that fits your needs the best. For instance, you can either go for the traditional plastic palettes or its metal alternative. If you cannot arrange a palette, you can use substitutes like paper plates too.
If you have ever used watercolor to paint before, you must be aware of how quickly the brushes get dirty. After all, they are constantly dipped in different shades and colors, which leads to accumulation of debris on the bristles.
All watercolor painters keep a water container by their side to clean their brushes. Moreover, water is an important medium that helps watercolors spread easily on the paper, allowing you to paint with ease.
Tip
Keep a paper towel handy as watercolor can be a messy method of painting. You can also use paper towels to add variety to your watercolor painting by creating designs and patterns.
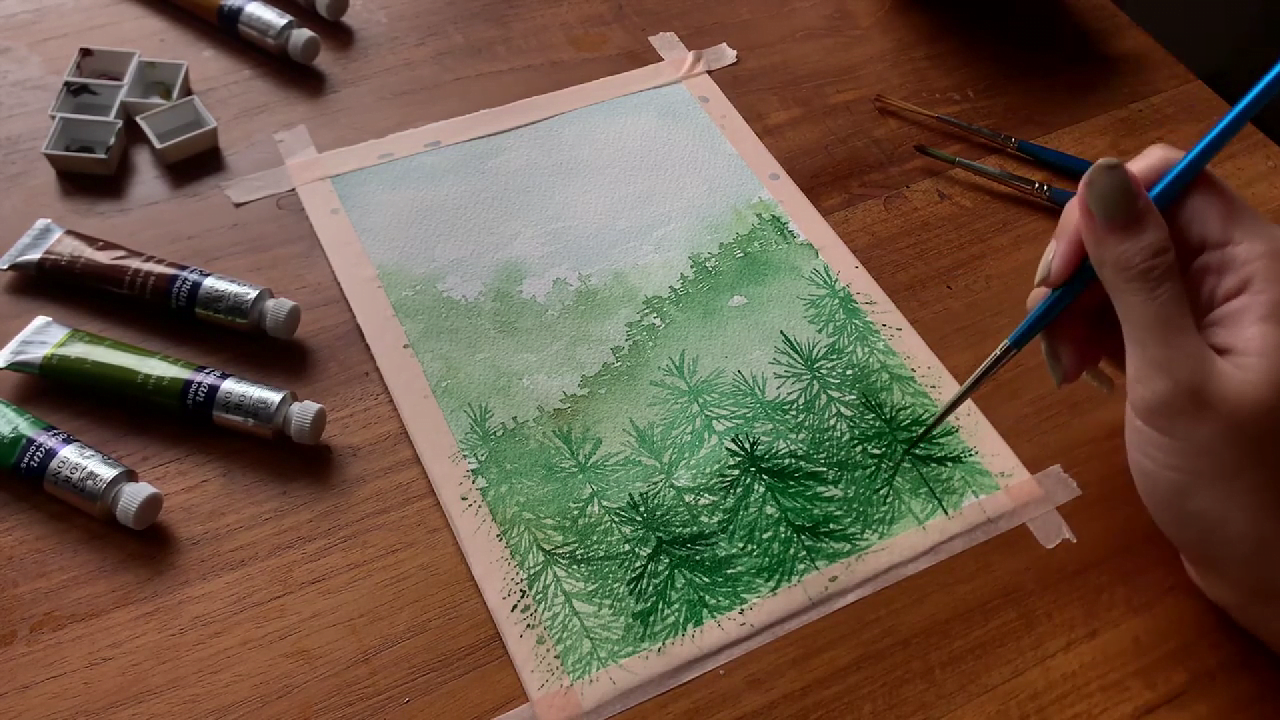
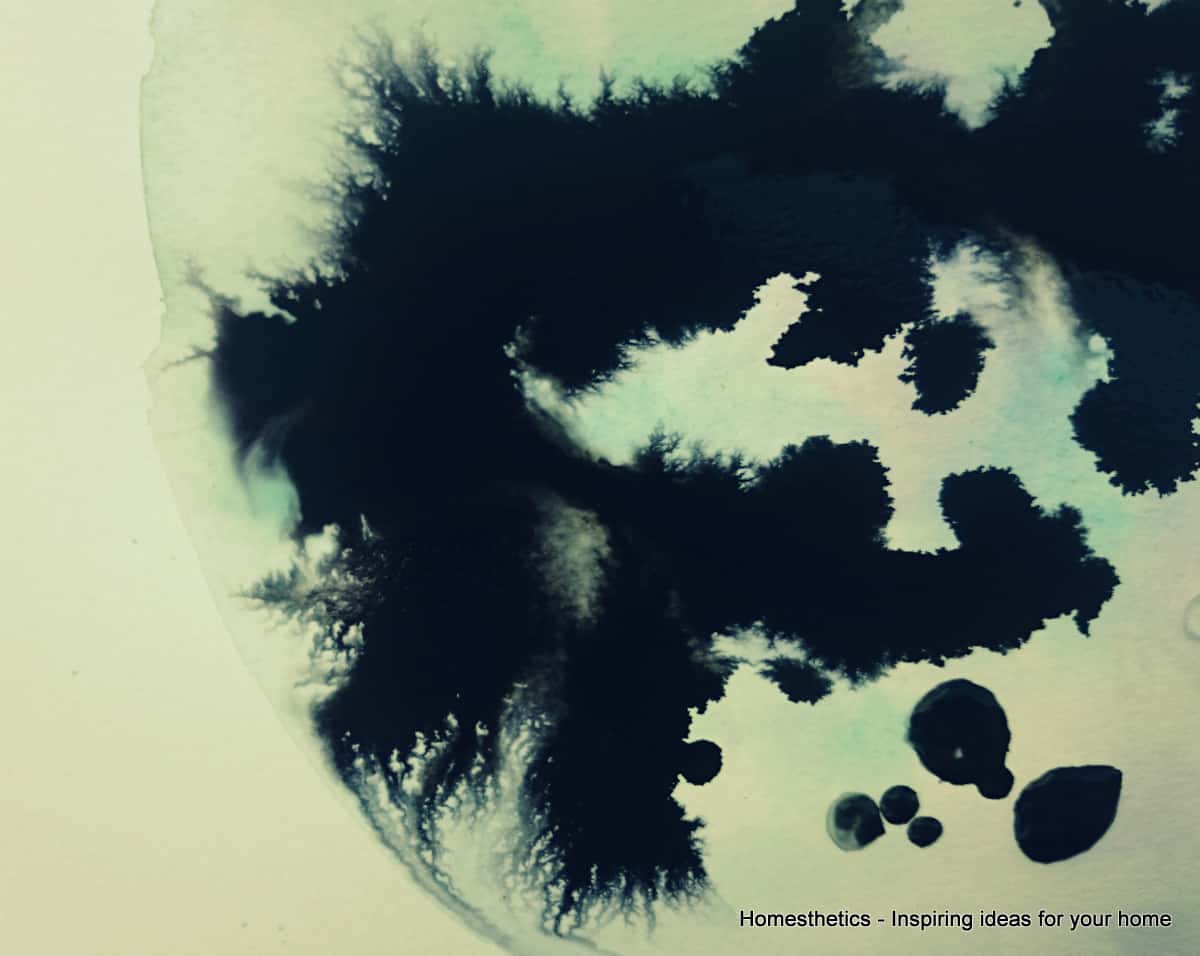
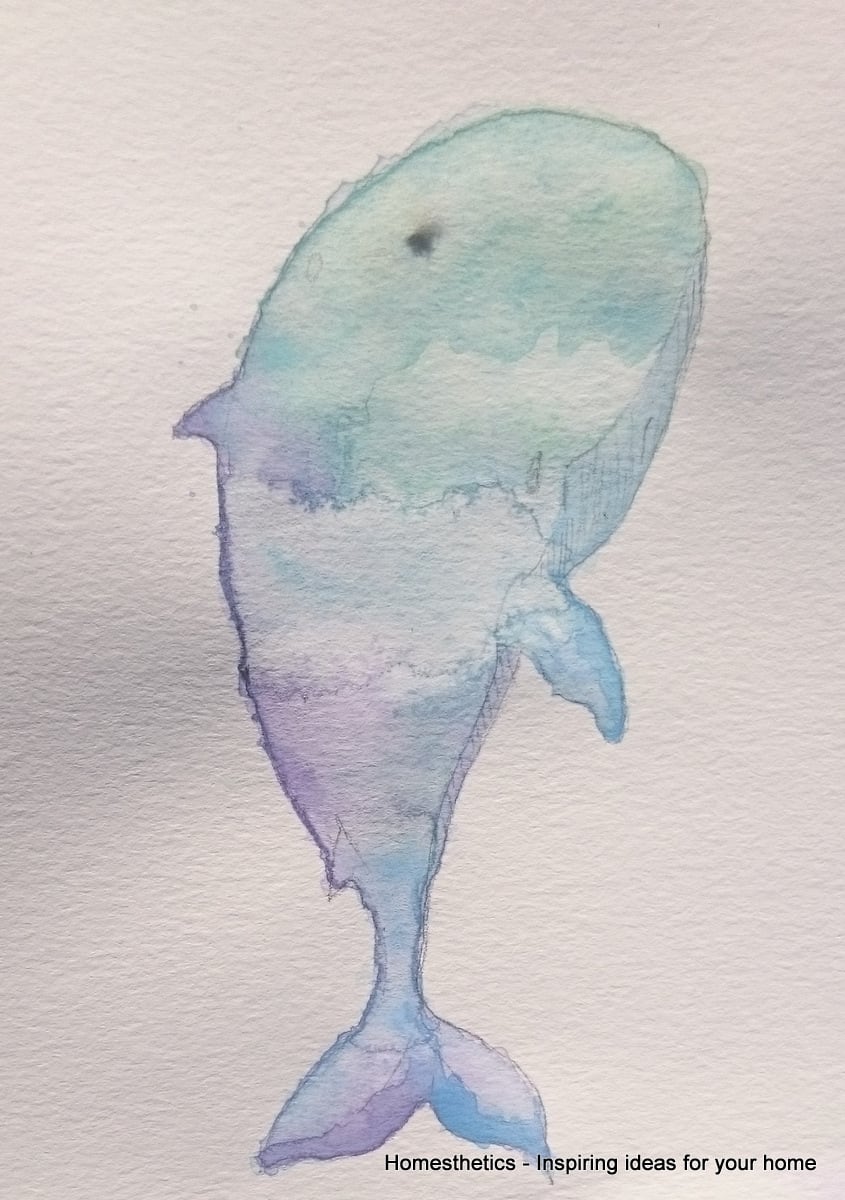
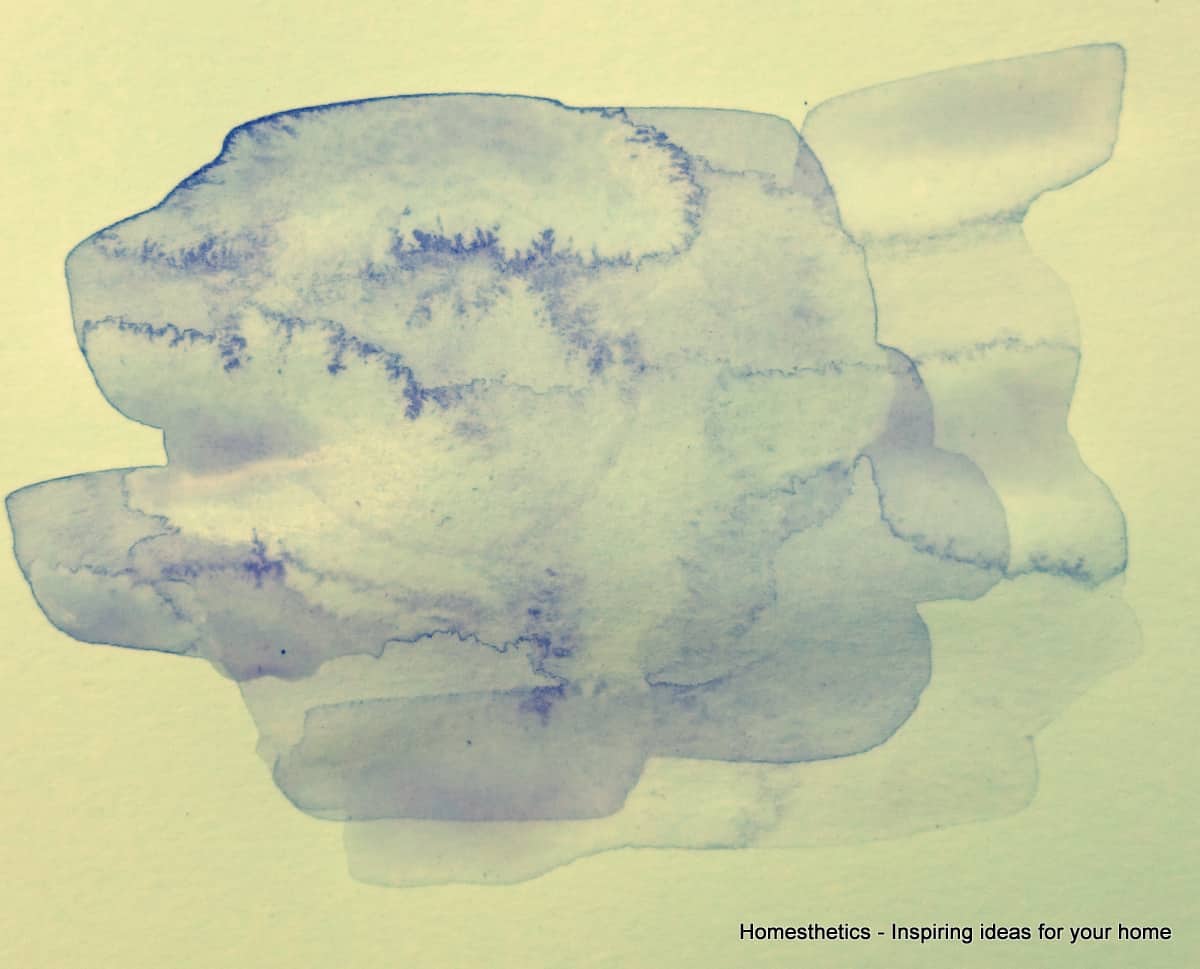
Whenever you wish to create a soft and blended effect in your artwork, it is best to use the wet-on-wet technique. As the name suggests, this method requires you to apply wet paint on a wet surface. You may need to apply a masking fluid to protect the white areas of your art while using this watercolor technique.
This method is most commonly used for creating soft and natural transitions between colors. The colors spread easily on wet paper, which is why this technique is also used for painting a sky or clouds.
Step-By-Step Guide To Practice The Technique
Step 1
Use a spray or paintbrush to carefully wet the paper with clean water. You need to carry out this step carefully, as an excessively wet surface might ruin the paper’s quality.
One might spray the water on the canvas, or use a damp paper towel to wet the surface. Keep this paper at a 45-degree angle for easy application of watercolors.
Step 2
Take your palette and mix the colors that you want to paint with. You can either create a color by mixing two pigments or apply the paint directly on the paper as per your needs.
Using a brush, dab the paint slowly on the wet paper. Rest assured of smooth application with no visible harsh lines.
Step 3
Once you add the first layer of colors, you can tilt the paper a little to cause the watercolors to spread on the paper. But I’d suggest refraining from doing this if you don’t want the colors to bleed into each other.
Additionally, ensure that the first layer of the paint dries out completely before you repeat the cycle of adding the second layer of paint.
Tips
Ensure that the quality of paper used is decent so that it can absorb water without getting ruined.
Paint as quickly as possible, so that the wet paper does not dry out while you are in the middle of carrying out the wet-on-wet technique.
Sometimes, you may be required to add texture to your paintings. In such cases, it is best to use the dry brush technique. It requires you to only use the dry brush and not wet it so that the rough look can be brought to life.
The ideal type of paper for using a dry brushing technique is the cold pressed watercolor paper. It allows you to create elements like fur, wood, and rough ground easily. This fun technique also ensures that the paint does not lighten in terms of saturation after drying.
Step-By-Step Guide To Practice The Technique
Step 1
Choose the correct brush to create the dry brushing effect. The best one to go for in this case would be a brush with firm bristles, ideally the ones that are made of goat hair.
You can also choose the brushes that you have had for a while now since they must have absorbed a decent amount of moisture over time, thereby becoming firmer in texture.
Step 2
Make a thick paint mix and dip your brush in it. Use it to apply watercolor on a dry piece of paper. Then, create soft and quick brush strokes on the paper to give your painting a rough and textured touch to it.
Step 3
Keep adding the strokes until you feel the need to stop. Using this technique, you can also create highlights and other relevant details to the background of your painting.
Tips
Use a decent quality of paper to paint on because dry brushing may tear thin or poor quality papers.
Do not add excess paint to your brush to have more brush control over the creation of strokes in your painting.
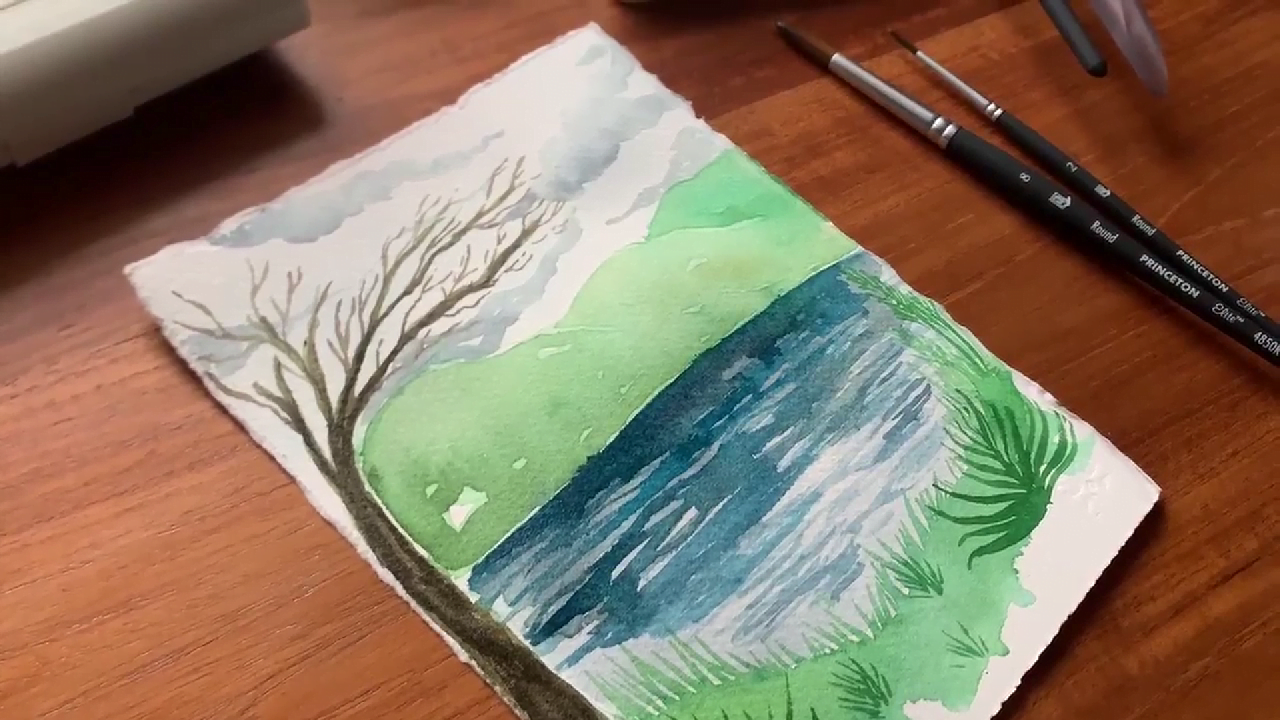
As the name suggests, the wet-on-dry technique requires you to use wet paint on a dry surface. This is the best method for beginners since it gives them a decent amount of control over the movement of brushes and paints on paper.
If you want to create a defined and crisp painting that has all its elements well defined, then you should practice mastering the technique of wet painting on a dry surface.
Step-By-Step Guide To Practice The Technique
Step 1
Take a dry sheet of paper. Wet the medium-sized brush that you will be using to create your watercolor art in clean water, and then dip it in your desired shade of watercolor.
Step 2
Apply smooth strokes to create defined shapes of the figure that you want. Since the surface of the paper is dry, you will be able to easily apply the watercolor in whichever direction you want.
Step 3
Once the paper dries out, add the next layer of paint to it. Watercolor fades to a lighter tone after drying when applied using this technique, so you might be required to layer the colors more than once to create a smooth and opaque finish.
Tips
Don’t wet the brush too much because an excessive amount of water may hamper the process of creating well-defined figures.
To prevent different colors from mixing or bleeding, add the next layer of paint only when the previous one dries out completely.
Why do some colors suit certain elements of art better than others? It happens due to color theory, which is the study of how different colors work with each other and how humans perceive them. Before you start exploring the various watercolor painting concepts, it is crucial that you are aware of this theory to produce better art pieces.
Colors symbolize different things, thereby affecting human emotions. The understanding of this concept helps designers and marketers create designs that people can relate to and connect to on a personal level.
For instance, red and yellow are known to induce appetite - that is the combination used by food outlets such as McDonald’s in their logo. This theory also involves understanding how different primary colors are mixed to formulate the differing shades of secondary and tertiary colors on the color wheel.
The three primary colors - red, yellow, and blue paint - do not need to be mixed with any other pigment to be created. On the other hand, secondary colors are formed by mixing an equal ratio of two primary colors in a balanced amount.
An example of this basic mixing can be mixing red and yellow paint to create an orange pigment.
Similarly, when we mix a secondary and a primary color, we obtain a tertiary color. For instance, if you mix blue, which is a primary color, with green paint, which is a secondary color created by mixing blue and yellow - you can create the shade of blue-green.
Understanding the concept of complementary colors and color theory can help you create a more suitable piece of artwork for your audience.
Complementary colors are nothing but the colors that lie opposite to each other on the color wheel. These opposite colors, when used together as a combination, give a more vibrant touch to your watercolor painting.
It increases the contrast of your designs as well. A few examples of complementary colors include pairs of red and green, yellow and purple, and ultramarine blue and orange.
You can use warm and cool colors to accurately depict certain emotions through your art by setting its mood. Colors like red, yellow, brown, and orange fall under the category of warm colors. Such tones are used to give off the emotion of passion and energy.
On the other hand, colors like blue, green, and purple are cool colors. Hence, they can be used to symbolize the emotions of calmness and peace. These shades also create a sense of objects being placed far away in the painting.
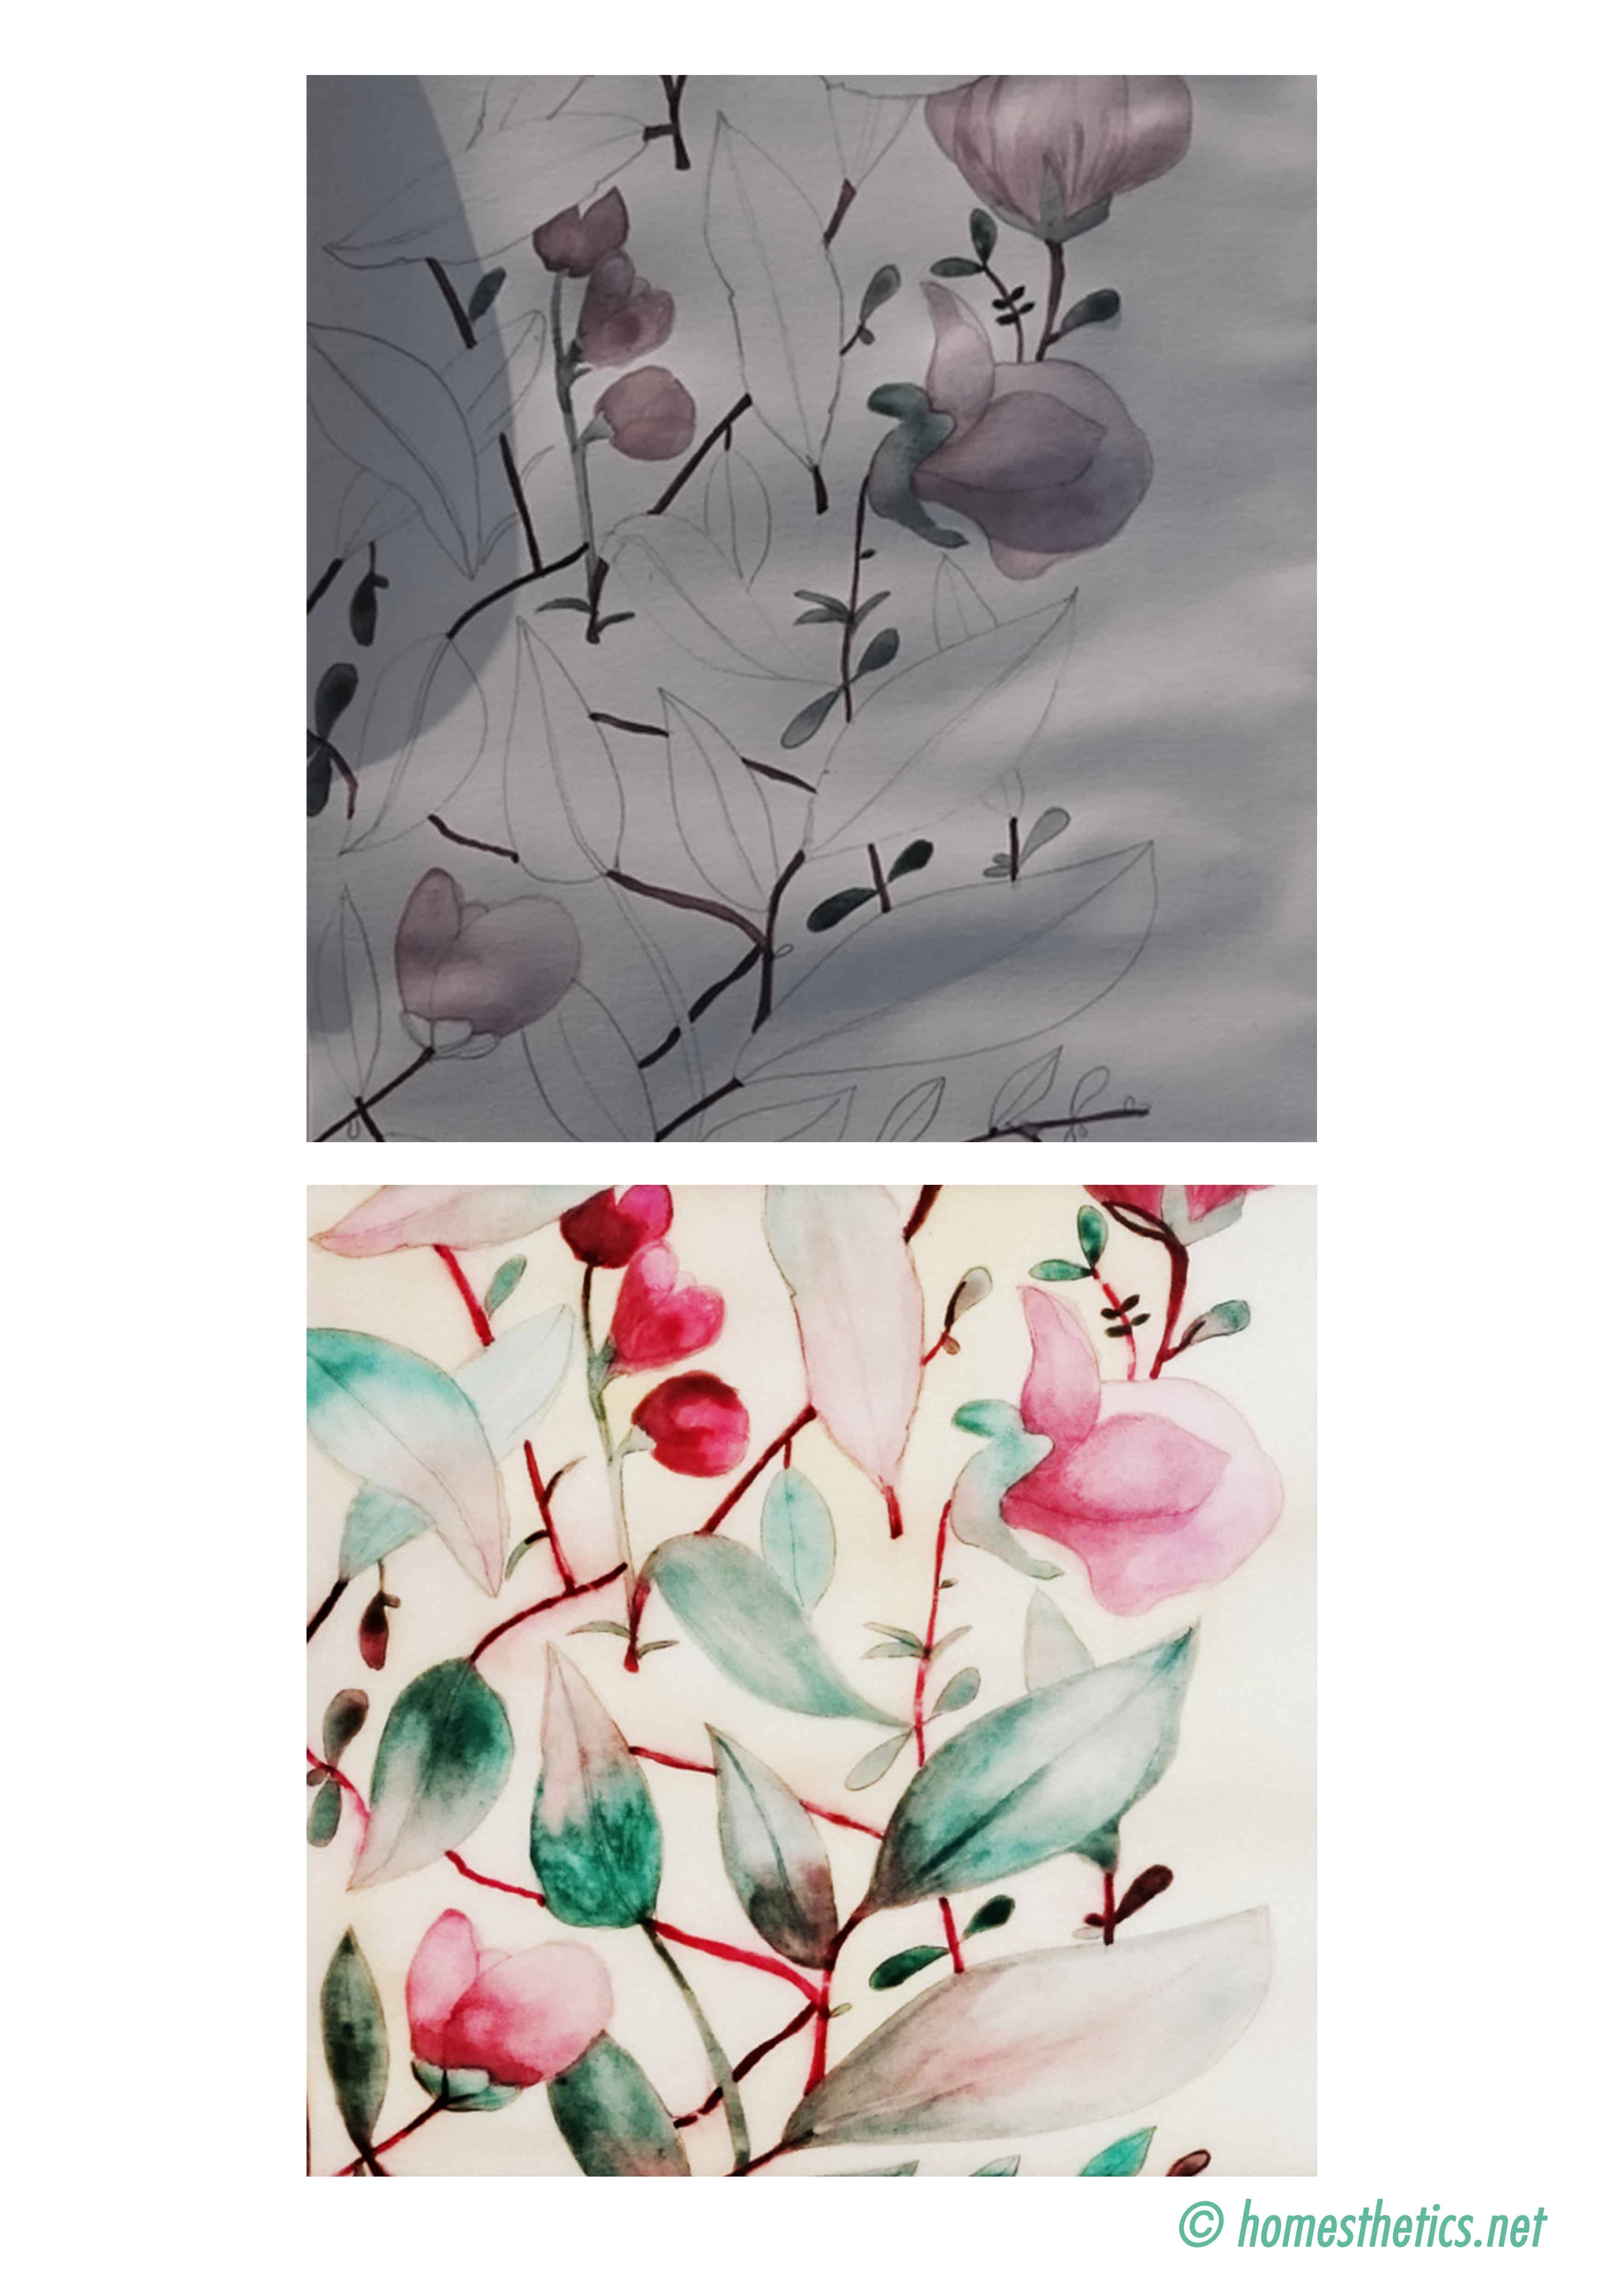
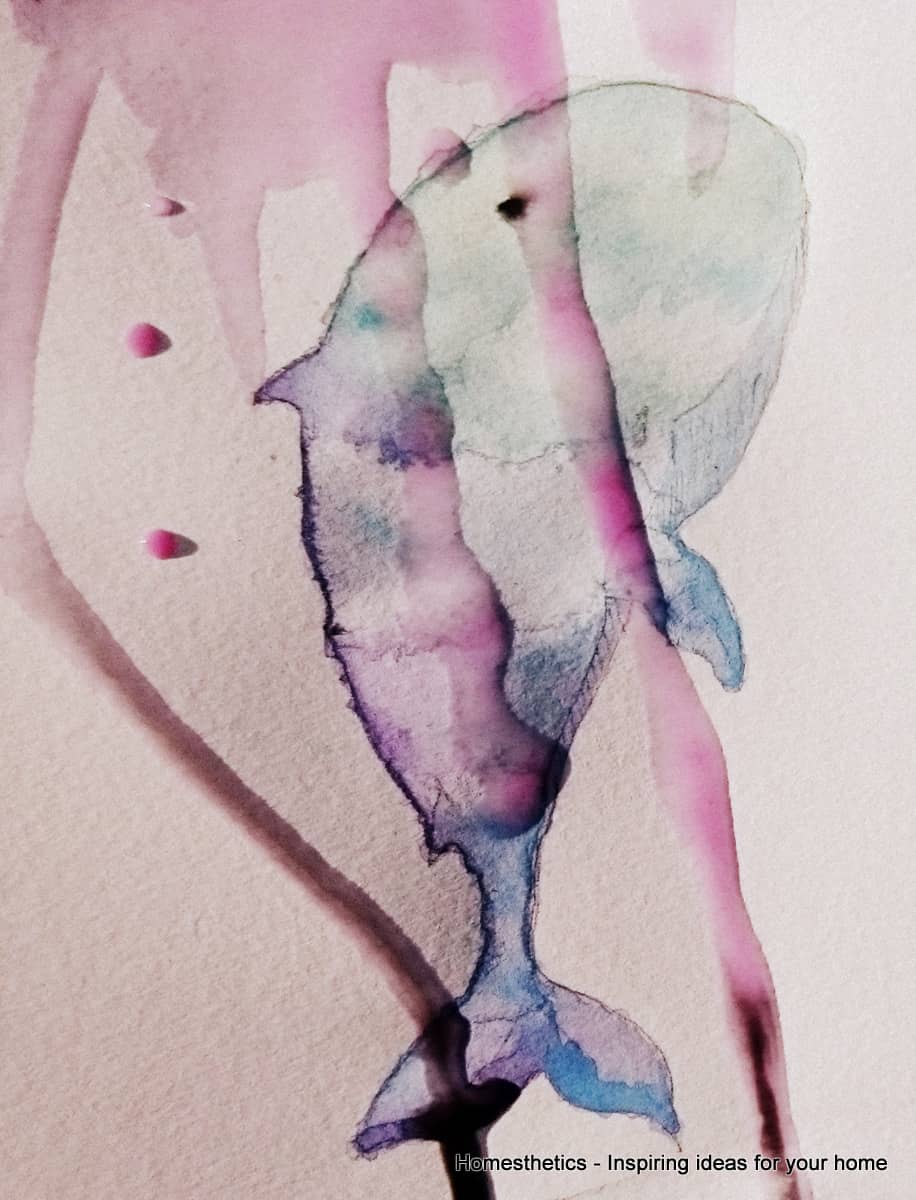
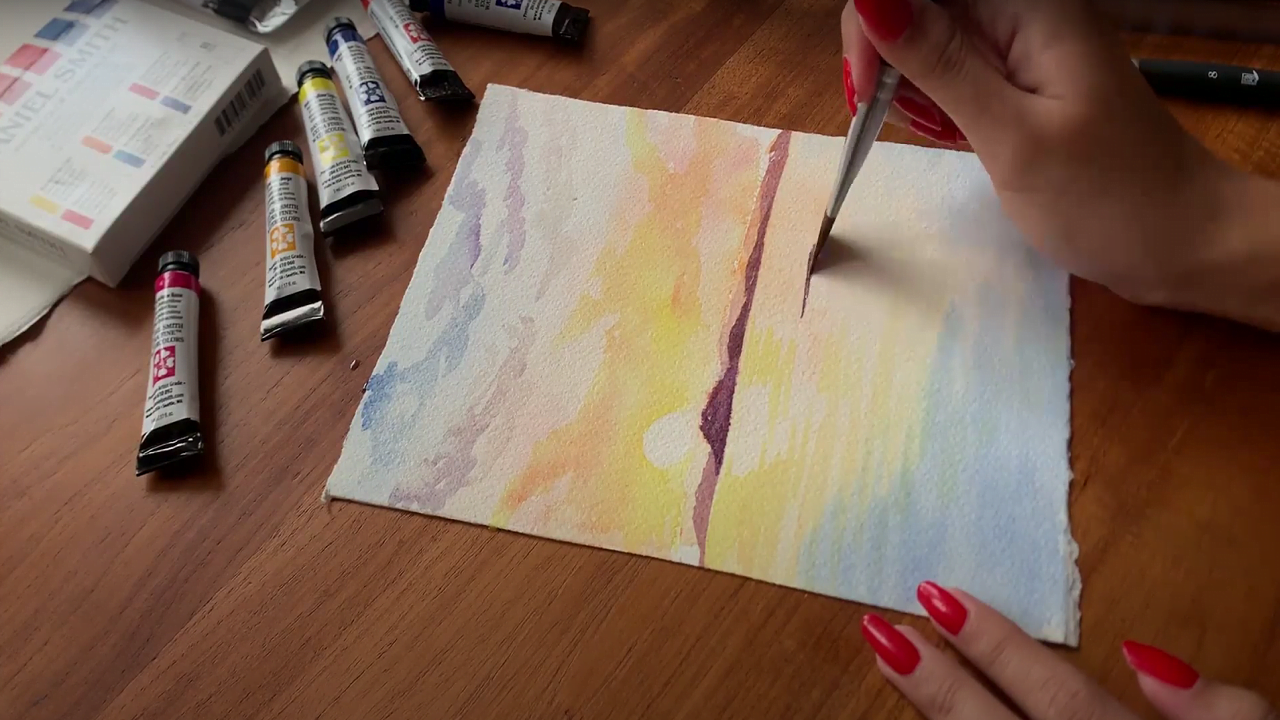
If you need to create a sense of depth in your painting, or maybe add a layer of shimmer to it - glazing is one of the best watercolor techniques to do so. It involves applying a thin layer of watercolor paint over your painting, such that it appears close to being transparent.
Glazing can help you establish a variety of tasks, such as adding a rich layer over your entire painting to create a layered effect. You can also enhance a certain section of your painting to make it stand out by glazing it.
No one is perfect, which is why it is common for even veteran painters to make a mistake while creating their artwork. Fortunately, watercolor techniques like lifting can help them correct such mistakes easily.
To carry out this technique, all you need to do is take a wet brush or a paper towel and blot it over your painted paper to take off the extra little pigment from it.
You can also purchase a specialized lifting tool for a more precise result. While it is a popular technique used for rectifying the mistake of adding too much pigment, you can also use it to add highlights.
Layering is another commonly used watercolor technique, which requires the artist to add layers and a flat wash of watercolor paint on top of an already existing layer. It is used primarily to enhance a few sections of the painting, create depth, and for adding texture to paintings.
An important thing to note about layering is that you need to wait for one layer to dry out completely before you put the next layer of watercolor paint over your art. This would ensure that the colors of your painting do not mix and bleed.
If you like giving interesting textures to your paintings, you need to try the salt technique! You need to apply paint on your paper for this and keep it wet by sprinkling a generous amount of water on it.
Next, sprinkle a decent amount of salt over the region where you wish to create the textures. The size and shape of the salt crystals will influence the design of textures formed in your watercolor painting.
Let it dry overnight. Then, remove the salt by rubbing your fingers over the textured paper. And voila! You have created an interesting textured effect.
There are various kinds of watercolor brushes. The most common ones include round, flat, fan, mop, detail, and angle brushes. You should keep them clean at all times, and reshape the bristles of your brushes to ensure that they don’t dry out. Additionally, brushes may be categorized based on their size. Hence, there are small, medium, and large brushes as well with varying widths. You may use either of them based on factors like the area that you wish to paint. For instance, you should use a large brush while painting the background of your painting and a small brush for precision. To achieve your desired shade of color, you should always start by mixing a small amount of the necessary colors on your palette. It is important to not take a large amount directly, since there is no guarantee that you will create the shade that you want on your first try itself. You should also use water to dilute the watercolors as and when required. Even after you feel satisfied with the shade that you have created on your palette, it is best to test it out on a piece of white paper first to ensure that it looks like the shade that you were aiming for. You can easily create interesting textures and effects using different watercolor painting techniques, such as dry brushing. This method requires you to dip your dry brush in paint and create a thick stroke directly on dry white paper to give off a textured and rough look. Similarly, you can use other watercolor painting techniques such as the wet-on-wet method to create soft transitions and salt watercolor techniques to create a textured background. You may also create a look of splattered water using the splatter method, or use the method of scratching with a sharp object such as a toothpick to create textures like grass or fur. One of the most common mistakes that people make when starting with watercolor painting is investing in cheap supplies. While buying high-quality paints and papers might seem too expensive, it is worth the outcome that you produce in the end. Another common mistake is not letting the paper dry out completely before adding the next layer of paint. The colors bleed into each other as a result. You should also not forget to clean your brushes routinely using water and wiping them with a dry paper towel. One of the best ways to care for your watercolor brushes is to clean them right after you are done with painting. This will help you prevent any form of buildup on their bristles. Similarly, you should also reshape your brushes regularly and store your materials properly to avoid any form of damage. It is also crucial to take care of your color palette. Since you will be mixing different shades on it, you should ensure that it is clean at all times to avoid compromising the desired shades. You can use watercolors on other surfaces besides paper too. However, most of them need to be compatible with this form of paint. For instance, you can use watercolor paints on surfaces, such as boards and canvases that are specially designed for this medium of paint. Apart from that, you can use watercolors on porous surfaces like wood and textile. However, you may be required to prep some of these surfaces by priming them a bit so that the colors don’t seem dull. Knowing when a watercolor painting is finished depends significantly on your personal goals. It is best to step back and check out the various aspects of your painting to assess whether or not they are balanced up to your desired level. For instance, if you are making a realistic painting, you might want to evaluate whether or not your work is finished by seeing if the art needs any more detailing. Similarly, you can assess the tones of your watercolor painting and adjust the areas that seem to sway away from the intention that you had in mind. Many free tutorials on YouTube can help you learn and improve your watercolor painting skills. You can also find relevant resources on platforms such as Quora and Reddit, where people share their experiences of anything new that they try out or take a course on reputed platforms. FAQs Related To Basic Watercolor Techniques For Beginners
What are the different types of watercolor brushes, and how do I use them?What is the best way to mix watercolors to achieve the desired color?How do I create different textures and effects with watercolors?What are some common mistakes to avoid when starting with watercolor painting?How do I care for my watercolor brushes and other materials?Can I use watercolors on other surfaces besides paper?How do I know when a watercolor painting is finished?Where can I find resources for further learning and improvement in watercolor painting?
Although watercolor paintings are a visual treat, the watercolor techniques to create the same may seem a little difficult to master. However, with the right amount of dedication and practice, you can easily use these watercolor techniques to paint your ideal form of artwork.
The best way to apply all these watercolor techniques is to use them as a combination of more than one method. This will allow you to create a wide variety of elements on one sheet of paper itself.
The basic watercolor techniques for beginners include wet-on-wet and dry wet watercolor techniques, dry brushing, layering, and lifting. Apart from them, you can use the salt technique or glazing to add an interesting texture to your paintings.
With that, I have reached the end of this article. Feel free to share your creativity through watercolor paintings as you experiment with the different watercolor techniques mentioned above.
Goodbye for now!