Expertises: Art, Painting, Drawing, Home improvement, Gardening
Updated on

Inspiring Ideas for Modern Home
A high or low thermostat setting prevents the room temperature from matching the device setting. Other reasons include dirt and debris buildup, improper location, inadequate capacity or number of thermostats, wiring and calibration issues, and loss of power.

When it comes to beating the summer heat or the winter chill, nothing comes close to an efficient HVAC system.
But sometimes, it may happen that your air conditioner is not performing as well as it should. And the room does not cool or heat properly even after adjusting the thermostat to the lowest or highest settings.
This guide aims to help you know why this problem occurs and how it can be resolved.
You may think there is something wrong with your thermostat if it's blowing air warmer or cooler than the set temperature. But in reality, it may be working just as it should.
To understand why this happens, it is vital to understand how an AC unit works.
Contrary to what many people believe, an HVAC system does not work by producing cool air. For cooling purposes, it removes heat from the air, making it cooler, and circulates this cooler air throughout the room.
Depending on the size of the area to be cooled, this process can usually take a while. So, it may be some time before the temperature within the room matches the thermostat setting. Aside from that, there is a limit on the cooling capabilities of air conditioners, and in almost all cases, they can only bring down the temperature by 20 degrees.
That means cooling will remain ineffective if there is a difference of more than 20 degrees between the current temperature and your thermostat setting. Then, there might be a few other issues preventing your HVAC system from bringing down the temperature to match the thermostat setting, so let's look at them in detail.
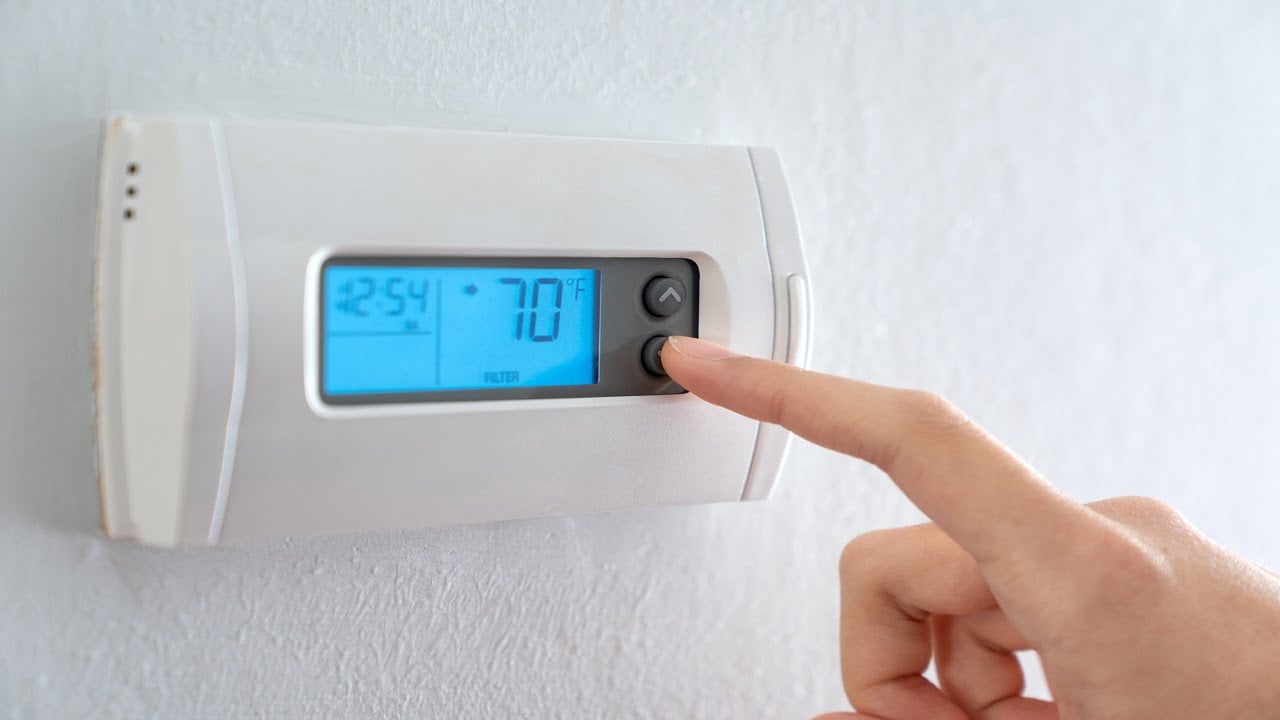
People often set the thermostat too high or low to speed up the cooling or heating process. As I explained above, setting the temperature value at an unrealistic level will not help.
If there is a big difference between outdoor and indoor temperatures, your HVAC system may not be powerful enough to provide effective results. Moreover, a very high or low setting will cause it to work harder and longer, which can cause damage and lead to higher power bills.
Another common issue that can prevent your thermostat from functioning properly is dirt or debris, which can collect over time on the interior. When dust, dirt, and debris build up inside the thermostat, they can block its temperature sensor, preventing it from getting an accurate reading of the temperature.
Thus, the thermostat will heat or cool the area depending on its inaccurate temperature readings, which may not make much difference.
Your thermostat may be located somewhere where it is exposed to certain factors that can affect its working. For instance, if it is located close to doors or windows or near the ground, its temperature sensor may not function properly, and the thermostat readings will be inaccurate.
Similarly, placing the thermostat near appliances that tend to generate heat or where it is exposed to direct sunlight can have the same effect.
A thermostat should suit the size of the house to function optimally; otherwise, achieving the desired temperature will not be possible. For example, in the case of a very large house, a small thermostat will not be powerful enough to provide proper cooling or heating.
In such instances, the temperature of areas further away from the thermostat may remain unchanged even if the HVAC system has been running for a long time. Alternatively, a single thermostat might not be enough to meet your air conditioning requirements.
Wiring issues can be another cause of why your thermostat temperature setting does not meet the room temperature. Such issues can occur if the thermostat wiring is considerably old, but they may even occur with a newly installed thermostat.
In the former case, the wires may have worn out, leading to incorrect readings. On the other hand, if a new thermostat has the same problem, it might not be installed properly.
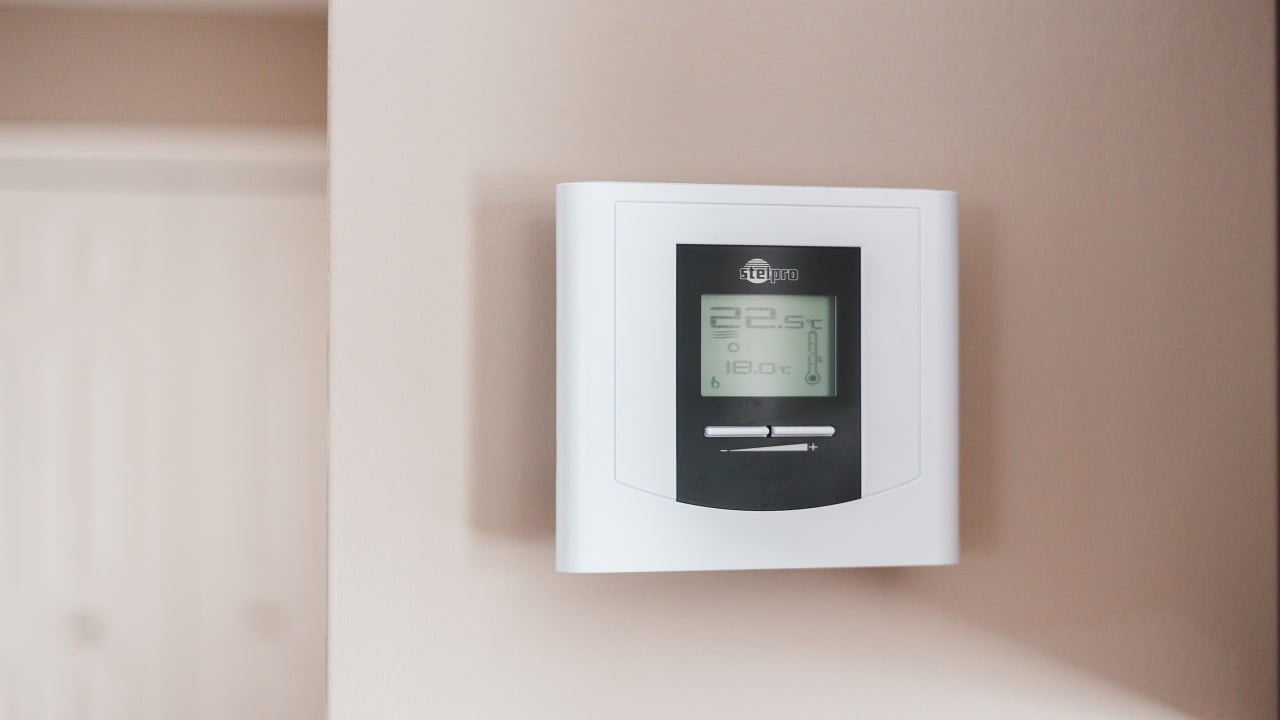
Sometimes, thermostat calibration problems can prevent a thermostat from sensing the room temperature correctly. It can happen with a device that was installed incorrectly or because of electrical issues, or even if the batteries have died. If you have a non-programmable digital thermostat, factors like sunlight or heat can also cause calibration issues.
A faulty sensor can affect your home’s temperature adversely. You can find out whether this is the case by using a manual thermometer to check whether it shows the same temperature as the thermostat. This will make it easy to know whether the inbuilt temperature sensor is functioning properly or needs repairs.
Several types of power-related problems can affect the functioning of your thermostat. For instance, the power supply may not be adequate, which can happen if the batteries are dying. This can easily be noticed as the thermostat display will start fading, the sensor may not function properly, or connectivity issues may arise in the case of a smart thermostat.
Power issues can also occur because of faulty wiring, regular wear and tear, or corrosion. These can cause the thermostat to function abnormally, resulting in short cycling or battery notifications.
This problem can take place if you have an older mechanical thermostat that relies on a mercury switch. Such switches should always be leveled properly for the thermostat to function normally. Otherwise, the mercury will flow towards one end, causing the air conditioner to turn on and off randomly.
Bimetal springs are another component of mechanical thermostats that should be perfectly horizontal to ensure accuracy.
Since HVAC systems are not completely sealed, the possibility of air leaks is extremely high. This means warm air from outside can enter easily, usually through ventilation or filtration systems, reducing the effectiveness of the thermostat. Locating such leaks can also be quite difficult.
At times, problems with your air conditioning equipment can prevent the HVAC unit from functioning to its full capacity. Such issues usually include debris buildup around the heat pump or a clogged air filter.
These can affect the functioning of the system, causing ineffective heating and cooling. The same problem can also occur with filters, pipes, and fan ducts.
For all of the above problems, taking the help of a professional HVAC technician is generally the easiest and safest option. But there are a few things that you can try out that might help resolve the issues.
If your thermostat setting is too high or too low, it won't be very effective. But this issue is pretty easy to deal with, and you just need to adjust the temperature setting to ensure it is not extremely high or low. Doing so will also help the HVAC system last longer.
If the problem is caused by a dirty thermostat, all you need to do is clean it. To do so, first, remove the front panel or thermostat cover, then use a dry cloth to gently wipe the interior parts. If you are unsure about how to remove the panel, check the owner's manual, which should contain instructions.
You can also use compressed air to blow away the dust, but avoid using water or a damp cloth as that may cause electrical damage. Once all the debris and dirt have been removed, put the panel back and turn on the system to check if it runs properly.
In case your thermostat is located near other appliances, a door, window, or floor, relocating it might solve the problem. However, this requires some expertise, which is why I strongly recommend going through your owner's manual to learn how to do so.
If you're unsure, getting an HVAC professional to reposition the thermostat might be best. Just make sure it is located in a central place, away from any openings.
A single thermostat with a small capacity may not be very effective for a large house. You can check the capacity by determining the BTUs (British Thermal Units) of the cooling and heating system. Then, check whether this capacity is enough depending on the square footage of your home.
An air conditioner requires 20 BTUs for one square foot of space. If your HVAC system lacks the capacity required for proper cooling and heating, consider replacing it with an appropriately sized unit or installing additional systems. For a smart thermostat, you can install more sensors throughout the house before connecting them with it.
In the case of an old thermostat, wiring problems tend to be the most likely cause preventing it from working properly. Alternatively, a new thermostat may be installed incorrectly, leading to this thermostat problem.
To verify the cause, you will need to remove the cover as instructed in the user manual and check for damaged or loose wires. Make sure that all wires are securely attached to the terminals, but working with damaged or faulty wires can be a bit risky.
So, if you are unfamiliar with such problems, calling a technician to perform the repairs might be a safer choice.
Many times thermostat problems can be fixed simply by recalibrating, and I suggest doing so at least once a year. Electrical problems and old batteries can result in a thermostat’s calibration issues, but they may even occur with new thermostats. This is because it takes time for the device to adjust according to the surrounding temperature.
The recalibration process of HVAC systems can vary depending on the brand and model, so check the user manual to learn about it. Follow the instructions provided to calibrate your thermostat, or alternatively, try replacing the thermostat batteries. You can also upgrade from a mechanical thermostat to a digital one that does not need to be calibrated.
Use a room thermometer to check whether the thermostat sensor works properly and shows the correct temperature. If there is a difference between the temperatures displayed by the room thermometer and the thermostat, you may need to replace the sensor.
Here, I would like to point out that sometimes replacing the sensor may not be possible, and you will need to invest in a new thermostat. Consult the manufacturer of your unit to find out whether this is the case.
Your heating and cooling system may be losing power due to various reasons, like worn-out wiring, corrosion, or dying batteries. I've already explained how to deal with damaged wires.
Similarly, you can get rid of corrosion by cleaning the affected parts, while with smart thermostats, dying batteries are a more common cause. In such instances, replace the batteries and check whether the room temp matches the set temperature.
But if these measures remain ineffective, replacing the thermostat might be your only option.
When the room temperature does not match the setting on a mechanical thermostat because of an uneven mercury switch, it will need to be leveled and straightened. To level the thermostat, remove the cover of the device and check that the sub-base is attached to the wall correctly.
Look for flat or notched sections designed to ensure a correct level, and make sure that the sub-base is completely horizontal. If this does not solve the problem, consider upgrading to a smart programmable thermostat.
Leaks allow air to enter the room, forcing your air conditioner to work harder without effective results. To detect them, check the ventilation system, and if you discover any leaks, use foil-faced tape to seal them up. In cases where detecting air leaks is very difficult, devices like fog machines can help.
But hiring an HVAC professional is a much easier process to locate and seal leaks.
Air filters, fans, and pipes that have become dirty and clogged with dust or debris should be properly cleaned. But even that may not result in your room's temperature matching the thermostat setting. This may indicate that the system might have broken components that need replacing.
When replacing them, make sure to use components compatible with your HVAC system. You can consult the manufacturer of the HVAC system or an HVAC technician when searching for the right replacements.
Many times thermostat issues can be solved by resetting the device, which restores the default settings of the unit. However, keep in mind that there are different reset procedures for thermostats from different manufacturers, so you should check the manual before proceeding.
Programmable thermostats need to be turned off before they can be reset, which requires removing the batteries from the device. You may need to remove the thermostat from the wall to access the battery panel. After removing the batteries, reinsert them backward, aligning the positive with the negative terminals and keeping them in that position for a few minutes.
Then, remove and reinsert them the right way. Check that the display turns on, which will indicate that the system has been reset.
As for low-voltage electronic thermostats, these lack digital displays and can also be reset by removing the cover. After removing the cover, clean the inside with a soft brush and adjust the setting to the lowest cooling level before cleaning with the brush again. Repeat the process after adjusting the setting to the highest heating level, then turn it on.
Then there are mechanical thermostats, which do not have a battery. You just need to remove the cover and check that all wires and components are working properly. After that, turn off the power source connected to the device before turning it back on after 30 seconds.
Finally, there are non-programmable digital thermostats, which are the easiest to reset; you just need to remove the face cover and press the reset button for five seconds. Or you can remove the batteries for five seconds before reinstalling them.
The problems preventing your HVAC system from providing the desired level of heating or cooling depend on several factors. These can include the age of the thermostat, the installation process, the size of your home, etc.
Knowledge of these factors can be very helpful in dealing with these problems, but it is always better to focus on preventing them from occurring in the first place. That is why proper maintenance is crucial, but there are several additional benefits of aircon upkeep.
Apart from preventing heating and cooling issues, regular maintenance helps improve the energy efficiency of the system leading to lower heating and cooling costs. In addition, it can ensure that the components last longer while performing better. So, make sure to get your HVAC system serviced at least once a year.