Joist hangers are one of the handiest and most efficient tools used while crafting wooden objects.
If you are not familiar with what this tool is, or you’re stuck in a rut thinking whether it's better than good old end nailing, then this informational guide is meant for you. Put on your handyman helmet because you’re in for a ride.
We’ll tell you everything you need to understand about both of these techniques and their use. After going through this guide, whenever your inner “Bob the Builder” will ask, “Can you fix it?” you’ll confidently be able to say, “yes, we can!”
If you’re wondering what you can build with wood, then our answer is “everything” because, seriously, the options are limitless. Okay, saying “everything” is a little vague, so we’ll get you started with a list of ideas to get your creative juices flowing.
Dig right in!
End Nailing vs Joist Hangers
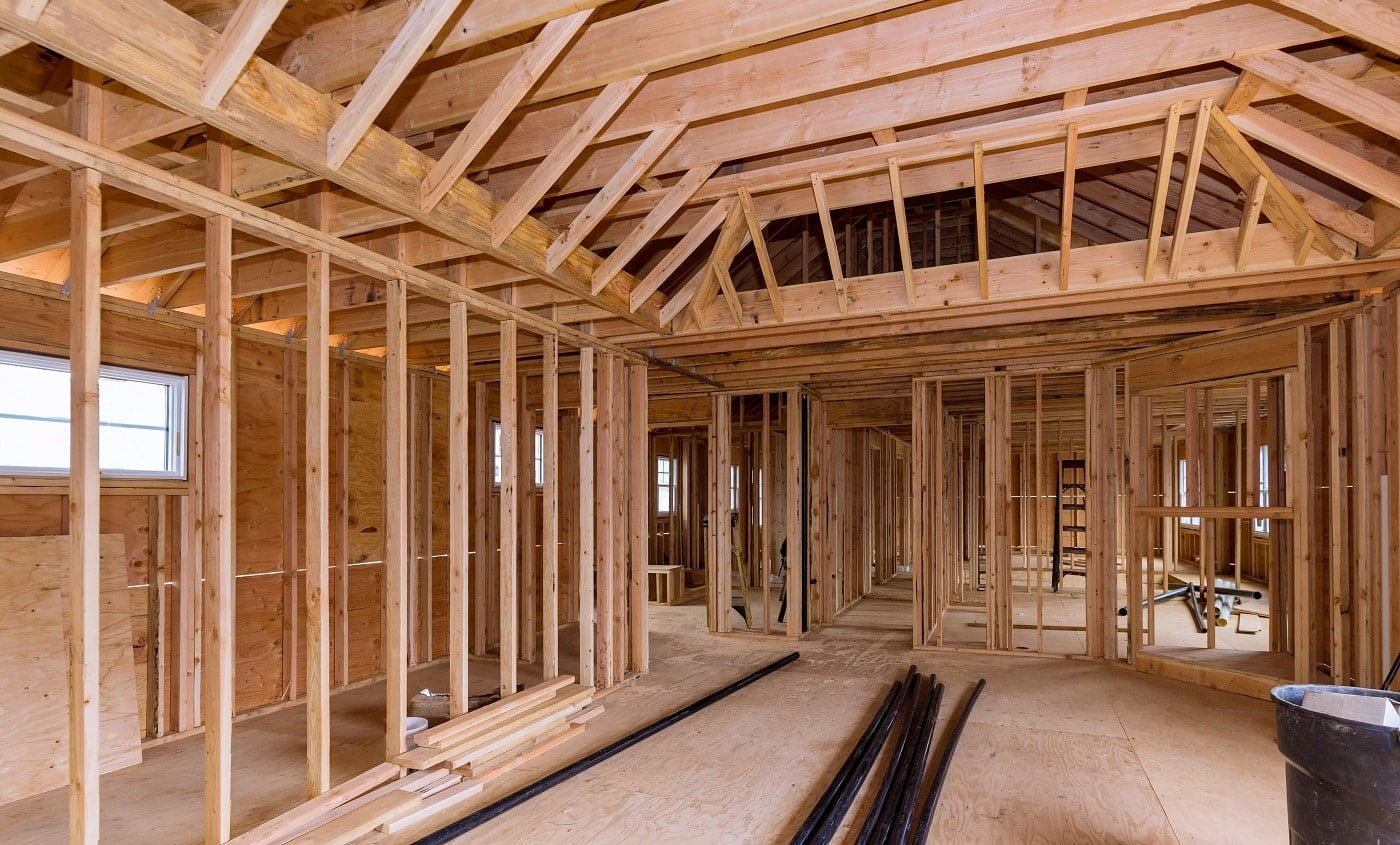
Things You Can Build With Wood
It is a little old-fashioned to build things using only wood and nails, but with all new gears and tools, the process has become much simpler. Most importantly, you can add a creative touch to whatever you are building and save some money along the way. A few common DIY projects are:
-
- Sheds
- Shelves
- Treehouse for your kids
- Decks
- Furniture (according to your skill level)
- Garages
- Playground equipment
Honestly, we could go on and on, but you get the point, right? So, let’s move on to the next step. We are excited to answer your question of end nailing vs joist hangers, but before that, let us start from the basics and know what these terms exactly mean. If you know it already, then brownie points to you, but a little brushing up always helps.
What Is End Nailing?
In simple words, end nailing is a method used to connect two pieces of lumber by hammering a nail through one board and passing it through the other one. The end of a post is joined with a beam using this method. To put it technically, it is a method in which a nail is driven into a ledger joist to adhere it with the face grain.
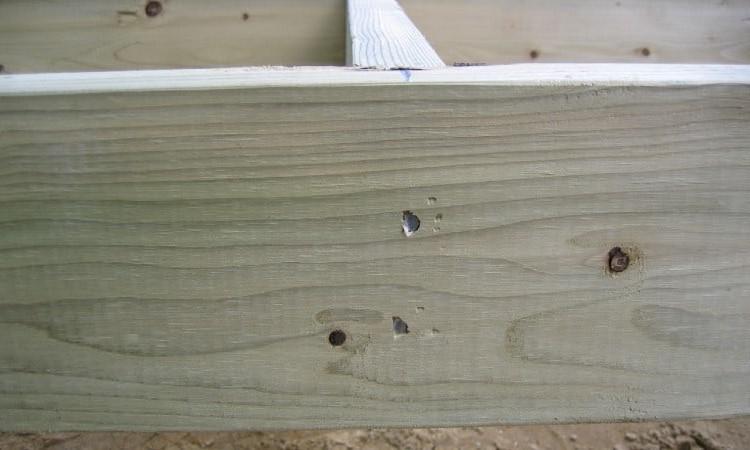
Logically, the nails and screws are obviously weaker forms of connection and do not have enough strength to hold the structure together for long. Therefore, end nailing should be done only in temporary projects. You can construct your blueprint by this method and later strengthen it using other types of connections. But we strongly recommend not using it in any permanent project at any cost.
Several other types of nailing techniques, such as bond nailing, toenailing, etc., are more potent and sturdier but still fall weaker in terms of safety when compared to joist hangers.
What Are Joist Hangers?
Simply put, they are three-sided pieces that are used to anchor timber joists like decks, ceilings, floorboards, etc., together. They have a connecting plate that is fastened around the wooden frame using screws or nails. In this way, they can wrap up to three sides of a wooden beam.
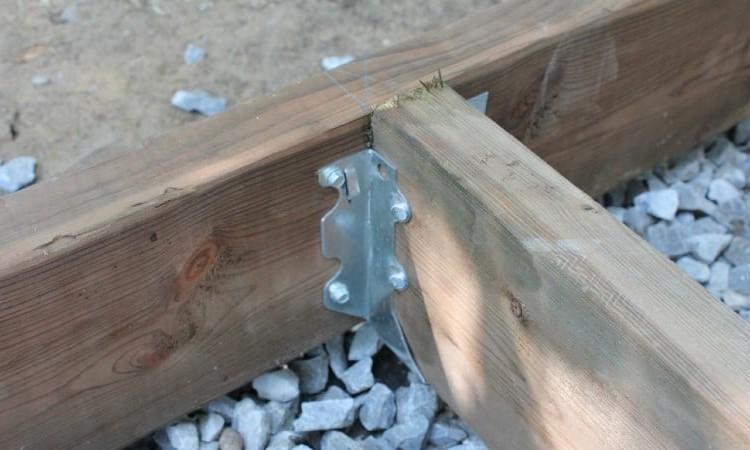
They are the perfect accessories for building permanent utility projects like shelves, sheds, and various other furniture items. You can construct much more rugged and long-lasting projects with joist hangers, and it is almost surprising how often people overlook or forget about their use.
Types Of Joist Hangers
You will find several types of joist hangers on the market, and each type is more or less meant for specific uses. If we were to divide them into two broad categories, then we’ll have:
a. Timber to Timber
b. Timber to Masonry
-
Timber To Timber
As the name suggests, timber to timber variants are used to connect two wooden pieces and strengthen a load-bearing structure. Let’s look at a few examples of this type.
This type is used in the construction of floors that have floorboards at multiple levels. It’s possible because the hanger has adjustable legs that bend freely and accommodate different lengths. These hangers are as big as 600 millimeters in size and the best for your multi-leveled projects.
These are perfect to be used for light applications like studs, ceiling joists, trimmers, etc. This type can cover a length of 100 millimeters and a width of 78 millimeters.
These are used to attach I-Joists with the ledger boards and timber beams. They ensure appropriate structural performance and complete timber rotation. Often equipped with locators for simple fixing, they are designed to carry the maximum load. Additionally, these are available in two variants: top fix and face fix.
These face-fix type hangers are ideal to use when the top of the steel or timber is not accessible. Heavy-duty variants are engineered to provide additional strength and should be hung with at least sixty percent support to avoid unnecessary rotation.
Benefits
Some benefits of timber to timber type joist hangers are:
- There isn’t any requirement for drilling
- Fast, simple, and effective
- Reliable and long-lasting
-
Timber To Masonry
These come into the picture at the timber and masonry meeting point, such as places where the wall meets the floor. It’s not feasible to make equidistant and uniform-sized holes all along the wall, and it will be exhaustive labor work. Therefore, to ease out such tasks, they are used. Have a look at a few examples of this type.
-
Single Piece Joist Support
This type is the one that is most extensively used. It is installed by laying the backside flat against masonry in a vertical position. You should ensure that the flange is in a dry spot. Moreover, lay at least three standard-sized bricks on top of it and let it mature. And that’s how you correctly use single-piece joist support.
Welded Masonry Joist Hangers are also used in the same manner as a single-piece joist.
-
Welded Masonry Return Joist Hangers
Available in two types - one with adjustable return and another with a fixed return, they have a depth of 25 millimeters. They wrap along the backside of timber or masonry and provide an added lateral support.
-
Straddle Welded Joist Hangers
Two hangers are connected with the help of a flat surface on to the flange in this type. It helps in the alignment of different joists that are situated opposite to each other on a beam.
Benefits
A few highlights of timber to masonry joist hangers:
- Ideal for masonry and support beams
- Eliminates the requirement of cutting holes in bricks
- Perfect for renovation and extension
- Can also be used for timber to timber purposes
Installing Joist Hangers
It is crucial to have the correct equipment and gears while setting up these hangers. We discussed an extensive array of joist types, and by now, you must have a rough idea about which kind is used for which project. Select the joist hanger that best suits your requirements.
You’ll also need a few nails, a hammer or a nail gun, and joist hangers of appropriate type and size.
Space out your beams correctly and put in the markings. You can use a prototype made out of scrap timber for this purpose. Fix the hanger using good-quality nails into the joist or ledger board. That’s it, and it’s really that simple! At least theoretically, good luck doing it practically.
End Nailing vs Joist Hangers
We have reached the gist of our informative guide, the important question that we began with. The answer must be pretty much clear by now, but still, we’ll discuss it in further depth.
First and foremost, If you build any important structural component using the end-nail method, it will not pass the building inspection. In most jurisdictions, end-nailing is not seen to be fit for structural fastening and therefore is not allowed, especially for decks. The reason is that it’s weak, unsafe, and risky for permanent use.
Additionally, it is not possible to end-nail joists connected with the ledger boards. In this situation, you can either go for toe-nailing or simply use joist hangers.
Under most conditions, joist hangers are convenient and effective to use. They require less effort and are a permanent solution for wooden projects. Furthermore, they are cost-effective and less labor-intensive.
Few Tips For Outdoor Construction
Before you go about happily working as the gifted handyman (or handyperson) that you are, we’d like to share some important tips. All the outdoor woodworking and construction is executed following certain structural and safety guidelines. When we talk about something that will be installed outdoors, we need to bring the weather elements into account.
Adverse conditions like excessive rain, heat, and snow can erode and corrode your outdoor furniture. If you don’t want to compromise with the structural integrity of your project, then make it a rule to use joist hangers.
Here are a few things that you must keep in mind while doing any outdoor work:
-
Lumber And Wood
We advise you to use only pressure-treated wood for exterior projects like building decks. Apart from that, Redwood, Western Red Cedar, and mahogany are viable options.
-
Pressure-Treated Wood
It is the most commonly used wood for deck building. You can select from a variety of shades and easily find them in any hardware store. This type of wood provides guaranteed protection against decay and termites. It can sustain a weight of 600 pounds and is highly dense too. It has a density of about 14,400 PSI.
-
Mahogany
A woven grain look and a coarse texture are identifying features of genuine mahogany. Honduras Mahogany is the real kind of mahogany, don’t confuse it with other woods like Philippine mahogany. It is slightly expensive, but it can support a weight as high as 775 pounds. The dark to medium brown and red type is the best for resisting decay.
-
Western Red Cedar
Freshly chopped Cedar is an ideal choice for DIY projects. Available in four grades, ranging from A to D, this one is the most durable and resistant. However, it needs frequent treatment or sealing; otherwise, the color changes from tan to grey. It has a weight limit of 455 pounds and is 7550 PSI in density.
-
Redwood
Available in several different color options, Redwood is softwood and is more prone to weathering than the others. It can handle a weight of 485 pounds and has a density of 9800 PSI. You can choose from light red to dark brownish-red shades.
-
Hardware
To work on your DIY outdoor projects along with the suitable wood and joist hangers, you’ll need the right kinds of tools too. While choosing your hardware, make sure that it is made of galvanized or stainless steel. The galvanized metal is hot-dipped in zinc and therefore doesn’t rust or corrode in high moisture conditions.
It’s advisable that the screws you use are electroplated with a coating of polymer and are galvanized as well. Additionally, you’ll need a flat washer under the head of each machine bolt and lag screw.
End Nailing vs Joist Hangers FAQ
Can we use screws on joist hangers?
Yes, of course, you can use screws, but you’ll have to make sure that the ones you are using are of the right type. There are screws available on the market that are specifically designed to be used with joist hangers, so we suggest using them.
It’ll add strength and reliability to the project. Furthermore, don’t just depend on the screws completely. Add a few other attachments to make sure that your product holds up.
Are joist hangers crucial for an outdoor project?
Yes, joist hangers are a crucial element. You might feel otherwise because they are not much visible in the project but think of them as skeletal elements to get a clearer picture of the situation. They are the key components that let your objects sustain weight
You can’t build a floor or a deck that can’t hold up the weight of people standing on it; that won’t be feasible. To save yourself the hassle of frequent repair work and to prevent unfortunate accidents, use joist hangers in your projects.
What are the alternatives for a joist hanger?
Mortising, using dowels, and ledgers are a few alternatives. You can also go for bond nailing or toe nailing. These are just general suggestions because the method that you should use largely depends on what you’re exactly building. For example, if you’re constructing a deck, then you’ll need to use strip ledgers to support your joists; sliding dovetails or mortising won’t help in that case.
Final Thoughts
Crafting beautiful objects out of wood is an art. Whether they are utility products like furniture, shelves, decks, fences, or accent pieces, it requires correct technique and patience.
After touching on so many topics related to the subject, we have reached the end of our informative guide. If you’ve been diligently reading, we can proudly say that you know all there’s to know about joist hangers and end nailing.
You are now ready to go out and take a plunge in your wood crafting endeavors, but remember, information found online can only prepare you so much. You’ll get the hang of using all the types of joist hangers once you start practicing it.
That’s it for now; we’ll see you next time with another interesting guide. Happy crafting!
Related Articles
11 Best Budget Drywall Screw Guns
