Expertises: Architecture, Design, Art, Home improvement, Painting
Updated on

Inspiring Ideas for Modern Home
Applying polymeric sand involves pouring it into paver joints, watering it, and allowing it to set for a few days. The process is quite DIY-friendly, making it a convenient solution for issues associated with patios.

Patios crack and wither away over time, be it due to human activity, the weather, or simple aging. That’s where polymeric sand comes into play, proving to be one of the best materials for paving projects.
Here’s everything you need to know about polymeric sand, its properties, and how you can use it to renovate your patio project.
Polymeric sand is a blend of sand and polymer additives, the primary function of which is to seal the joints between brick pavers and concrete pavers. As a result of blending special polymers with sand, polymeric sand acts as a strong binding agent, which is what makes it a good sealant.
Let’s look at what makes installing polymeric sand preferable for paver jointing over regular sand:
Once applied to pavers, polymeric sand locks the blocks together, improving the durability of your patio for a long while. You won’t have to repair your patio as often, and the porch will continue to look just as good over the long haul.
The joints made as a result of polymeric sand don’t decompose or crumble, making it a truly permanent solution for your paver joint woes. And polymeric sand is water resistant to boot once it sets in properly, making it a worthwhile solution for your patio pavers.
Polymeric sand leaves no room for weeds or pests to make room as it holds paver blocks more homogeneously than regular sand. You can also infuse the sand with pesticides or weed killers to truly make it free of infestations.
And since these joints don’t deteriorate quickly, polymeric sand will make it so you won’t have to face frequent pest or weed infestations.
Polymeric sand can be used for more than just function, as it is available in several colors to appeal to your aesthetic sense. They have become a critical part of landscaping projects and, as a result, can have a positive effect on the value of a property.
Most polymeric sand manufacturers make sure to provide a wide range of colors that can be matched with any paver block.
Polymeric sand is easy enough to apply on your own, meaning you won’t have to rely on professional services for repairing your patio. The application process is a simple matter of allocating an hour of your free time to finish fully.
I have applied polymeric sand on my patio porch a number of times, and it only gets easier the more I do it.
To apply polymeric sand effectively, you’ll need the following tools and materials:
Tip
Before you begin applying polymeric sand to your patio, you should check the weather forecast. Rain can deter the sand from binding your pavers together, so you should wait until the weather conditions are completely dry before proceeding.
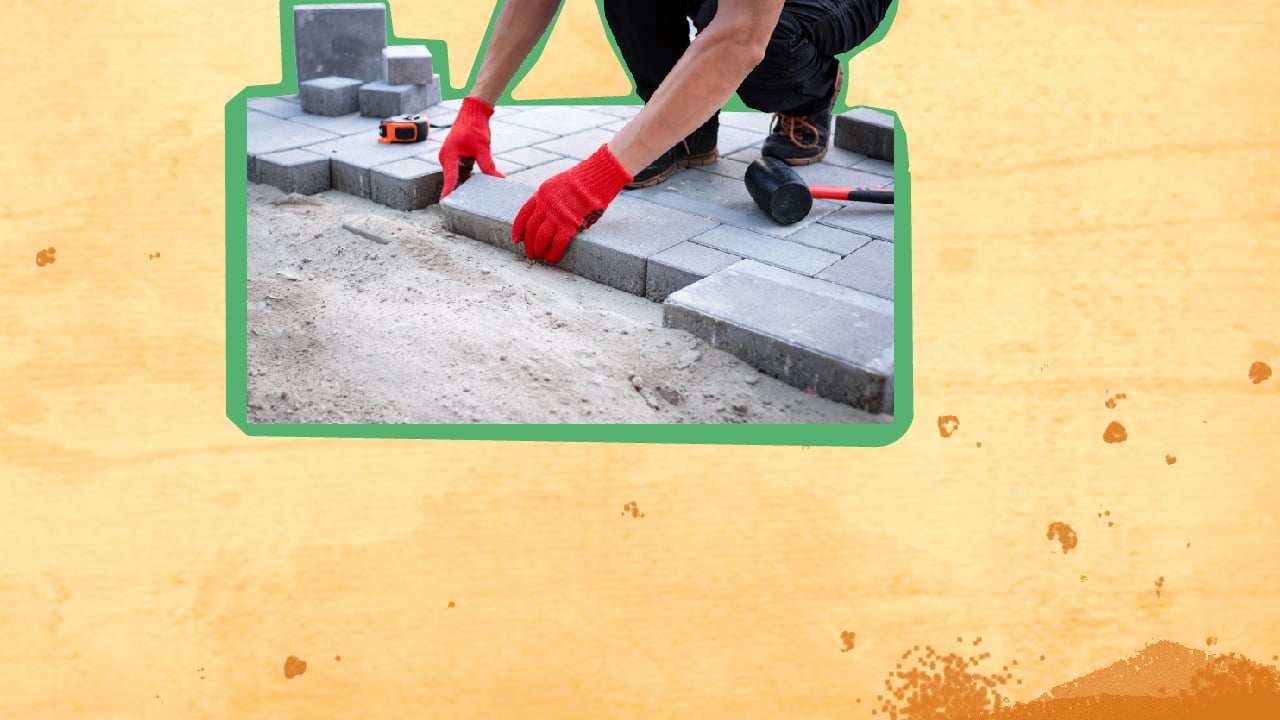
Spread your bag of polymeric sand over the walkway in several small heaps while taking care to not apply excessively. It’s important to be careful while spreading the sand since it can be difficult to remove if overapplied.
Take care to fill the gaps between the pavers and any visible blemishes before proceeding to the next step.
Use a hard bristle broom to direct the sand around the pavers and into the grout lines. Do so as evenly as you can before finishing up the first sweep, brushing in opposite directions to leave no crack unfilled. Add more sand as necessary and see if there are any patches left to be filled.
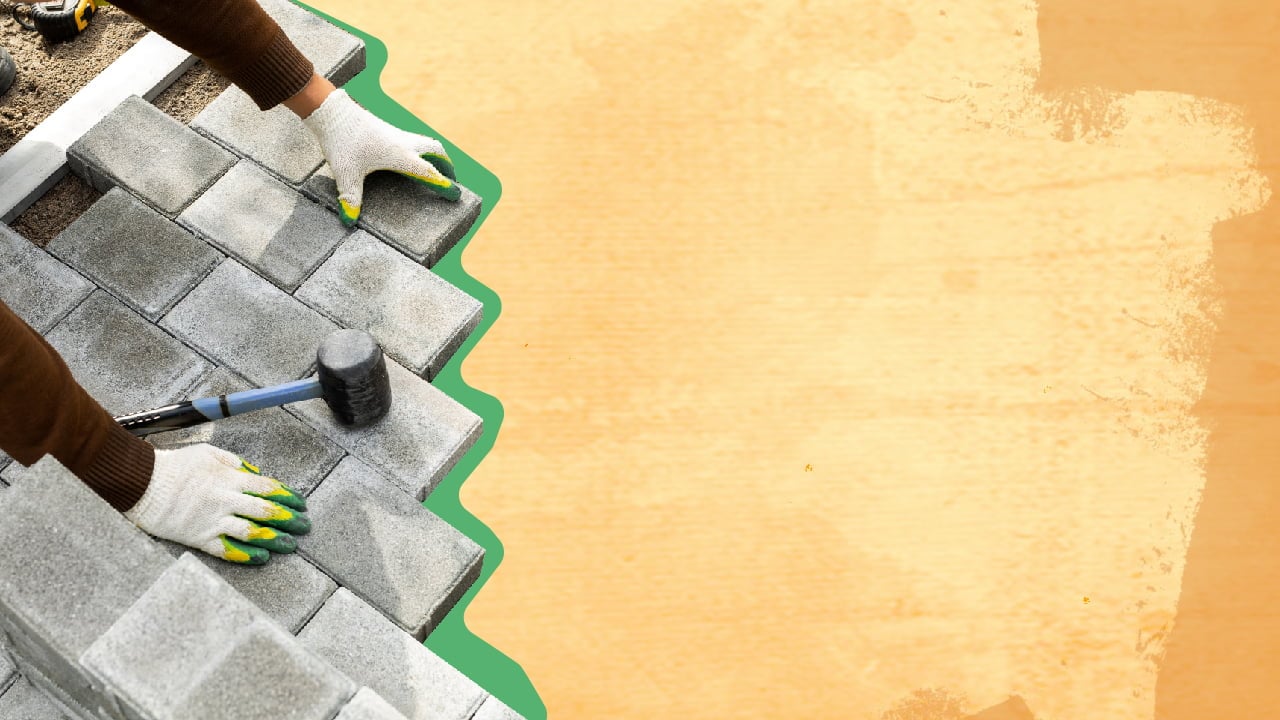
If you see no area left untouched, you can begin compacting the sand next.
It’s time to use your plate compactor and press the sand further into the grout lines of the pavers. You can go over the area as you did during the first sweep, using the compactor as many times as necessary. In the end, you’ll have fully compacted the sand into the joints to a satisfying degree.
This is where you begin the cleaning-up stages, starting with another sweep of your paver patio. Using a fine bristle broom, you can get rid of any excess polymeric sand left on the pavers.
Tip
It can be somewhat difficult to remove the sand from small areas where it resists the push broom. In such cases, you can put your leaf blower to work, using its lowest setting to get rid of difficult-to-remove patches of sand.
Water activates the polymers in the sand and once the moisture leaves it, the polymeric sand hardens. Using a garden hose on the shower setting, spray your paver patio with water and allow the polymers to do their job.
Try to ensure that there are no puddles forming on the pavers and if you do see them form, stop watering at once.
You can use the leaf blower to dry-clean your patio and get rid of any leftover polymeric sand or water. Once the surface has dried up, your patio is ready to be used again.
Low-quality polymers seriously affect the lifespan of your paver joints, and though they may cost less, the end result is similarly unsatisfying. Despite being made of the same material base, there is a stark difference in quality. It won’t be long before you have to repair your patio with high-quality polymeric sands again. And this means more time and money wasted than what you would have with a bag of high-quality polymeric sand.
The extra money that you invest into high-quality polymeric sand ends up saving you money in the long run. It may sound paradoxical at first, but the price is well worth the return, as I’ve learned over the years.
Every bag of polymeric sand comes with manufacturer-specific instructions that you must follow before applying it. This includes any additional sand application steps that you may need to perform to extend the lifespan of your patio further.
It’s always wise to check up on the instructions manual before you begin a DIY project, after all.
While the application process takes up a little under an hour of your time, the sand takes time to set in properly. If you’re planning to use the patio the very next day, you may want to reconsider, as the sand won’t have set in by then. It’s better to reschedule any plans you may have on the patio, so you don’t have to put in extra work mending the damage.
The sand needs a particular amount of water to set in properly, something that should be specified in the instructions.
Too much water can cause polymers in the sand to wash out completely, nullifying all the work you put in. Moreover, this can result in polymers binding to the paver surface, which is notoriously difficult to remove and results in an eyesore.
On the other hand, not using enough water will cause the sand to sit in poorly, resulting in a reduced patio lifespan. Since the sand won’t have settled in well, it won’t resist the weather or pests properly either.
Something to keep in mind while using polymeric sand is that it can bond on top of the surface of the pavers. While it’s a desirable trait when using sand to fill in the false joints, it can become a problem if your new pavers are covered with excess sand. And if you use a sealer without taking care of the sand-encrusted pavers first, the problem can grow even worse.
You should be careful during the sweeping stages not to leave any excess sand on top of your pavers. This is particularly the case with textured pavers, as these can make it difficult to remove once enough time has passed.
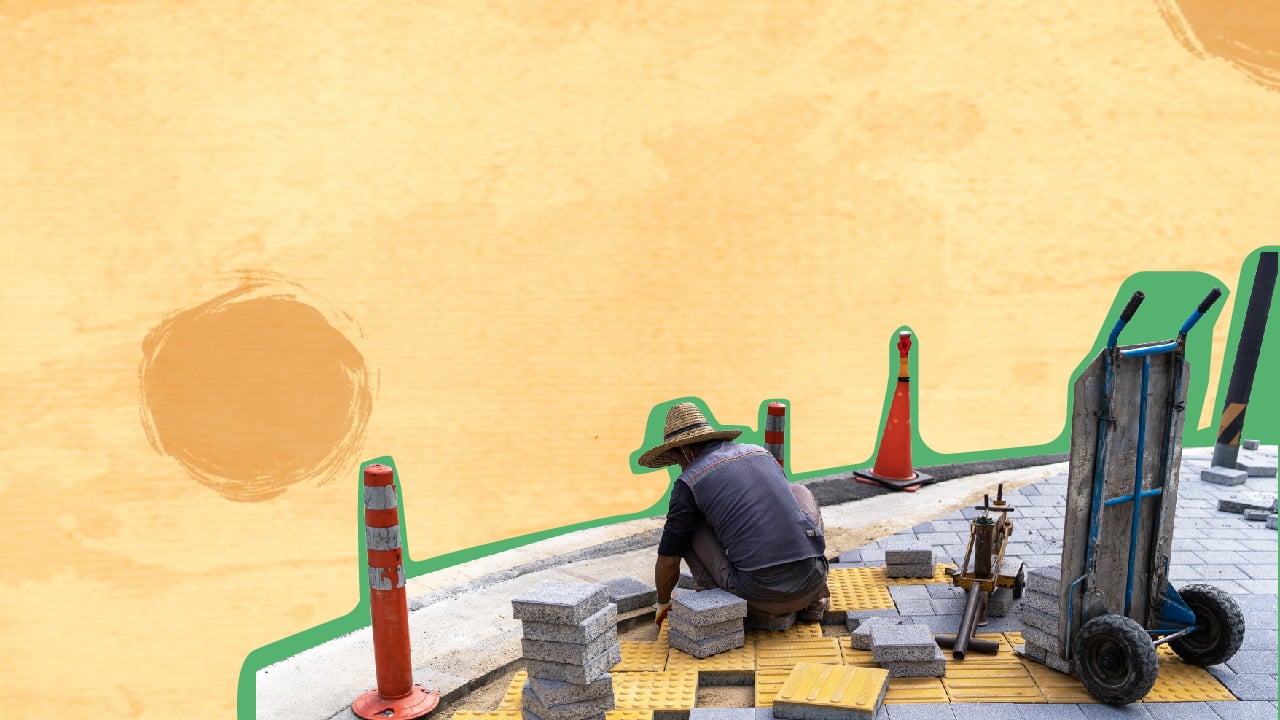
Similarly to how overwatering can harm your polymeric sand application, poor drainage conditions can also lead to problems that should be taken care of quickly.
Firstly, you should consider installing pavers on a surface that allows water to pass through. Surfaces like crushed concrete and limestone with bedding sand in between act as appropriate draining materials. And if you’re considering installing pavers thinner than usual, you may set them up on concrete with bedding sand in between. Depending on where you’re located, you can look into the installation guidelines to gauge how the soil is impacted.
If you use polymeric sand on a surface without proper drainage, the sand may wash out when exposed to the moisture present in it for long. The sand won’t have enough time to settle in, causing a weakened bonding process.
Secondly, you should establish a boundary around your pavers, be it the natural or artificial kind. This will allow water to flow off the edges, even if the surface doesn’t particularly allow for drainage.
And lastly, your patio should have a slight slope to it to allow water to flow freely. This eliminates issues with standing water completely, allowing polymeric sand to set in properly.
Tip
The slope must be tilted away from your home or other structures so that water doesn’t pool near it. Elements such as electric gates that open outwards should not be at the lower end of a slope.
To get the best bonding results out of your bag of polymeric sand, try to make the paver joints be between ⅛ and 4 inches wide. As for the joint depth, it should be at least one inch deep to allow the sand to bond well between the pavers.
If the joints end up being too narrow, overwatering becomes a real problem, causing the sand to flow all over your patio. In a similar vein, false joints that are too wide can cause the sand to wash out through the channels formed. The sand is carried into the water flow before the activation process can begin properly.
Regular sand is also a perfectly fine bonding material with a few caveats that set it behind polymeric sand. The coarse sand particles are effective and long-lasting as a paver joint sealant, creating a leveled base for paver installations.
Distributing sand evenly across the paver foundation is quite easy, as there is nothing bonding the particles to one another. If you are on a budget, you can consider using regular sand as the paver foundation for your patio or walkway. Regular sand is quite budget-friendly, after all.
I find regular sand to be a perfectly good alternative for polymer sand, especially if you’ll be making adjustments to the patio layout in the future. Regular sand is easy to remove, making it a great non-permanent solution for your patio troubles. Moreover, it requires no maintenance and in areas where rain and humidity isn’t an issue, you can use it over polymeric sand.
If you’re torn choosing between polymeric sand and regular sand, it all comes down to what you want your patio to be. The former is more of a reliable permanent solution, while the latter gives you room for readjustments. For those who like changing the aesthetic of their home frequently, regular sand may very well be the sealer of choice.
Polymeric sand is one of the best options when it comes to paver joint sealers. It remains effective in both aesthetic and functional senses, and it’s easy to use. The DIY-friendliness of polymeric sand makes it quite a convenient solution, in my eyes.
Consider topping off your sanded pavers with a sealant to preserve their looks for a good while. Old pavers benefit from this especially, making them look as if they were new. You can apply a sealer once the patio has dried up and is ready to be used.
And lastly, if you find yourself in a bind over the paver installation process, it’s always good to reach out to professional help. Professional paver installation services are always available for you to take advantage of, and these professionals will ensure that you encounter no issues with your patio.
After all, a well-sanded paver is the end goal you want to reach, be it through a DIY method or through professional help.