For building your own massage table, you will mainly need plywood, some textile, and your toolbox. First off, cut the face hole in the tabletop, and cover it with foam and fabric. Next, screw in the leg assemblies, and your table will be ready.

Are you a massage therapist trying to set up a new salon?
Or do you just want to kickstart your doorstep massage business? Whatever the case, owning your own massage table is a must. It is a one-time investment that would provide you with long-term business gains.
However, if you want to cut the cost, you can build your own massage table. Trust me, it’s not as difficult as you think. My step-by-step guide can help you out!
Things To Consider

Before I tell you how to build a massage table, there are a few things you need to consider while making a DIY massage table. So, let’s discuss them first:
A. Design Features
A stationary massage table has certain design features that distinguish it from other furniture. It isn’t just another table; instead, it is a comfortable surface meant to relax the person lying on it. These tables are generally flat and hard, apart from soft upholstery to support the user’s body.
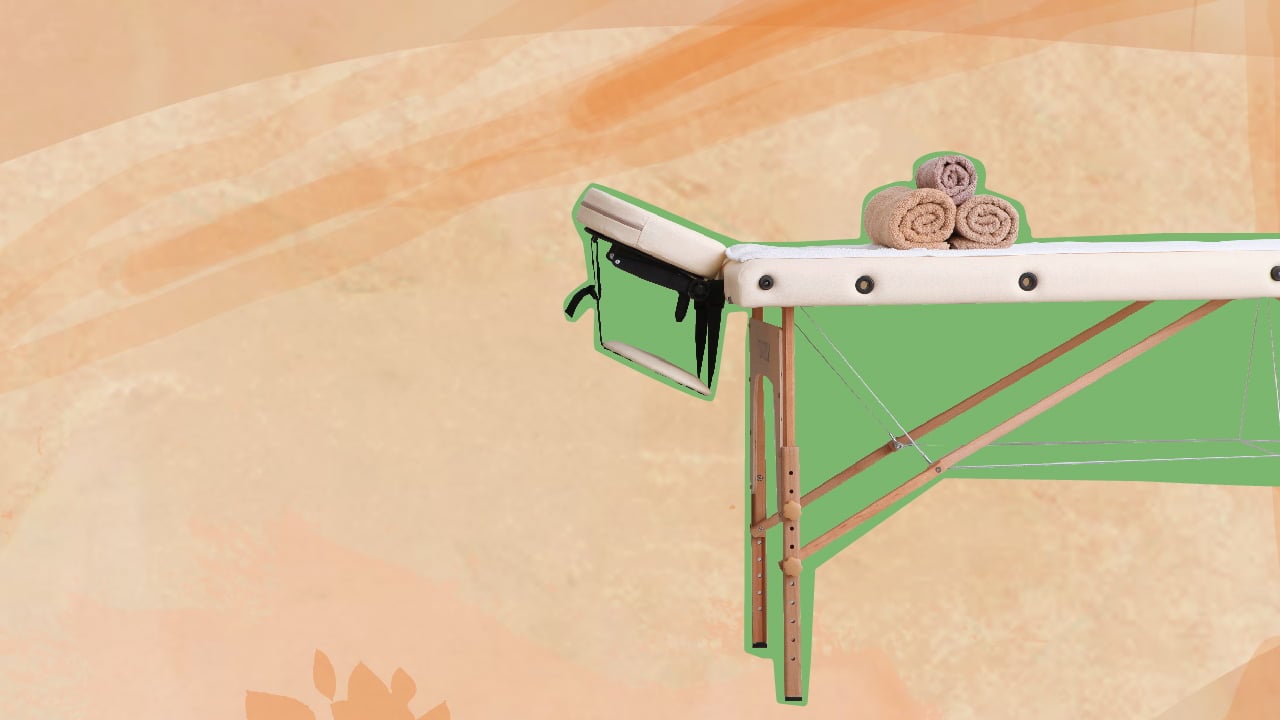
Some are equipped with movable headrests, while others have movable designs to let you use the table in a half-sitting position. These types would be tricky to craft at home, but straightforward massage tables are easy to make.
B. Types Of Massage Tables
Depending on the structure, there are mainly three types of massage tables you can choose to build, and they are:
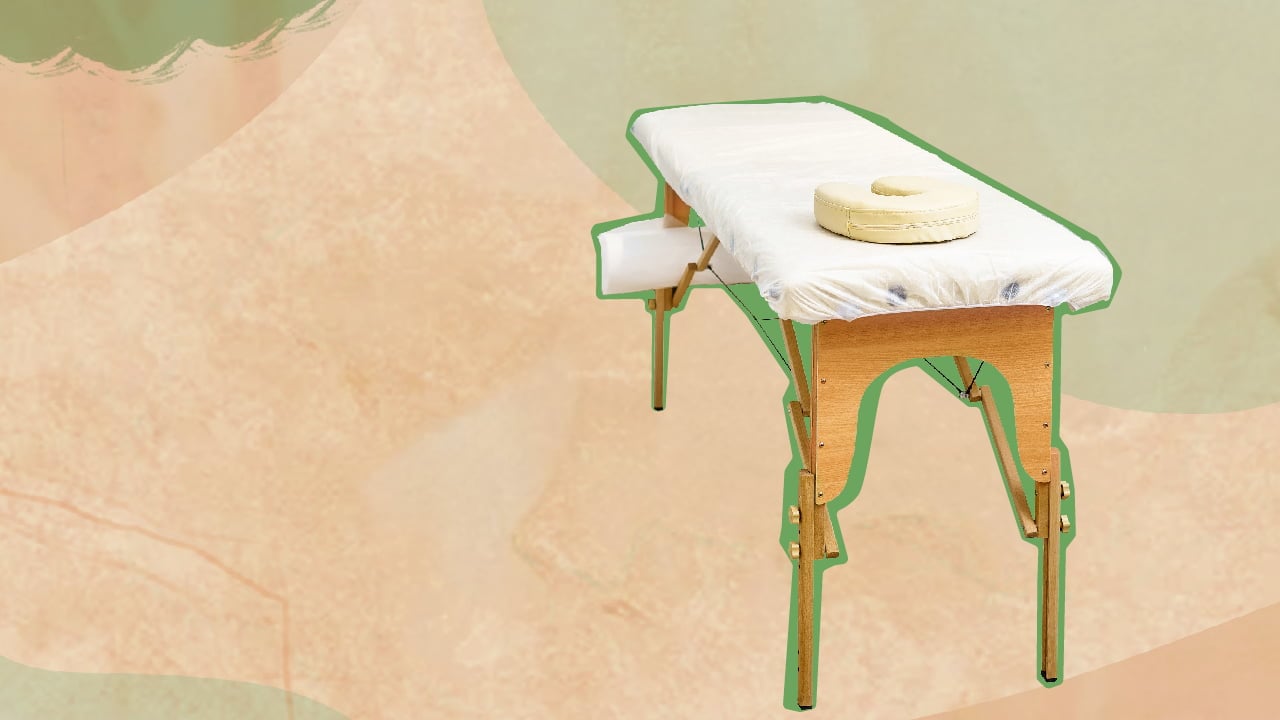
1. Folding Massage Table
As the name suggests, a folding massage table can be folded into a compact bundle and is very easy to carry around. You can simply pack it in a suitcase and carry it to your client’s home if you offer doorstep massages. A foldable portable massage table is lightweight, easy to clean, and offers easy transportation.
2. Movable Massage Table
Movable tables are portable too, but not as handy as folding ones. They weigh no more than 10 to 15 kg and can be simply rolled from one room to another. You can easily move them from one room to another, but they won’t be of much help if you are a doorstep massage therapist.
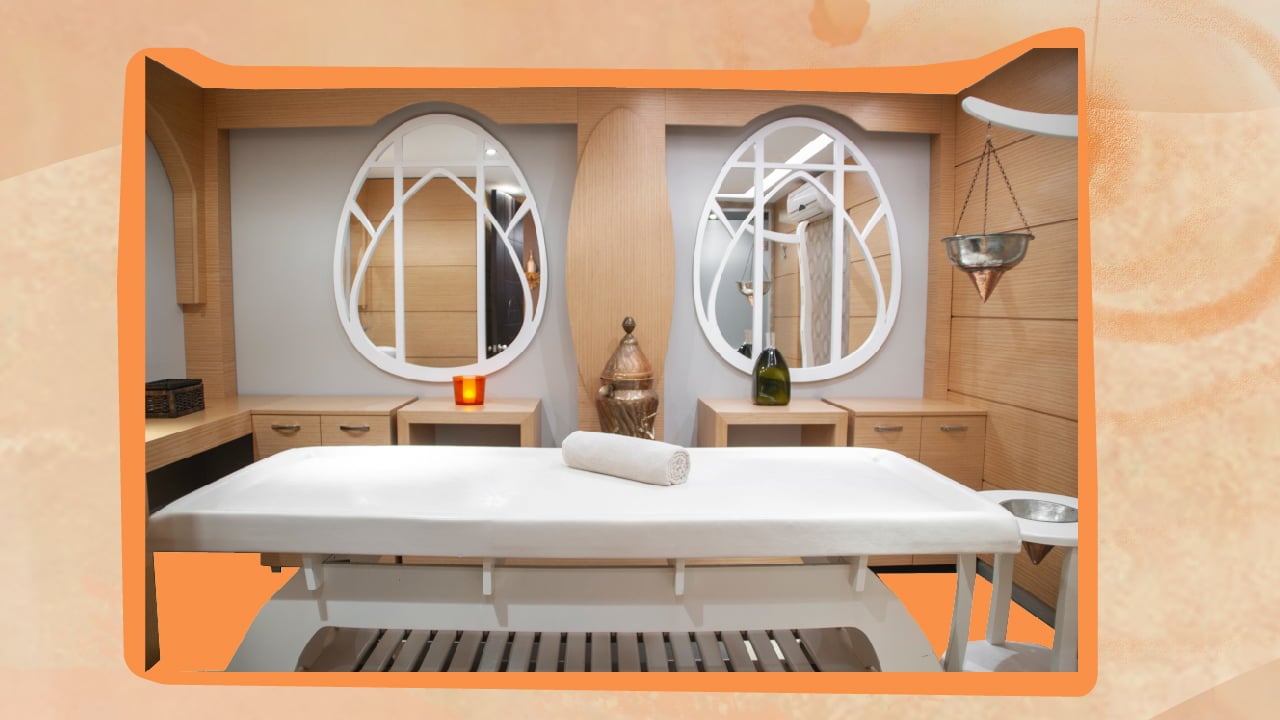
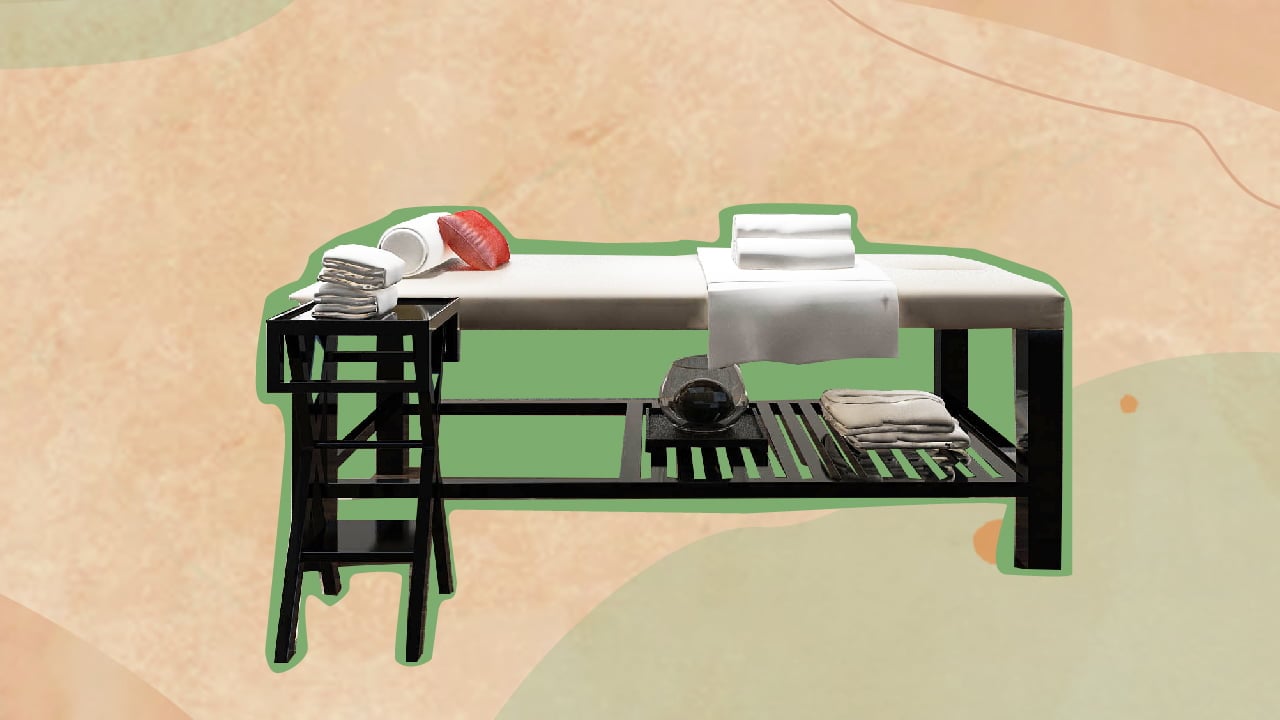
3. Stationary Massage Table
Made of heavy-duty wood and steel, stationary tables are quite bulky and cannot be moved around easily. They are the best in terms of quality, but not so much when it comes to portability.
This type of massage table is best suited for hospitals, medical institutions, massage rooms, and salons. It also has prime features such as a movable headrest and adjustable back support.
C. Dimensions
Another feature to keep in mind before picking up the tools is the dimensions of the massage table. Speaking from personal experience, these are the standard measurements:
1. Length
Now, it is crucial that your clients can comfortably fit on the table and that their heads or legs don’t dangle off the edge. There should also be sufficient head and foot space for all-around comfort. You can find 184 cm to 200 cm long massage tables on the market. But I personally believe 185-190 cm is the ideal range.
2. Breadth
Typically a massage table is 50 to 80 cm wide, but narrow ones are not really suitable for a relaxing massage. A big table, on the other hand, is quite comfortable and allows the user to unwind completely, but they can tire out massage therapists quickly.
So, it is essential to strike the right balance while deciding the breadth of your massage table. I’d suggest keeping it 70 to 75 cm wide, provided you will be using it for one client at a time. If you plan to use it for pair massages, then you can just double this measurement.
3. Height
The height of your massage table primarily depends on how tall you are. Tables usually lie in the range of 55 to 85 cm, but you can tweak it according to your height because, in the end, you want to do your job comfortably. If the massage table is too high or low for you, your hands, shoulders, and back will get strained easily.

How To Build A Massage Table?
A. What Will You Need?
You will need the following materials to build a DIY massage table:
- Plywood for the tabletop
- Four wood boards for building massage table legs
- Pine boards for framing
- Some upholstery, polyvinyl chloride, or leather for the table surface
- Foam padding to cover the plywood
- Wood glue or some adhesive
- Nails, screws, and hinges
Apart from the material, you will also require these tools:
- Miter saw
- Circular saw, or table saw
- Measuring tape
- Drill
- Pencil
- Stapler
- Upholstery gun
B. How To Build A Massage Table: Step-By-Step Guide
Now that you have your toolbox and materials ready let’s get to the action now. Here’s the step-by-step procedure I follow to build a massage table:
1. Cut The Face Hole
I prefer cutting the face hole in the plywood before everything else because it’s a tricky step, and getting it over with is a huge relief. The oval hole can be 15 cm long and 11 cm wide, and it should be centered near one end of the tabletop plywood. First, draw a rough oval using a pencil, and once you are satisfied with it, cut it out using a miter saw.
2. Make A Plywood Frame
Use 19 x 50 mm pine boards to frame each sheet of plywood you would use as a tabletop. Attach the pine boards to the plywood using nails and wood glue.
3. Upholster The Tabletop
Spread out the foam sheet and lay the plywood pieces on top of it. Start tracing the pieces around the edges and the face hole onto the foam and cut it. Once the foam piece is ready, lay out the leather cloth or PVC sheet.
First, place the foam on top of the material and then the plywood pieces. Trace out the pieces on the fabric using a pencil, leaving some margin on all sides as well as the face hole. Cut the cloth so that it fits the top, and use an upholstery gun or stapler to paste it with the foam and the tabletop plywood.
4. Build A Long Pair Of Legs
To make the table legs, take two 855 mm long wood boards and make half-lap joints at their base to place a third board as a 555 mm spacer. Attach the spacer board to the legs using nails or wood glue. Prepare two such table leg assemblies with an angle of 41° at the feet.
5. Build A Short Pair Of Legs
Now, follow the same process to make another pair of leg assemblies, but this time the pine boards will be only 695 mm long. The 555 mm spacer will go at the top, so make the half-lap joints at the top of the legs this time.
6. Attach The Legs
Next, you’ll have to put together both leg assemblies. Attach the feet of the shorter pair of legs with the base of the longer one using hinges. Ensure that both pairs fold flat on each other without any obstructions.
Once the base and the tabletop are ready, you’ll have to put them together. So, take measurements and drill holes to attach the legs to the inner frame of the tabletop. Then hinge the leg assemblies to the frame on opposite sides.
If you want to make a foldable table, then you can cut the top plywood in two halves and attach them using hinges. That will let you fold your table easily.
7. Fit In The Spreader
This last step is for those building a foldable massage table. You will have to fit a spreader between the legs of your massage table. For that, simply take a pine board, cut it into two halves, and join them using hinges, just like the tabletop. Join it to both the leg assemblies so that it collapses every time you fold the massage table.
Tip
Most people first put the table together and then cut the face hole in the tabletop. But I’d say you don’t make that mistake. Before you craft the entire table, cut the hole so that you can use another plywood board in case you are not happy with it.
If you do it after putting the whole massage table together, you won’t have the liberty to easily replace the tabletop and will be stuck with a poorly cut face hole.

How To Build A Massage Table Conclusion
Opening your own massage salon takes a lot of effort and money. And if your massage table isn’t comfortable and relaxing, it could be a huge turn-off for your clients. So, it’s important to get it right.
But if you cannot afford a new massage table, you can always build one at home with minimum investment. You would primarily need plywood, pine boards, fabric, foam, and a toolbox. The procedure is pretty straightforward, and you will be done in a jiffy if you get the basics right.
Simply follow the steps I mentioned, and you will be good to go! Just make sure that you use good-quality foam and fabric to ensure maximum comfort.
