Cleaning a smoker grill is essential to keep it optimally functional for long. And you can do that easily by taking apart the attachments and scrubbing all the grease build-up away. Likewise, you can remove rust accumulation and mold formation without seeking professional help.

Insulated smokers come in various types, such as pellet, offset, and electric smokers. And no matter which type you own, regular cleaning is an important part of its maintenance. Now, you can ignore the mess and call it extra seasoning for the food. But at the end of the day, even you would be tired of looking at an unclean smoker!
Contrary to popular belief, cleaning your smoker the DIY way is easier than people think. It might require some rubbing and scrubbing, but nothing that can't be done in a day.
So, here is a comprehensive guide to help you get started on cleaning your smoker grill.
Cleaning A Pellet Smoker Grill

What You'll Need:
- Tarpaulin sheets to protect the floor
- Rubber gloves
- A plastic bowl or tub
- Smoker cleaner or degreaser
- Pressure washing equipment
- Handheld vacuum
- Sponges and scrubbing brushes
- Damp cloth
- Metal or wool scraper
- Plastic putty knife
- Grill brush
Steps To Clean A Smoker Grill
Do Not Use Water
Before you jump in with the smoker cleaning, an important thing to remember is that you should not use water. The pallets that a smoker uses are made of sawdust, so if you use water, these pallets will turn mushy and soft, leaving them pretty useless. Water can also damage the electronic system if your smoker grill is controlled digitally.
Step 1- Cleaning The Ash
Once you clear up your grill, you might find that there is a lot of ash buildup, which can hold onto humidity present in the air. As a result, your smoker grill will become vulnerable to rust. This is why cleaning your grill by removing all the ash after every cooking session is necessary.
You can use a small handheld vacuum to perform this task. The vacuum will pick up all the dirt and ash and help your smoker or grill burn efficiently. Small vacuums will be able to reach every nook and corner of your smoker grill.
Step 2- Detach The Pieces
Your smoker grill will have many detachable pieces like racks, drip tray, smokers, boxes, etc. Make sure you take these pieces out of the grill before you start cleaning. This will give you more room to clean the smoker thoroughly. It will also enable you to clean the detachable pieces properly when they are separated from the smoker grill.
Step 3- Cleaning The Grill Grates
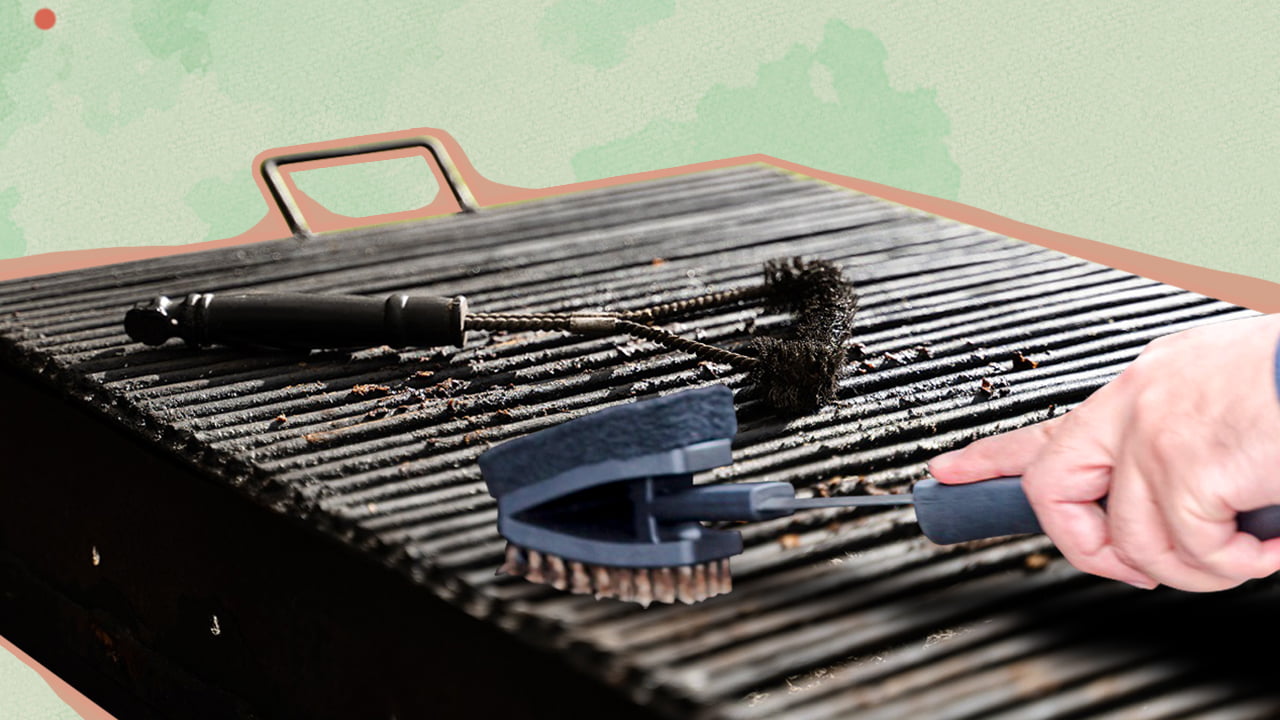
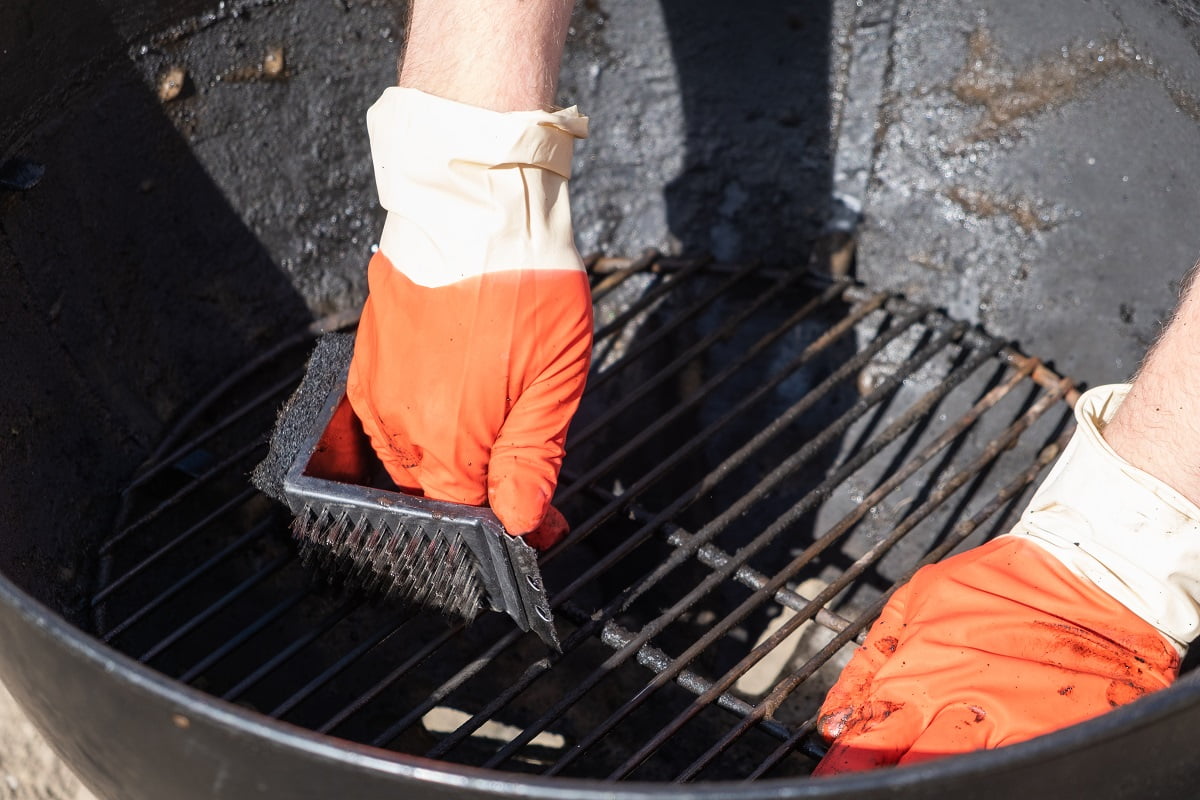
Once you've detached everything, you can take the grill grates and soak them in any smoker or grill cleaner available on the market. After you have soaked them for around five minutes, scrub them thoroughly with a grill grate brush.
Step 4- Removing Built-up Grease
Since cooking in a pellet grill requires a lot of grease like beef tallow and oil, it can accumulate on the deflector plate beneath the grill grates. Hence, you can use a putty knife or a wire brush to scrape the residue off the grill. Another easy way to clean this smoker would be to hit it with a steamer or a power washer. Similarly, you can use a brush to clean the grease trap and the chimney.
Step 5- Wiping It Clean
Once you've gotten rid of all the oil and grease buildup, you can get a pellet grill cleanser from the market and wipe the interior chamber of the grill with it. While you wash the smoker with the cleanser, make sure to clean around the temperature probe, which is located on the left-hand side of the smoker. You can also use a wet or dry vacuum to clean the smoker and the fire pot.
Step 6- Cleaning Rust
Sometimes, your pellet grill will end up corroding and developing rust, which can be cleaned with a wire brush. Once you've gotten the rust off of the smoker grill, you can proceed with fine sandpaper until all the rust is removed.
Aside from that, we’d suggest coating the exterior of the grill with a high-temperature-resistant paint to reinforce its durability.
Step 7- Using Stainless Steel Cleaner
A smoker grill will have quite a lot of stainless steel parts, so consider getting a stainless steel cleaner to clean them and keep them looking good as new throughout the years.
Step 8- Wiping With Vegetable Oil
Finally, coat the interior of the grill thoroughly with vegetable oil or any high temperature cooking oil, run it at 350-degree for a few hours. Not only will this prevent rust from forming and treat rust spots, but it will also prevent fat from sticking on to the grill grates.
Wipe the interiors of the smoker with some high-temperature vegetable or cooking oil one last time as a preventive coat for the next use.
Maintaining The Smoker
Apart from cleaning your smoker every now and then, you have to take care of its routine maintenance needs.
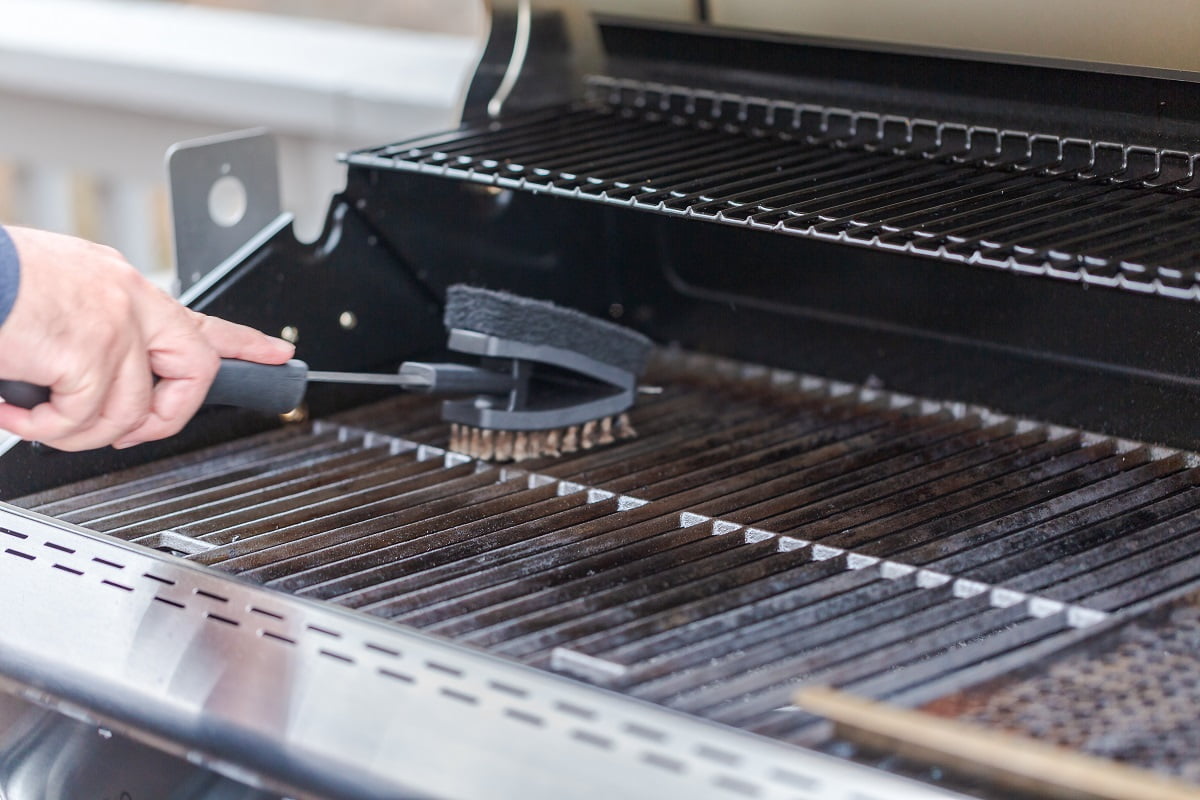
So, after you've used the smoker, keep it running on high for around 10 to 15 minutes. Turn off the smoker and let it cool completely. Take a grill bristle brush and use it to gently scrub off any residue from the grill grates and other cooking surfaces of the cooking chamber. Likewise, use a damp cloth to clean any dripping oil from outside of the smoker.
Let the grill dry for a while, after which you will have to replace the foil on the drip tray. You should replace the foil regularly as a lot of grease may get collected on the drip pan or drip tray, depending on the frequency of use. Do keep in mind to check for any rust; if you find it forming, sand it down and coat the outside surfaces with a high-temperature paint immediately.
Cleaning Electric Smokers
What You'll Need:
- Tarpaulin sheets to cover the floor
- Bristle-free soft brush for grills
- Soapy warm water
- Damp cloth and sponges
- Tongs
- Paper towels
- Vegetable or cooking oil
- Microwave safe bowl
- Glass cleaner for glass windows
- Stainless steel cleanser
Steps To Clean An Electric Smoker

1. Prep The Electric Smoker
Before you start cleaning your electric smoker, you have to ensure that it is not completely cold but slightly warm. You can clean after using the smoker and wait for it to cool down slightly, or you can heat it to its maximum temperature for an hour and begin cleaning once it cools down to warmer temperatures.
2. Protect Your Workspace
You do have to keep in mind that you will be dealing with stubborn substances like grease and grime. Hence, use adequate newspapers or tarpaulin sheets to cover your floor or anything that is at the risk of being stained. Also, cover up the bottom of the smoker to catch any residue from the cleaning process.
3. Clean The Chip Tray
A chip train, also known as a smoker box, is where the wood chips are burnt to give your food an added smoky flavor. However, burning of these woodchips will end up producing ash which will accumulate at the bottom of the smoker. Remove the chip tray and throw away the accumulated ash.
Make sure that your ash is not warm when you throw them away; otherwise it can end up causing a fire hazard.
4. Clean The Shelves, Water Pan And Drip Pan
Detach all the removable pods from your smoker and clean them accordingly. If these parts are dishwasher safe, you can throw them in the washer and get back to cleaning the other parts of the smoker.
Considering they are not dishwasher safe, you must get a metal scraper or a grill brush and scrape the excess grease on the tray. You can use warm soapy water to wash everything away once you have finished scraping.
5. Make Sure You Get The Sides And Bottom
Grease, when hot, has a sticky liquid form, so chances are it will drip down not just to the bottom but everywhere when you use the smoker. That’s why it’s important to use a scraper to scrape it off.
But before starting with this, wipe everything down with a sponge or a damp cloth and use warm soapy water to scrub the inside of the smoker. Make sure that scraping from the top of the smoker and work your way down, or else residue from the top will settle at the bottom after cleaning, and you will have to clean the bottom twice.
6. Cleaning The Glass
When you cook meat in the smoker, you should be able to see how the meat is doing to figure out if it's fully cooked or needs more time. And cleaning the glass door of your smoker will help you keep track of the food.
In case there is thick grease buildup on the glass door, use a scraper to get the grease off the glass. Use a scraper made of wood or plastic and not metal to avoid scratching the glass.
7. Reassemble The Smoker
If you notice that the smoker has dark patches even after a thorough clean, don’t fret. A smoker will not stay spotless throughout, and with each usage, it can end up darkening due to the formation of smoke. This is, however, a protective coating to reduce the chances of rust and mold build up.
Once you've cleaned the grease and other gunk, reassemble the smoker in the reverse order from the way you took it apart. After everything is assembled, run the smoker at its maximum temperature for around 30 minutes. This will help evaporate any excess water or soap remaining in the smoker.
You can also let the smoker air dry for a while by leaving it outside with the door open. Make sure that everything is completely dry, or else it can become a breeding ground for mold.
8. Use Vegetable Oil
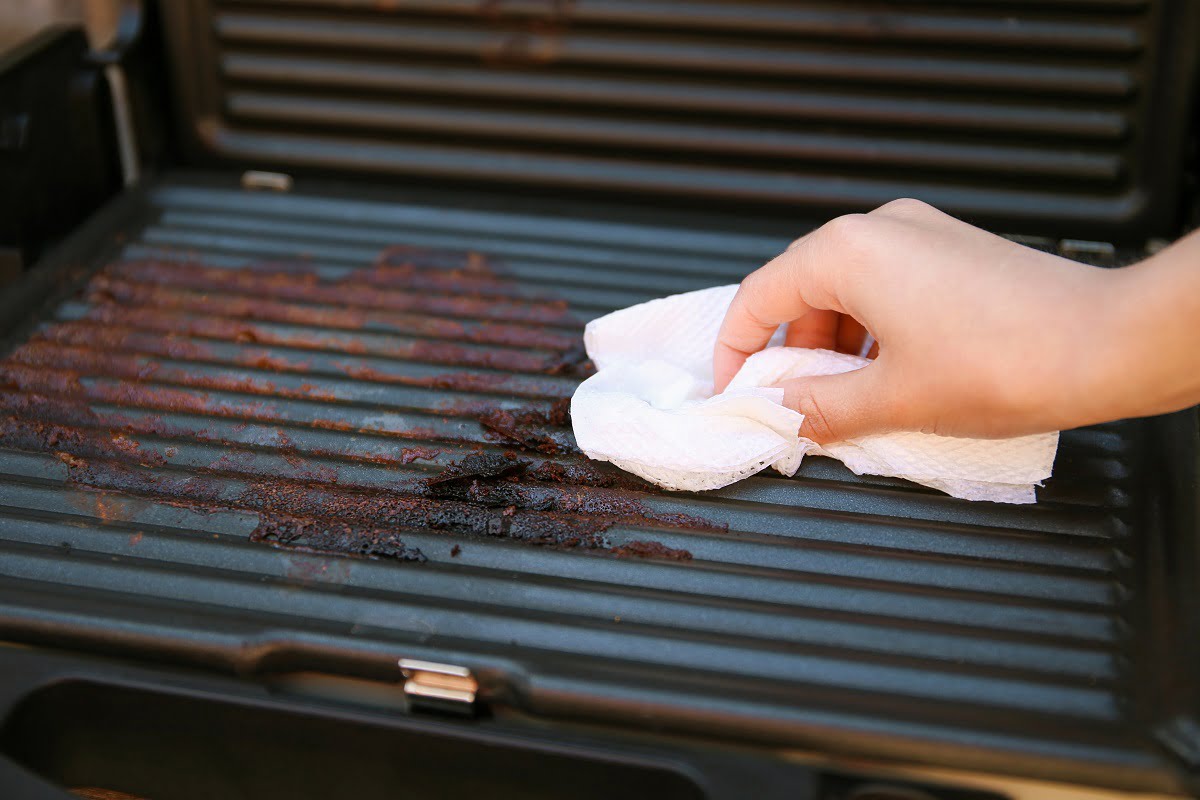
Just like a traditional smoker grill, coating the grill grates with vegetable oil can be helpful for electric smokers as well. Before using the smoker again, use a paper towel dipped in vegetable oil to lubricate the grill grates and cooking racks.
This prevents food and grease from sticking to the smoker and also prevents it from rusting. If you use the heat blast method to dry your smoker, make sure you use tongs to do this, as the grates will still be hot.
Maintaining An Electric Smoker
If you want to avoid going through the hassle of deep cleaning your electric smoker after every use, devote adequate time and attention to its maintenance. And the oiling method is an important part of the process.
Apart from that, after you're done using the electric smoker, scrub the shelves with a wire brush to remove all excess food and grease when the smoker is warm. You can also use a handheld vacuum cleaner to eliminate any leftover food particles. If you do the steps consistently, it will ensure that there is no mold buildup in your smoker to promote rusting.
Moreover, cover your electric smoker with a protective cover after every use. The cover protects it from the elements that may otherwise damage the unit, including its interior surfaces. You can also use an insulating jacket on the smoker to protect and insulate a pellet smoker when it’s in use.
What If The Smoker Has Mold?
So, it's been a while since you used your smoker, and you open it up after some time only to end up spotting mold inside! But this isn’t something unusual. Mold formation typically happens due to the presence of moisture in the smoker and the smoke chamber. The good news, however, is that you can get rid of it pretty easily.
All you have to do is fill up a microwave-safe bowl or a tin with boiling water. Place the bowl inside the smoker and run it at the highest temperature for almost an hour. This will end up burning all the mold away.
Once the mold is burned, scrape it out as you would with grease and wipe everything clean.
How Often Should You Clean A Smoker?
If you've taken a good look at your smoker and feel that it needs to be deep cleaned, it's probably time to clean it. But how often does one actually clean a smoker? The answer to this is entirely subjective.
If you are a thorough user of your smoker and you use it more than twice a week, you should be cleaning it thoroughly after 3 to 5 uses. And deep clean 2 to 3 times a year.
However, if you use it rarely around once a week, a thorough cleaning after 8 to 10 uses would be sufficient. You can also perform a deep clean at least once a year.

How To Clean A Smoker Grill Conclusion
Cleaning a smoker grill is a hectic but relatively easy task. With just a few supplies, you can end up making your grill look clean and shiny.
However, if you have little time to deep clean often, some minor maintenance after each use would be more than enough to keep it like new for years to come. Maintaining your smoker also keeps it hygienic and “food-safe.” After all, cookout sessions are much better if the food is yummy and healthy!
If you liked this read, then checkout our guide on “what is an insulated smoker?” See you next time!
