Expertises: Paint, Home improvement, Wood, Car, Painting
Updated on

Inspiring Ideas for Modern Home
It can be irritating to get paint off your brush. However, there is a way to avoid this tedious process, and we have the solution.

If you are into DIY painting projects, you must have dealt with many hardened brush sets. While you might buy a quality brush, you may not be able to maintain it well.
Whether you are using polyurethane, house, or oil paints, the bristles need to be taken care of. They should not be exposed to strong chemicals directly without proper consultation. Also, if the bristles are made of natural hair, then they have a higher chance of breaking off or getting diluted in chemicals.
We were facing the same problem when we decided to do our research on it. After that, we decided to create our own guide about how to clean polyurethane brush kits.
So, dive in!
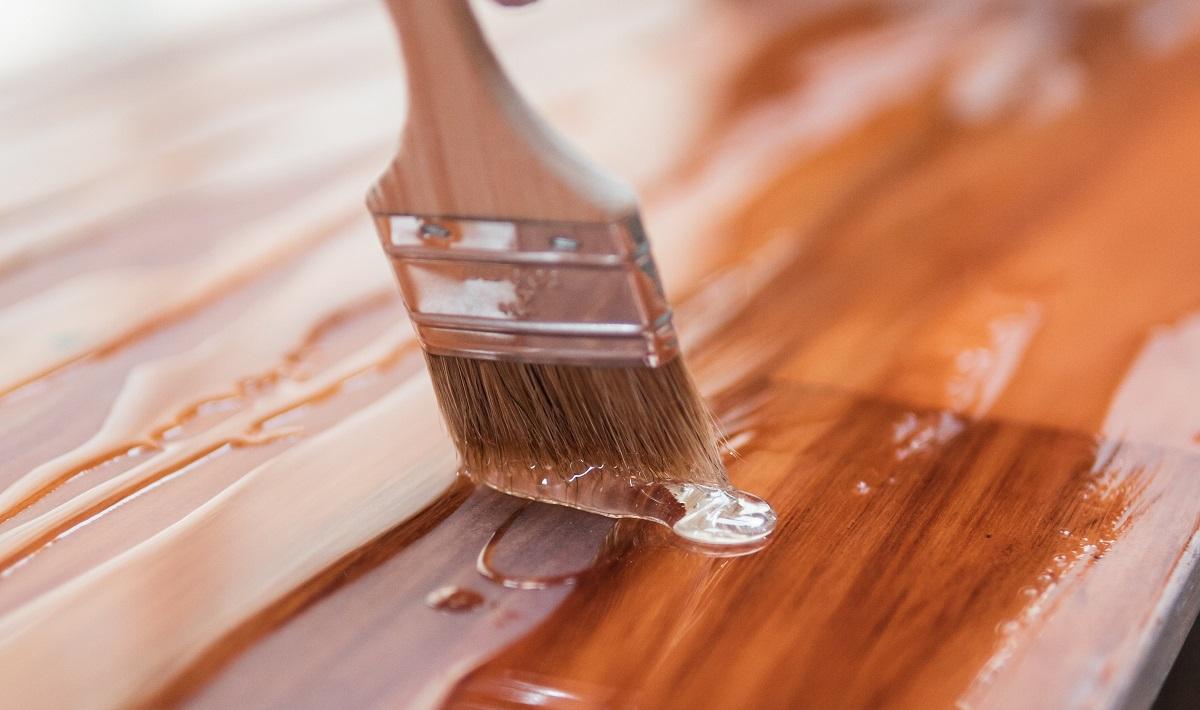
Before you can get the paint off, you will need to keep all the required materials in one place. Remember that just washing the brush with hot water along with soap is not enough. Dried polyurethane can be quite tough to remove, and you will require a set of supplies for it.
Moving on, you might find some of the ingredients in your house while others need to be bought. You will be needing:
Some people use fabric softeners for cleaning dried paint, but you cannot fully trust it. If you have used water-based paints, then soap will not be able to remove it. Plus, you cannot wash it in a basin as all those chemicals could damage your drainage system.
Moreover, if the chemicals reach the sewer system, it could cause more damage. Hence, try purchasing mineral spirits and consult your local hardware store to learn about how to dispose of the chemicals.
To begin with, you will need mineral spirits in a container for dipping the towel. In case you cannot get it, use lacquer or paint thinner for this job. These thinners can remove polyurethane and oil paints. But be careful if you are using anything other than mineral spirits as they might remove the paint from good quality brushes as well as damage them.
Next, take the mineral spirit and dip a paper towel in it. Then the brushes can be cleaned with a paper towel soaked in mineral spirits. It should work well with the brush bristles and release some of the polyurethane from a brush. However, you will still have paint on the brush after soaking.
It will only make the process easier and ensure that the paintbrush has less paint on it. Please remember to wear gloves while working to prevent mineral spirits from touching your skin. Additionally, ensure that all windows are open and the area is very well ventilated because the fumes need to leave the room as fast as possible.
Next, take a good amount of mineral spirits in a container. Again, you can use a paint thinner but be very careful with it. Then dip your paintbrush in the solution so that all the bristles are in the spirit solution. You can get it for both a natural brush and a synthetic brush.
Typically, the brush bristles that are covered with polyurethane paint need to completely emerge, while the upper part of the ferrule needs to be kept away from the paint thinner.
Once some of the polyurethane has come off, you can fill another container with mineral spirits and put your polyurethane brush in it. The dried polyurethane will slowly come off as you swirl the hard paintbrush inside the container. You can then leave the brush in the fluid overnight. Do not wash polyurethane brushes at this time.
Take it out of the liquid to check before you dip it again. This is based on your judgment, and you can handle it accordingly.
Remember that harsh chemicals like mineral spirits cannot be thrown in the sink or on the ground outside your house. You will need to take the dirty mineral spirits and ensure that it reaches a hazardous recycling plant. The spirit, paint thinner, or oil paint mixed with the remaining polyurethane can be caustic and harmful for drain pipes.
Cleaning polyurethane brush sets can be a difficult job, and the bristles deserve to be completely free from it. Now, you might want to repeat the entire process as the polyurethane coating may not disappear completely.
So, go forward and take some mineral spirits to repeat the entire process. Swirl the cleaning brushes in the formula before you leave it for a few hours. Then clean again to see if the paint has been more or less removed. The second attempt should ensure maximum cleaning power and should make your brush cleaner.
Also, please avoid vigorous scrubbing as that could lead to the breakage of natural hair bristles.
Once you have removed most of the polyurethane from the brush, it is time to bring out hot water. Keep your brushes in hot water for a while to loosen excess paint. You can also use dish soap along with water to create a soapy water mixture. This should make it easier to wash polyurethane brush kits.
Your brush bristles deserve proper care, and hence, you need to be very gentle with the brushes. After washing it thoroughly, you will need to use a brush comb. A brush comb will slowly clean polyurethane off the bristles.
Next, you will need to clean the brushes well with paper towels and check if all the dried polyurethane has been removed. Make sure that you do not tear the bristles while you are taking out the polyurethane from a brush. You might also end up loosening the bristles, which will create further problems. Gently wipe with a towel and then keep them dry.
Once the brushes are dry, you will need to store them. If you have used natural brushes, then you will need to keep them wrapped in paper. Use old newspapers for this purpose. However, if synthetic brushes need to be taken care of, you can wrap them up in a plastic sheet. Both the materials will keep brush bristles dry and prevent them from breaking or bending in time.
If you are using oil-based polyurethane, then you can try working with water, dish soap, and paint thinner. It is best if you wear gloves as well as well-ventilated masks before starting work. Keep the area well-ventilated so that all the toxic fumes can leave the house immediately.
First of all, you will need to get hold of paint thinners. This can be bought from any local store. Once you have it, pour some into a cup. Ensure that there is enough fluid in the bowl to cover the hard paintbrush bristles. There is no need to fill it to the top.
Next, you will need to dip the paintbrush in the paint thinner and keep it in the same way for the next 20 minutes or so. This will help the paint in loosening up slowly.
After 20 minutes or half an hour, start bending and moving the brush from one side to another. It should be bent in such a way that the thinner touches the metal area of the brush. This will keep it from drying or hardening up.
Then it is time to take the brush out. Wring it gently so that the remaining paint thinner leaves the brush along with the paint. You can repeat the process till the paint comes off well, and you have a clean polyurethane brush.
Wear your gloves before beginning the process. You will need clean gloves to keep your skin safe while washing the brush. Then put some dishwashing soap on the brush and work it well. Ensure that the natural or synthetic bristles are covered with it before rinsing them out.
We will recommend rubbing it well to get all the dried or dissolved paint out. Then rinse and wash out the soap. Wash for some time to make sure that all the soap has left the bristles. If any of it remains, it will only harden up, and you might face difficulty in cleaning it.
Now, it is time to dry the brush well without letting it harden up. You can take a microfiber brush to clean the bristles well. Do it until no water drips from the body. Once it is done, you can let the brush rest for a while.
If you want to paint with oil paint, then there are ways to clean a brush without paint thinner.
Now that you know how to clean polyurethane brush kits, there are a few things that you must keep in mind when it comes to brush care. Be very careful with the brushes and ensure that bristles do not come out of the metal part. Permanent breakage would lead to damage of the entire brush, which is not needed.
If you are painting a large space, you might need to take breaks in between. Generally, one would keep the brush on a newspaper, paper towel, or an old rag while they take a break. Remember that even if you leave it for half an hour, the brush could be spoiled. There are more efficient ways to store the brush, and you can try them out.
In case of a short break, it is best to leave the brush in the paint tub itself. Ensure that one-third of the bristles are inside the paint can. Then the paintbrush will not dry up at all, and you can begin painting as soon as you return.
If you are going to take a longer break, then leaving the brush inside the paint may not be a good idea. Some would want to wrap the brush in a sheet of plastic and store it. But again, if you leave it in this way for a long period, then the plastic may stick to the brush as the paint dries.
The plastic wrap will contain air inside, and that aids in the process of drying up the extra paint. Also, plastic will let moisture get inside, hardening it up.
A good alternative to plastic is aluminum foil. This foil will keep the brush dipped in polyurethane paint safe and prevent it from drying up fast. However, remember that you need to wrap the brush well with aluminum leaving no space in between. Then you can cut off the remaining foil bits. This should prevent hardened bristles, and you can go on long breaks.
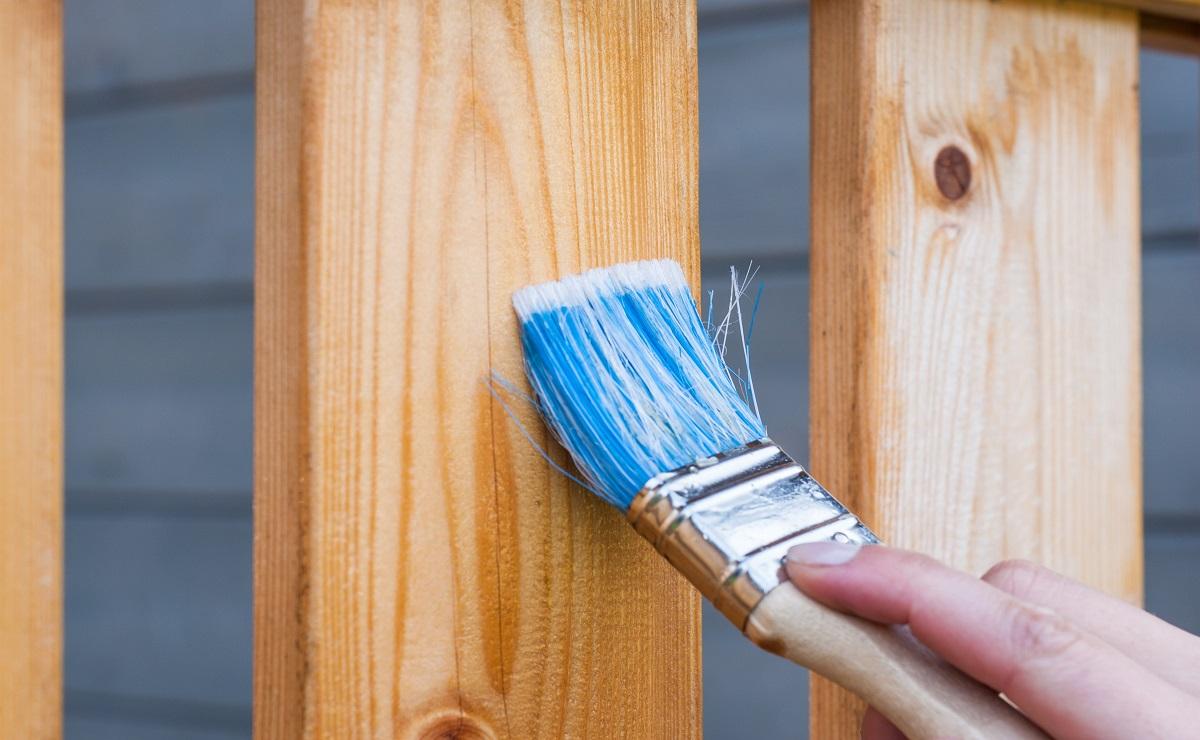
If you are using oil-based polyurethane, then it is best to choose natural brushes. Natural bristles are better suited, and the oil-based paint will be applied evenly. Also, it is easier to clean oil-based polyurethane from natural bristles.
However, if you are working with water-based polyurethane, then synthetic brushes will fit the bill. Synthetic bristles will not hold on to the water-based paint and will help you remove the hardened polyurethane easily.
Moving on, you should know that both oil-based and water-based polyurethane is used for floor finishing. It provides a lovely shine, and now, you can clean the brushes well too.
Once you learn a good clean-up technique, it should save you a lot of money in the long run. You should be able to make a brush last longer, and you do not have to pay for a new one. Some people even use a fabric softener to keep the brushes clean.
Also, do not try to scrub the hard paint from brushes as that might have a detrimental effect. Just follow all the instructions above carefully. That should make the paint leave the bristles by itself.
It is finally time to wrap up, and you can let us know how you clean brushes in the comment section below. We will come back soon with another comprehensive guide for you.
Till then, take care and goodbye!
Related Articles
9 Best Paint Brush For Polyurethane
How Long Does Polyurethane Take to Dry
How Many Coats Of Polyurethane
13 Best Paints for Bathroom Ceilings
11 Best Polyurethane Protective Coatings
13 Best Spray Paints For Metal
7 Best Airbrush for Miniatures & Models
11 Best Epoxy Resin For Crafts
5 Best Epoxy Resin for Tumblers