Expertises: Art, Painting, Drawing, Home improvement, Gardening
Updated on

Inspiring Ideas for Modern Home
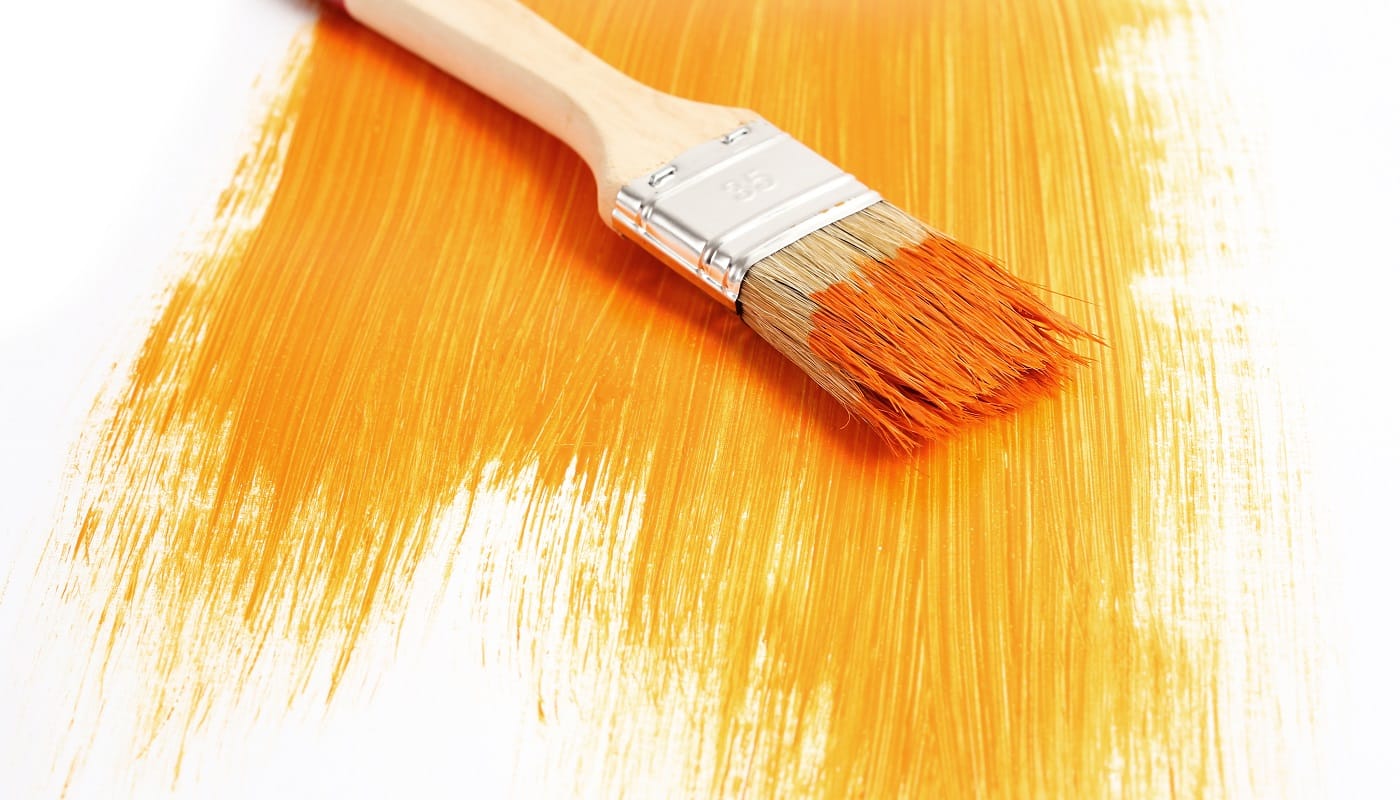
Do you love to paint, but end up with hard bristles every time after the job is done? Well, you need not worry anymore!

Cleaning the paintbrush is a crucial part of the painting process, and often one is too tired to do it immediately. This leads to hardened brushes, which then become difficult to clean. Now, we believe that the bristles need some love and maintenance so that you can work with them for years to come.
Having said that, we decided to create this guide to help you understand how to soften a hard paintbrush.
Now, remember that it is easier to clean this product while the paint is wet rather than when it has completely dried up. But you can still transform and make the bristles more pliable with the right method.
Read on to learn all about it!
There are some materials that are key to cleaning bristles, and you need to have them in place before beginning the process. Most of these are already available at home, so you would not need to spend anything extra on buying them separately.
You will need hot water for this purpose and we will suggest keeping a bottle or a container of hot water next to you before beginning. Also, you may need to reheat the water at different stages before use. So, it is best if the bottle or the container is microwave-safe or can be put on a stove directly.
A glass jar will help in swirling the brush, and it can be replaced by anything with corners to keep wiping the bristles while swirling.
Soap is an essential part of the process, so make sure you keep it in handy. Use whatever is in the kitchen; there is no need to spend extra on it.
A brush comb will further aid the process, so keep one with you. You could also use old toothbrushes if you do not find a comb.
Purchase a good fabric softener if you do not already own one. If you do not want to spend anything extra on it, you can replace it with vinegar too.
This has to be bought separately, and we would suggest that you wait and see if it is needed. If the brush is completely hard and has been left like that for a long time, you will probably be needing a thinner. In such a case, get one beforehand so that you do not have to pause in between.
In this section, we talk about softening a hard brush. The entire process has been divided into steps for your benefit, and we will recommend going step-wise to see the best results.
First of all, you are required to put the brush bristles in warm water, and you could add a little amount of soap to it. The aim here is to liquify some amount of the hardened paint slowly. If you see that none of it is melting, then increase the temperature of the water and bring it to a point where you can just touch it without getting burnt.
This should be able to melt some parts of the paint and loosen the bristles a little. You can also try using some coconut oil if the water does not work at this stage.
If you have some coconut oil lying in your house, heat it and apply it to the bristles. This could help in loosening the bristles and ensuring that some of the paint is released. However, do not worry in case there is no oil, as the next steps will take care of the paint.
The previous step should make bristles slightly more pliable to get it ready for the next step. Here you will need a lot of dish soap, which should get in between the bristles and lather well.
Now, it is expected that most of this soap will roll off the surface, but if you keep adding more, it will eventually get into the bristles. Once that happens, the bristles should start loosening up a bit and If nothing happens, proceed to the next step and see if that helps.
This is a fun step, especially if you love playing with colors. So, take a glass jar or any container that you deem fit and fill it up with soapy water. The container might get some paint stains, so try not to use a decorative item for this.
Once the warm soapy water is inside the jar, fill it up with more dish soap. Now pour water till the water level submerges the brush bristles completely, and then start swirling with it inside. The sides of your jar will help in getting some of the paint out.
Swirl till you see the color of the water changing. This is not only satisfying to look at, but you will be able to see the color actually coming out.
Once you have swirled enough, it is time to wash the bristles again. The vigorous swirling should help in making the brush more pliable. Use warm water and soap to wash the bristles now. Here we would recommend not settling for cold water as it will not help in removing paint completely. It is mandatory that you heat the water before using it.
Are you still not seeing any results? Do not worry, as the next step will take care of it.
If you have reached this step, you must be looking to remove more paint or make the brush more pliable. For this, it is time to use a more concentrated solution - a fabric softener. If you do not have it at home, you can replace it with vinegar too. It will get the job done, considering the acidic content in it.
A brush comb can come in handy at this stage, and you can get a cheap one from an online store in case you do not already have one. This could prevent you from having to scrub the bristles with soap, vinegar, and water repeatedly as the brush will fasten up this process.
It will also ensure that the soap or softener gets deep into the bristles and help in making them pliable. Think of very tangled hair and how conditioner helps in loosening it up. Yes, this one works in a very similar way, but you will have to put in more pressure and effort in this case.
We will recommend that you begin with combing the softener through the bristles slowly. Add extra softener after you have started combing to ensure that it gets between the bristles.
Once you have applied the softener well, rinse it with warm water and check the progress. If you see improvement, then you can keep repeating the above steps of applying vinegar or softener, soap, and water. This should clean the entire brush in some time, and you would not need to apply the next steps.
However, if the brush is still hard and unwilling to bend even a little, move on to the next step.
Fabric softeners are supposed to work really well in general, but they may fail in case of resistant paint. If you do not want to repeat the previous steps and are seeing no improvement, then it is time to move to something even stronger. Here, we are going to introduce paint thinners, which are highly caustic and are available in concentrated form.
Now before you start using it, remember that you have to be very careful with this stuff, and it is best to take all kinds of safety measures beforehand. Wear a mask, goggles, and gloves to prevent the thinner from getting anywhere near your eyes, mouth, or hands. This can cause serious damage, and we will recommend not proceeding without these measures.
Having said that, once you have the safety gear in place, you can put some of the thinner or mineral spirits into a bowl or container made of glass. Pour till you have enough liquid to cover the bristles completely.
Now dip the bristles and let them stay for around 10 minutes before checking again. If you see a slight progress, keep it that way for some time, and you can go up to 1 hour if necessary. Keep swirling once in a while but ensure that the liquid does not splash.
After the bristles have been soaked for enough time, remove them from the liquid and rinse them again in warm water. This is where you need to check for progress, and you will see it. The bristles should have been softened by now, and there will be a major change from before.
If the bristles are still hard in some places, add some more fabric softener to them. It is best if you create a diluted solution and then dip the brush in. Keep it for half an hour to 60 minutes, and then rinse it well. Your brush should be in better condition now.
There is more than one way to remove paint, and in this section, we will discuss a few more. If you are wondering how to go about it, we will suggest that you first try out with materials that are already available at home. If the paint does not go, then purchase a thinner, spirit, or softener.
Moisturizer or baby lotion can provide a solution to make the bristles pliable, and you can try it out before purchasing a paint thinner. This will be available in your houses but ensure that the formula is not greasy. If it becomes greasy, then the functionality of the brushes may be affected at a later phase when you use them.
To go forward with this, you will need a little amount of baby lotion or moisturizer and you need to apply it to the bristles. Ensure that the bristles are completely coated with it and keep massaging till it reaches the ferrule. If you do this in the right way, you should be seeing results within 2 minutes.
Once the paint comes off, you can wipe the bristles with a napkin. This will remove any excess amount of grease too. Just keep moving the napkin in a circular motion from the bottom to the tip of your bristles. Apply some amount of pressure but ensure that the bristles are not being pulled.
So, there are different types of paint, and each will require a different method to remove them after hardening on bristles. If you have used lacquer, then you will find lacquer thinners in the market that will help in the liquefaction process.
On the other hand, water-based paint is the easiest to remove and will only require soap and water. In case you need a stronger substance, fabric softeners should work well, and you would also probably have them in the house already.
Next, for oil-based paint, you can try using mineral spirits and a brush comb. While if you have used shellac primers, then you will need denatured alcohol to clean it off.
To know more about the type of paint you are using, read the back of its tin. The type of base will be mentioned, and the manufacturers also write about how to remove it. You can buy a cleaning solution accordingly, and that should do the job.
White or mineral spirits are often available, and they are commonly known as brush cleaners. These have a lower content of toxic elements like sulfur and VOCs, and the odor will not bother you anymore. Yes, they are more expensive than paint thinners but are more effective too.
To use this, you will have to pour some of it in a glass jar and then dip the bristles in. Ensure that it does not touch the ferrule and keep it that way. You can cover the top with a plastic bag so that no fumes are released into the air.
Then keep it in any external environment like your yard, garage, or shed. Let it sit for a day or 2, and then remove the plastic to see the progress. The paint should come off the bristles and fall into this solution.
Move the brush around to dislodge any remaining paint bits before putting it in another container filled with spirits. The previous one should already have a lot of paint in it, and this one will take care of any remaining bits. Keep it overnight, and the entire amount of paint should be removed by the next morning. Lastly, rinse it in hot water, and you will have soft bristles again.
While you are at it, remember to keep the container away from kids and pets. You can hang it or keep it at a height where they cannot reach. This is because any form of consumption of the fluid could be fatal.
We hope that you feel a lot more confident now that you know how to get brushes back to their original form. This will help you take care of any other hardened ones in the future, and you can be confident about not having to throw them out.
Also, it is best if you immediately clean brushes after the painting process before they harden completely. This will make your job easier as the paint will come off fast. Plus, this increases the durability of the unit and will ensure that the bristles stay soft and in place for years.
What’s more, you do not have to purchase a new brush for every project, saving a lot of money. With this, we will say our goodbyes, and we hope you have a fun time painting.
Take care!
Related Articles
5 Best Sprayers For Plasti Dip
9 Best Pump Sprayers For Staining Fence
9 Best Concrete Stains to Consider
11 Best Paint For Concrete Walls In Basement
13 Best Paint for Furniture | Reviews & Buyer’s Guide
10 Highest CFM Air Compressors
9 Best 6-Gallon Air Compressors for Your Home & Garage
13 Best Paints for Bathroom Ceilings
2 Luminess Silk Reviews [All You Need to Know]
HVLP vs. LVLP [All You Need to Know & Winner]
Alcohol Ink Art Tutorial [Alcohol Inks 101]
9 Best HVLP Spray Guns [Review & Buyer’s Guide]
6 Best One Coat Paint and Primer
7 Best Primers to Cover Dark Paint
7 Best Exterior Primer For Peeling Paint
6 Best Paint Primer For Rusted Metal
7 Best Cold Galvanizing Paints
11 Best Paint Scrapers to Rock
How to Remove Spray Paint from Concrete
7 Best Primers For Covering Red Paint