Expertises: Art, Painting, Drawing, Home improvement, Gardening
Updated on

Inspiring Ideas for Modern Home
Has the fear of dripping paint over your carpet stopped you from painting trims? Well, there are ways to paint trims, even with carpets installed.

You might be wondering how to paint the trim if you have a new and fluffy carpet installed on the floors. Rest assured, a tidy and leak-proof paint job is possible for all types of flooring!
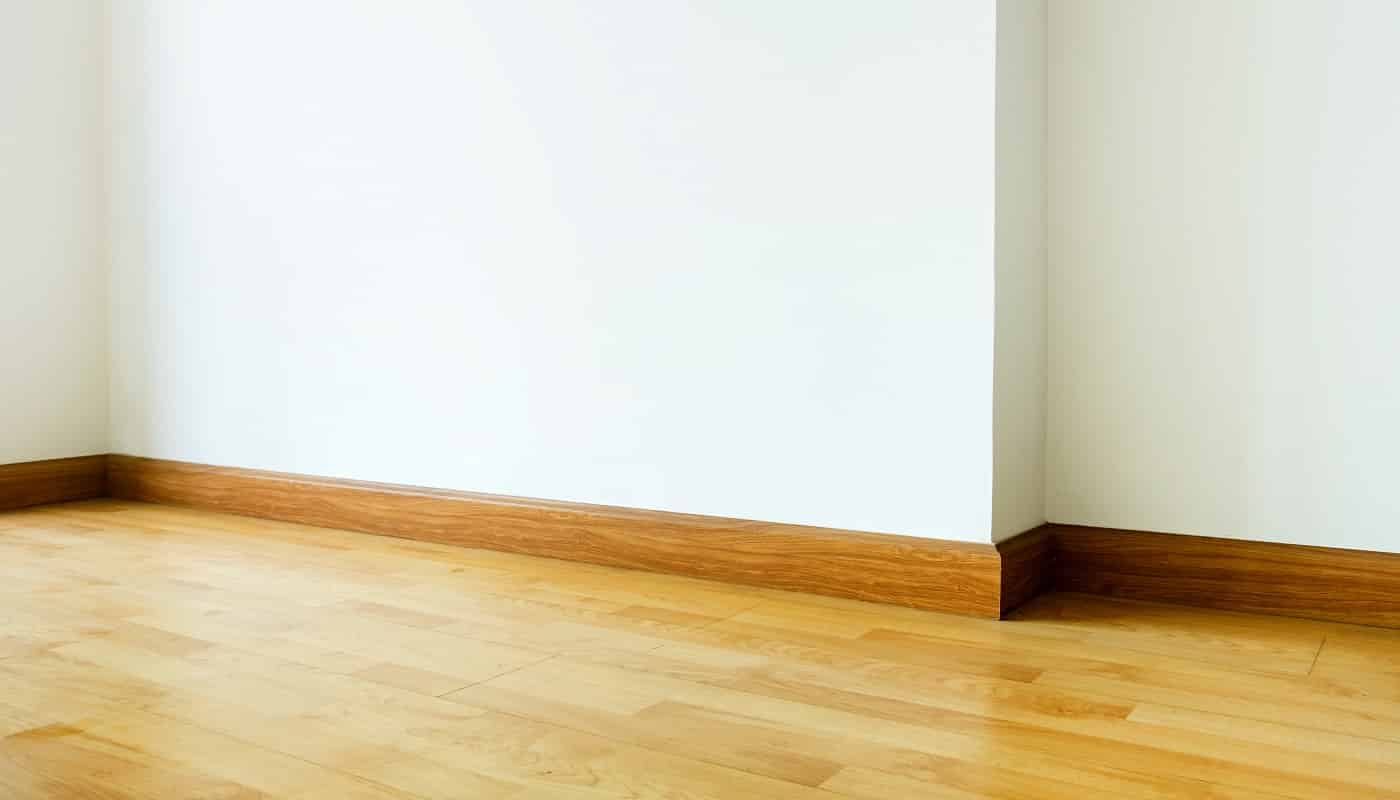
Painting the trim or baseboard completes the fresh and finished look of the room. And usually, with wooden flooring, painting is relatively easy. But with carpet flooring, it becomes a little more complicated.
Although it might not be the easiest thing to do, it's possible. Don't let the carpet get in the way of your trim painting process. Just put on your DIY hat and follow this guide.
These steps will help you navigate even in the trickiest of carpet situations, so read on!
There are a few basic things to consider before we get into the stepwise process of painting. You need to know the type of trim and carpet on the floor, which painting method to follow, and the supplies required. Let's get into the details of each aspect.
It's essential to know and understand the space you are working with when you are painting trims. Consider the type of flooring; which type of carpet is it?
If the carpet is thin with short threads, processes like taping it will make the job easier. If it is a very fluffy carpet, the regular tape might not be enough to cover the edges. In that case, alternative options like thicker tape or tapes with low adhesive strength will be required.
The kind of paint used will differ according to the trim material. Most trims are made of wood, but trims/baseboards can also be made of other materials such as PVC. So, the kind of paint applied will also differ.
Some methods involve removing the trim or baseboards entirely and then painting them. Then, they are dried and reattached to the walls. It sounds like a tedious job that will take days to complete.
Another option is to lift the carpet, finish painting, and then put it back in place. Again, removing the embedded carpet consists of a lot of manual work. Also, if you have just installed a new carpet, you might not want to remove it just for painting trims.
Yet others prefer the skill of freehand painting. This method is acceptable if you are a seasoned and confident painter. However, for most people, the taping method may be ideal. A painter’s tape is stuck on the trim, after which it is painted. We will discuss the method in this guide.
DIY painters cannot beautify trims without the necessary equipment. Here is a list of things you will need -
So, are you wondering how to paint the trims flawlessly without damaging your carpet? Don’t worry; take a look at these steps that may help prevent it.
First of all, clean the area thoroughly before picking up your paintbrushes. Make sure you scrub the dirt and dust away with a microfiber cloth or sandpaper. Removing tough stains and grime is essential for the fresh coat of paint to spread evenly on the trim.
If there are any loose bits of old paint or an uneven surface, it can be leveled and smoothened with a few scrubs. Don't leave dust, old pieces of color, and wood chippings on the carpet. Vacuum carefully to clean it up before moving to the next step.
Caulking the trim is not essential, but it will give an even and polished finish. Molding caulk also fills up the uneven surface and seals the cracks and gaps in the wall and trim. It helps paint to spread quickly without creating any displeasing bumps and fissures.
In general, it works well on wooden trims. But there shouldn't be any problem, even if your baseboard is made of PVC. Apply the caulk with your finger throughout the surface of the trim and wipe it out with a clean cloth. You can also use a wet sponge to apply it and wipe off the excess caulk.
There are a couple of options for painting trims, the most common being a regular nylon paintbrush. Bristle brushes, foam brushes, roller pads, and roller brushes are also commonly used. Some people prefer foam brushes since they are easy for beginners to use, but this is entirely a personal preference.
If you have no prior experience with painting, a bristle brush might be challenging to operate. The fibers might cause uneven lines across the trim and end up looking unpleasant. In such cases, it is recommended to use a smaller size brush or a foam roller - because a bulky brush isn't for everyone. A 2 to 3-inch wide brush is good enough for painting trims.
Let's begin with the three-step guide on how to paint trims near the carpet area.
Firstly, make sure to select a painter's tape which leaves no residue on the carpet. It's important to use tape that protects your carpet from paint and does not damage it when you peel it off. A masking tape or painter's duct tape should be fine for protecting the edges of the trim and the flooring.
If you want to avoid a sticky mess, use small pieces of tape. Create sections of the area or wall to trim and apply the painter's duct tape in 3 or 4-inch sections. Then, lay the painter's tape firmly on the floor, flat at the edge.
A small portion of the tape should be on the trim, and the remaining should be on the carpet. At this point, check if the tape is completely covering the carpet at the edge near the trim.
Now use a putty knife or butter knife to push the edge of the tape into the carpet. The bottom of the trim can be exposed but make sure the edges of the carpet are entirely covered with the tape.
If you are worried about spilling beyond the tape, place an old cloth beneath the area you are about to paint. This will catch any stray drops and splashes while you are painting.
Once that is done, make sure to prime the trim before painting, as any previously used paint might have some oily residue. If not removed, the new paint color will not stick easily to the surface.
Ideally, select a primer that will easily stick on oil paint. There are paints specifically designed for trim painting. If you choose this option, keep in mind that they can be more expensive than regular paint.
Firstly, dip the brush in paint and wipe off one side of the excess paint. This is a pretty important step when it comes to painting as you should try and avoid having excess paint on your brush. It is likely to drop all over the trim and even beyond the tape, which you have carefully placed.
So, ensure that you must wipe the brush and remove any excess paint before you move toward the surface of the trim. Be careful not to soak the roller sponge or brush excessively in paint, or else it will drip all over your carpet.
Now apply paint to the trim using smooth brush strokes. Move your brush from left to right (or right to left) in one stroke instead of many tiny strokes. This uninterrupted stroke will give a smoother finish to the surface.
After a few strokes, you may better understand how much paint you should pick up on the brush to get good coverage without spilling. A quick tip - before painting the entire trim, create an outline that separates it from the wall for better control while painting.
By doing this, you are ensuring that there is no leakage of paint above the trim. Once the outline is made, paint the entire base of the trim. One section can be covered using two or three even strokes.
Again keep a rag close in case there is a splatter of paint. Ensure that you wait until the first coat is dry before applying the second or even third coat. If you're wondering how many coats of paint are required on the trim - usually two or three coats should be good enough to get a neat finish.
Once the paint is dry, pull off the tape. Moreover, check that fresh paint is not peeled off in the process. Also, ensure that there is no leakage of color (which is possible if the paint is still wet.)
If you want to make sure that there is no paint leakage, wait for the paint to dry overnight or for two days before removing the painter's duct tape. Once the paint is dry, remove the duct tape and clean it with a clean brush if there is any dried residue.

That was our detailed DIY guide on how to paint trims if you have carpets on the floors. Following these steps will indeed get you fresh trims with unspoiled carpets in a matter of hours.
With the method mentioned here, it should take 2 to 4 hours to paint, depending on the size of the room. And what's more, there is no need to spend hundreds of dollars on hiring a professional to paint the trims of your house.
The type of carpet won’t be an issue anymore to neglect painting the trims in your house! So, when are you picking up that paintbrush to freshen those trims?
Related Articles
Alcohol Ink Art Tutorial [Alcohol Inks 101]
9 Best HVLP Spray Guns [Review & Buyer’s Guide]
6 Best One Coat Paint and Primer
7 Best Primers to Cover Dark Paint
7 Best Exterior Primer For Peeling Paint
6 Best Paint Primer For Rusted Metal
9 Best Pump Sprayers For Staining Fence
9 Best Concrete Stains to Consider
Learn How To Soften A Hard Paint Brush
11 Best Paint For Concrete Walls In Basement
13 Best Paint for Furniture | Reviews & Buyer’s Guide
10 Highest CFM Air Compressors
9 Best 6-Gallon Air Compressors for Your Home & Garage
13 Best Paints for Bathroom Ceilings
2 Luminess Silk Reviews [All You Need to Know]
HVLP vs. LVLP [All You Need to Know & Winner]
5 Best Sprayers For Plasti Dip
How Much Does It Cost To Bottom Paint A Boat?
How To Thin Latex Paint For A Wagner Spray Gun
How Much Does Benjamin Moore Paint Cost? [Guide]
43 Insanely Cool Basement Bar Ideas for Your Home
7 Best Cold Galvanizing Paints
11 Best Paint Scrapers to Rock
How to Remove Spray Paint from Concrete
7 Best Primers For Covering Red Paint