Expertises: Art, Painting, Drawing, Home improvement, Gardening
Updated on

Inspiring Ideas for Modern Home
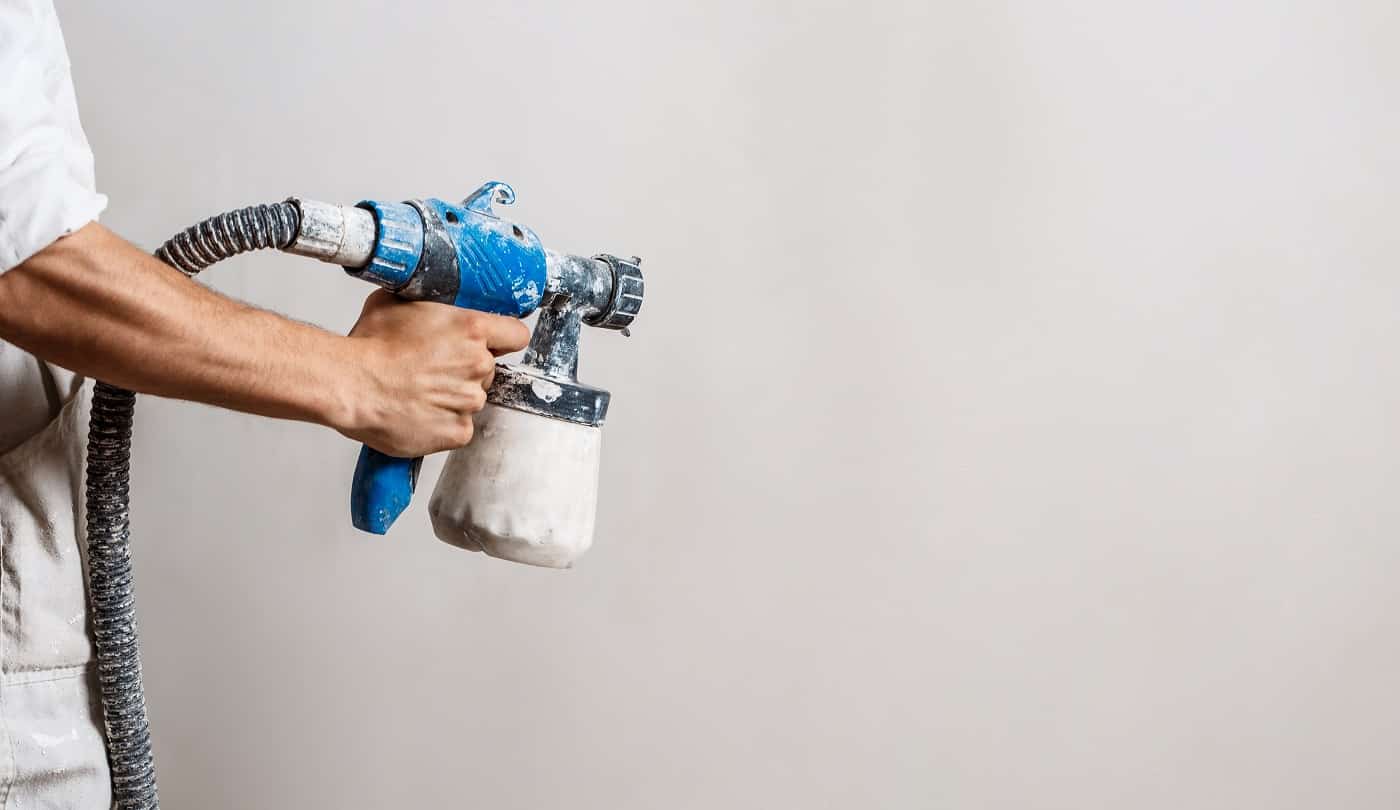
Rollers and brushes can take a backseat now that the Wagner Spray Gun is here!

No disrespect to these age-old tools, but the new generation of high-volume low-pressure paint sprayers are re-defining how DIY-ers paint their homes. From highly detailed cabinets to large rugged surfaces like popcorn ceilings, the Wagner Spray Gun gets paint into all the nooks and crannies.
And, all this in a fraction of the time it would take to roll paint over home exteriors or brush between the crevices of furniture. Needless to say, the finishing on projects will have neighbors asking for your painter’s number.
But, of course, the new hand-held spray guns from Wagner are easy-to-use for professionals and amateur painters alike. In case you are using the Wagner spray paint at home, remember to thin the latex paint during prep.
Follow this guide to know how you can do it yourself!
There are a slew of options to choose from when it comes to paints for your Wagner Spray Gun, but one thing is for sure – they all have to be thinned before use.
Failing to do so will leave you with a clogged nozzle that takes some hard scrubbing and about 15 minutes to clean. Frustration aside, this is enough time for dried paint marks to form – thus, undoing the even finish and time-efficiency promised by the spray gun.
At the same time, thinning the paint too much will leave you with wastage and an ugly mess. With that being said, it is important to follow this guide meticulously. So, without further ado, let's get started by preparing the paint!
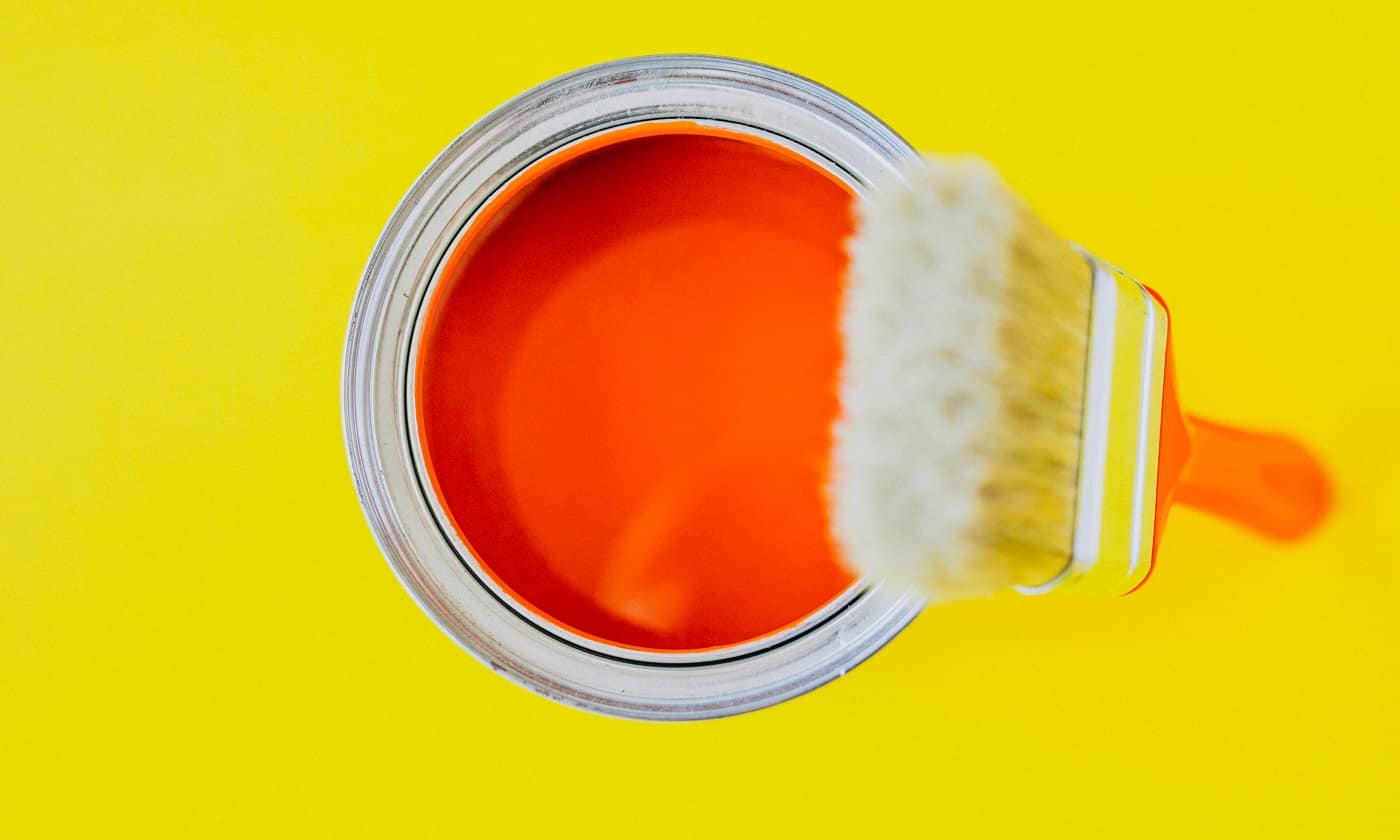
For the first step, you will need your choice of latex paint, of course!
Prepping the latex paint means ensuring that there are no lumps and bits stuck to the bottom or sides. These hateful little clumps are a direct ticket to a clogged nozzle, so don’t look past them.
Begin by holding the can of paint by its handle and swinging it back and forth for about a minute. Usually, store-bought paints come premixed and don’t need any more mixing, so unless your paints have been lying around for some time, you can afford to skip this step.
However, premixed or not, you should use a wooden stir stick or a mechanical stir stick to mix the paint once the lid is off. While stirring, make sure that the paint at the bottom has been mixed well and is not clumpy.
The next step is to pour about a quarter of the prepared latex paint into a clean paint bucket.
At this point, use a stir stick to lift some of the paint and let it drip into the bucket. The visibly heavy drops mean it is still too thick to go into the spray gun. With that being said, you are looking for a paint that has a runny consistency, and which drips down in one long line resembling a string.
To reach the target consistency, start by adding a little bit of water at a time. Additionally, you can add a conditioner like Floetrol for a smoother finish.
As a rule of thumb, ½ a cup of water for every gallon of paint is the recommended number. However, it’s best to start with an ounce – adding more if the need arises.
While experienced painters can usually tell just by looking if the paint is done, beginners may have to experiment a bit. But, don’t be too nervous about getting it too thin. After all, you can always add some more paint to the mixture to thicken and fine-tune it gradually.
Using a wooden stir stick, keep stirring and lift it occasionally to check the consistency.
Keep in mind that a powerful stir stick attached to a drill may be a swift method to mix thick paint, but it might also create air bubbles if used on this diluted mixture. And as you may already know, air bubbles will disturb the evenness of your paint job in the long run.
Now, once you are done concocting the mixture and it forms a long runny line, move on to the next step for the ultimate consistency test.
To know if you have reached that sweet spot between too thick and too thin, you can go about it two different ways. One is by running the paint through a mesh funnel, while the other utilizes a viscosity cup.
The funnel test is the go-to method for more seasoned painters, although the latter provides a more accurate picture. Moreover, some paints are sold with a viscosity cup as part of the package itself. However, it is worth noting that mesh funnels also serve the purpose of filtering out any contaminants and paint flakes that may clog up the spray nozzle.
Nevertheless, if you have a funnel with a thin spout, then pour down some of the paint through it into the bucket. In case it doesn’t run through smoothly, add some more water and mix again before testing.
On the other hand, if you are planning to use a viscosity cup, then make sure to have a stopwatch ready before beginning. Once ready, dip the cup inside the mixture and lift it instantly. At the same time, start the clock and stop it as soon as the viscosity cup completely runs out of paint.
Ideally, the time it takes for the cup to become empty should be about 35 seconds. However, anything between 25 and 40 seconds will do the job.
Once you are successful with the consistency test, don’t forget to jot down the ratio of water to paint that has been used. In fact, do this the first few times and experiment a bit with the ratios. And before you know it, you will be eyeballing quantities and mixing like a pro.
And, that’s it – you now know how to thin latex paint for a Wagner Spray Gun! To maximize every spray painting experience, read ahead to learn about some neat tips that you won’t find anywhere else.
You don’t need to go out of your way to buy a fresh can of paint if you already have some lying around the house. However, old paint tends to coagulate and form big globs that need to be broken down.
To do this, grab the can holder and sway it back and forth for a few seconds. After this, hold it in front of your chest with the back end facing you. What you want to do is shake the sediments that have been collected at the bottom. Now, do this by simply shaking vigorously in a front-to-back motion for about a minute.
Additionally, you can pour the paint through a funnel to get rid of dirt, debris, and big chunks of paint that may have dried up.
Apart from preventing air bubbles that would come from a mechanical stir stick, mixing water and paint manually provides a feel of the paint thickness against the stir stick. In other words, you can tell if the paint is thin enough and mixed well just by stirring it around.
In fact, just a few sessions of thinning latex paint, and you won’t even have to do any tests anymore!
Temperature and humidity – both can affect how much, or how little, thinning agent has to be added for the perfect consistency. Heat and humidity, especially, are every painter’s worst enemy as they dry up latex paints in no time. On the other hand, lower temperatures decrease the adhesive properties in paint.
The best way to combat these inconsistencies is by following the instructions on the spray gun and setting the airflow accordingly. Moreover, if you are painting during summer, it is highly advisable to thin and work with small quantities of paint before beginning another batch.
As mentioned earlier, the Wagner Spray Gun is suitable for all types of paints, although the paints will need to be thinned accordingly. Latex paint is water-based so it mixes well with water.
However, oil-based paints would require you to buy commercial paint thinners from the market. At the same time, you cannot use these paint thinners on water-based products.
In case you do want an oil-based finish on your latex paint jobs, Floetrol is one fan-favorite you can trust. To cut things short, Floetrol is a paint conditioner that leaves a shiny and professional finish on spray paint projects, while also making paint more workable under extreme weather conditions.
Apart from the two consistency test options mentioned in the step-by-step guide, there is yet another test that your paint mixture must pass to be certified ready-to-use.
Yes, we are talking about a patch test. Go ahead, get a piece of plywood or any surface that can stand upright. Then, test-spray on this patch and wait for it to dry.
Overly thinned latex paint will be runny, messy, and unable to cover the area where it has been sprayed. Other signs are drip marks and a long drying time.
On the other hand, paint that resembles the texture of an orange peel after drying needs to be thinned more. In the end, the right consistency will have you spraying mist-like paint that creates even layers that don’t run.
Latex paint is water-based, whereas commercial paint-thinners are mostly reserved for oil-based paints. In other words, paint thinners and mineral spirits are petroleum-based products that will completely strip the adhering properties of latex paint.
With that being said, unless you want to completely ruin your latex paint, don’t think about using paint thinners. Water-based paints like latex paint have been formulated to be best suited with water – hence, water is your safest and most readily available option.
Although there are other signs to look for like runny lines of paint, the most common reason for less coverage is over-thinning. Apart from this, you should check if the product is from a trusted brand and not damaged.
In case it turns out that the paint mixture is too thin, simply begin by adding little amounts of paint to it and mix the contents together with a stir stick. After this, follow the viscosity tests given in the guide and adjust some more if the need arises.
Hiring a professional is always a good idea, but it is far from necessary! The new generation of HPLV spray guns, such as those by Wagner, are small, hand-held, and easy to use devices. However, research well before you begin spray painting if you don’t want to have a frustrating experience.
Perhaps, the most important rule to follow is thinning the paint before spraying. Other than that, forgetting to check whether the spray gun itself is compatible with latex paint is a common rookie mistake.
Moreover, humidity, air pressure, temperature, and the type of spray gun you want to use – all of this will alter the required water to paint ratio for thinning latex paint. Needless to say, it might take some time to become an expert at spray painting with latex paint, but it can be done!
Generally, all kinds of paints need to be thinned when used with a Wagner Spray Gun because the nozzle has been engineered to diffuse thin, mist-like layers of paint. Naturally, a thick consistency clogs the opening and dries up.
Water-based paints like latex and acrylic are thick so they undoubtedly need to be thinned and filtered out. At the same time, oil-based paints such as enamels, despite being a thinner variant, still need to be thinned to prevent the spray gun nozzle from choking.
While most people preach “think before you say,” a seasoned spray painter swears by “thin before you spray.” And, rightly so!
Using a Wagner Spray Gun is one of the fastest ways to get a gorgeous and even coating of latex paint in any part of the house. But, you can’t get there unless you know how to efficiently thin each batch of paint.
And now that you have our 5-step guide and handy tips to lead the way, the only thing left to do is practice and trust the process. Just remember to write down the ratios of water to paint each time you finish a batch.
Also, now that you know how weather can tip the balance even in tried-and-tested concoctions, making notes about it next to the findings is a great exercise. With all this in mind, soon enough you will discover the secret formula for thinning latex paint, come rain or shine.
Till next time, happy painting!
Related Articles
9 Best Pump Sprayers For Staining Fence
9 Best Concrete Stains to Consider
Learn How To Soften A Hard Paint Brush
11 Best Paint For Concrete Walls In Basement
13 Best Paint for Furniture | Reviews & Buyer’s Guide
10 Highest CFM Air Compressors
9 Best 6-Gallon Air Compressors for Your Home & Garage
13 Best Paints for Bathroom Ceilings
2 Luminess Silk Reviews [All You Need to Know]
HVLP vs. LVLP [All You Need to Know & Winner]
5 Best Sprayers For Plasti Dip
How Much Does It Cost To Bottom Paint A Boat?
How Much Does Benjamin Moore Paint Cost? [Guide]
Alcohol Ink Art Tutorial [Alcohol Inks 101]
9 Best HVLP Spray Guns [Review & Buyer’s Guide]
6 Best One Coat Paint and Primer
7 Best Primers to Cover Dark Paint
7 Best Exterior Primer For Peeling Paint
6 Best Paint Primer For Rusted Metal
7 Best Cold Galvanizing Paints
11 Best Paint Scrapers to Rock
How to Remove Spray Paint from Concrete
7 Best Primers For Covering Red Paint
11 Best Paint Roller To Hide Imperfections Tested
Graco X5 vs X7 Comparison Review