Expertises: Art, Painting, Drawing, Home improvement, Gardening
Updated on
Inspiring Ideas for Modern Home

Epoxy is a versatile substance that can be molded into various forms. You can create unique pieces to wear, thanks to this.
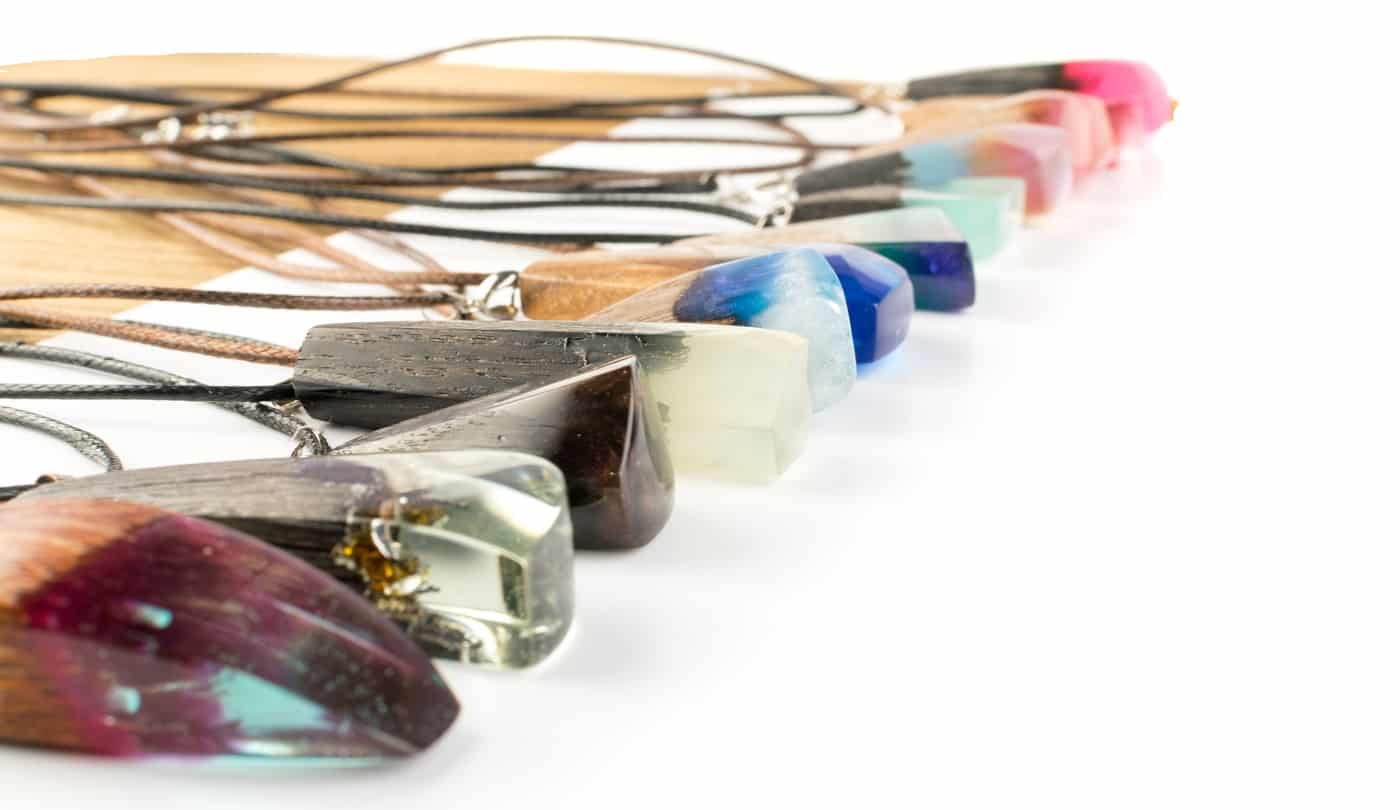
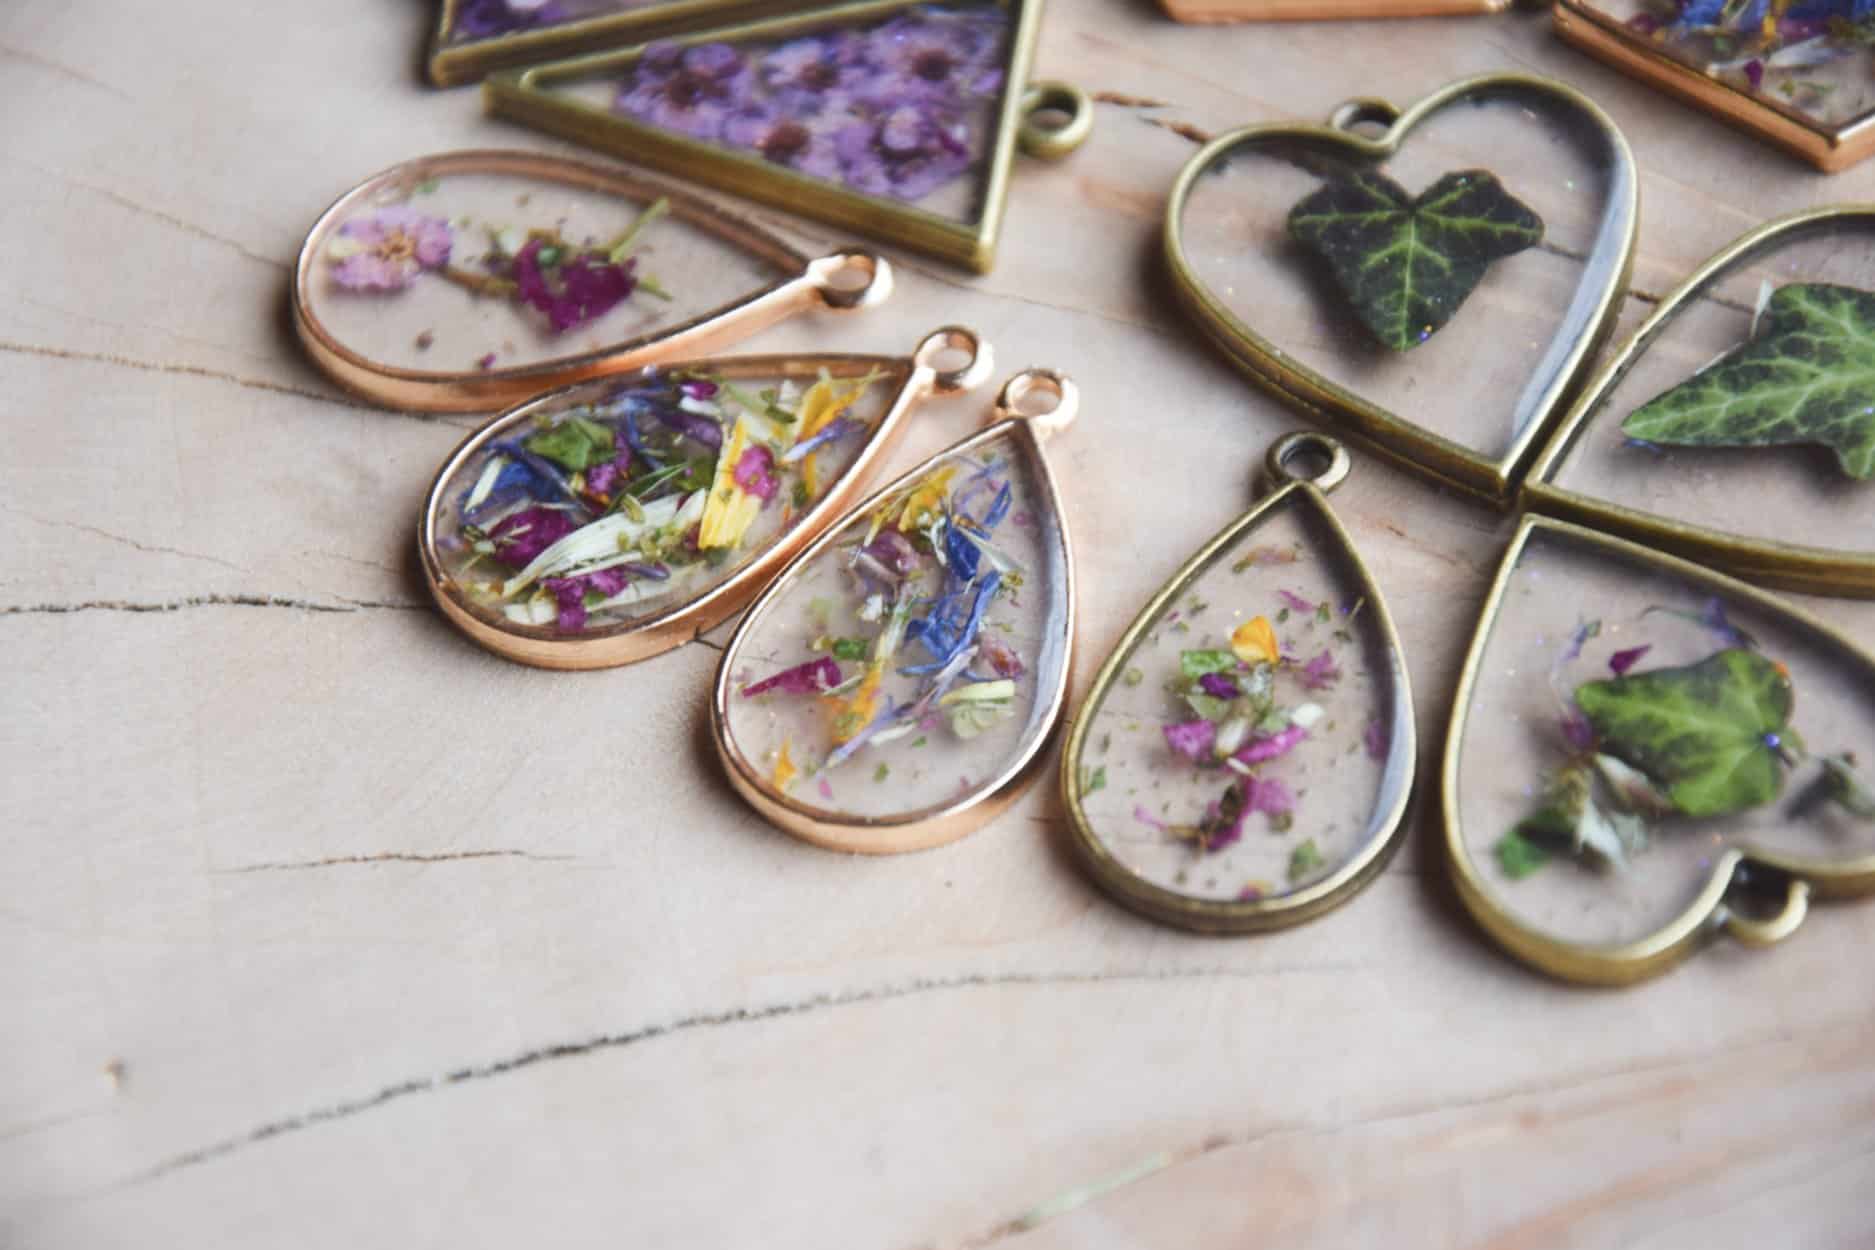
Besides decorative pieces, DIY enthusiasts and local designers create pendants, bracelets, earrings, cufflinks, finger rings, tie pins, brooches, and key rings.
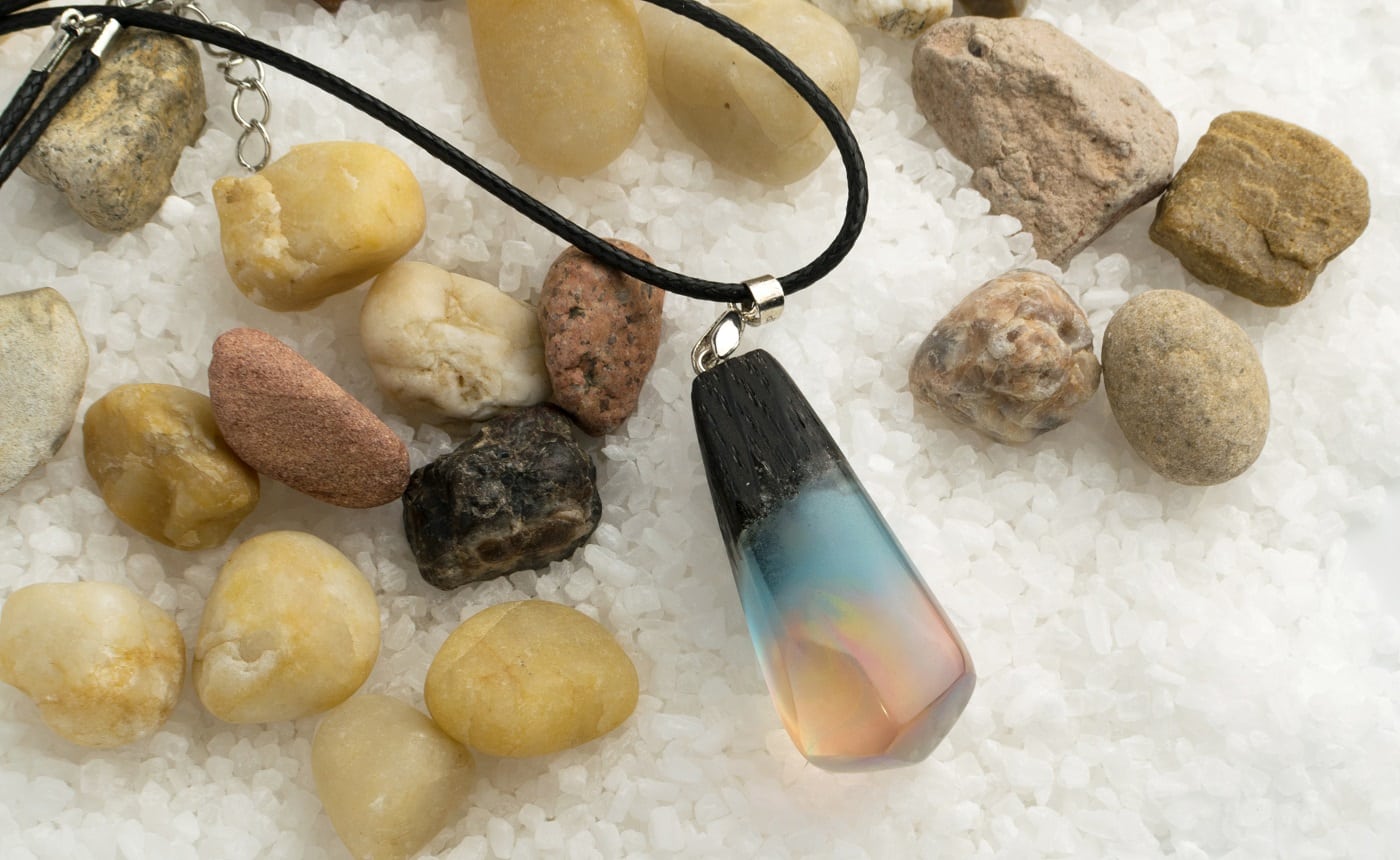
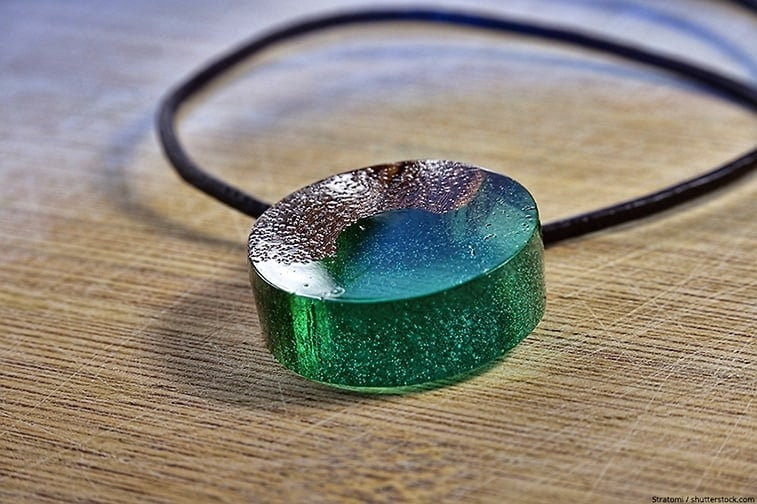
You can get beautiful crystal-like surfaces, but the best part is that you can also add color. Add a dose of your favorite shade and create fake crystals, which can then be used with a chain. Many also work with wood and create beautiful additions to it with the help of epoxy resin.
Now, we know that the entire process can be a little confusing. To prevent any dilemma, we have curated this informative guide about how to make resin jewelry. You will get all the information needed, including information about the different types available in our market and every other step involved.
So, dive in!
You must have seen a lot of solid and transparent resin craft being available in both local and jewelry stores. Many make crystals and gems with this, and they look absolutely similar to real gemstones and crystals.
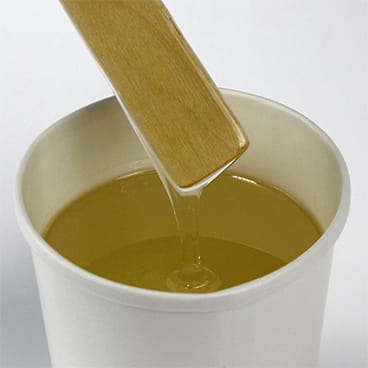
If you are wondering what resin really is, let us tell you about it. It is an artificial blend made of very viscous plastic or polymer. The blend is first available in liquid form, which, when mixed with a hardener, turns into a solid layer.
It can take around 24 hours to a few days for the curing process, and once the layer has solidified, it does not crack or break easily. This will look like clear glass but will not break on dropping.
Plus, the resin is pretty easy to work with once you get the hang of it. You will need the right mold and a few other items, which we have mentioned below. Once they are all in place, you can easily begin the process.
Moving on, before you begin with the jewelry making process, we will tell you a little about the preparations. If you are a novice and this is your first time working with this option, it is best to get acquainted with the process before working on the final pieces. Follow the steps mentioned below and only then move on to the actual process.
We will recommend that you first learn to measure and mix the resin. You can combine and make small objects with it just to get the hang of it. That said, it probably would be best to start with epoxy as it is the easiest to work with. It takes a little while to dry, and you can mix and cast it before that easily.
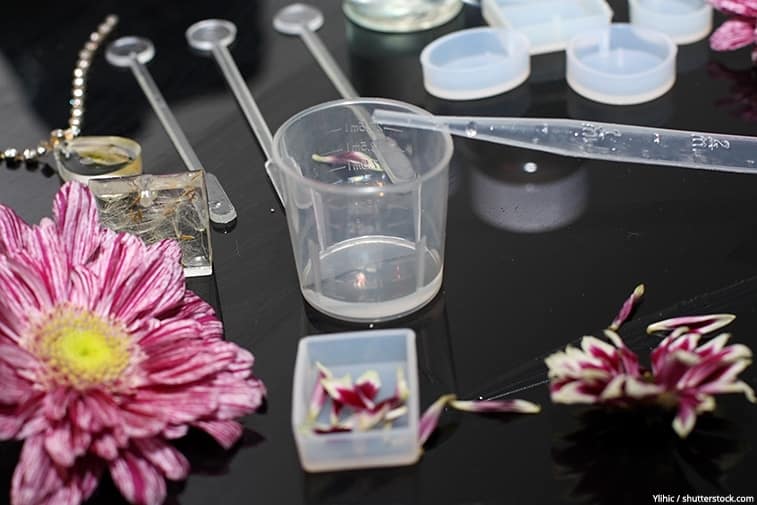
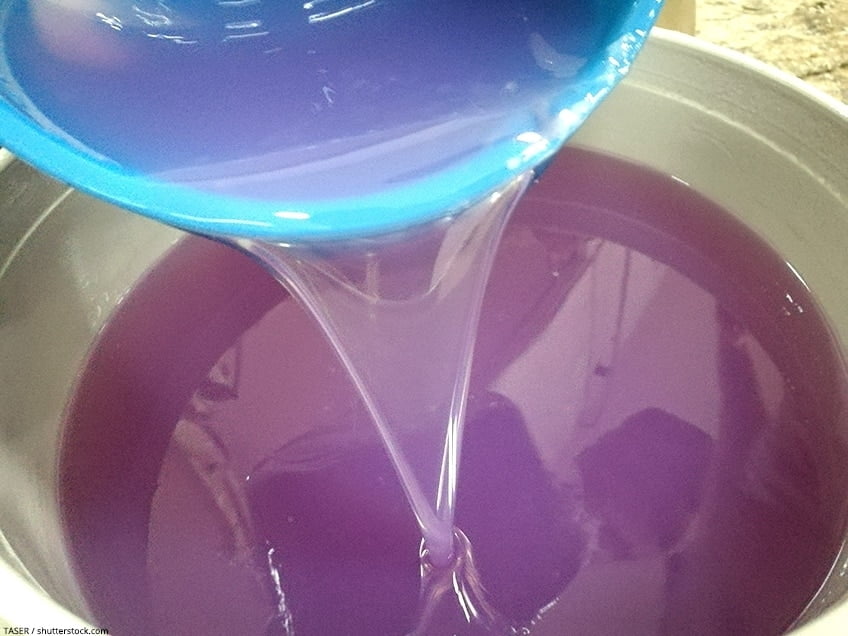
The process of mixing is extremely important, and you should have the essentials before beginning. A measuring cup along with syringes and medicine cups will help you get the right amount. Also, ensure that you have a hardener along with the fluid. Only UV resin does not need an additional hardener as it is already mixed.
Next, you will have to learn about the specifics that involve the mixing ratio, time taken to pot and cure, and every safety measure that needs to be taken. The resin has to be measured in cups, and the pack will tell you how much of it needs to be mixed with a hardener.
Generally, the common rule to follow is the 1:1 ratio. That means equal quantities of the liquid and hardener has to be mixed.
However, we will advise you to read the back of the pack carefully before proceeding.
Another important factor is the place where you will be working. Always be prepared for the mess that might occur during the process, and remember that resin is very difficult to remove. It can scar surfaces permanently; something you wouldn't want.
So, use enough wax paper while working and keep the surrounding areas covered. Also, keep tissues handy during the process. If any of the material gets in your hand, then rub it off immediately.
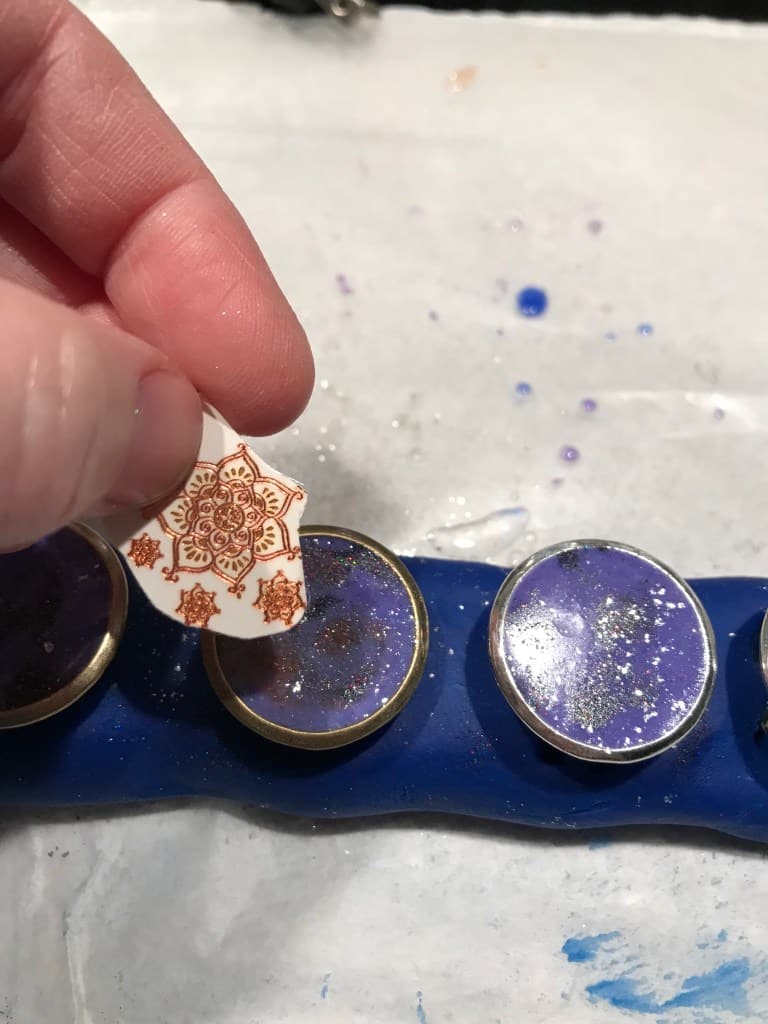
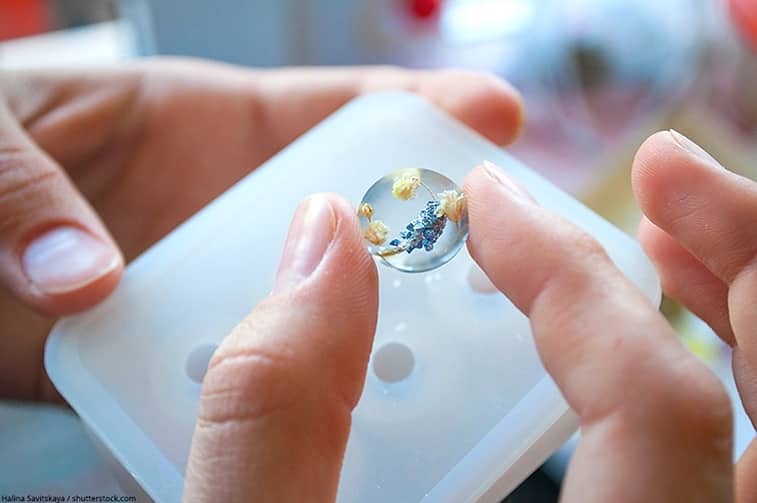
Moving on, we will recommend using it as the only variable, especially if you are working with it for the first time. Use jewelry bezels where you do not need to remove the mold after the drying process. This way, if anything goes wrong, you can immediately understand the reason. Once you have mastered the use of this fluid, then move on to adding items to it.
Adding items to resin look beautiful and will help you create various unique pieces of jewelry. However, if you put anything porous in the mix, then it might not look good. In this case, you will have to first seal the porous object and then only move on to adding it.
The next question to ask yourself is if you are confident about sealing porous objects. If you are not, first imagine how it would look like if water was added to it.
Now, if you can predict a change in the appearance, then it has to be sealed. Once you have sealed it, it can be added to the middle of your resin mold over a layer of hardened liquid.
Further, begin with easy items like metal or glitter beads and shells. These do not have to be sealed but they look beautiful inside jewelry. When you place them in the mold, position them well, and you can add a little amount of resin to fix their position.
This will also teach you about trapping bubbles and how to remove them. Furthermore, keep a dryer handy to remove bubbles when needed.
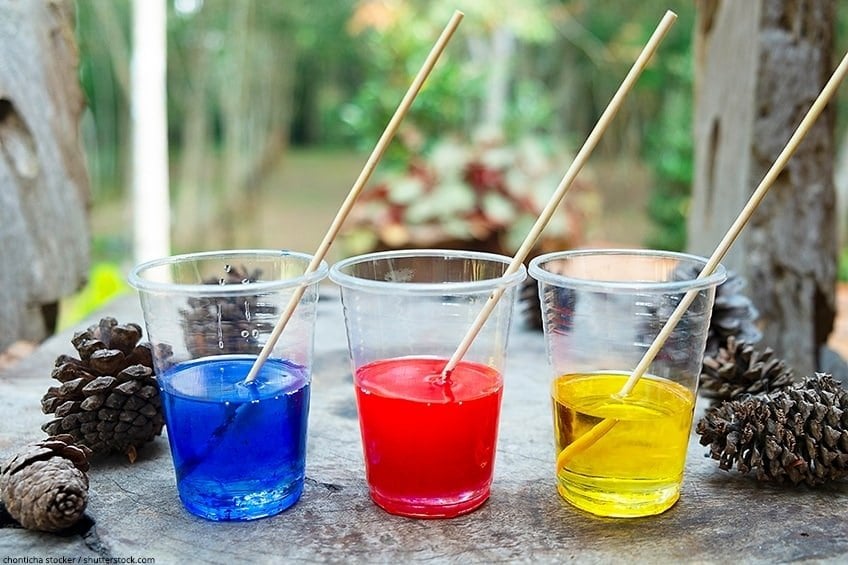
Next comes colors, and you can try adding them with the resin. It generally does not work well with moisture, and you will need more time for mixing. This might take a while to get used to, but you will get the hang of it in some time.
So, resins can create that perfect dome, but you will need some practice for it. The amount of fluid should be just right so that it does not fall off the edges. This is generally a little tricky at first, but once you get the hang of it, the process will be super easy. Practice and patience are key and will help you go a long way in this case.
Once you have mastered this, you are prepared to make resin jewelry from scratch. You will now understand the texture and curing method better, and that makes you prepared for the next step. Get surfing on the internet and curate a collection of pictures that you plan to use for inspiration.
There are a number of surfaces that you can work on. You might want to add to wood to create beautiful wooden jewelry. On the other hand, you can also use it to coat tables and furniture and prevent them from discoloration over time.
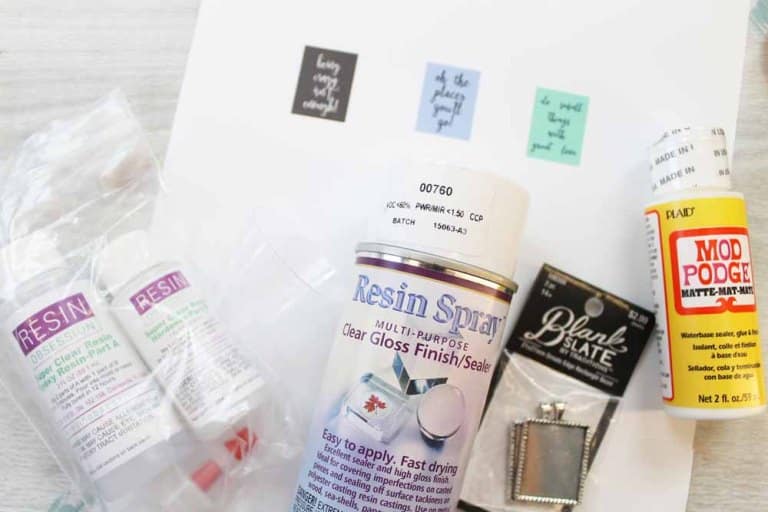
So, now you already know how to work with resin, and it's time to take you through the items needed before beginning the final process of making jewelry. We have listed the important materials needed for the process. They are:
There are different kinds of molds available, and you can get one according to your needs. You will find perfect pieces for creating brooches, pendants, earrings, key rings, and finger rings. Browse through all the options and pick one that fits the best.
Remember that if the mold is ill-fitting, then you will have to spend more time in the sanding process to get your desired shape.
Now that you know about the different materials that are needed let us begin with the steps. Follow them carefully for a flawless experience. Also, remember to place the hardener and resin fluid bottles in hot water before the process.
It will help you get them ready and will prevent air bubbles from forming. This is specially important if the surrounding temperature is very low.
At first, you will have to decide the jewelry that needs to be cast or the kind of jewelry that you want to make. It is best to have a reference image in case you are making it from scratch.
Once you have decided, bring all the materials to one place and lay them out. This includes the colors and silicon molds too. We will advise keeping fine-grained sandpaper near along with gloss varnish and the polishing paste. Fill a glass with water and keep it along with absorbent tissues and a sanding block. These are not extremely important but will make the process less messy.
Moving on, if you plan to use UV resin, then you will need a UV lamp for the curing process. Keep it ready beforehand so as to save time.
Remember, while some people do not take adequate protection, we will always recommend being cautious. Wear gloves, safety glasses, and a mask to prevent the chemicals from going into your system.
Place plastic sheets around if you are working in your bedroom to prevent the chemicals from spreading around. You can also use wax papers for this step as it is easier to remove hardened resin from wax paper. .
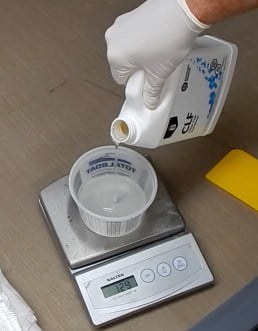
Next, you will need your measuring cups for this part of the process. Ensure that there are millimeter markings on the cup and, if possible, keep a kitchen scale handy. Pour the epoxy and polyester resin along with the hardener in an equal ratio. This is extremely crucial, and you have to get a 1:1 ratio exactly.
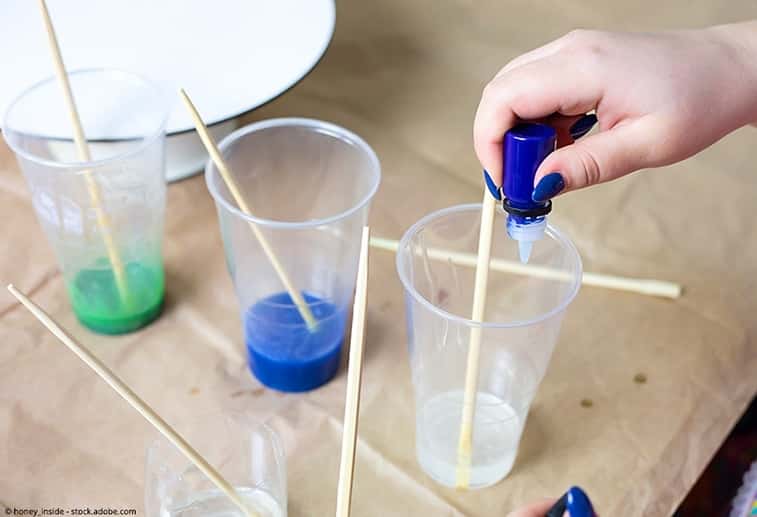
If you are planning to add colors or glitters to products, then you have to mix them with resin. Pour a small amount and see the change in color. This generally depends on the preference of people.
On the other side, if you are using UV resin, then you will not need a hardener. This usually comes mixed with a hardener, and you can use it straight out of the pack. The only condition is that UV light will be needed for the process.
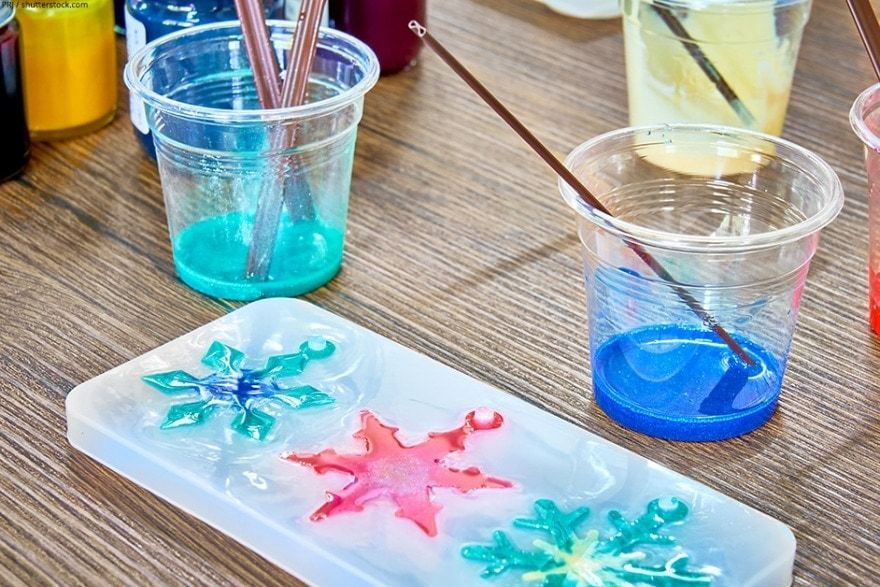
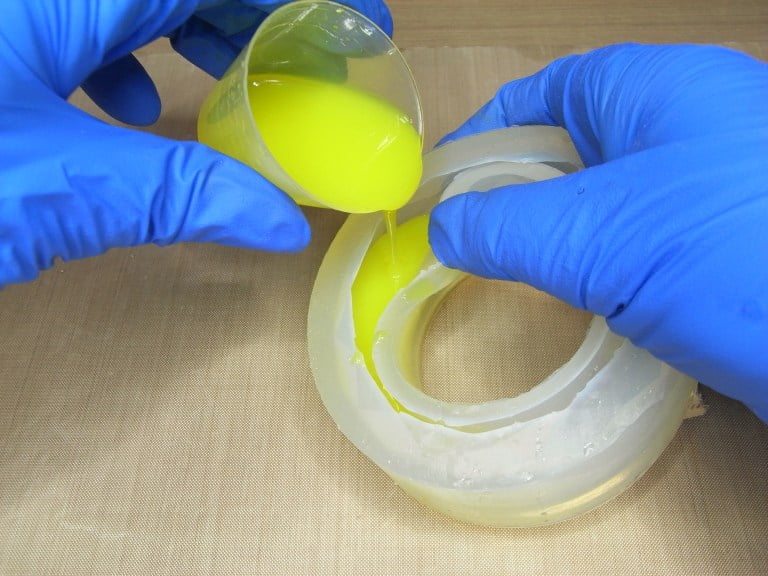
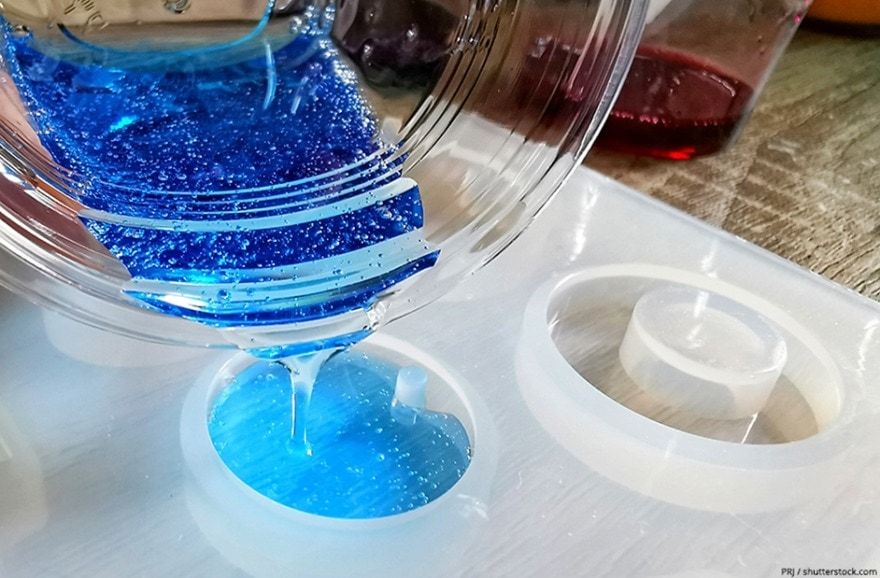
Once you have the mix ready, pour it into the mold and cover half of it. Now you will want to put in any light materials that would go well. You can choose among feathers, leaves, glitter, or any other substance that you think fits well. This should be positioned well in the liquid and then left to settle.
You will have to leave it for up to 24 hours and watch the first layer harden. Once it happens, put in any of the heavier objects like pearls, stones, or shells that you want to add to the jewelry. To help in positioning them properly, pour a little amount of resin along with it.
After this has hardened, you can now pour the remaining amount of resin and fill the mold completely. A very important tip here is to check for air bubbles immediately after pouring. If air bubbles have formed, use a hot air dryer or a Bunsen burner to remove them.
Then let it harden completely, and we will recommend leaving it for another day and then checking again.
The time taken to dry varies with different substances and thicknesses. While UV resin dries the fastest and will only take a few minutes under UV light, the classic version can take up to 48 hours or a few days to do it.
This also depends on the type of weather and the brand. Read the back of the pack that you buy to ensure that you provide enough time to dry.
Once it has dried completely, take it out of the mold. Now you might see sharp corners, or it might be a little dull. But do not worry, as this is pretty common. It will be taken care of in the next step.
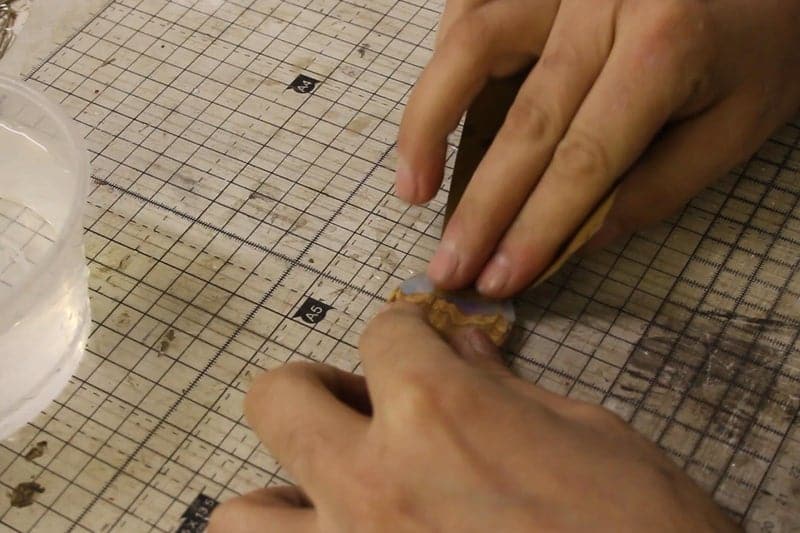
Once you have taken it out of the mold, it is best to begin with the sanding process. Use your fine-grained sandpaper for this job and remove all sharp edges from the sides. Once you have done so and there are no visible protrusions, move on to the polishing stage.
Here, if you have used a polished mold, the product should already have a shine to it. These are better options as these will save you from having to polish the jewelry again.
If the mold was not polished, then you can either apply the polishing paste, or you can use a varnish to make it glossy. If you plan to use epoxy resin for this step, then you will have to ensure that the surface is absolutely smooth.
Otherwise, you might see unattractive marks inside the jewelry. Once you have used sandpaper, water, and a cloth to clean it, cover it with a layer of resin. This should be very thin, and you can use a brush to spread it. After it has a smooth thin layer surrounding it, let it harden.
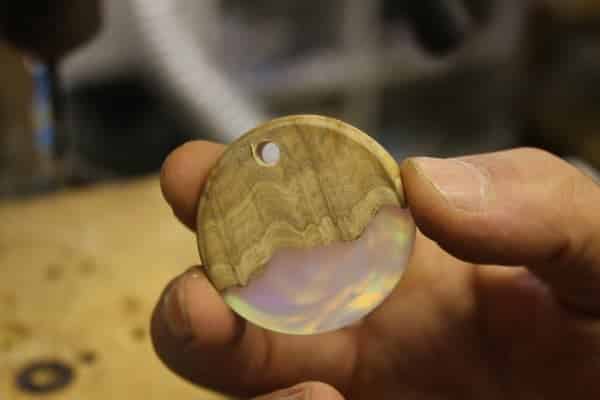
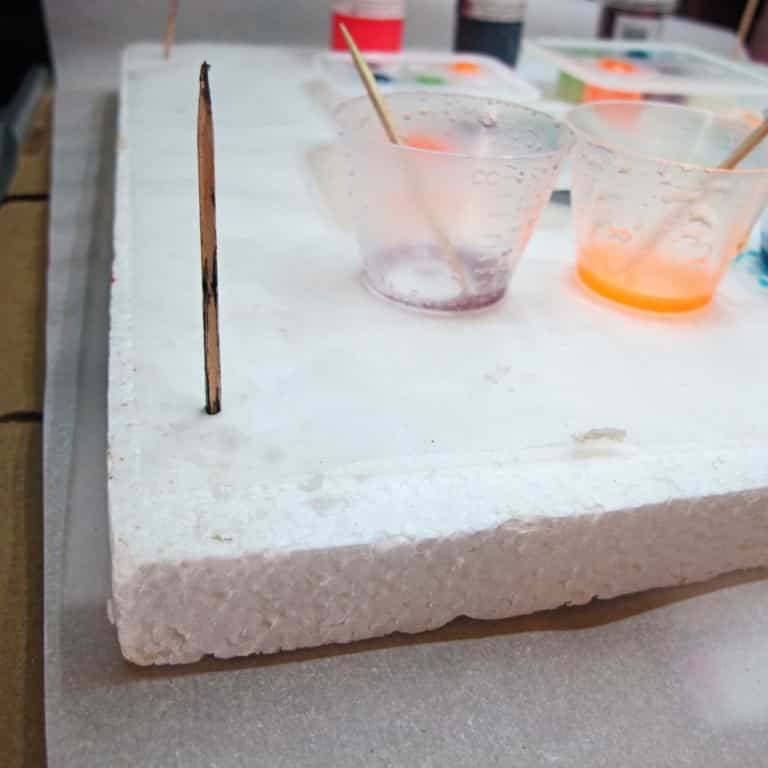
The last step involves drilling a hole into your jewelry. Once you have made the pendant or keyring, you will need a hole to put the chain in. This has to be tiny, and we will recommend using a twist drill. This will enable you to drill a small hole with precision.
Remember that it is best to try on a sample item before using it on the jewelry. This will give you a feel of the material and speed, and you can work with precision on the actual piece.
Also, remember that the hole to be made will be dull, and you can use a tiny amount of epoxy resin and apply it there with a toothpick.
Further, when you are working with a drill, keep it at the lowest speed so that you can control the amount of heat. Too much heat can melt the entire jewelry and spoil it. Also, keep a thick board underneath the product so that the heat or your drill does not lead to scratches on any surface in your house.
Moreover, for bracelets and necklaces, you will need to attach a metal loop. This involves a thin piece of a pin that has to be heated and twisted into a loop. You can simply hold it with the help of pliers over a gas stove for a few seconds. Then poke it directly into the resin. Since it will be very hot, it will melt the layers and go inside easily.
If you are planning to make rings or pins, you can simply paste the resin jewelry onto a metal pin or a ring. There is no need to drill or make a hole, and this makes it less time consuming. Also, it is safer and will not destroy jewelry in any way.
Moreover, if you want to quicken up the drying process, you can place it in the freezer for 10 minutes or so. Then the process of taking it out of the mold will be very easy as it pops right out like ice pieces.
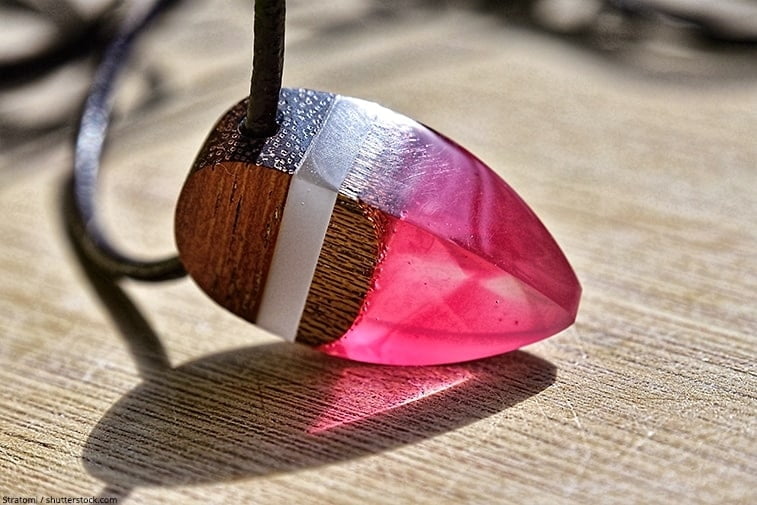
When you are working with wood, the process is slightly different. But wood in combination with epoxy resin really stands out and looks beautiful. You can even use colored resin to make it more attractive.
To begin with, get a rectangular mold and then keep the wooden piece inside. Fill it up completely with epoxy resin and allow it to dry. Check after a day and begin working on it only after it has dried completely.
Once it has dried up, take it out of the mold and then begin shaping and polishing it. The sides need to be sanded and polished with gloss varnish or a layer of resin to ensure perfection.
Now we will tell you about the different types of resin available in the market. If you are a DIY enthusiast looking to make jewelry, you should know about the 4 common types. These can be bought from a hardware store or a craft shop.
The major difference among the resin types is with their composition. When the composition is different, the drying and curing time will also vary. So, it is essential that you know about the types and then choose one according to your convenience.
This is a very popular type that is used by a number of artists to preserve their work. Known as laminating resin, it can also be used for resin art and small-format castings. It is very viscous and hence provides a thin layer.
Now since it dries quickly during the curing process, you will have to ensure that the layer on top is not thick. Thick layers can often become foggy and will not work well if you are using in on jewelry. If you want a thick coating, then go for multiple thin layers. This will prevent fogginess and will promote clear vision.
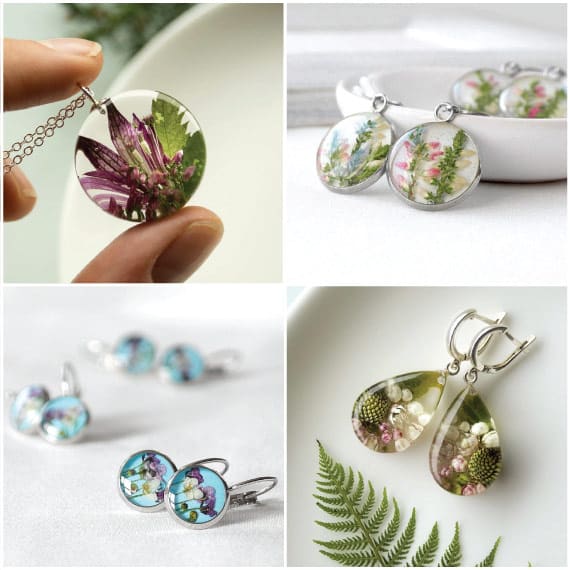
We will recommend using this with flowers or glitters as it does not let objects sink easily. You can make flower jewelry with this, which will look different and refreshing.
This is the most common type of resin that is used to make jewelry but is also more expensive than the other options. However, you can rest assured that you will be getting a 100% non-toxic layer once it has dried up well.
But remember that it does take some time to dry up, and you might have to leave it for a few days. The formula is odorless and will provide a crystal clear layer on your jewelry.
Further, it is a low-viscosity liquid and hence takes more time in curing. You will be getting a thin layer that makes it perfect for small jewelry. In case you want a thicker one, create multiple layers with it. Other than jewelry, this is largely used for making epoxy tables and other furniture.
UV resin is a great replacement for the classic epoxy option. This takes just a few minutes to cure, and you will need UV light for it. It will offer you a crystal clear layer with no odor at all.
Moving on, the only downside to this is that it can form thin layers of a maximum of 4 mm. Now this will not be a problem when it comes to small jewelry, as you will be looking to create thin layers. But if you want to make a thick surface, create a number of thin layers, and that should work well. They will dry very fast, and you can finish the work in half an hour.

This is the cheapest type of resin which is known to harden quickly and will form a very tough layer. However, it has a strong smell and will form a clouded surface.
You can use it for jewelry to a limited extent. This is because you will not be getting a crystal clear surface which casting resin will offer.
While there are different materials that DIY enthusiasts might use to make jewelry, many are choosing resin over everything else. This is because it helps in creating unique pieces, which have a sense of authenticity. We have listed down some of the benefits of using this particular substance.
Resin jewelry is generally difficult to break, and you will have to apply intentional force to do so. If you keep twisting it till it snaps, it will break for sure. But that would mean you wanted to destroy it.
Otherwise, this is highly resistant to external force and will not get damaged in case it falls on the ground. You do not have to worry about dropping and breaking them, which is the case with clay pieces. Although they are strong, they can break if you drop them.
Are you planning to use resin to make some parts of your costume for a theatre or a play? You can easily do so if you have the right mold. The substance will easily harden in place and will create a water-resistant layer.
You can then wear it in the rain or take part in a scene with water involved in case you are into theatrical acting.
Moreover, it is non-porous, so you need not worry about it melting in the rain. You can also wear it in broad sunlight, and the heat will not affect it. Overall, this is very resistant to nature and its forces.
Resin jewelry needs no maintenance whatsoever; you will just need the right mold and have to give it enough time to dry. Once it has dried and you have polished it, the job ends. You can then flaunt your new pieces wherever you go, and they can be kept anywhere too. You don't have to worry about rust, scratches, or breakage.
Also, these craft pieces can be modified whenever you need to, but they do not have to be cleaned at all. The surface will remain shiny, and you would not need to recolor. This is because the color is already added to the resin and is present inside it, so it cannot fade over time.
Final Words
We have finally reached the end of this guide, and we will give you a moment to take it all in. Once you are well-versed with the process, you can easily begin making resin jewelry professionally and create a business out of it.
This type of jewelry is in trend, and if you have great ideas, you can bring them to reality. Having said that, remember to pay attention to the minute details.
Since this is a very versatile transparent liquid, it will highlight any object that is placed inside. Remember this while you are creating the piece. You can use colors of different shades and create gradients that will make the pieces look beautiful.
No matter what design you have in your mind, anything can be made with the right kind of mold. Just be patient and enjoy the process.
With this, we will take your leave. Let us know about your experience in the comment section below. Until next time!
Related Articles
9 Best White Face Paint For Cosplay, Clowns & Halloween
8 Best Face Paint For Kids Reviewed
6 Best Body Paint | Top Brands Compared
5 Epic Face Painting Supplies That Will Improve Your Designs
6 Best Body Paint For Cosplay Reviewed
Learn How to Body Paint With Brilliant Results Right Now
5 Best Airbrush for Body Painting Reviewed
16 Brilliant Face Painting Techniques to Feed Your Imagination
13 Best Paints for Bathroom Ceilings
11 Best Polyurethane Protective Coatings
13 Best Spray Paints For Metal
7 Best Airbrush for Miniatures & Models
11 Best Epoxy Resin For Crafts
5 Best Epoxy Resin for Tumblers
9 Best Exterior Wood Stains Today
10 Best Clear Coat for Kitchen Cabinets [Buyer’s Guide]
Food Safe Epoxy Guide 101 [All You Need To Know]
Sanding Epoxy Resin Guide 101 [All You Need to Know]
Acrylic Pour Painting [All You Need To Know]
How to Color Clear Epoxy Resin [Coloring Resin
How To Fix Radiator Leak With Epoxy+ Best Radiator Repair Epoxy
Epoxy Garage Floor 101 [All You Need to Know]
Mold Release Guide + Best Epoxy Release Agents
Surfaces Resin Won’t Stick to [All You Need to Know]
Heat Resistant Epoxy 101 [A Guide for High Temperatures]
Epoxy Cement Guide 101 [How to Repair Concrete with Epoxy]
How To Mix Epoxy 101 [Measuring & Mixing Epoxy Resin Guide]
How To Harden Sticky Resin [Uncured Epoxy Solutions]