Expertises: Art, Painting, Drawing, Home improvement, Gardening
Updated on

Inspiring Ideas for Modern Home
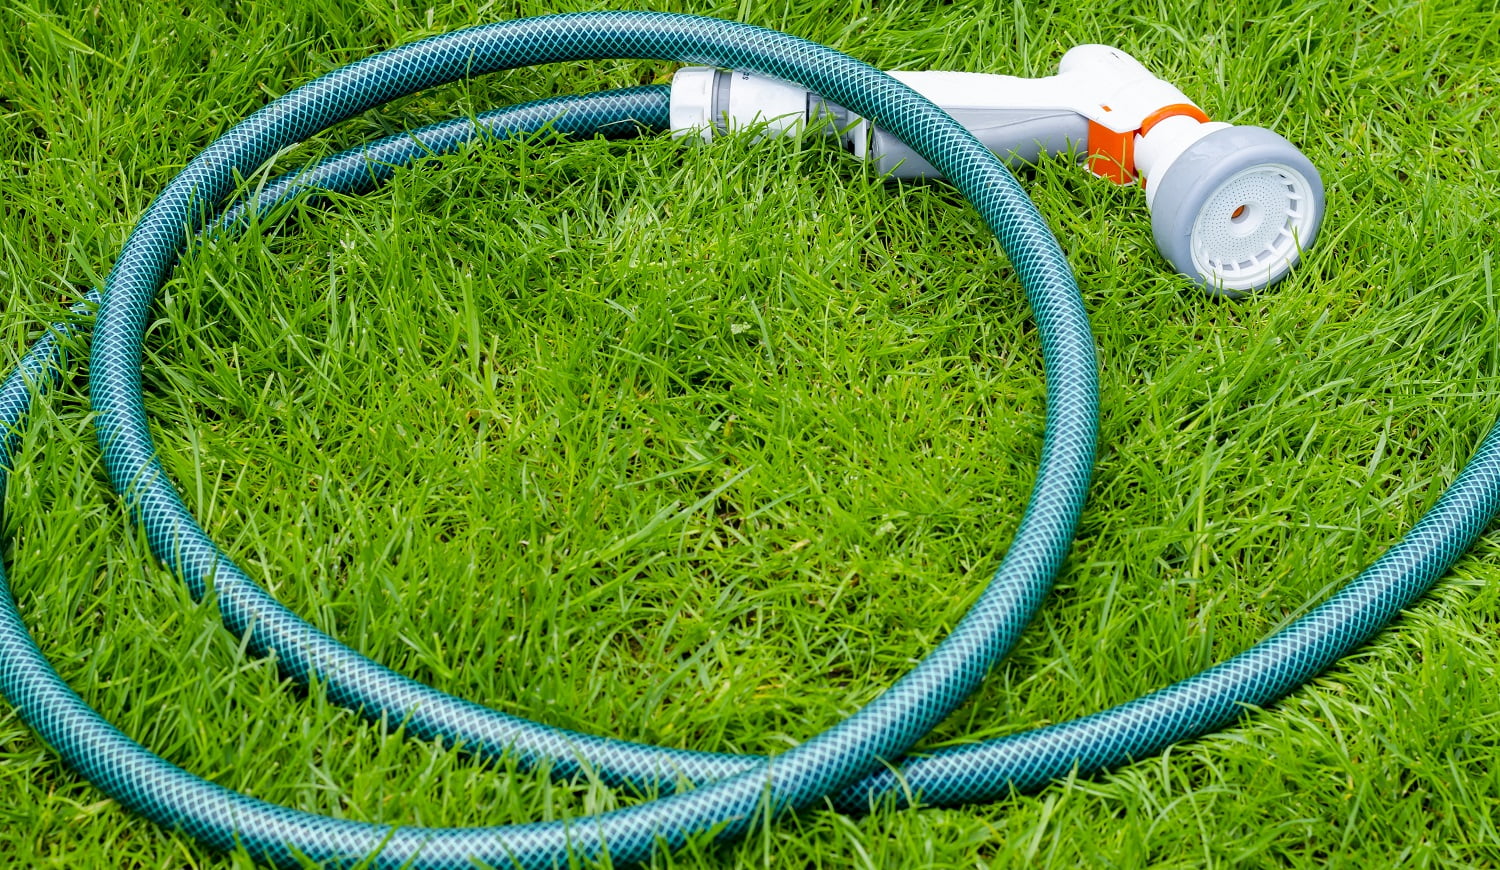
A soaker hose makes an indispensable part of the gardening arsenal for most homeowners.

Who wouldn’t love having such an efficient watering system handy? You’ll love the virtually hands-free and consistent water supply, while your plants will love the targeted moisture. Win-win, we say!
But if you aren’t looking to spend a lot, you’ve come to the right place. We’ve curated a quick DIY guide that’ll help you make one from the comfort of your backyard. After all, hand-made care for your greens is the best expression of love.
So, without further ado, let’s begin!
Making a soaker hose may sound like a lot of work, but it’s a fairly simple job. Moreover, you’ll find most materials in your garage. And even if you don’t, buying them won’t make you break the bank! On that note, here’s a list of the things you’ll need:
A few things to note: while we opted for a charged drill to save time, you can also use a hammer and 20d nail. Look for any discarded hose (like the leaky one you forgot to throw out) before buying one.
Depending on the area to be covered, you might need a couple of those. Whatever be the case, you don’t need to buy a high-quality hose. Going for a cheaper option will also do the job just fine!
Now, let’s look at the steps involved.
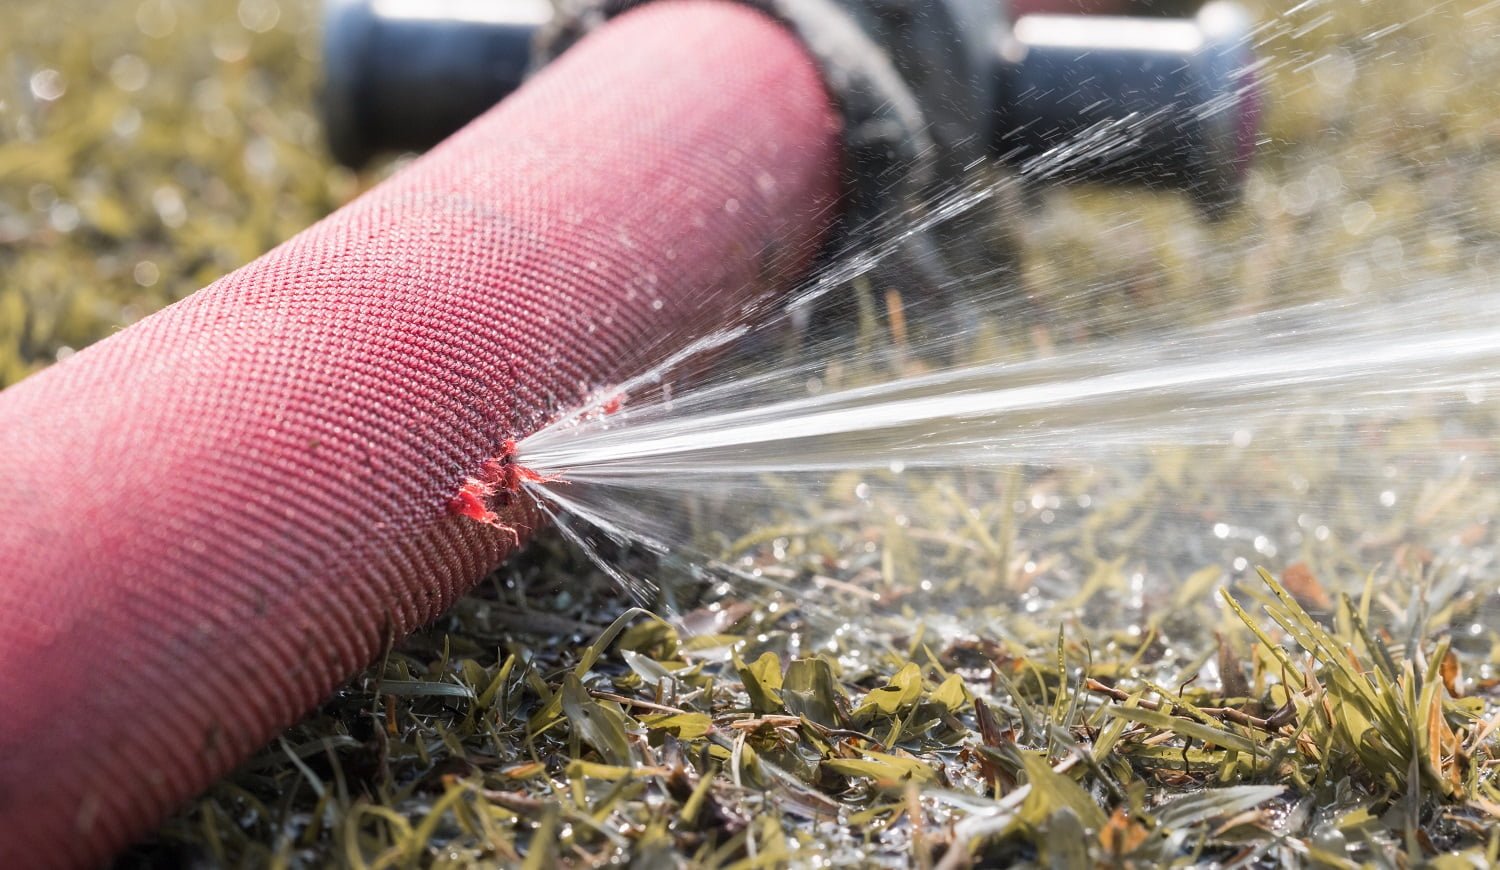
Lay the hose flat and make evenly spaced holes on one side using the drill or hammer. For best results, make the first hole about 18 inches away from the female end and maintain a distance of 2.5 to 3 inches.
If you want a sprinkler effect, drill the holes on multiple faces but make sure they don’t go all the way through to the opposite side. As the water flows through the hose, it’ll seep out of the holes and directly reach the roots with minimum evaporation.
Once you’re done drilling the last hole, grab the end, fold and crimp it off by wrapping with electrical tape. Alternatively, you can screw in a hose cap to create a tight seal. If the leftover portion is too long, trim it before crimping. However, ensure that the length doesn’t become too short. Sealing one end of the hose forces the water to flow out gently from the holes.
Leaving enough of the female end loose to connect it to the water source, place the hose in the desired area. If the area is too big, you might need to make another soaker and join the two using electrical tape. Don’t try to stretch a single hose to cover a large area as too much tautness can damage it.
Furthermore, you can also decide if the soaker system should be kept permanent or movable. For the former, we suggest burying the hose around 2 inches deep underground. This is especially beneficial for more water-hungry plants or areas that experience severe drought. Other than that, setting the hose in the soil will also come in handy if you plan to double it for covering multiple rows of plants.
In case you want to keep the soaker hose moveable, it'd be a good idea to secure its position. Use some heavy objects like stones or sticks at every turn to provide adequate support. Make sure that the stone or stick is placed in a way that doesn't damage the hose.
With everything done, it’s now time to switch on the water supply. But before that, there’s one small thing that should be taken care of. If the hose isn't compatible with a spigot, it may be challenging to fit it to a tap. In that case, we’d recommend buying a good garden splitter to have an unhindered water flow.
So that your soaker hose covers all the bases, here are some handy tips to follow:
Since soaking is essentially a high-precision task, you’d want to keep the water flow nice and slow. We’d recommend opening the tap just enough to allow the water to seep through the holes.
So, there you have it - an efficient DIY soaker hose!
Not only does a soaker hose make your job easy, but it also makes you less guilty about bothering your neighbors when you’re on vacation. Trust us; they will be delighted to know that all they have to do is turn on the spigot for a few minutes twice a day.
With that, it’s time for us to bid goodbye. But before we leave, let us share a pro tip: clean the pipe thoroughly before converting it into a soaker hose. This way, you’ll have unobstructed water flow.
Till we meet again!
Related Articles
10 Best Automatic Garden Hose Reels