Expertises: Art, Painting, Drawing, Home improvement, Gardening
Updated on

Inspiring Ideas for Modern Home
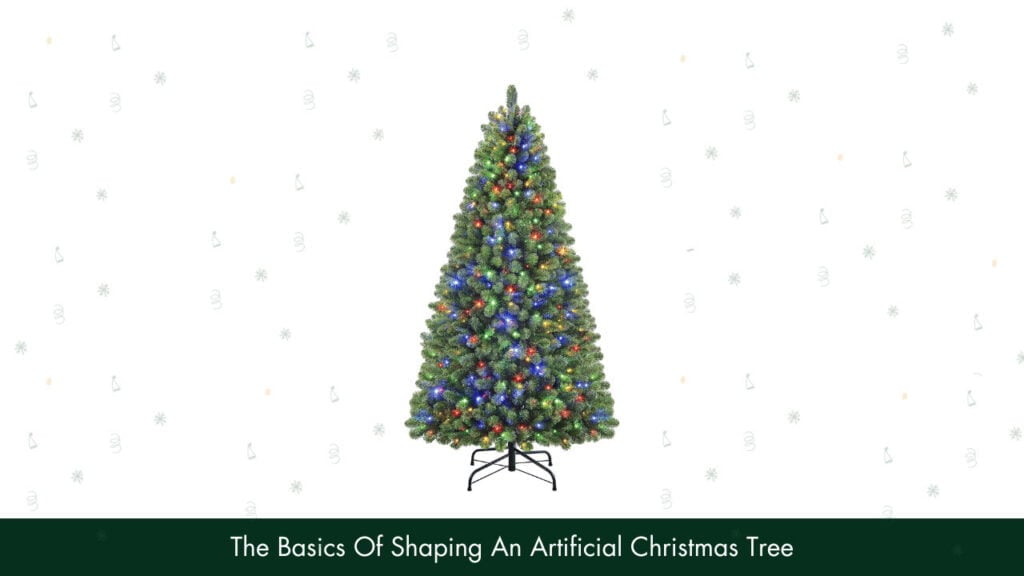
To shape an artificial Christmas tree, you’ll need to gather the equipment and prepare the workplace first. Then, start shaping the main and side branches, spread the branches from the center and move outward and bend them accordingly. Trim any odd branches, check the lights and decorations, and you will be done.

A lot of people nowadays use artificial trees over real Christmas trees, thanks to their convenience.
However, after unboxing an artificial tree, you might have noticed that its leaves and overall shape look a bit flattened. This is usually done for packaging convenience, and it means that you will need to shape the tree to make it look natural.
But if you don’t know how to shape artificial Christmas trees, then no need to worry. In this guide, I have discussed how you can shape and fluff an artificial Christmas tree easily. So, dive in!
Let’s be honest - it is near impossible to imagine a Christmas without the proper Christmas décor. And the lovely Christmas tree is the most recognizable décor for the holiday season.
Unfortunately, growing a natural Christmas tree is a hectic task. There are a lot of things that you need to consider, such as soil quality, climate, and so on. Besides, you cannot move a real tree that easily.
That is why artificial Christmas trees are so popular these days. Not only do they look similar to real Christmas trees, but they can also be moved around easily. On top of that, you can customize different aspects of the tree, such as its shape and size, for instance. In fact, you can even purchase a pre-lit tree that comes with different decorations already attached to it.
However, before you can put your tree on display for everyone to see, you will need to shape it up. After all, it is a fake tree, and unlike a natural tree, it won’t get a natural shape unless you fluff it manually.
Luckily, fluffing an artificial tree is not a very difficult task, and once you complete it, it becomes almost indistinguishable from the real thing. On that note, if you are a bit creative, you can turn the shaping process into a fun holiday activity for everyone to enjoy before the actual festivities begin!
Before you get started, it is important to gather the necessary equipment and supplies beforehand. That way, you can complete the process without any hassles or interruptions. Below is a list of all the things you will need for this task.
As you can see, you don’t need a lot of expensive equipment and supplies to accomplish this task. In that context, if you are using a pre-lit tree, you might want to get some extra equipment, such as a wiring kit, wires, and spare bulbs. Likewise, I would suggest that you wear a long-sleeved top to prevent your arms from getting scratched by the tree branches.
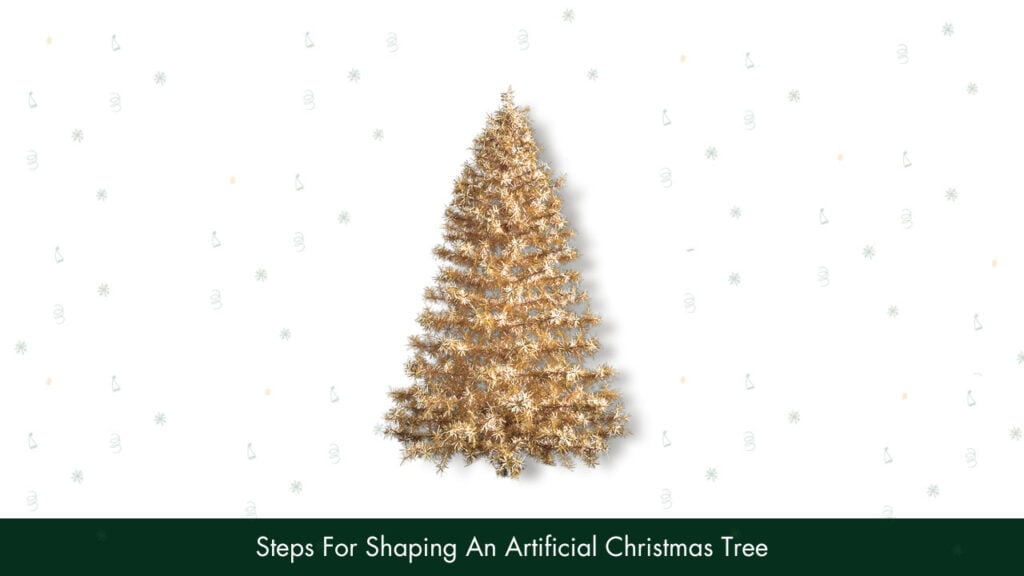
Once you have gathered your gear, it is time to begin shaping the tree. For this purpose, you can follow the steps I have described below.
First, you will need to prepare the working space so that you can get the job done neatly and efficiently. See to it that the space around the tree is clean and organized.
Get rid of any unwanted items, and make sure that you can easily sweep or vacuum the place after you are done. Believe me - this will make the clean-up a lot less problematic. Moreover, if you have any pets, such as cats, you will need to keep them away from the tree during this time.
In this step, you will need to shape the branches near the bottom section of your artificial tree and then gradually work your way up from there. This method will allow you to see what you are working on, and it will help cover every branch of the tree.
As you move up the tree, you need to ensure that the tip and fronds of each branch have been properly spread out with a brush. Just give the branches a gentle shake, and then fan out the leafy portions. Then, move the tips to the sides of the top so that the branches resemble a peacock’s fanned tail.
Make sure to follow this process for all the remaining branches. If you have a tall tree, though, you should fan the branches out before attaching them to the central pole to make the process easier.
Next, it is time to spread out the side branches present on the tree. These branches make the tree look fuller while simultaneously helping to cover up the central pole.
However, these side branches are not present on every branch of the tree. In order to shape them, you can shake them gently and fan out the leafy portions at different angles, just like you did before.
Now that the basic fluffing is complete, you will need to start the next step, which is to fluff all the branches from the inside. This will help to spread the branches even more and make the foliage look natural.
Get your hands inside each branch, and ruffle them from the inside. Make sure to move outward slowly to spread the branches uniformly. You can even use a steamer or a hair dryer to spread out the branches. Same as before, you need to start from the lower section and steadily move toward the top.
After you are done with the lower branches, you can get on a step stool and shape the branches present near the top using a similar technique as above.
If you have a really tall tree of over seven feet in height, you can use a ladder instead of a step stool to reach the top potion. You should use a ladder that has a secure base or have someone hold the base of the ladder. If you are not careful here, you might fall and injure yourself.
In this step, you will need to bend the branches to give your artificial tree a more authentic appearance. Typically, an artificial Christmas tree has all the branches swept at an upward angle. So, you can bend some of them at a different angle to make the tree look realistic. Besides, it can be useful to cover up the central pole and get rid of any shape imperfections.
Warning
Do not bend the branches too much during this step, or they may break and ruin your whole tree. Just bend them slightly so that they do not look out of place on the tree. Furthermore, make sure to vary the angle at which you bend each branch for the best results.
Next, using the scissors, you need to cut off any branches that are too long or oddly placed. These branches will protrude from the tree in an awkward manner, which means that they shouldn’t be too difficult to identify. Likewise, you can trim the foliage of the other branches to maintain uniformity.
Here, you need to take a step back and evaluate the work that you have done so far. This is crucial since it helps you to assess the tree from different angles and identify any issues. In case you notice any problems, you can take care of them to ensure uniformity in the tree.
If you have a pre-lit or pre-decorated Christmas tree, you will need to complete this step. Here, you have to ensure that all the lights and extra ornaments in the tree are working as expected. If you notice any defects, you can swap out the problematic component with a spare part.
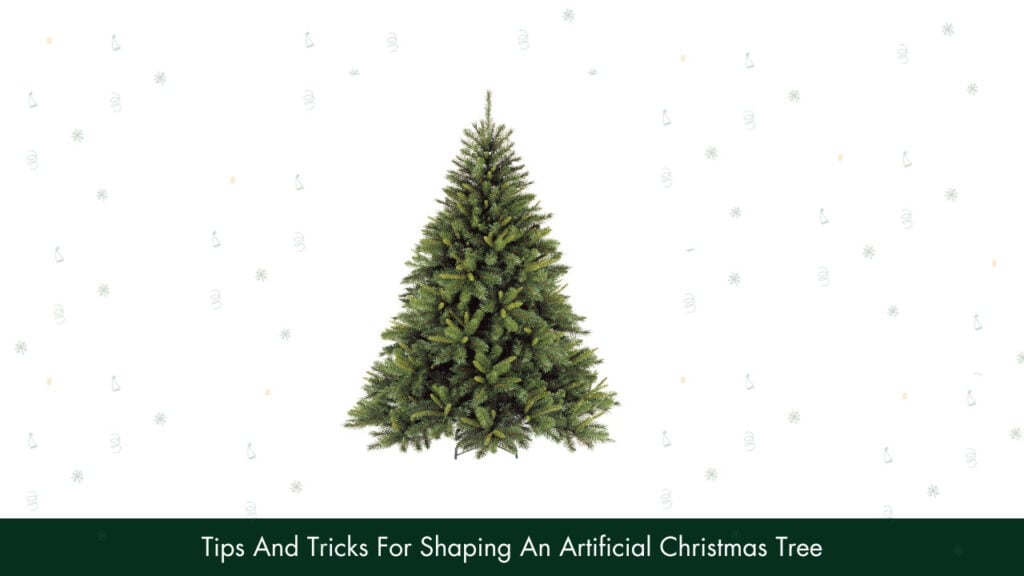
Below, I have mentioned some handy tips and tricks for shaping and fluffing an artificial Christmas tree. If you follow them, you can complete the task quickly and with better results.
On average, it will take around an hour to shape your artificial Christmas tree. But it may take you longer if you have a bigger tree. And if you take frequent breaks in between to inspect your work, it will naturally take you a long time to finish the job.
Similarly, if you have a pre-lit tree, it might take you a while to inspect all the bulbs. On that note, adding extra ornaments and decorations will take a fair amount of time as well.
Once the festivities are done, it is a good idea to store your artificial Christmas tree till the next Christmas. However, you do not need to stuff it back into the packaging. That will flatten the leaves, which means that you’ll have to shape the tree again the next time.
Instead, you can use a dedicated tree storage bag to store it. Such bags will protect the tree from dust and sun damage and retain its shape for a long time.
You need to shape your artificial tree only once before the Christmas festivities begin. And if you use your tree carefully, you won’t need to go through this process again for the rest of the season.
That said, if you have pets and children in your household, their shenanigans can cause the tree to become untidy and out of shape. Naturally, you will have to shape it again after a few days.
So, that is how you can shape your newly-bought artificial Christmas tree. Now that you know, the process seems quite straightforward, doesn’t it?
I mean, all you need to do is gather a few supplies and get started. After a preliminary shaping process, you can fluff it from the center to give it a natural feel.
Also, starting from the bottom will allow you to complete the process smoothly. Subsequently, trim any outlying branches, and check the lights and decorations, and your tree will be good to go!
In any case, now it is time for me to wrap it up. Enjoy your holidays, folks!