Expertises: Paint, Home improvement, Wood, Car, Painting
Updated on

Inspiring Ideas for Modern Home
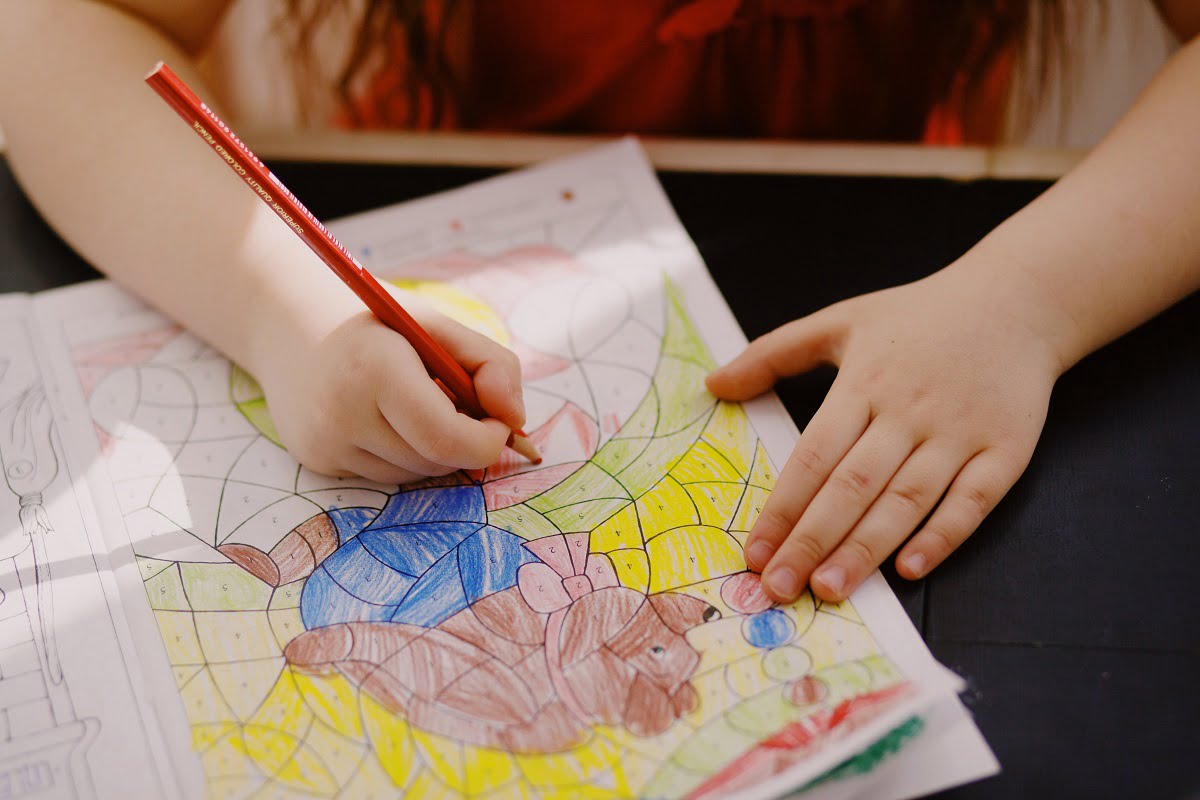
Colored pencils are some of the simplest coloring media to pick up and use in the world of fine art. Everyone who has ever learned how to write started with pencils, for one very simple reason: accessibility.

You can experiment with them wildly and even create photorealistic portraits with the right color pencils. But, before you leap into photorealism and all the wonders of fine art, you have to start at the basics. Don’t skip the basics - after all, you can’t learn how to run before knowing how to walk first.
Have your colored pencils ready, prepare to step into their marvelous world, and take your artistic skills to the next levels by mastering them.
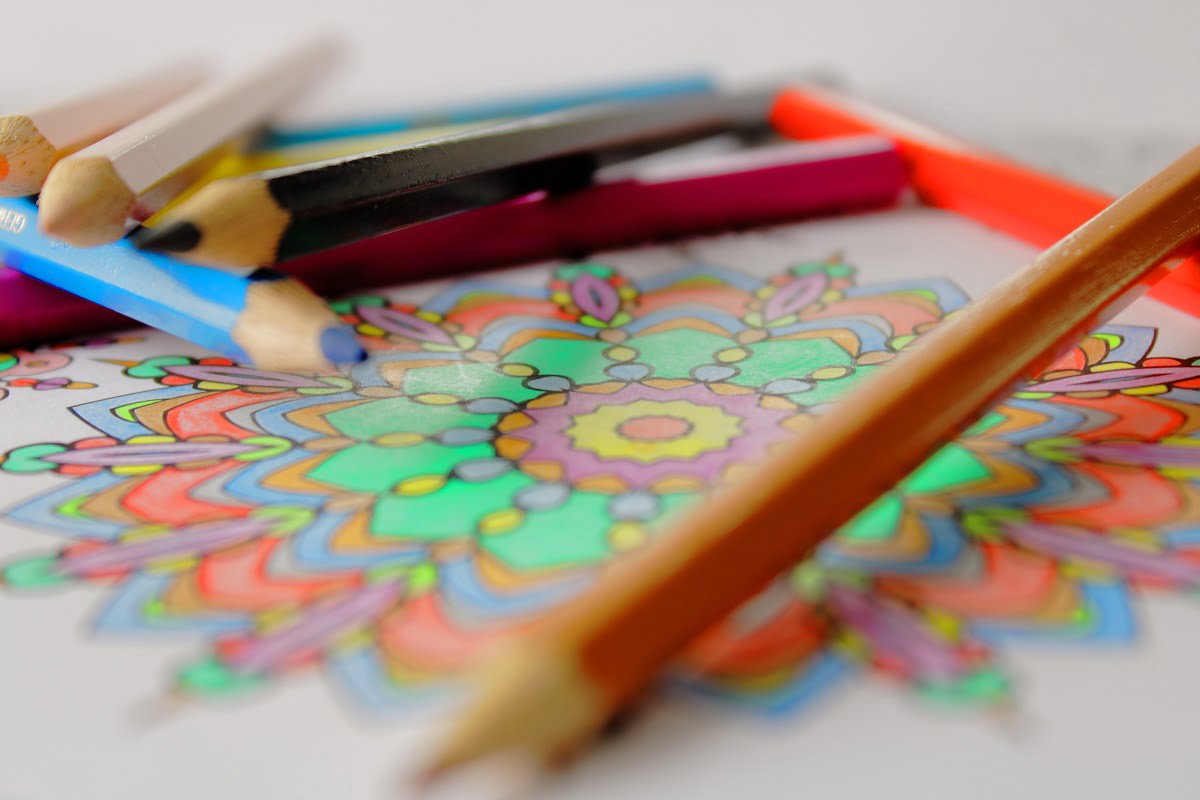
What you must remember about colored pencils is to sharpen them regularly. A dull pencil won’t be nearly as effective at applying the techniques you are about to learn in the following sections.
Sharpened pencil points will enable you to modify the pressure you apply with each stroke to a greater degree. Moreover, the color they leave behind embeds itself more readily. With a fine point, lighter strokes are more easily visible and there are no chances of white streaks being left behind due to a dull tip.
Colored pencils are made out of wax or oil-based materials, which makes sharpening them an easy task. You can use an artist’s knife to sharpen your pencils’ tips, but do so with care, or else the tip may end up snapping off. Alternatively, the safer and often preferred method of sharpening colored pencils is to use a regular pencil sharpener.
You can find three distinct types of colored pencils based on tip hardness: soft, hard, and specialty colored pencils. The cores of soft pencils are made from wax or clay, while those of hard pencils are derived from oil-based materials. As for specialty colored pencils, their cores are derived from graphite, the same material used in regular ones.
Core hardness determines the fragility of a colored pencil. Soft colored pencils are prone to snapping easily, while it is much more difficult to break hard ones.
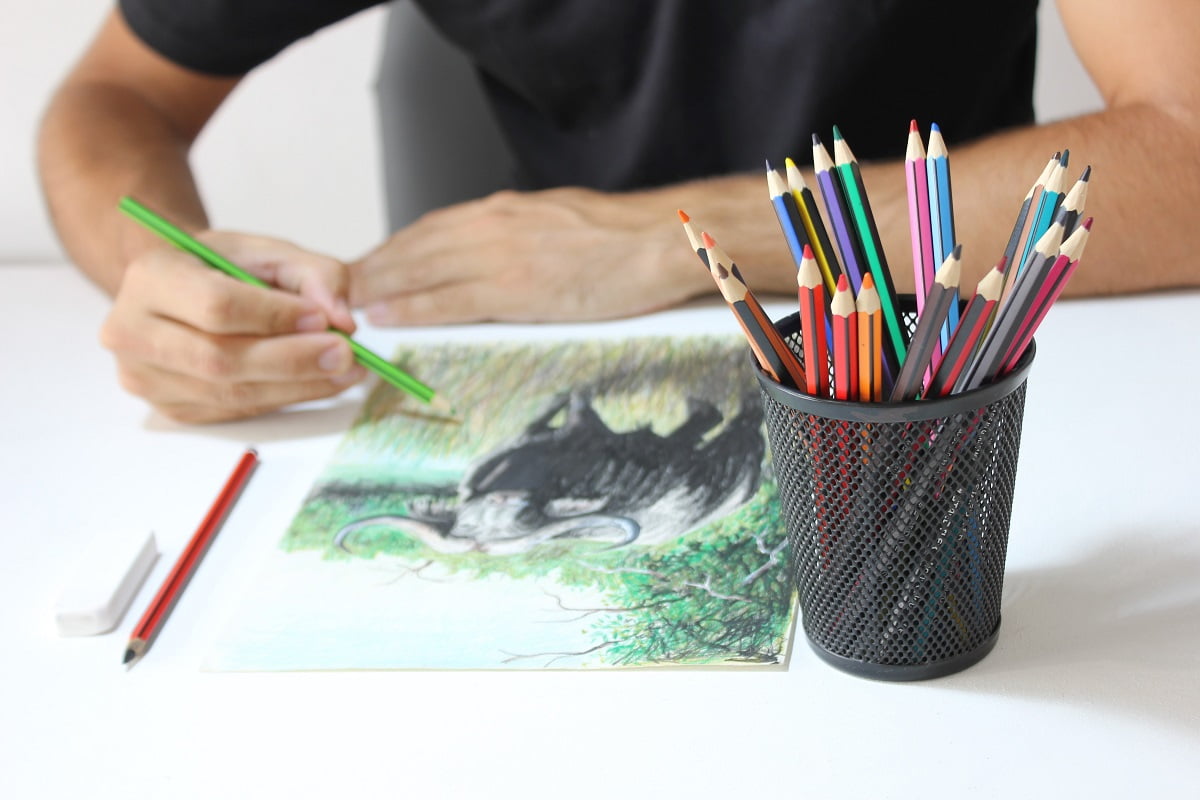
One thing that remains consistent in every colored pencil technique is uniformity. The aim of colored pencil techniques is to teach you how to keep your pencil strokes uniform, without varying pressure mid-stroke. Many artists often advise beginners to fill up entire pages with these exercises to further polish their skills.
There are three basic colored pencil techniques that will develop your muscle memory and improve your strokes while making art pieces. These double as shading techniques as well, making them invaluable to an artist’s repertoire.
Hatching involves drawing short parallel lines going in the same direction. The goal is to maintain the distance and length between each line with minimal variation. You can use hatching to convey a specific kind of texture (skin, cloth etc.) as well.
Cross-hatching is a series of hatchings overlaid on top of another, resulting in a crisscross pattern, hence the name. This technique is often used in art pieces to convey shadows and depth in an object, as well as textures. Cross-hatching is the bread-and-butter of colored pencil art.
Think of stippling as hatching with dots. Stippling serves as an excellent warm-up exercise before you begin practicing your art. Being uniform is not as important here, as controlling the exact shape and size of a point while being fast is not easy.
You can define this technique as hatching without lifting your pencil at all. It’s the universal technique, one that nearly everyone has used in their childhood. As someone looking to master colored pencils, you can use this technique to further increase your pressure control and uniformity.
Now that you’re well-acquainted with the basic colored pencil techniques, here are a few points to consider throughout your journey to mastering the medium. These are basics that you can build your fine art around, as they remain important even after you’ve fully mastered the usage of colored pencils.
If you’re a complete beginner, you may be able to get away with using low-quality colored pencils. But, as you grow more proficient in the art, you will need to seek higher quality ones so that they provide the desired results.
Try to avoid low-quality pencils altogether, if at all possible. The kind of pencils you use will have a massive impact on the art you produce. If you are in it for the long haul, the comparatively steeper price point of the best colored pencil brands is well worth paying.
Next comes paper quality and how a colored pencil point performs on it. To practice the basic techniques, you can use low quality paper without hesitation. In fact, some would even insist that you fill up dull sheets of paper with hatchings, cross-hatchings, and stippling as they directly improve your skill.
But, when it comes to creating finished artworks, always use high-grade paper. Now, you may be wondering what determines the quality of a paper. The answer is simple: the texture and tone of the paper.
More textured surfaces absorb more of the color from your pencils and vice versa. A rougher texture may limit your detailing capabilities at first, but once you adapt to it, the paper will help enhance your finished artwork.
The opposite is true when it comes to smoother paper. You’ll initially have an easier time detailing on a smooth paper but lose out on multiple color applications for more complex pieces.
White paper seems a no-brainer when approaching art, but you’ll be forced to use darker shades in order to convey depth. If you use a toned paper instead, you’ll be closer to both ends of the spectrum and have an easier time with highlights as well as shadows.
The techniques mentioned in the previous section help you achieve a uniform stroke. To practice pencil pressure, you should start by varying how hard you press the tip of your colored pencil. By adjusting the pressure applied to the sheet of paper, you’ll have a higher degree of control over what color values you want to use.
Pencil pressure can make or break the depth of an artwork. Conveying lighter hues becomes much more difficult if your hand isn’t trained to uniformly apply pressure. The converse is also true, as a darker color would require a lot of constant effort from an untrained hand.
Blending is the process of creating a seamless transition between two different color values. It’s done by overlaying one color on top of another in a slow, methodical manner. This process is crucial to painting in general, not just colored pencils.
There are plenty of ways to blend colored pencils, and each method gives a different look to the blended area. You can use kneaded erasers to erase the seam between colors, use colorless blender, apply the lighter color over the darker shade, carefully smudge multiple colors together- the list goes on.
Furthermore, you can opt to blend colors together at any point during the workflow. All you need to do is ensure that you don’t accidentally transpose the hues somewhere they don’t belong.
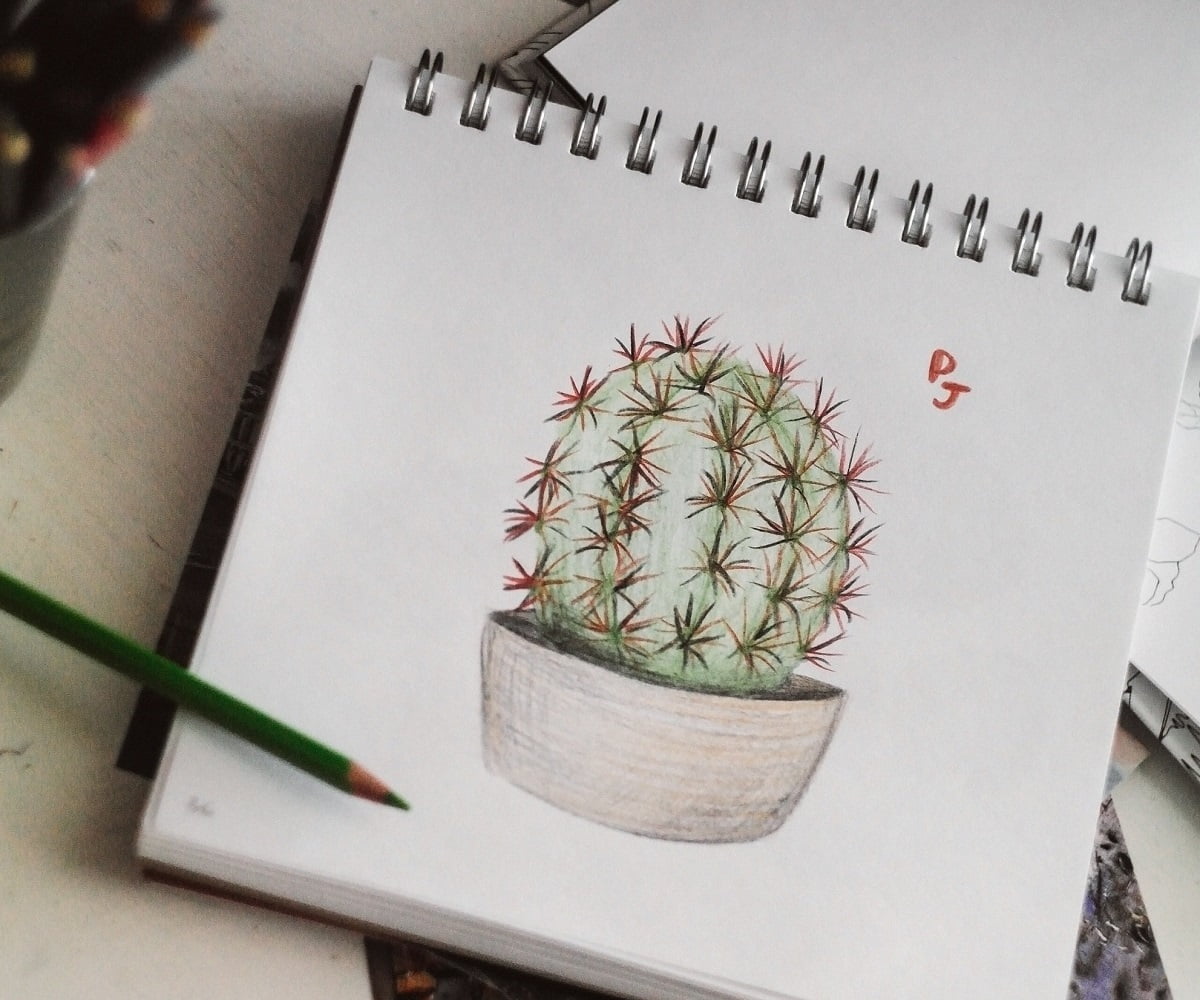
Layering colors provides more depth to any artwork. Be it portraits or elaborate landscapes, the manner in which you distribute colors matters a lot to make your piece feel more natural.
In portraits, layering can often be difficult to achieve since the human face only has so many color variations. The shades you can work with are fewer and you will have to work intricately with shadows to create the necessary contrast, depending on the lighting setup.
Landscapes have enough variety in shades to not have as much of a problem. That said, a scene may lose all of its depth if the wrong values are chosen.
In either case, remaining vigilant is important to succeeding with your artwork.
Any lighting setup can be segregated into three parts: highlights, shadows, and midtones. Now, these parts have subcategories that work in tandem to create a natural, realistic artwork. But, initially, you must not worry about those aspects at all.
Lay out your colors one step at a time, after which you can begin refining your piece. With colored pencils in particular, you’ll be able to use the additional pressure control to further enhance these aspects of the work of art.
Consider the drawing of a cylinder with winding lines going down its length. Note how it directs your eyes downwards, and it is all because of the stroke direction and where the lines taper off.
Stroke direction gives the viewer an idea of the form of an object. As an artist, your objective is to create an illusion of depth and bring a natural quality to a flat drawing. With a medium such as colored pencil, there’s a lot more freedom in expressing your flow with the way you shade objects.
Mastering this will make you a seasoned artist in no time.
When using a colored pencil, you may have noticed that it leaves behind white dots in the midst of the color. This happens when the ‘tooth’ of your paper pops out of the surface.
Burnishing is the process of pushing these teeth down and transforming your colored pencil artwork into a true painting. The irregularities disappear and your artwork is complete.
You can get specialized tools for burnishing to add a finishing touch to your artwork.
It’s a mistake a lot of beginners make, which is to concern themselves with the details from the get-go. If you start adding intricate details to your artwork right away, it’s a surefire way to end up with a difficult-to-fix mess later on.
The first step should always be to sketch, i.e. to plan ahead. It’s in this stage that you make the most changes and do most of the heavy lifting. Once you know what the finished artwork may look like, start applying flat colors, followed by lighting setups, blending, and refining.
Once you have your colors ready and figure out how light hits the subject, you can start detailing. It is the most time-consuming part of the drawing process, but by no means is it the most difficult. Develop your colors and values one step at a time, and before long, your artwork will appear gorgeous and full of life.
An important tip to remember is to be patient with your progress. It is said that an average person needs several hours of practice to master something. With a medium that demands a meticulous approach, like colored pencils, you should remain patient through the learning process. Learning how to organize colored pencils will also streamline the process.
It will take time before you start seeing leaps and bounds of improvement. But, all that hard work will be well worth the result.
With colored pencils, heavy pencil pressure will create a more solid or brighter look.
If you’re overlaying the color on top of another, you may consider swapping to a different contrasting color that would achieve the same result. This is because the base color quickly blends with the one you lay over it.
Layering is what you do at the beginning of a project, just after the sketch. Essentially, it is a color map of your artwork and conveys a sense of depth to the image.
Blending, on the other hand, is the refinement of all the colors you’ve applied in an artwork. It’s one of the last stages of your piece and it adds to the finer details of a drawing.
Mastering both is key to the success of any artwork, so it’s a good idea to practice them regularly.
You can use a small amount of solvent over your existing base layer to add multiple layers of color once it has dried. It has the added benefit of making your pencil artwork resemble paintings. To put it concisely, it is a fast tracked version of burnishing.
However, solvents can dissolve or fade the colors on your canvas. So, apply a light layer of it on your art to prevent it from causing any damage.
Simple to use, difficult to master: such is the way of colored pencils. We develop a natural affinity towards pencils because of our early experiences with them. Because of this, it always feels as if we’re covering known territory when using them.
However, it would be wise to not expect instant expertise with them. Like every field, colored pencil techniques demand time and patience from your end. It’s a gradual process, one that will eventually lead to a moment of epiphany when everything falls into place.
Art is a culmination of the artist’s experiences. The moment it clicks and you find that direction, you will become unstoppable.
Like our article? Checkout our next article on other topic such as, comparing size of dehumidifier for bathrooms to get a perfect balance. Dehumidifiers are helpful for artists who needs climate control to paint their way to excellence.