Expertises: Art, Pastel, Brush, Drawing, Pencil
Updated on
Inspiring Ideas for Modern Home
If you’re new to watercolor painting, you may think that painting natural landscapes is the best way to get the hang of the process.

However, this isn’t completely true, as you can also start your journey by painting buildings and structures. The fluidity of watercolors makes it quite easy to successfully create the effects of light, shadows, and different textures. So, you don’t have to worry about missing out on any finer details and a realistic finish!
That’s why for today’s tutorial, I will walk you through the step-by-step process of painting the famous Berlin Cathedral with watercolors. Clear your table and dive into the deets! It goes without saying that this would make a great En Plein Air painting, even if you don't live in Berlin, painting the reference and enjoying this process outdoors is worth considering!
Before I explain the steps for painting the Berlin Cathedral with watercolors, let me quickly tell you about the supplies I will use today. The good news is I won’t use many watercolor paints or brushes, and you don’t need these exact products either. I am using whatever I have handy, and you can follow suit!
Paint: Daniel Smith George Politis MA Set 1 6x5 | Paper: Saunders Waterford Watercolor Paper - White, 300gsm | Brush: Princeton Aqua Elite Professional 4 Piece Set 4850
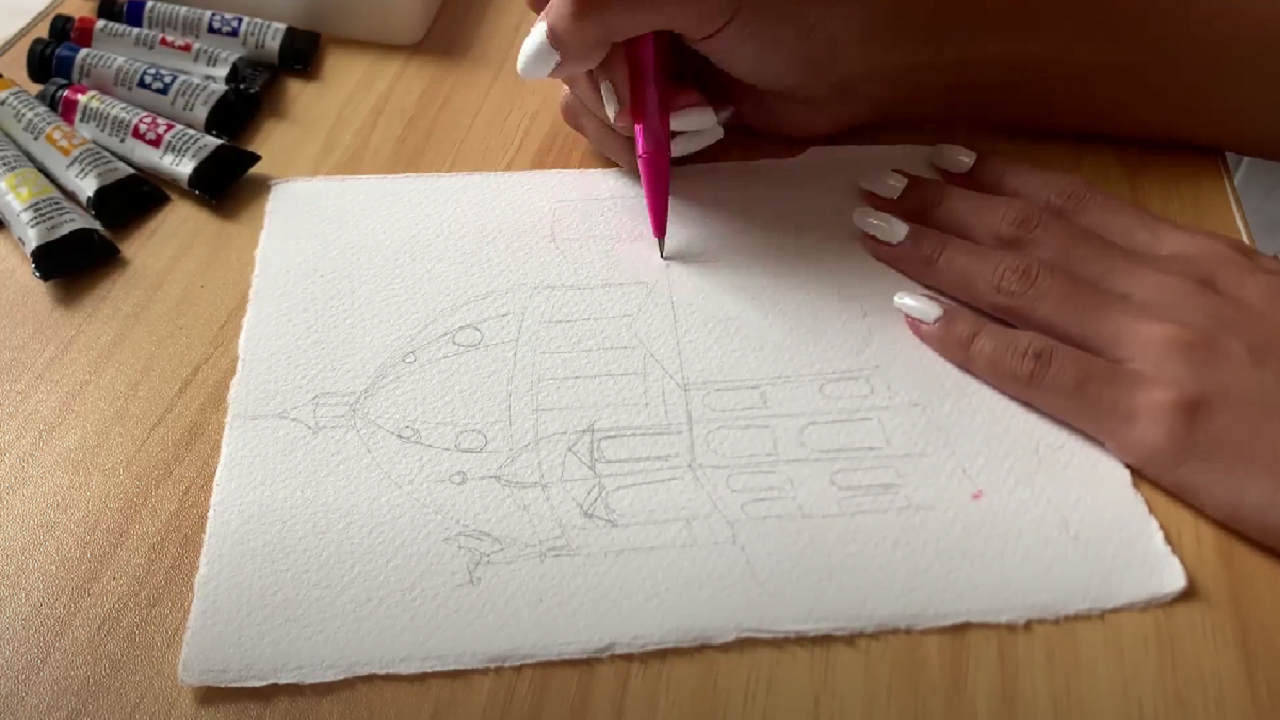
The first step for any painting, especially as a beginner, is to draw a rough sketch of the landscape or structure you have in mind on your watercolor paper. This will act as an effective reference to keep you from mixing the colors later.
My sketch today is a pretty simple representation of the exterior of the Cathedral (with domes and windows) and a bushy foreground. But you can seek inspiration from online images to better understand the overall structure and the different sections. Likewise, feel free to use a ruler for drawing straight lines.
The only thing I’d suggest here is to use light pencil strokes so that you can erase them easily without leaving any nasty marks if required. And don’t worry if sketching the structure takes more time and you have to do it multiple times.
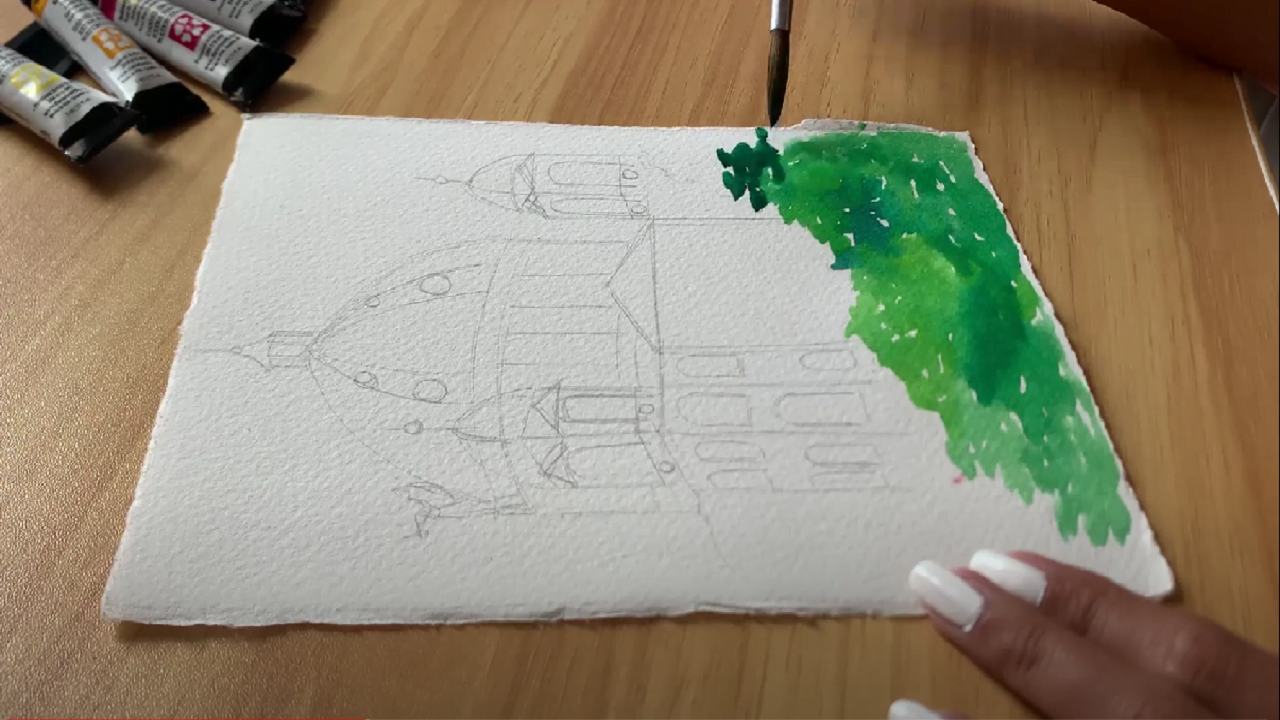
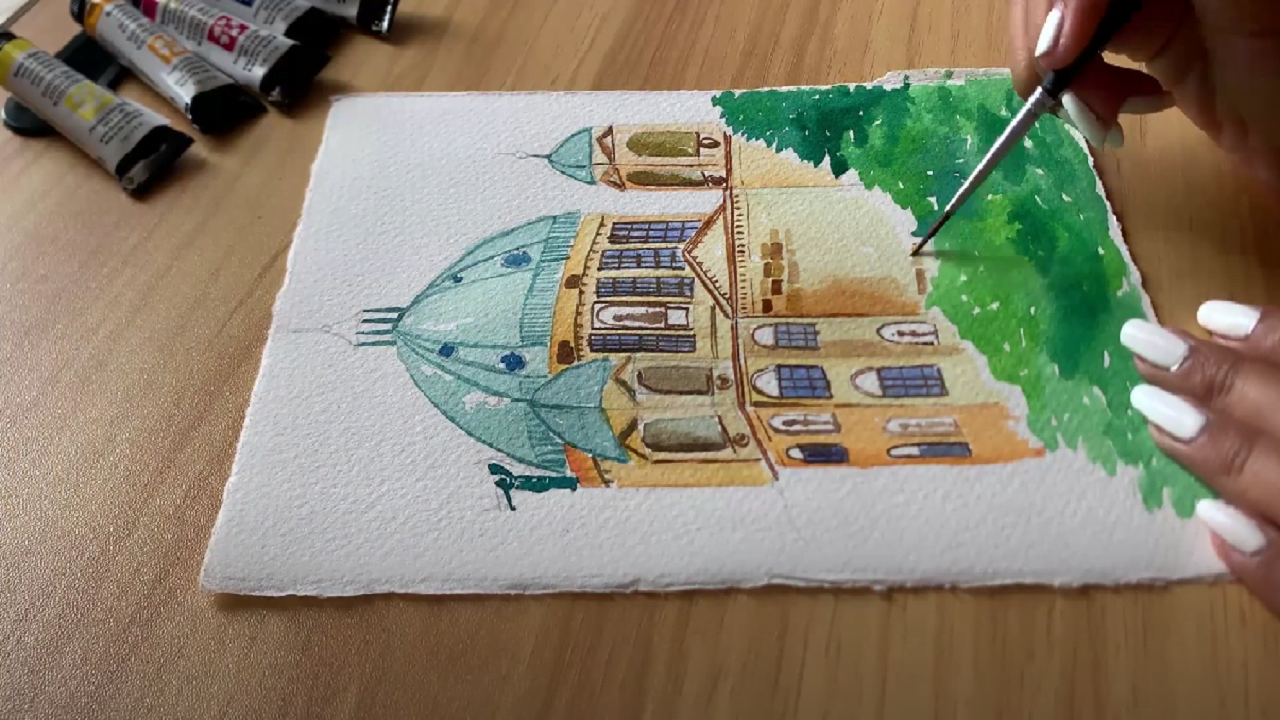
Once you’re satisfied with the sketch, it’s time to get started with the real deal! Thin out some light and dark green with water separately in a palette and start painting the bushy foreground, using the two shades alternatively.
I am using short and quick dabbing motions to add texture as well as help the shades blend seamlessly. You can also apply more dark green to the sections where you want more shade than light. However, I haven’t covered the entire space with green, as the little white ‘‘specks’’ create a more realistic effect.
Continue doing this till you’ve completely covered the base of the Cathedral, but make sure you don’t enter the walls above.
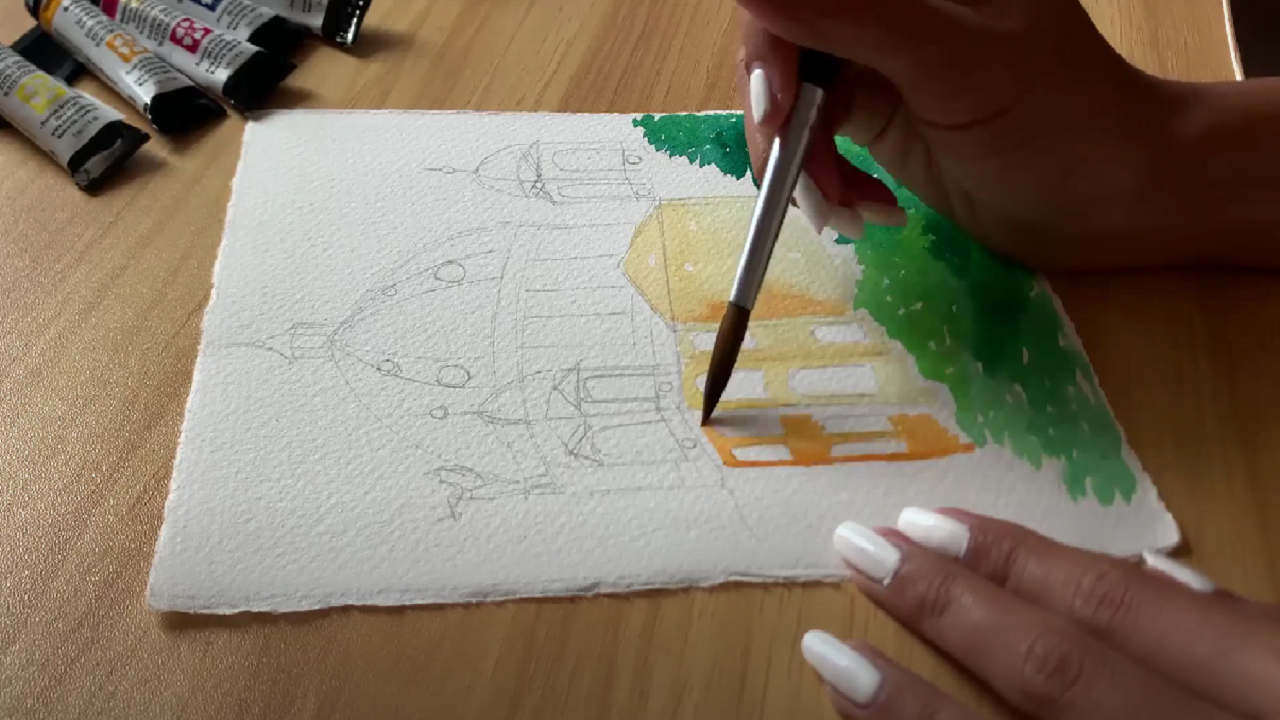
With the foreground ready, the next step is to start painting the Cathedral walls.
For this, thin out some yellow ochre and paint the walls and the beams of the structure. You don’t need to use the same paint for all the walls, though, as we want to create the illusion of light and shadows.
So, use a darker shade of yellow or some light brown to add shadows to the walls like I’m doing here. As you can see, I’m using a deeper shade for the left side to create natural-looking shadows.
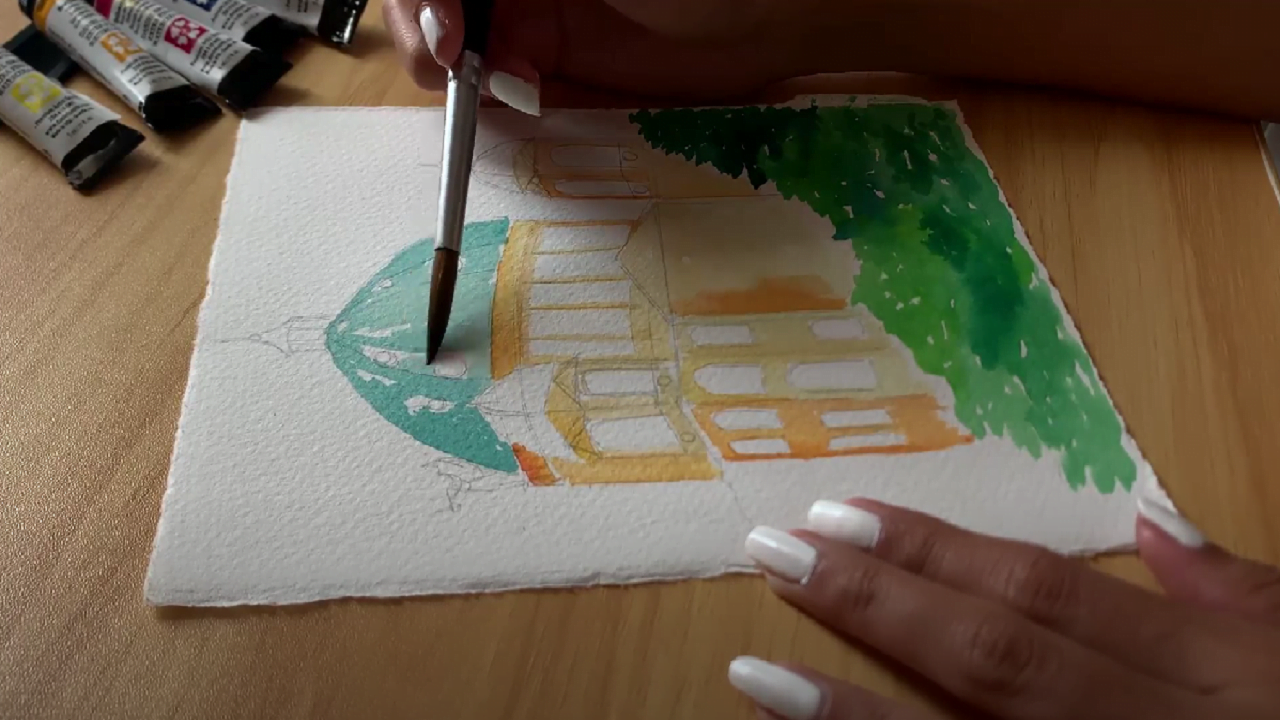
For the domes, I’ll be using a light shade of blue to paint the domes of the Cathedral, but you can also use turquoise. Thin out the paint with water and start painting these portions, barring the circular windows.
I’d suggest using only one layer of paint for the domes, as it will darken eventually upon drying. So, adding too many layers at once may make the domes appear too dark, thereby disrupting the overall balance of the painting.
Additionally, you can use the same color without adding much water to add shadows to the sides of the dome. In this case, wait for the domes to dry out completely to see how much they darken, and then take a call accordingly.
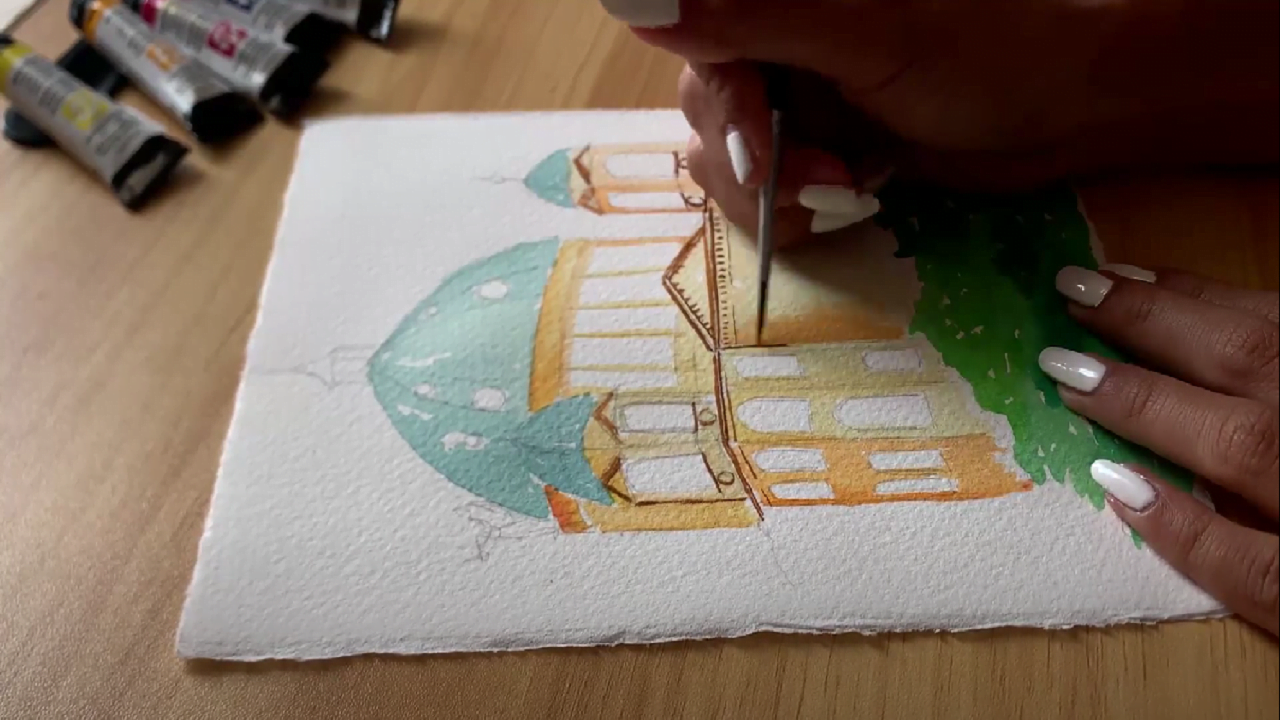
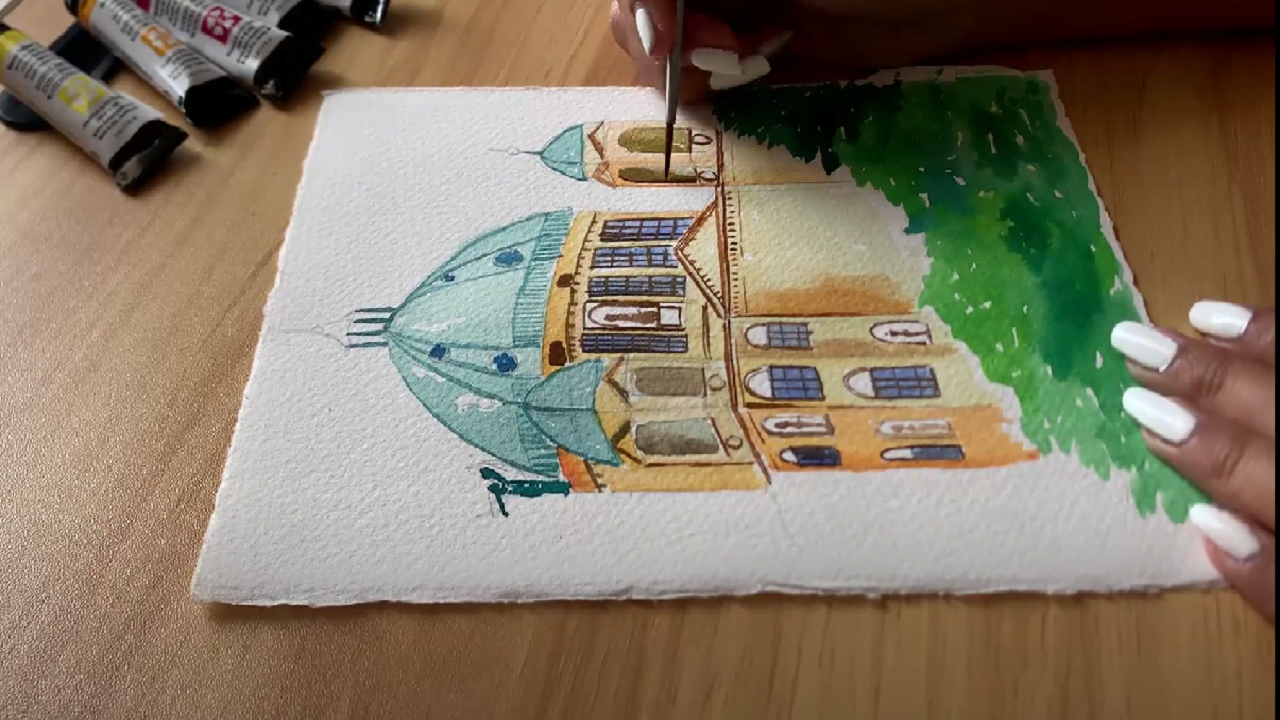
Now, take the thinnest brush in your collection and dip it in some dark brown color to paint the details of the Cathedral. Go over the joists between the upper and lower floors as well as the roof-like structures, followed by the perimeter of the walls and the circular windows.
A little tip: paint at least two lines for the triangular roofs and horizontal joists to accentuate these sections to give the illusion of dimension. This will keep your painting from looking flat. Similarly, make small strokes on the front roof and wall, as I have done here.
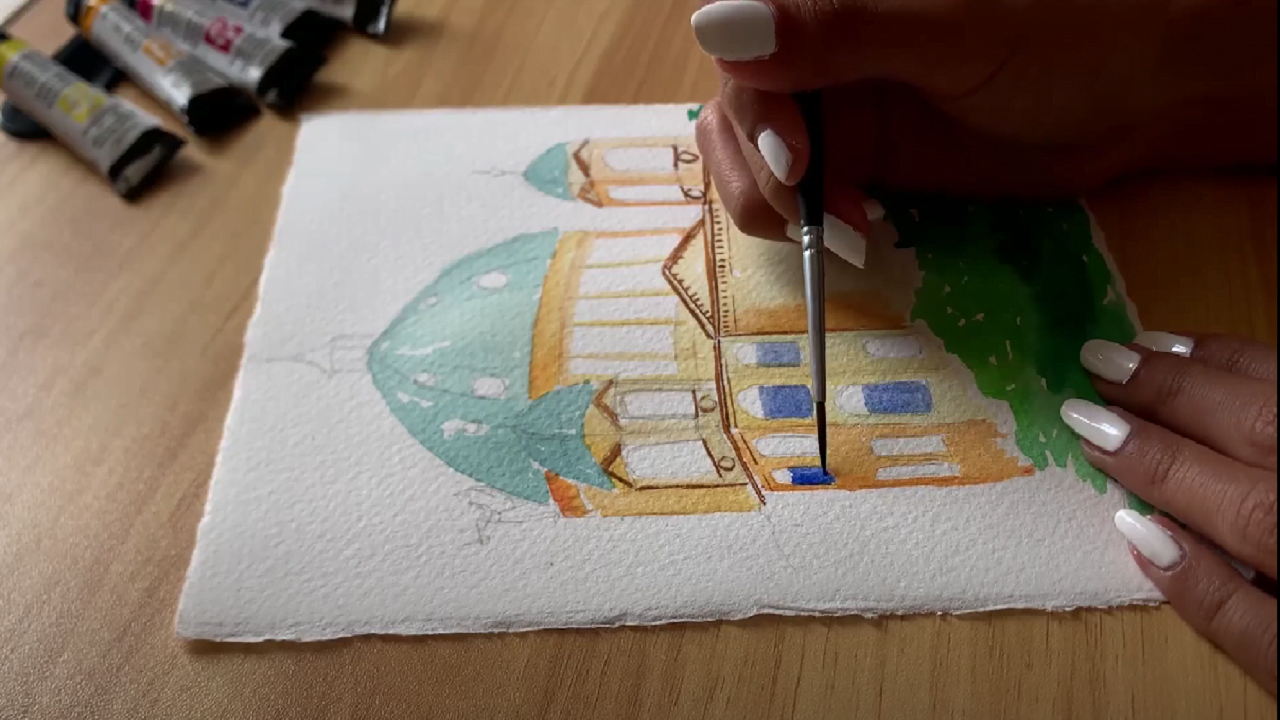
This step will also require a thin-tipped brush, so make sure you clean the one used in the previous step completely to eliminate any excess color. Or, you can use another thin brush if you have it handy.
I will be using some deep blue watercolor to paint some of the larger windows of the Cathedral while leaving a couple of them for the time being. Likewise, I have not painted the arch-like section of the windows on the bottom, as I felt using too much color will make for a crowded look.
Since we will be adding more details to the windows, let the base color on them dry properly to prevent it from smudging later. Meanwhile, let’s add some more details to the dome of our Berlin Cathedral.
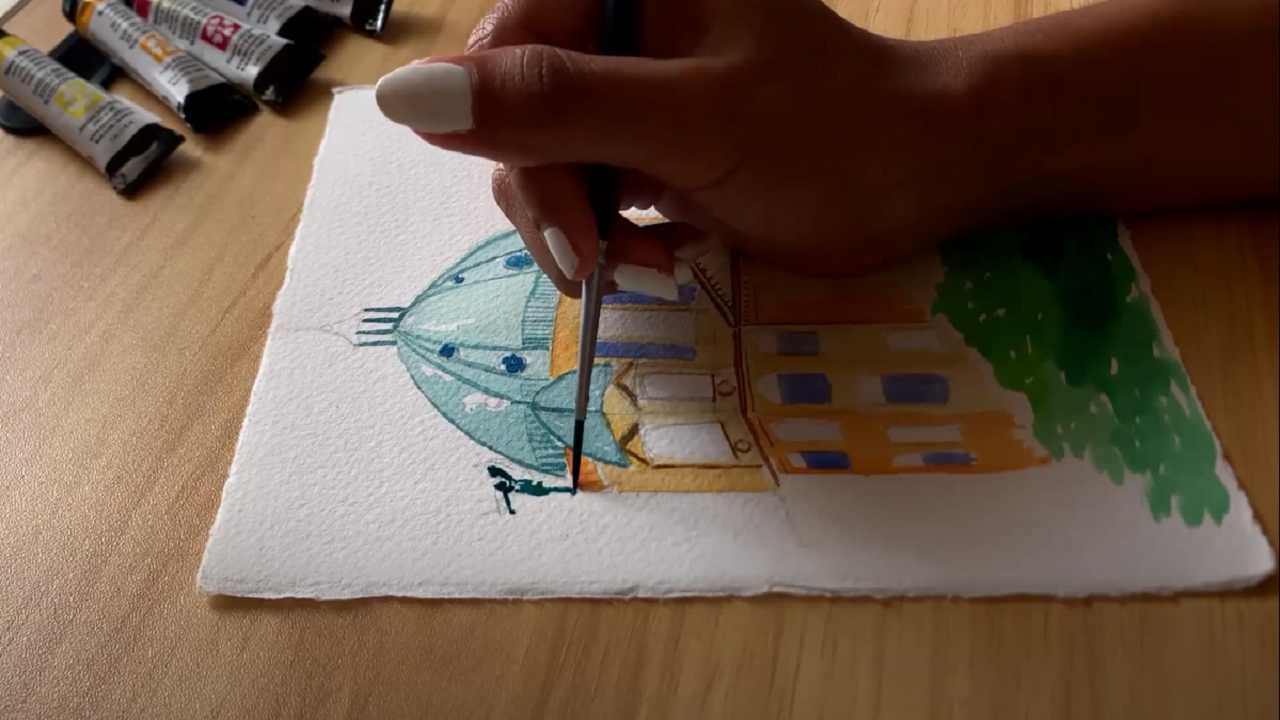
Take a thin-tipped brush and dip it in the same color you used for painting the domes. Now, go over the ‘boundary’ of the domes using the pencil line as a reference. I am also adding a curved porch-like effect on the base of the main dome through horizontal and some vertical strokes.
You can use the same brush to add borders and fill in the circular windows on the domes like I’m doing here. For the final touch, I am using a thicker consistency of color to paint the structure of St.Paul and the apostle (besides the dome) to make it more prominent.
Let’s get back to complete the windows.
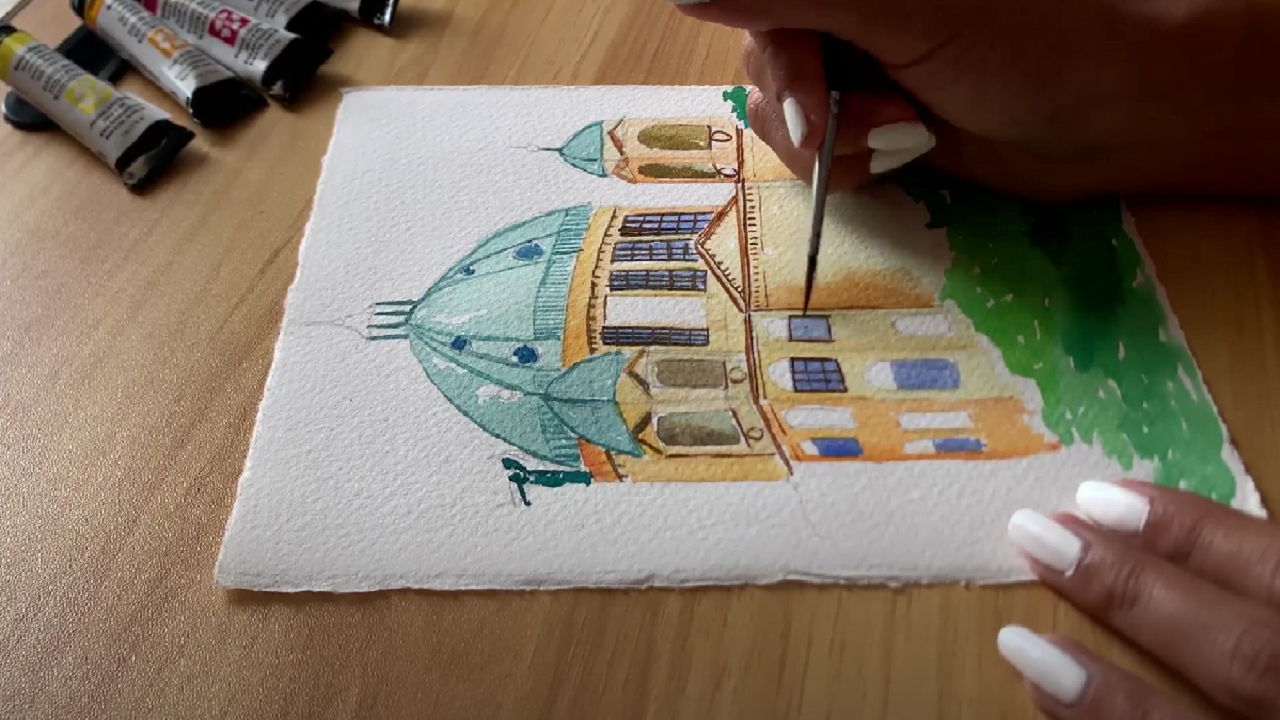
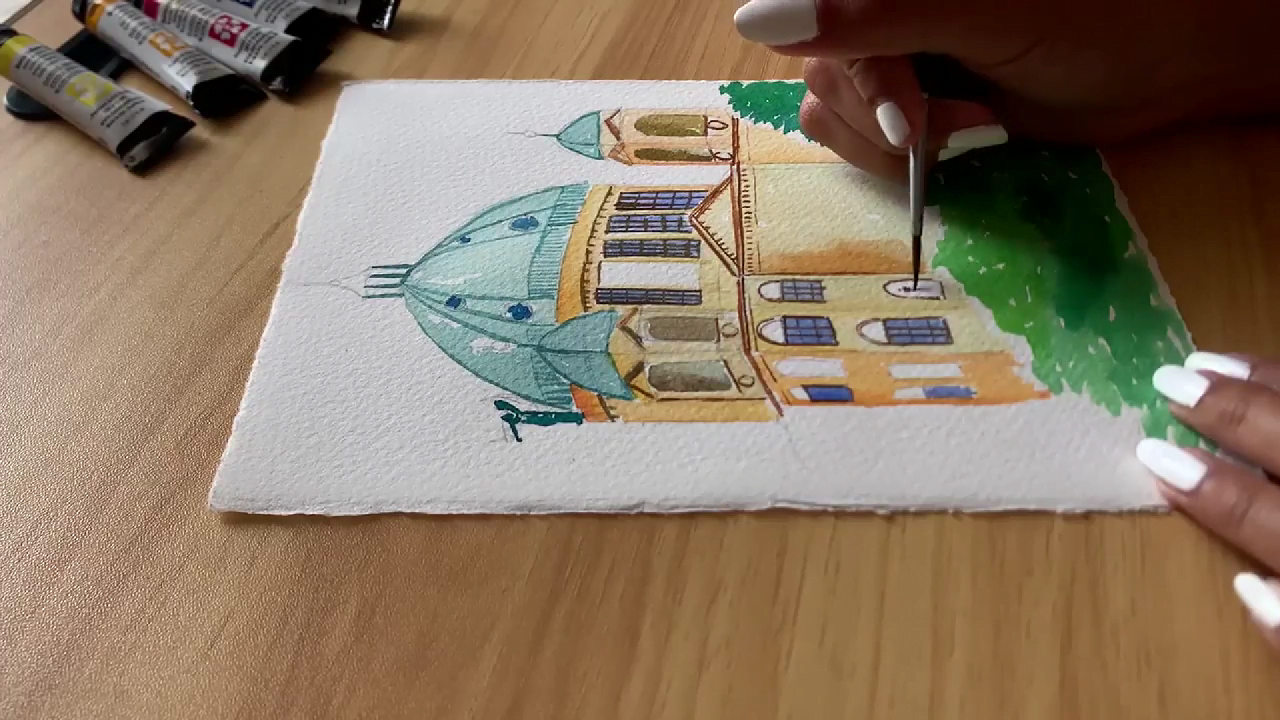
For this step, start by mixing some brown with yellow to paint the upper side windows. Here again, you may darken and lighten the color to create the illusion of shadows and light, respectively.
Using the same color or picking up some brown on the tip of the brush, add the boundaries of the top-most blue windows to give them dimension. Now, fill in the windows using vertical and horizontal lines to create the illusion of wooden panes. Repeat this process for the bottom windows and fill in the empty ones with the ‘wooden panes.’
At this point, I felt my Berlin Cathedral could use some more detailing and highlights. So now, I am simply going over certain areas to create more shadows and darken the existing color.
I am also adding some brown highlights just below the dome to make the overall structure appear more vibrant.
To add the final touches, we will paint small brick-like structures on the bottom walls with some light and dark brown watercolors, again, to create the illusion of shadows and light. Use a fine-tipped brush to ensure precision, as the shapes should be clearly identifiable.

Finally, use some yellow watercolor to paint the vertical structures on the top of the three domes. And there you have it- the Berlin Cathedral painted in watercolors!
That’s all I had for you today! Although there are many detailed images of the Berlin Cathedral available on the internet, I’d advise first-timers to sketch a simple layout as I did and use only a few colors.
This way, you can focus more on practicing the different strokes and techniques of using watercolors. And once you have your hands set, feel free to sketch more complex versions and invoke life in them with the use of more colors.
As for the time being, you can practice creating light and shadows using lighter and darker shades of colors, as well as natural strokes, to create realistic effects before starting with painting the Cathedral. Or, you can use this painting as your practice guide!
Lastly, don’t lose hope if your first few trials don’t turn out perfect. Remember that practice and patience will always be the key to success, the beginner-to-expert guide on how to paint in watercolor might be helpful if you're feeling stuck!
On that note, it’s time for me to say goodbye. See you in the next tutorial about How to Paint New York in Watercolor, or maybe, How to Paint Paris in Watercolor?
Till then, happy painting!